


Okay, it’s time to dive into wet blocking!
I’m starting with this method because it’s the one I use most often. I typically knit with natural fibres and often knit lace and colourwork, both of which do best with a firm hand at blocking time.
As a little reminder, blocking involves three key things: getting the item wet, arranging it into the desired shape, and allowing it to dry.
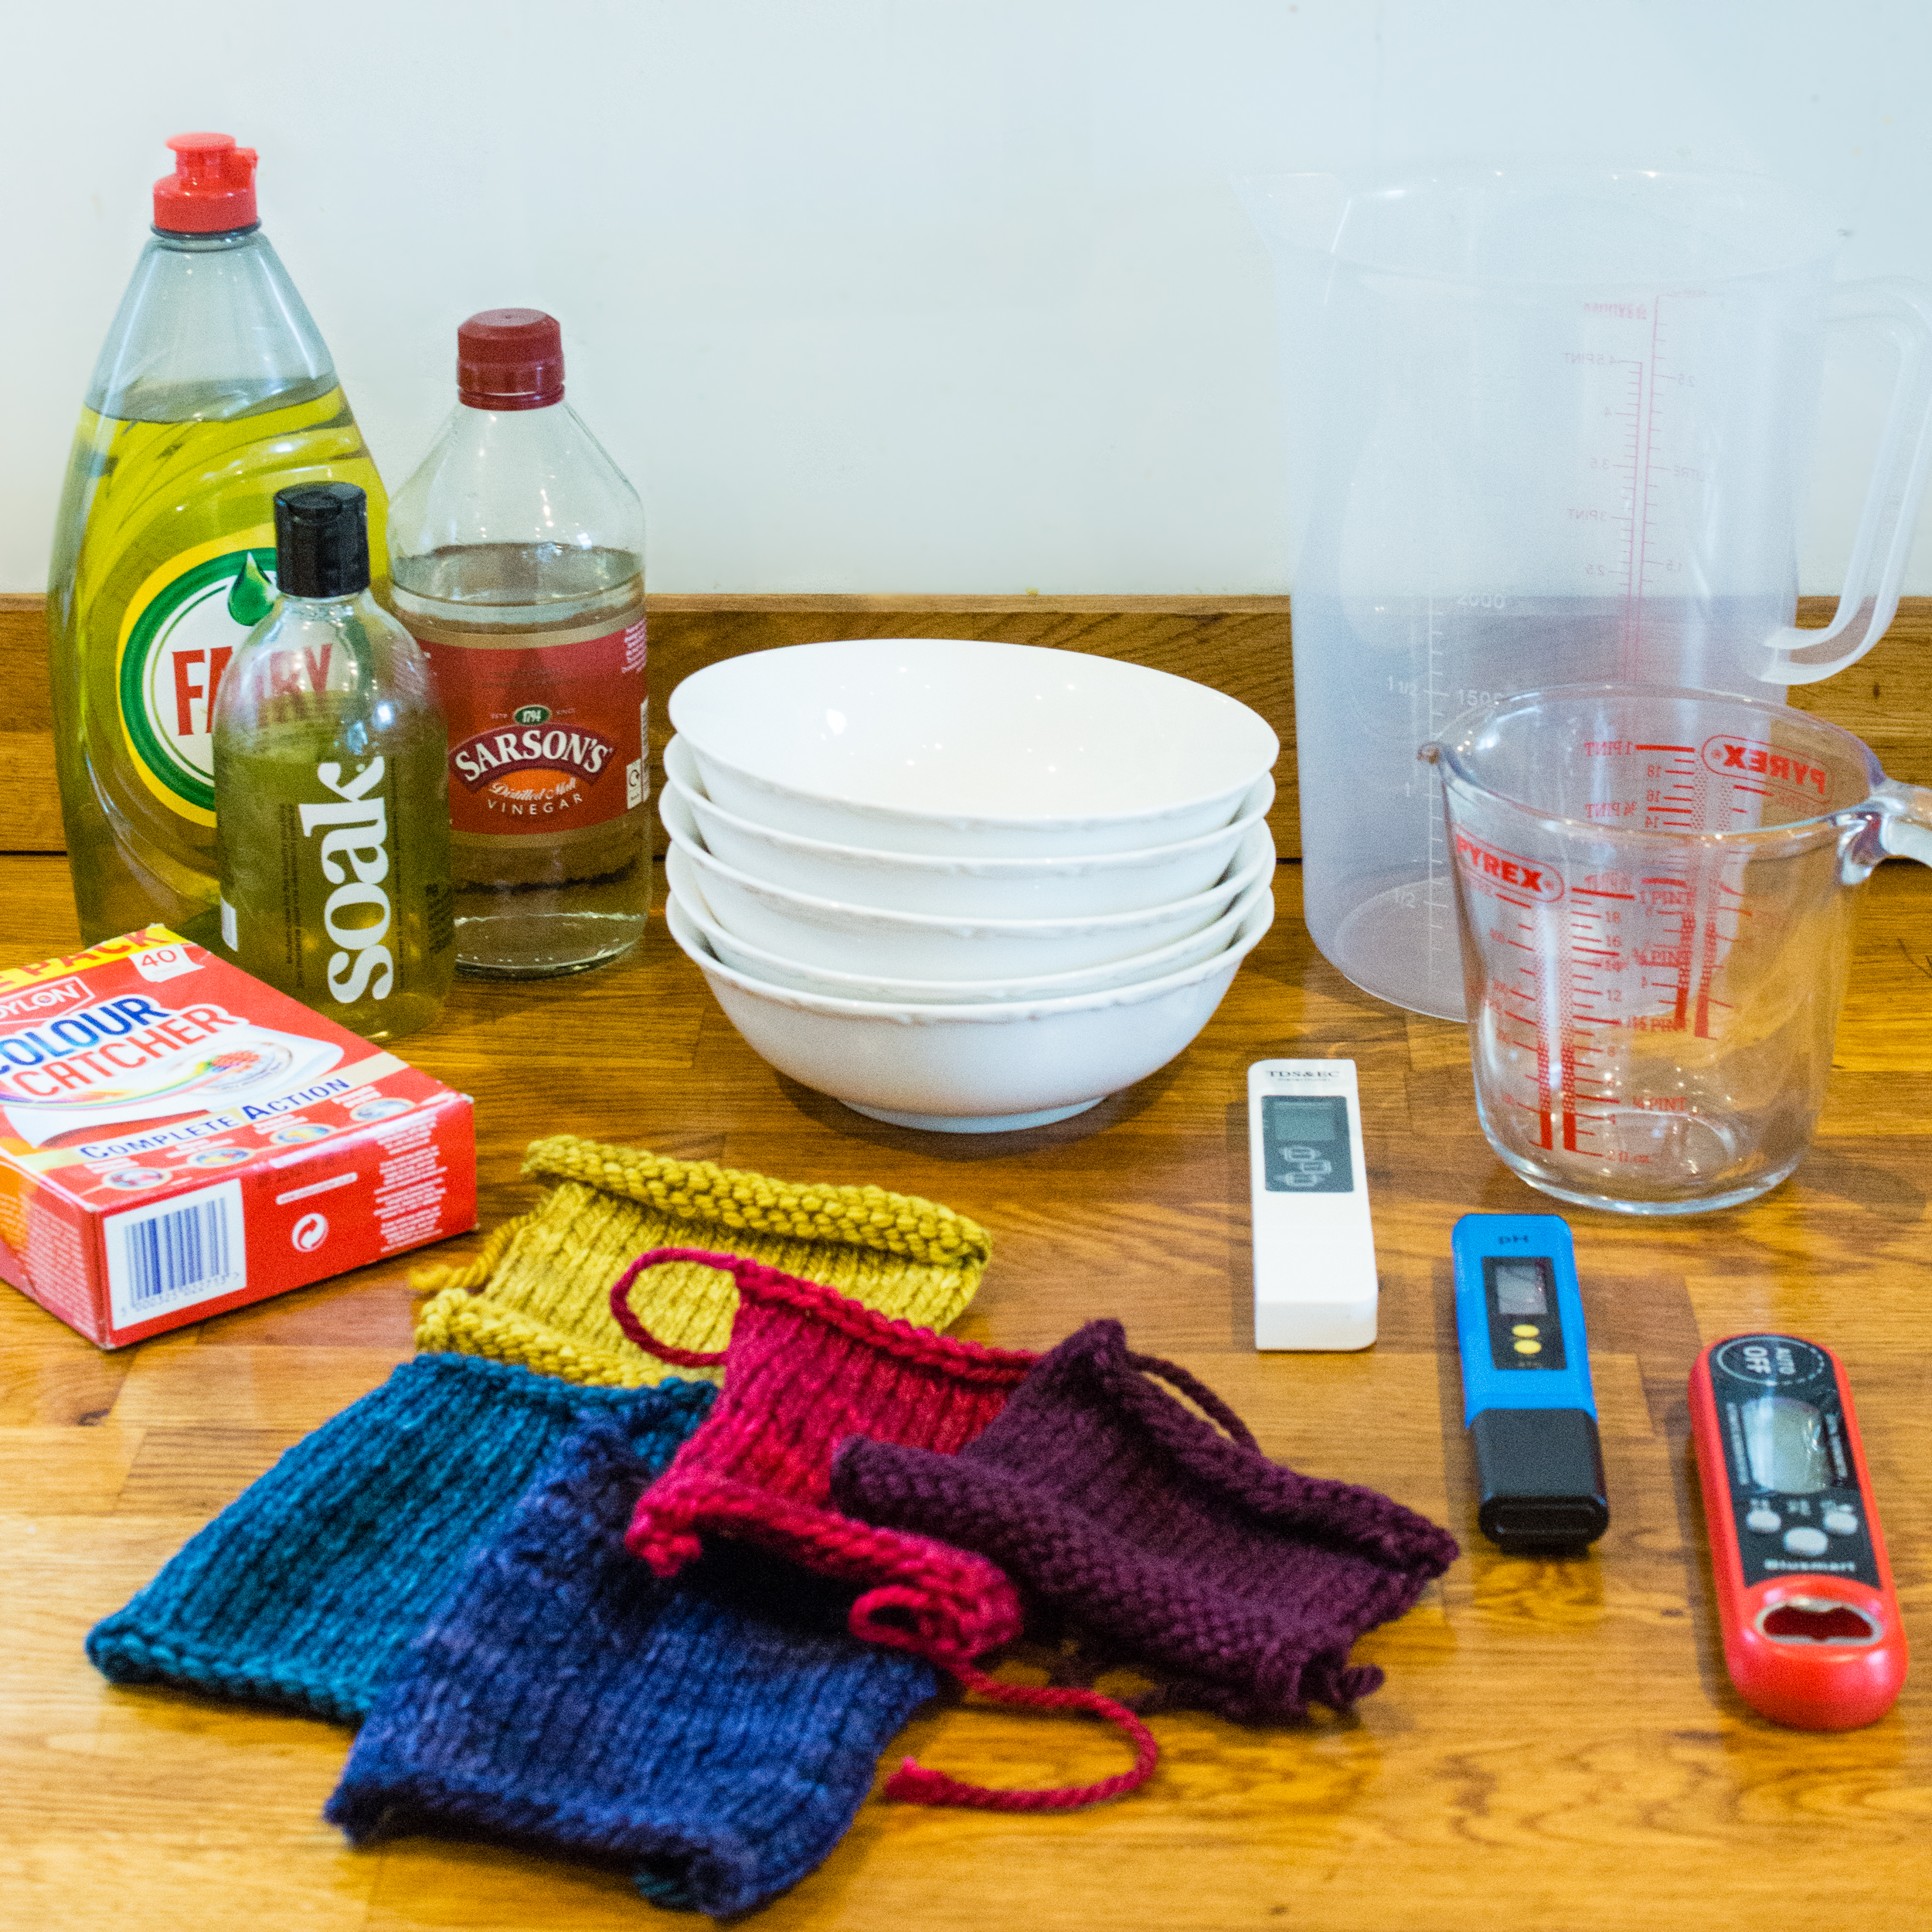
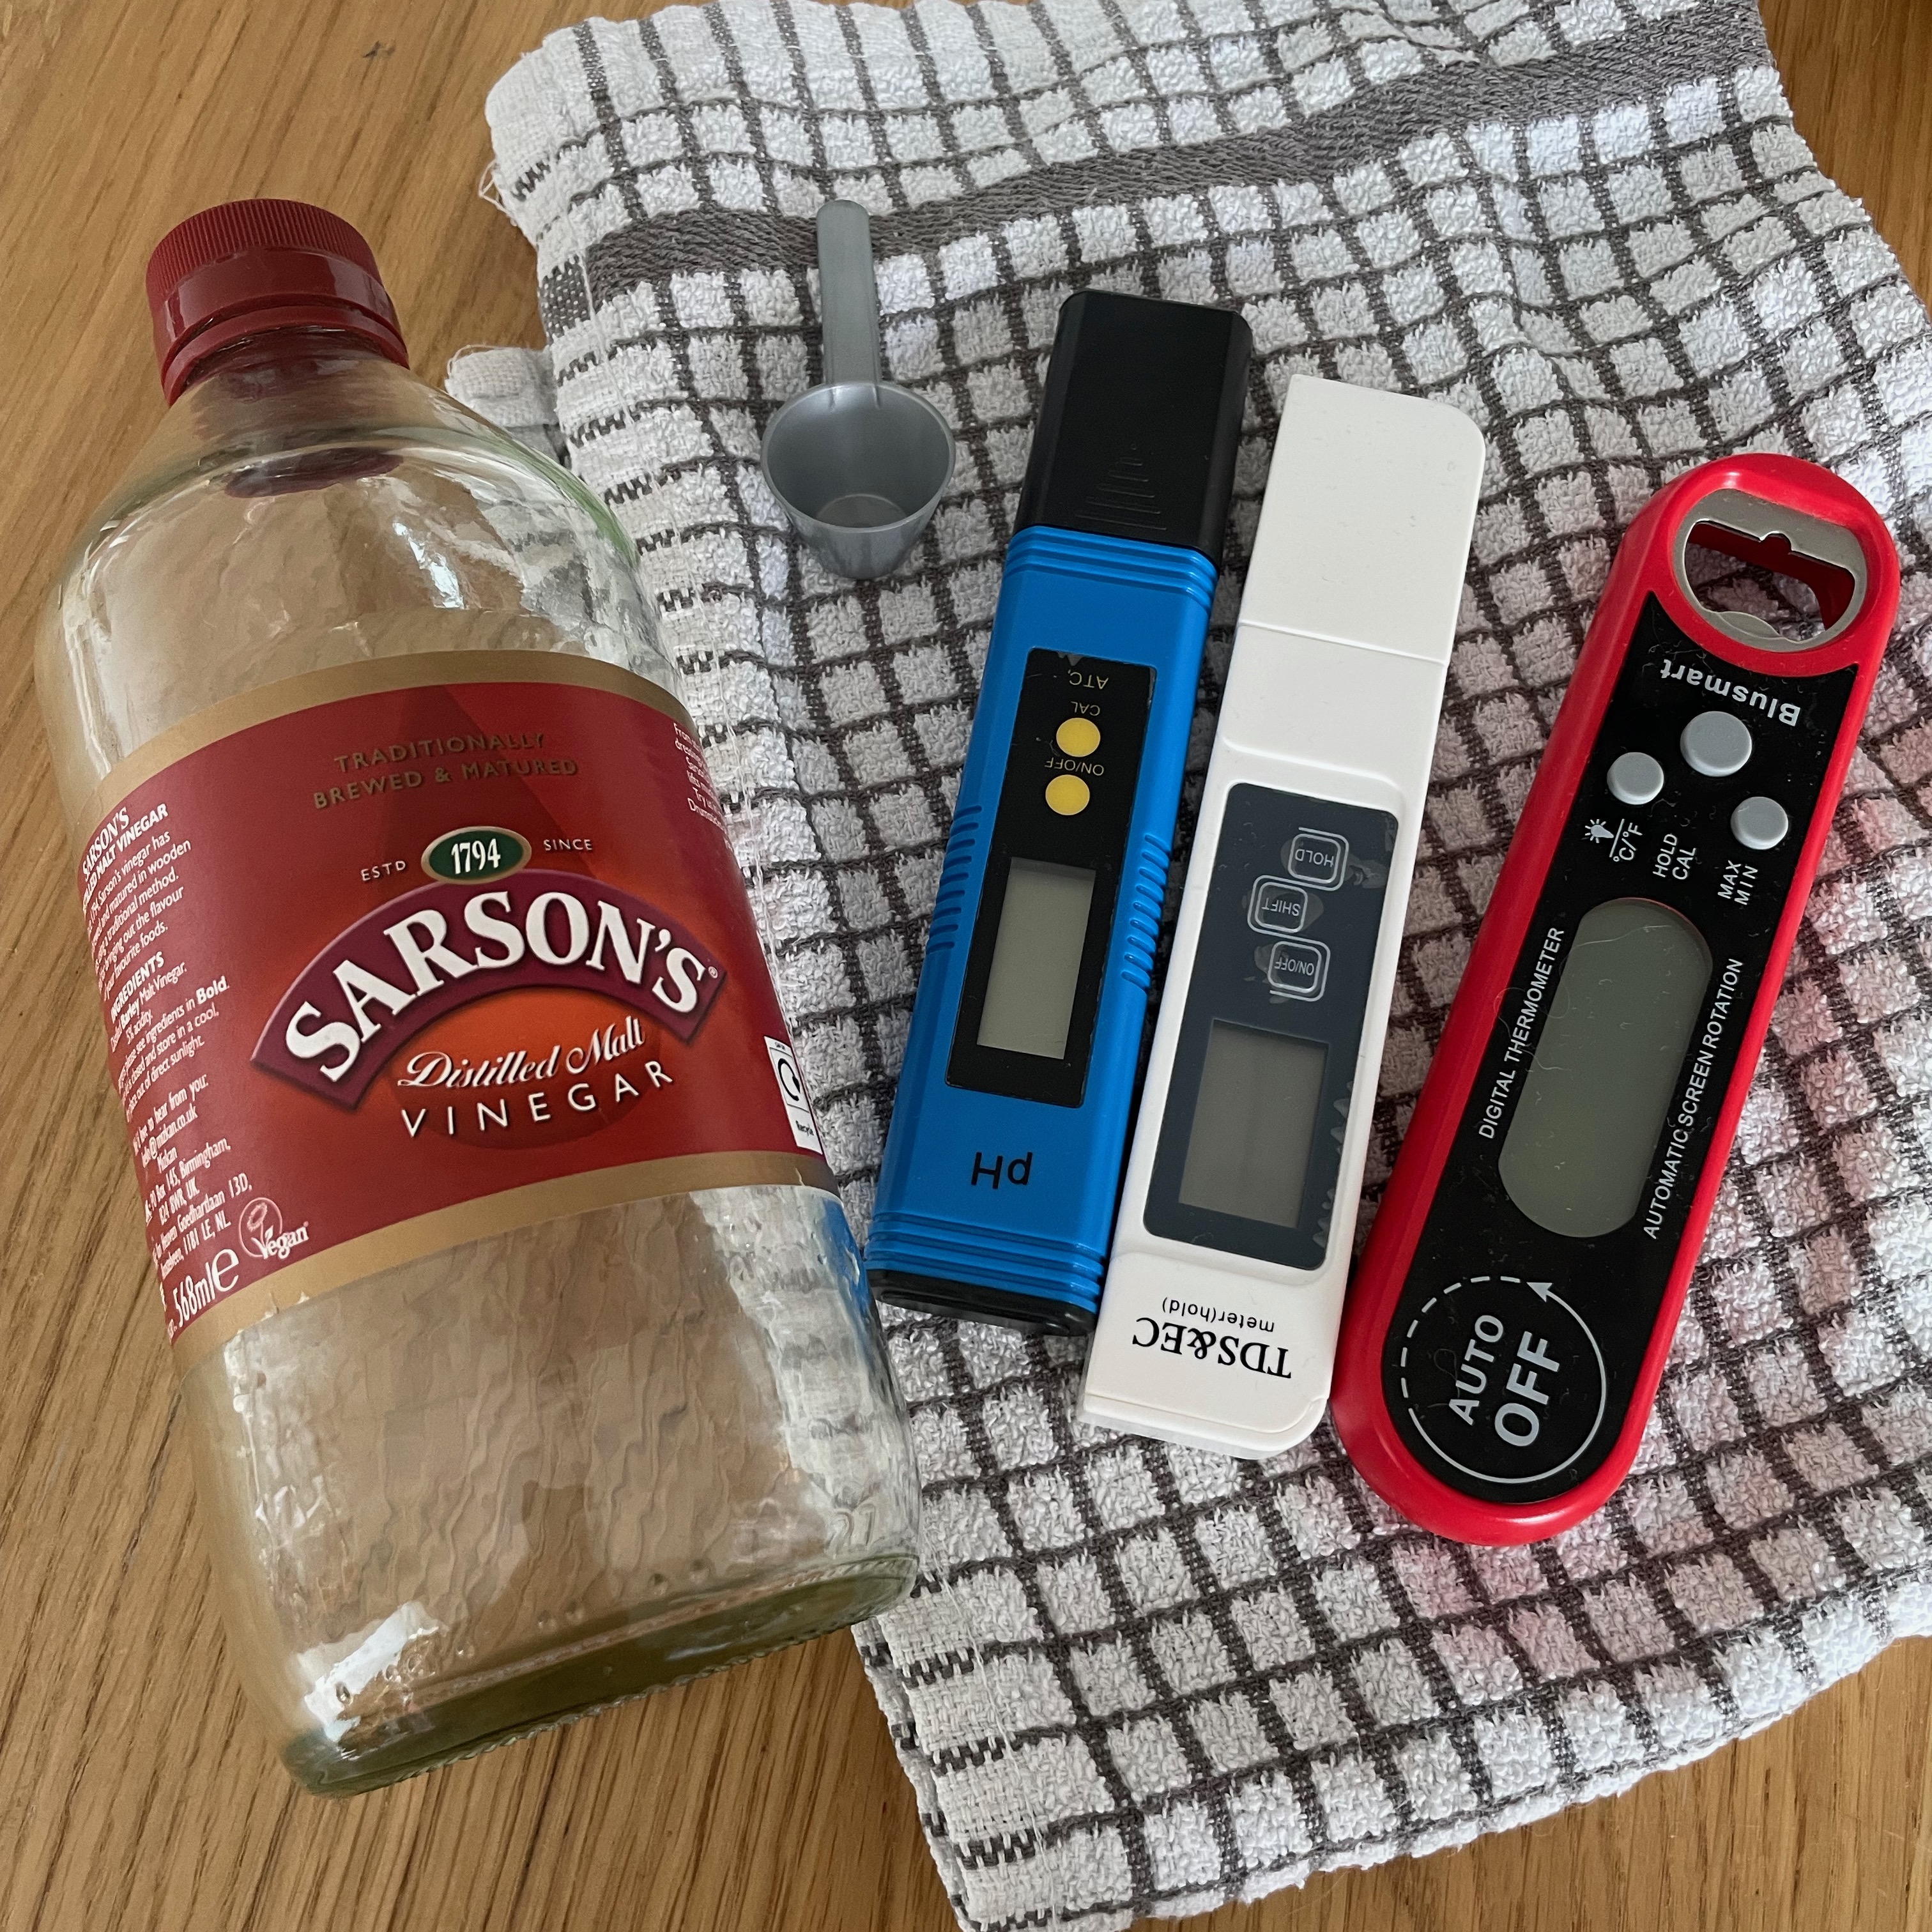
For more information on the tools and materials described in this post, refer back to Blocking, Part 2.
Getting it wet
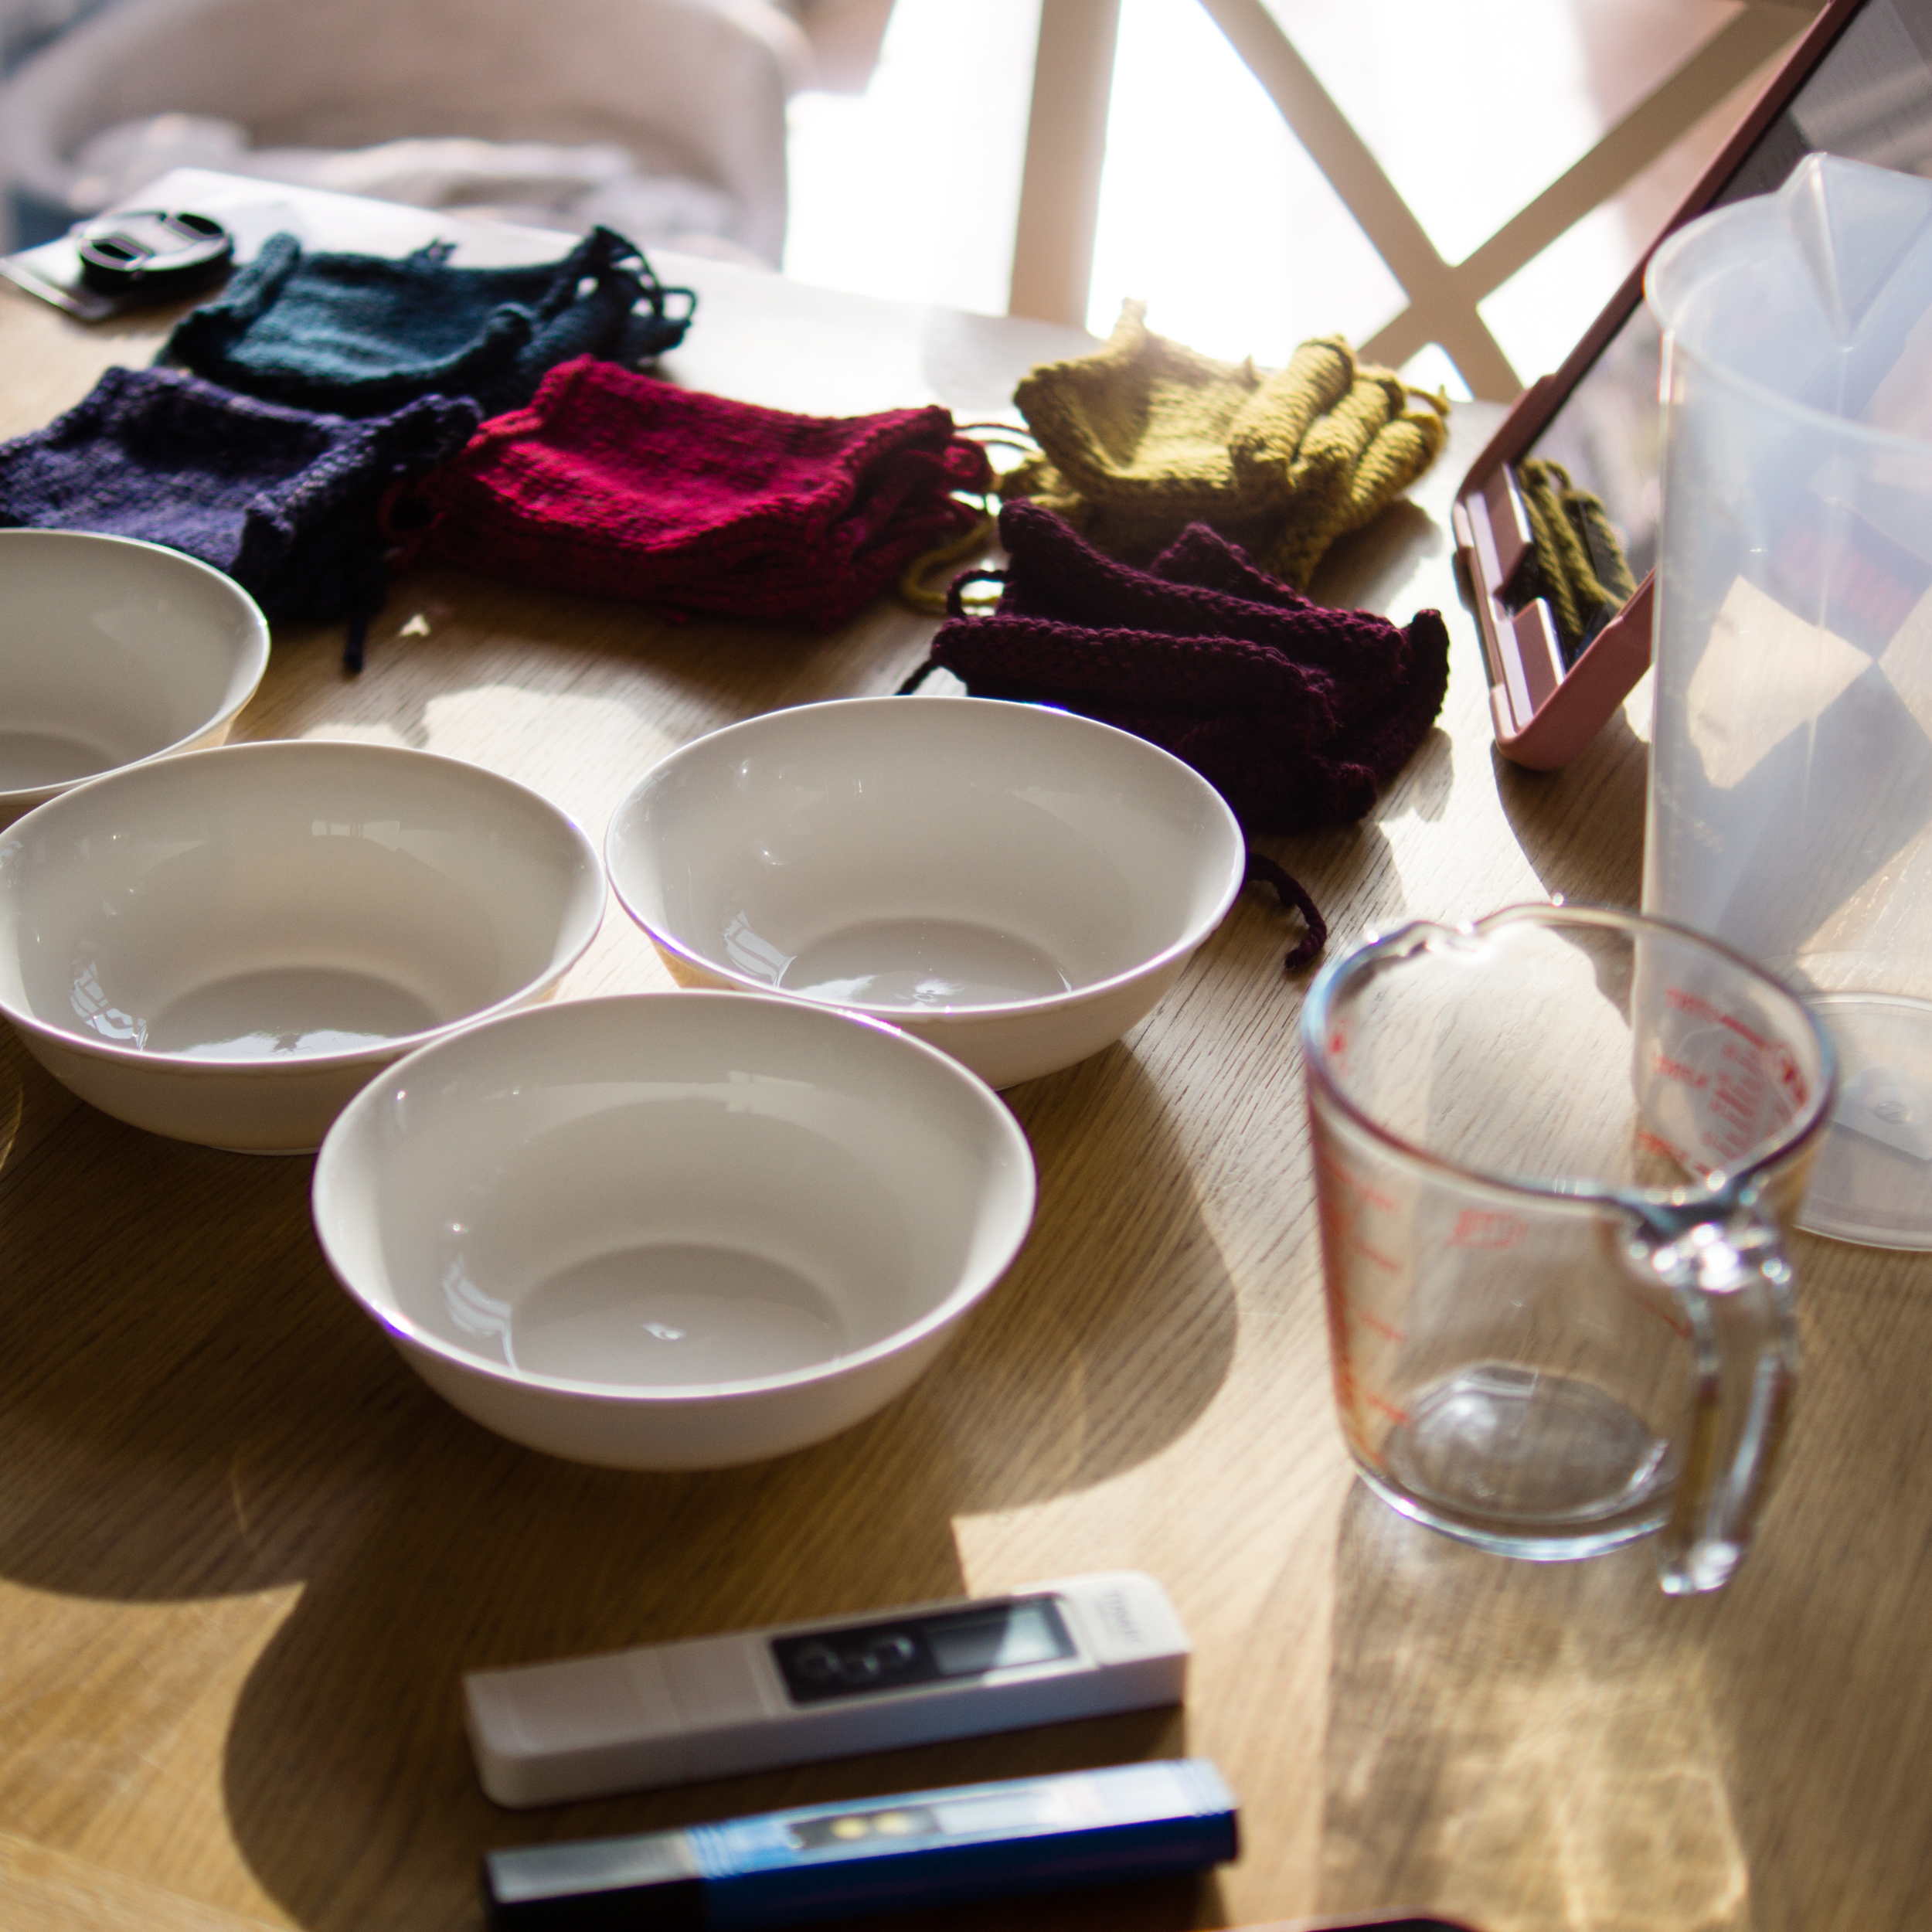
1. Prepare a sink, bowl, or container
For wet blocking, we need to fully submerge the item in water and let it soak for a while. This item is a larger accessory, so I used the sink, but for smaller items you can use a bowl or other container.

The water should feel slightly warm to the touch – not cold, and not hot. Cooler than a baby’s bath. You don’t need heat for this, and the hotter it is, the easier it will be to accidentally felt it. Err on the side of caution and keep it cool.
If you want to use a wool wash, add it in under the running water, just like bubble bath. You only need a little bit, it goes a long way.
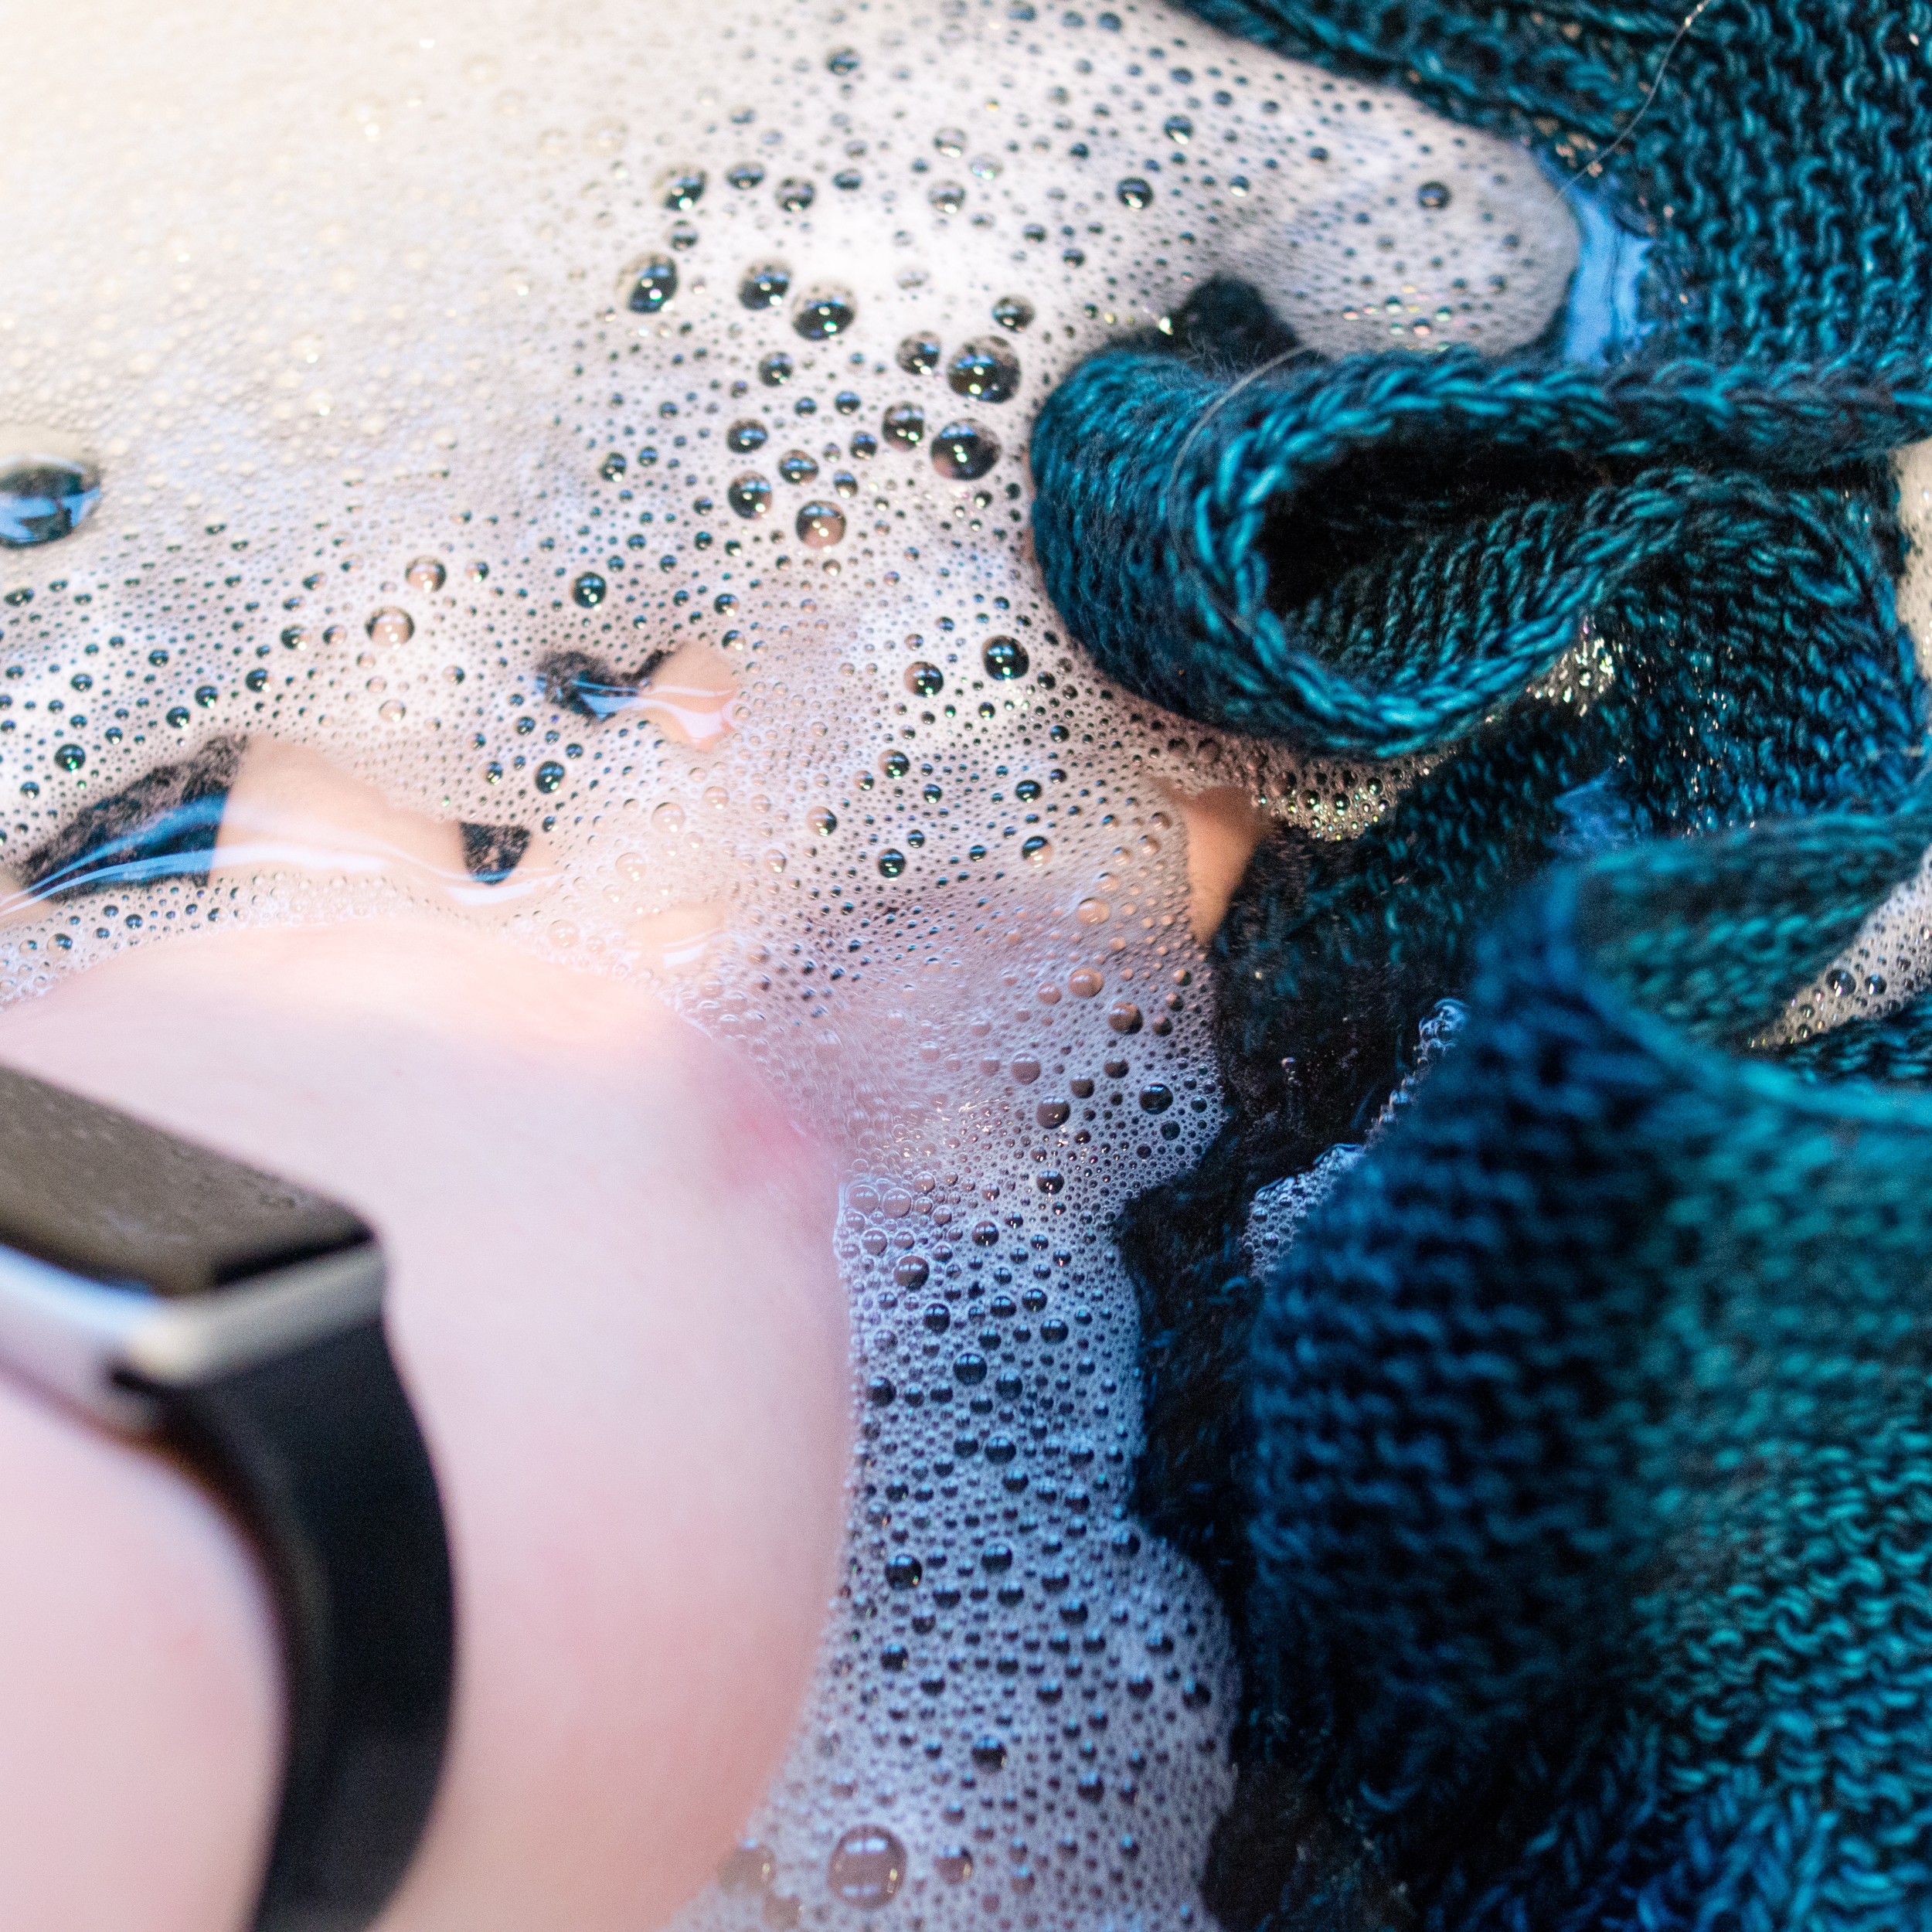
2. Put it in
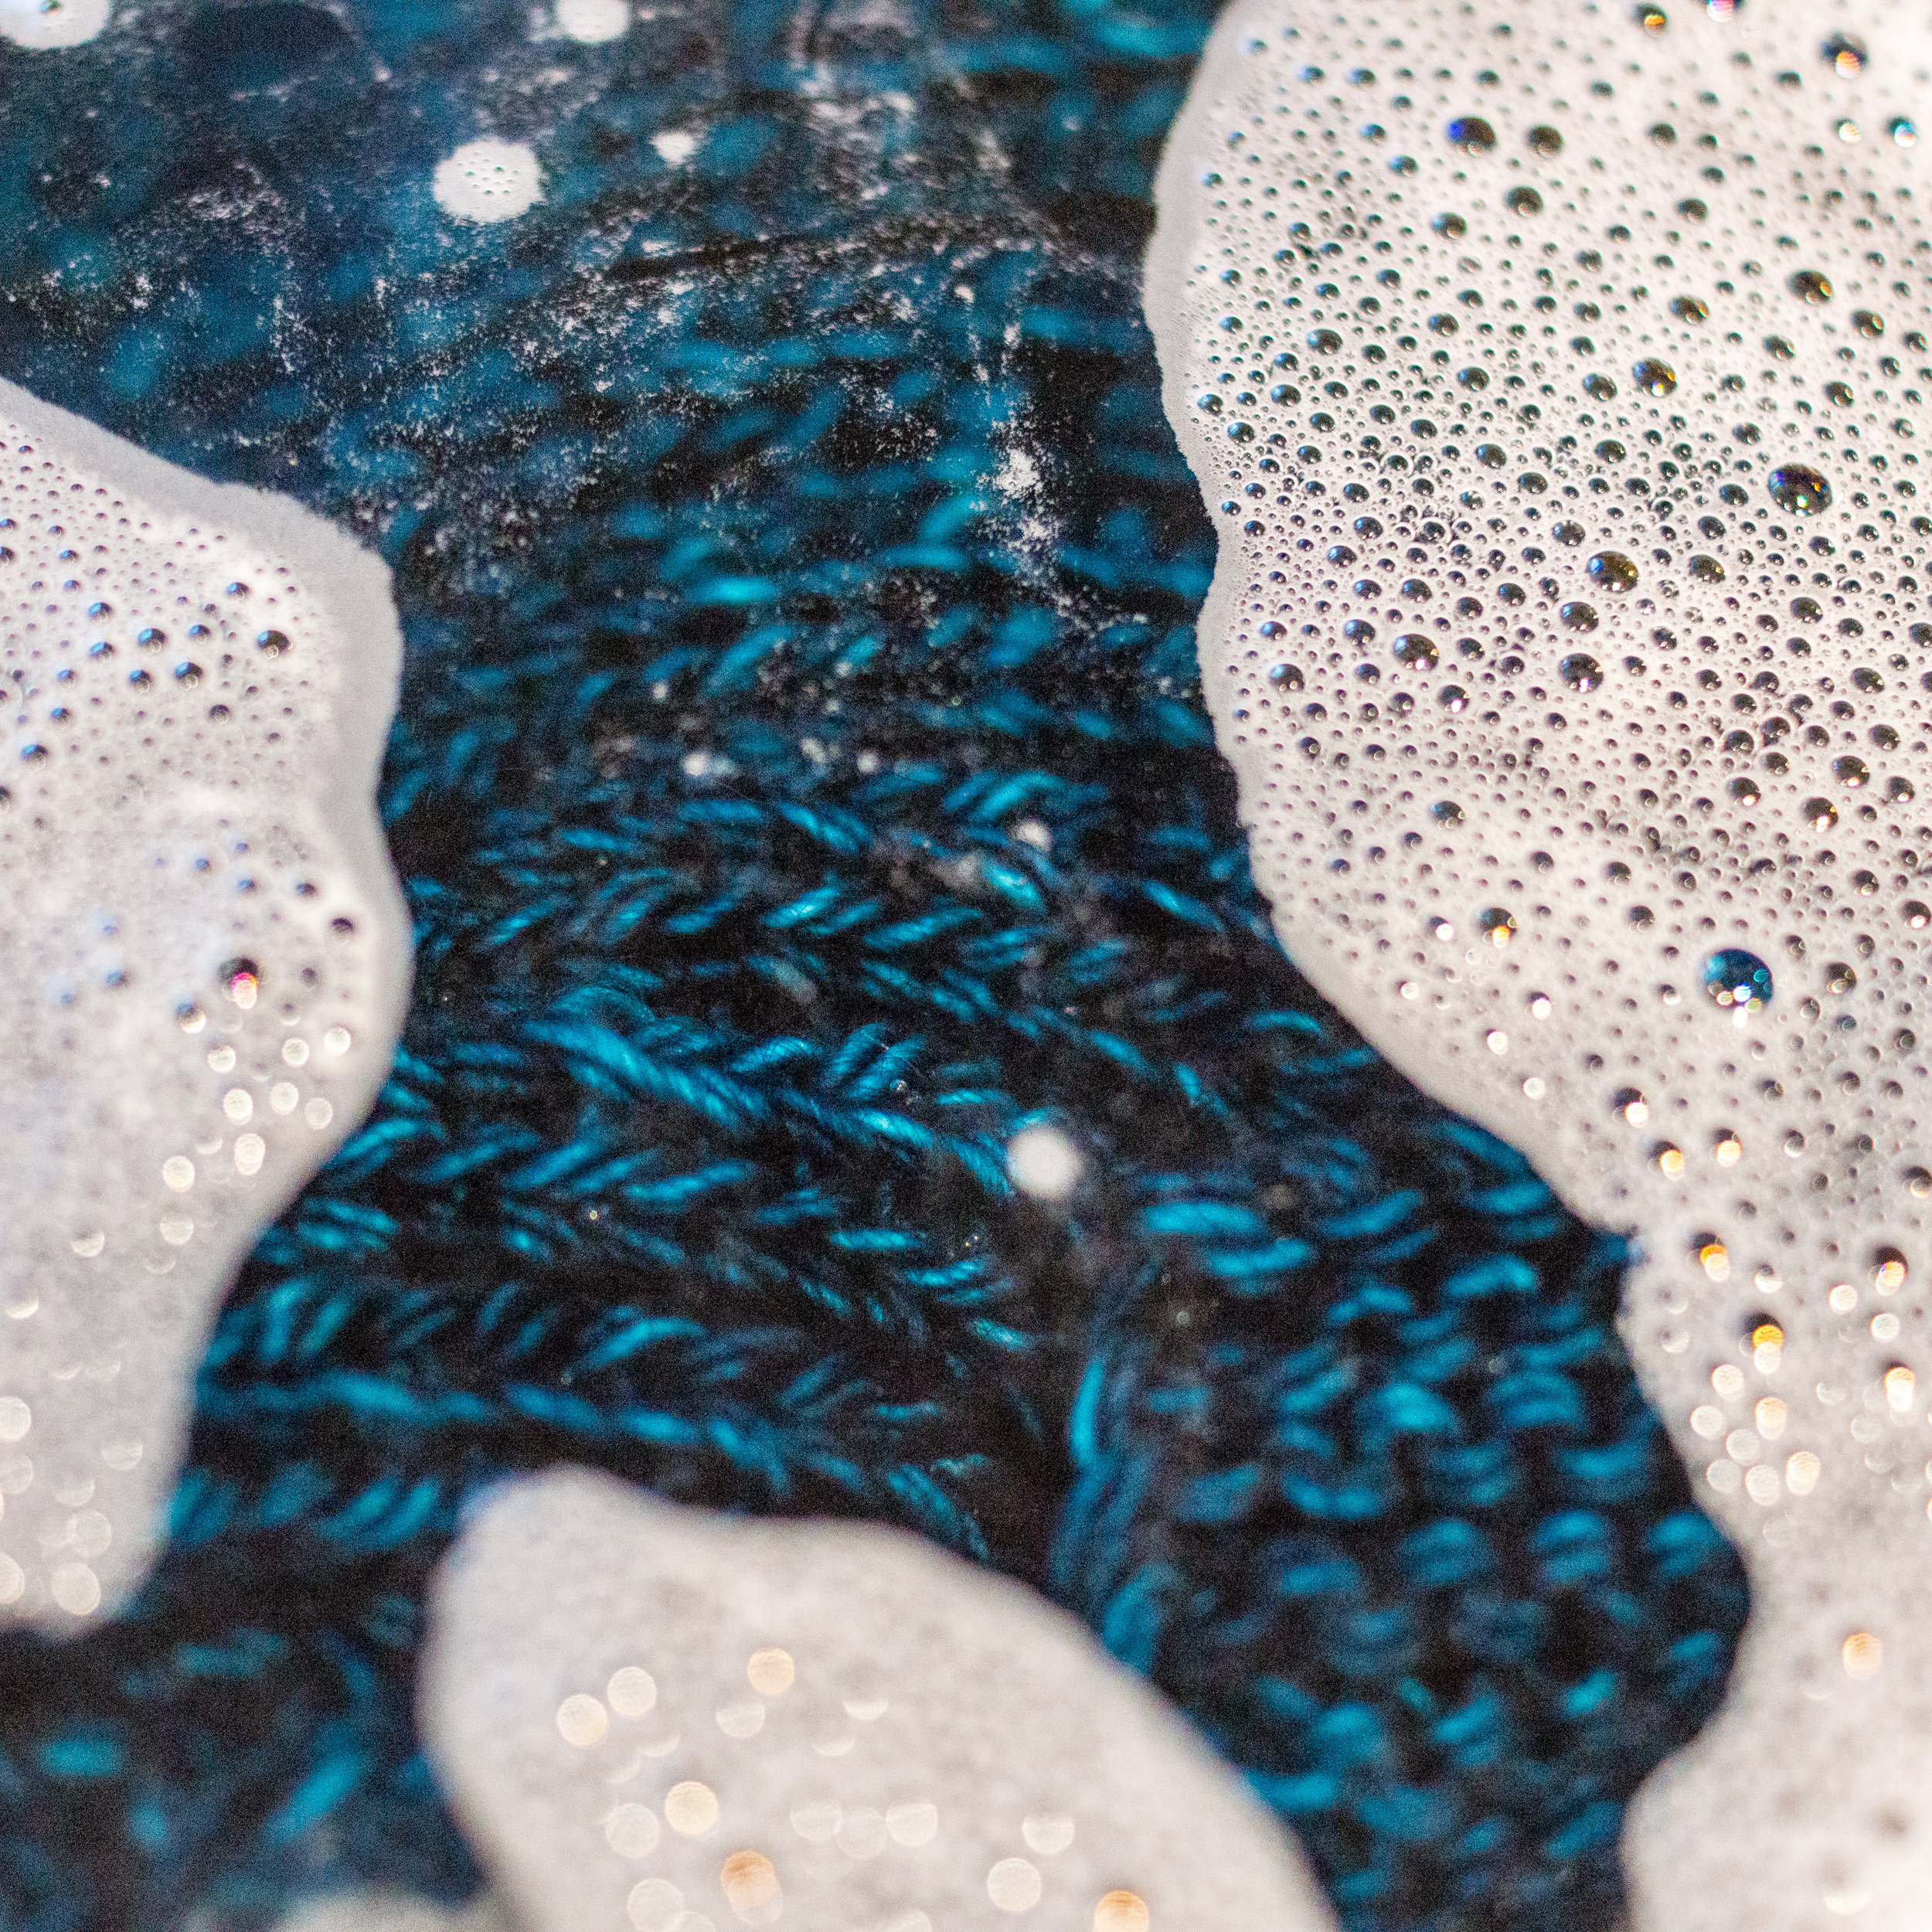
Place your item in your container and gently push it under so it’s fully submerged. You don’t need to move it around too much, just make sure it’s fully underwater.

You should see some little bubbles coming up from under the surface. That’s good – it means the water is working its way between the stitches, displacing the air between them. You want the water to get everywhere, all around your item and in between the stitches.
3. Let it Soak
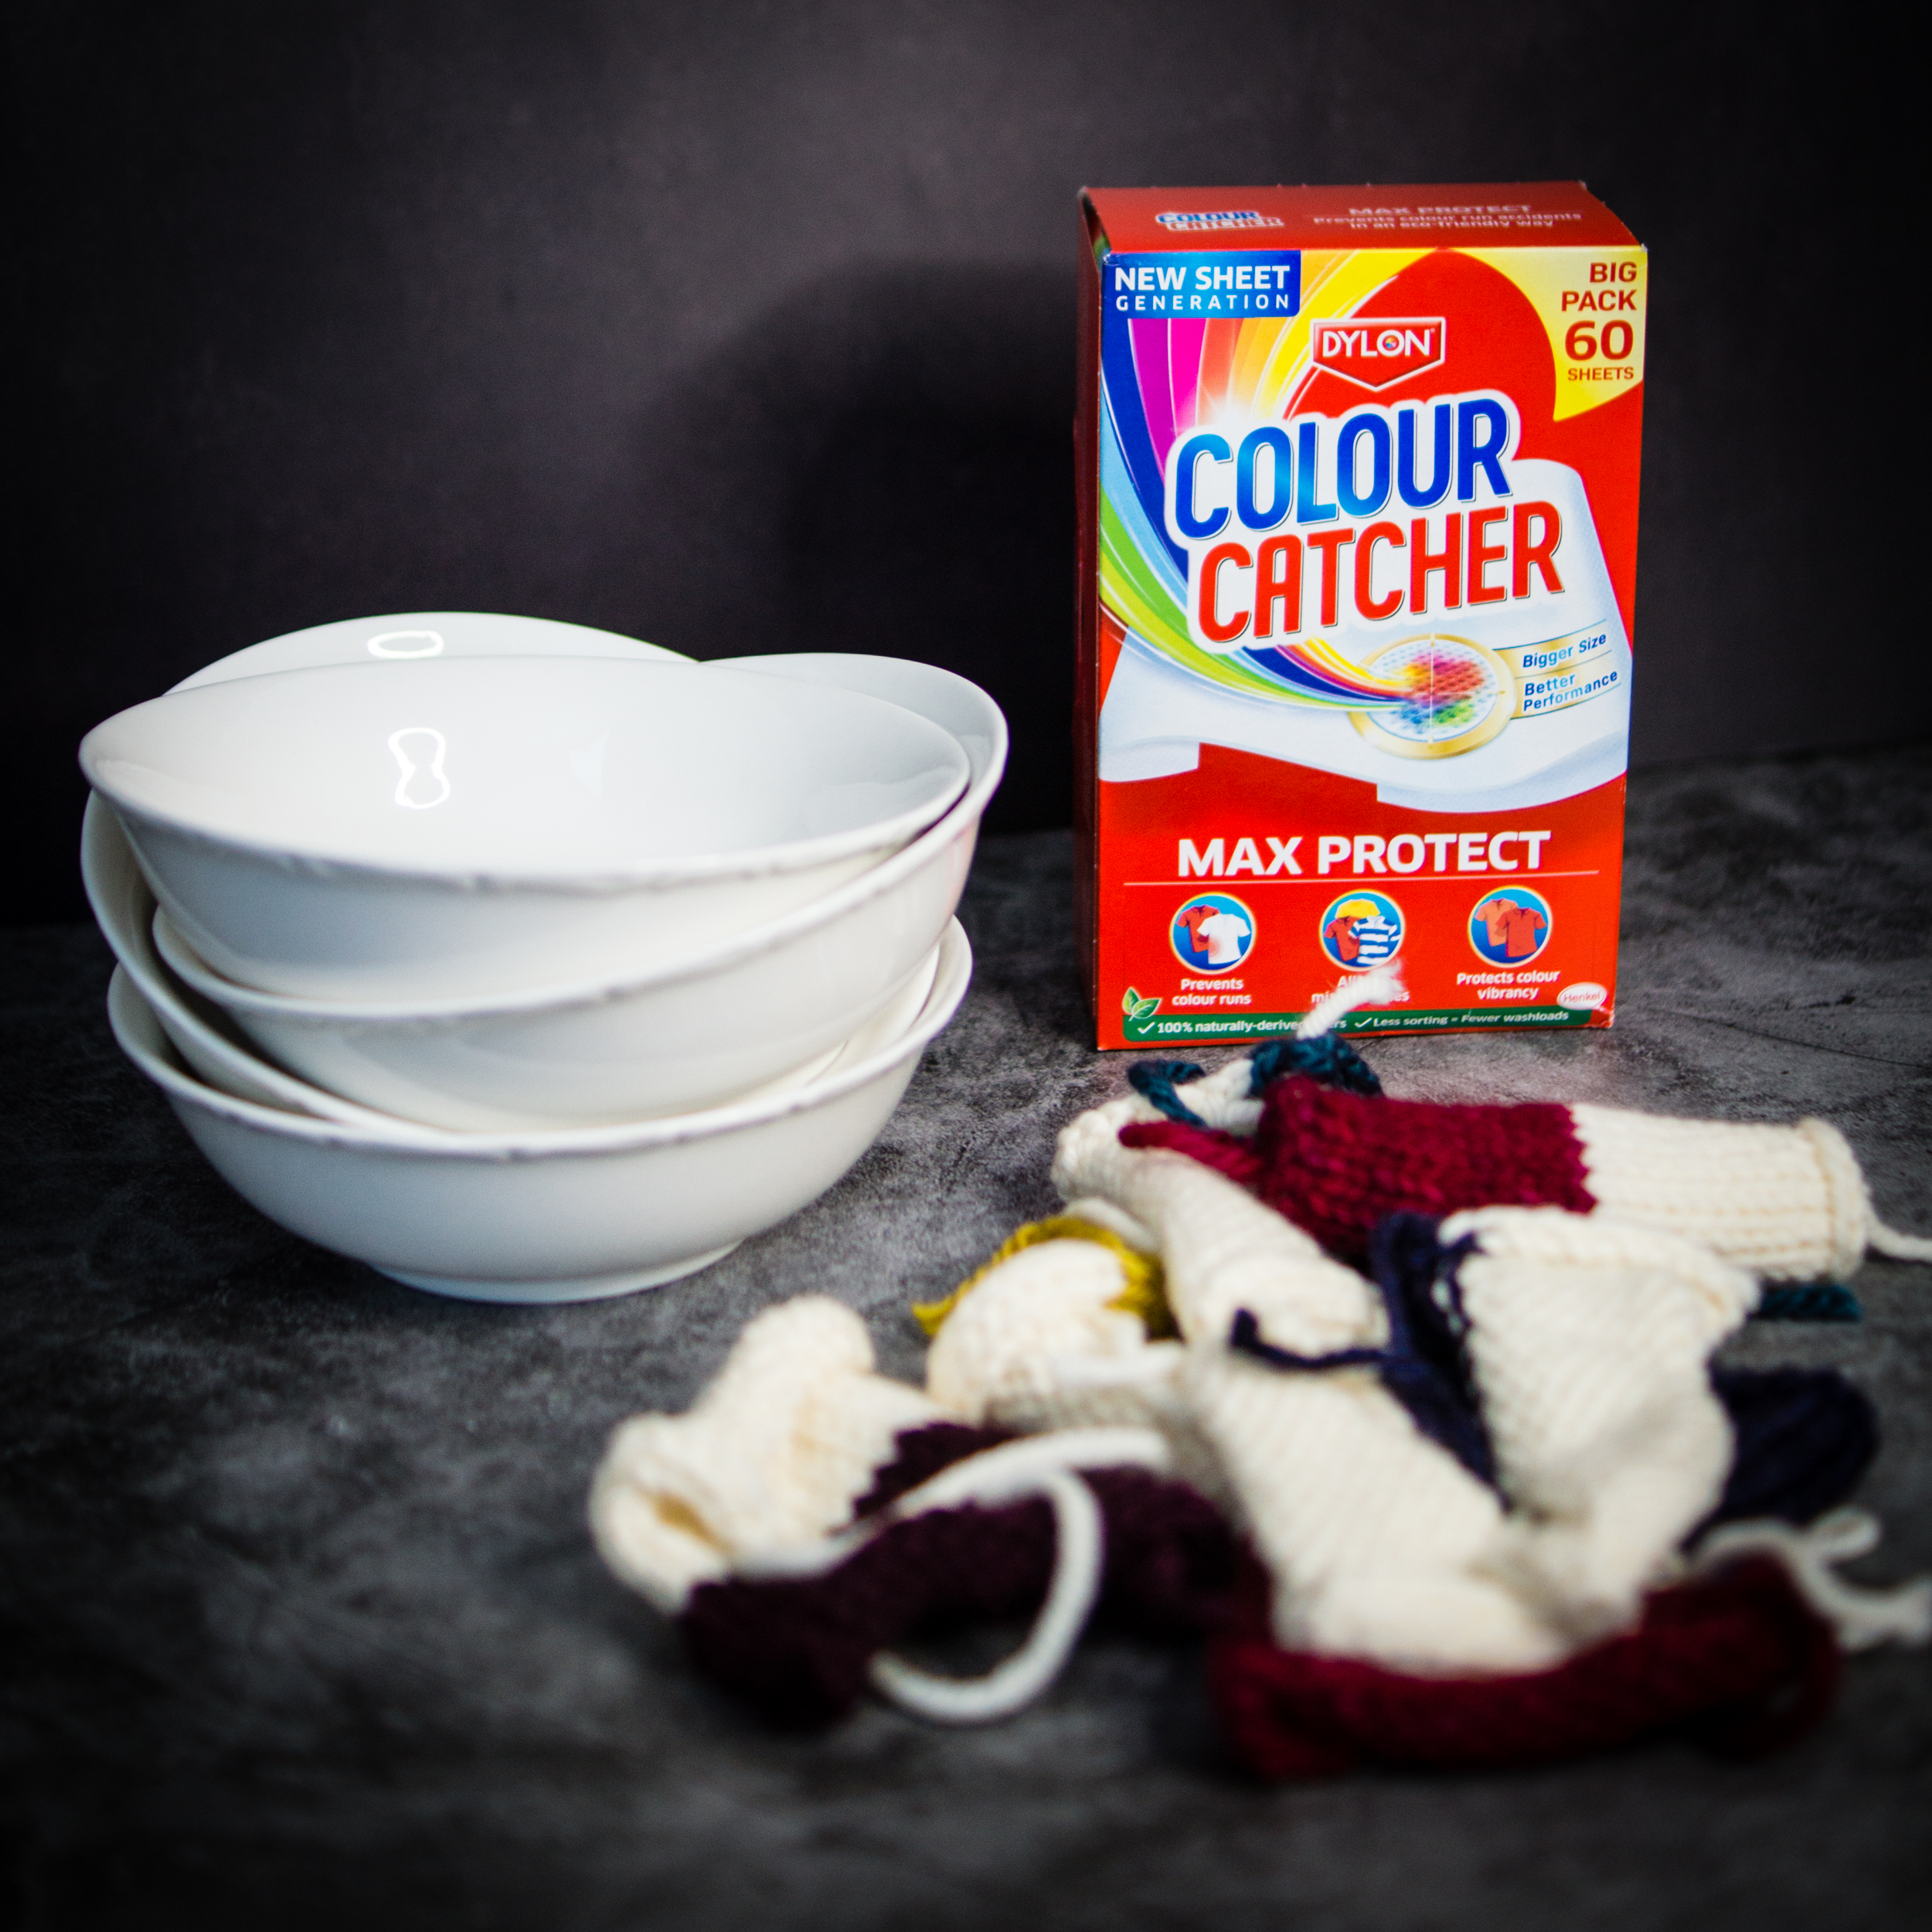
Now you need to leave it to soak for a bit – at least 10 minutes. I tend to go for about 30 minutes. While it’s soaking, I round up everything I need for the next stages.
For this example, I’m going to need a towel, blocking mats, wires, and blockers.
4. take it out
Once it’s had a good bath, it can come out. When it does, it’s going to be soaking wet. The wetter it is, the more effective blocking will be, but also the longer it will take to dry. So now we want to dry off most of that water before pinning it out.
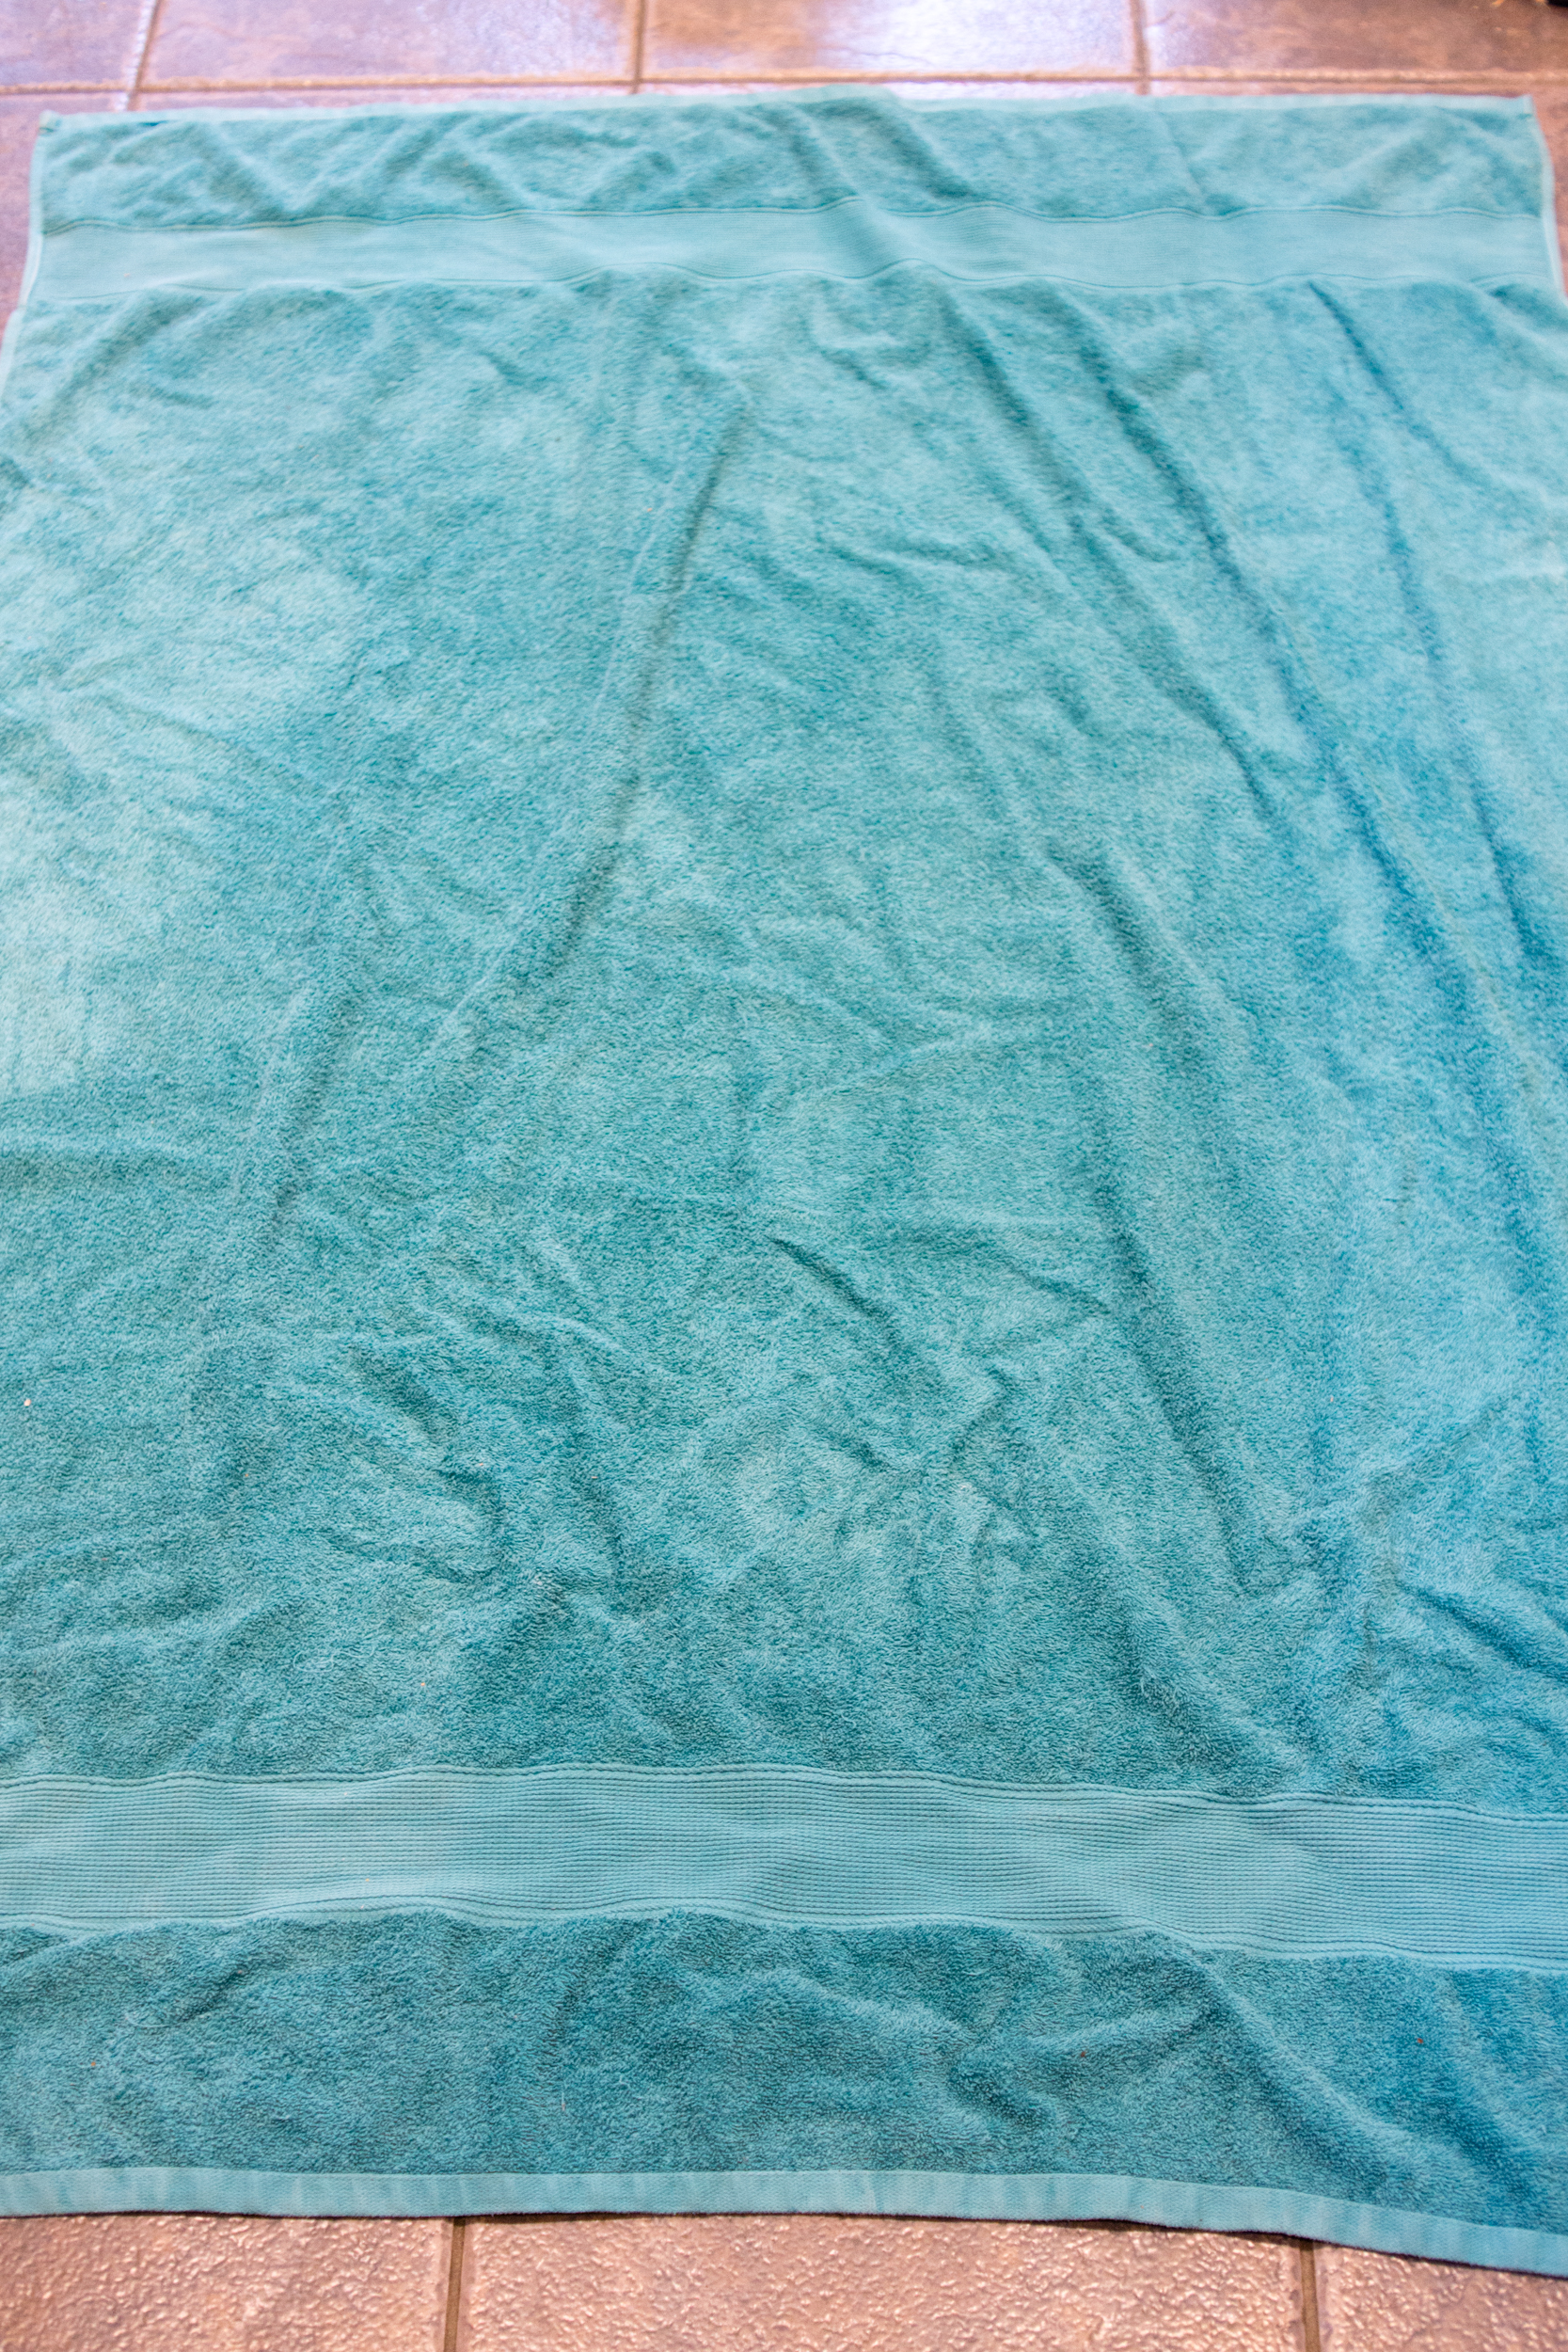
Lay your towel out – either on a surface or, if it’s a big one, on the floor.
Pro tip: don’t use a fresh white towel. A clean towel, yes, but not one where you’d be upset if it got a bit stained. I’ve never had that actually happen – even when dye has bled a little during blocking, it’s never affected my towels – but still, I’d rather not risk it.
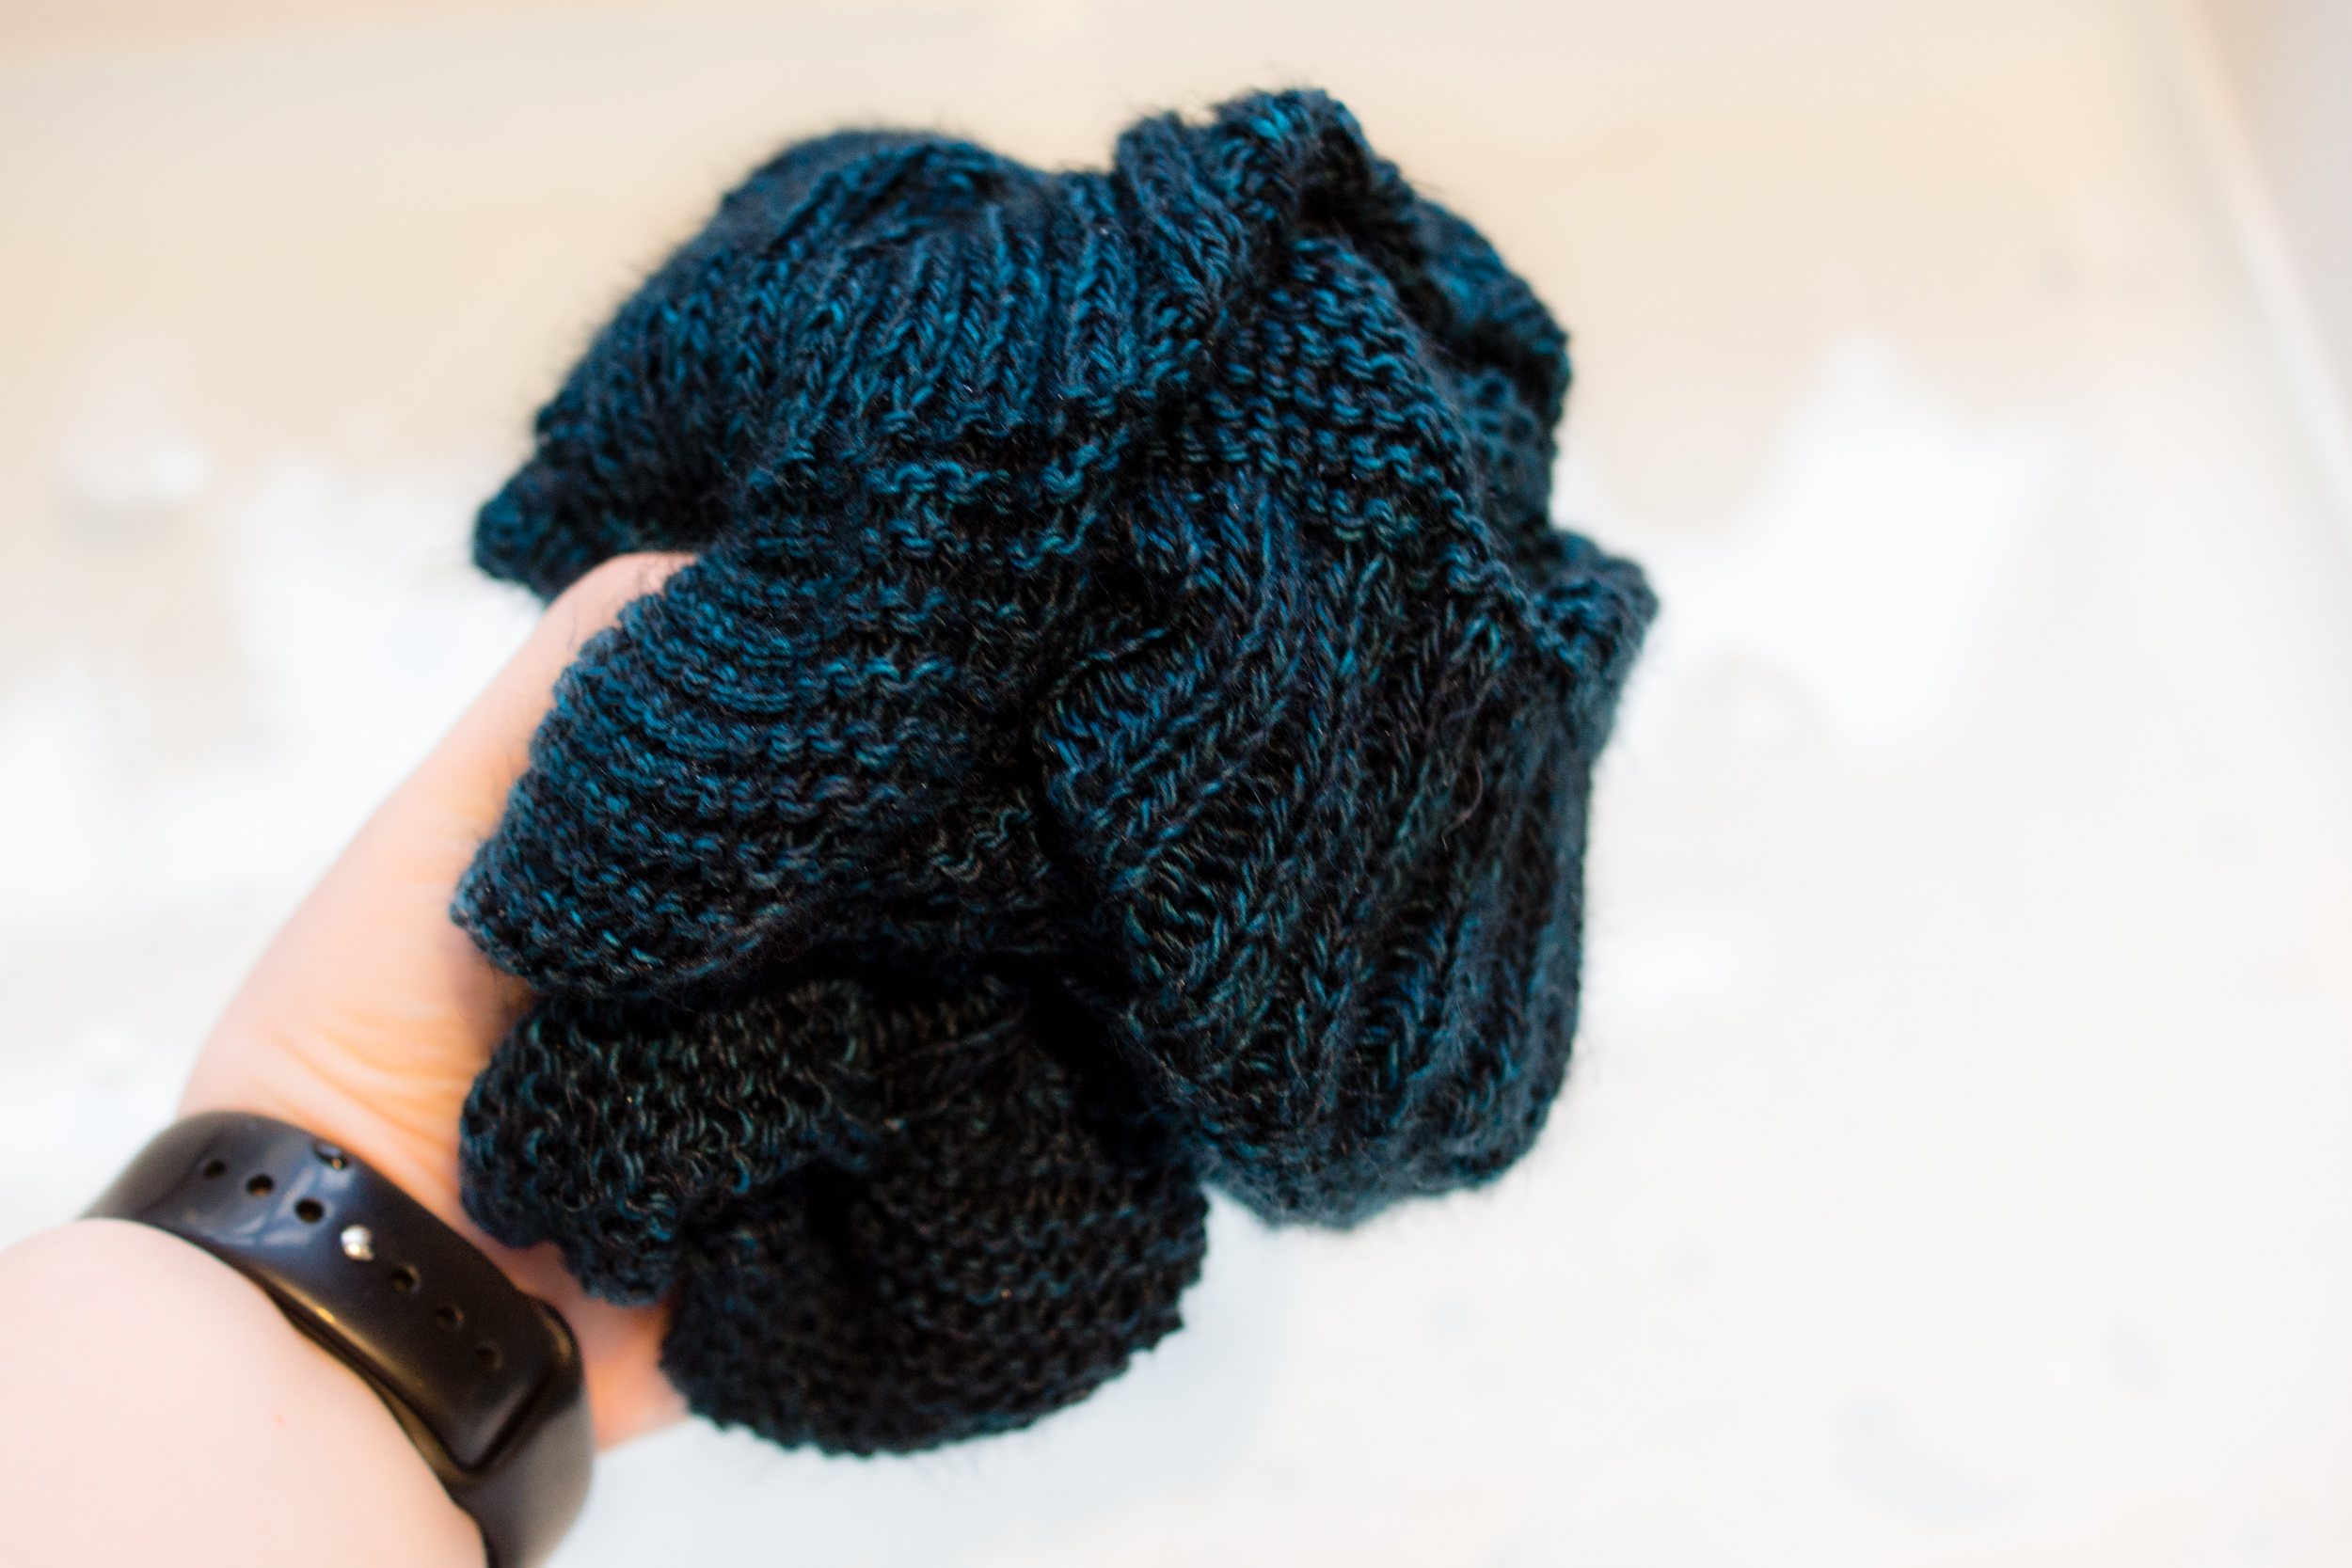
Okay, time to pick up your item. Pull it out of the water and GENTLY squeeze out as much as you can. Do NOT WRING IT. No twisting! Just gentle squishing.
5. Towel Dry
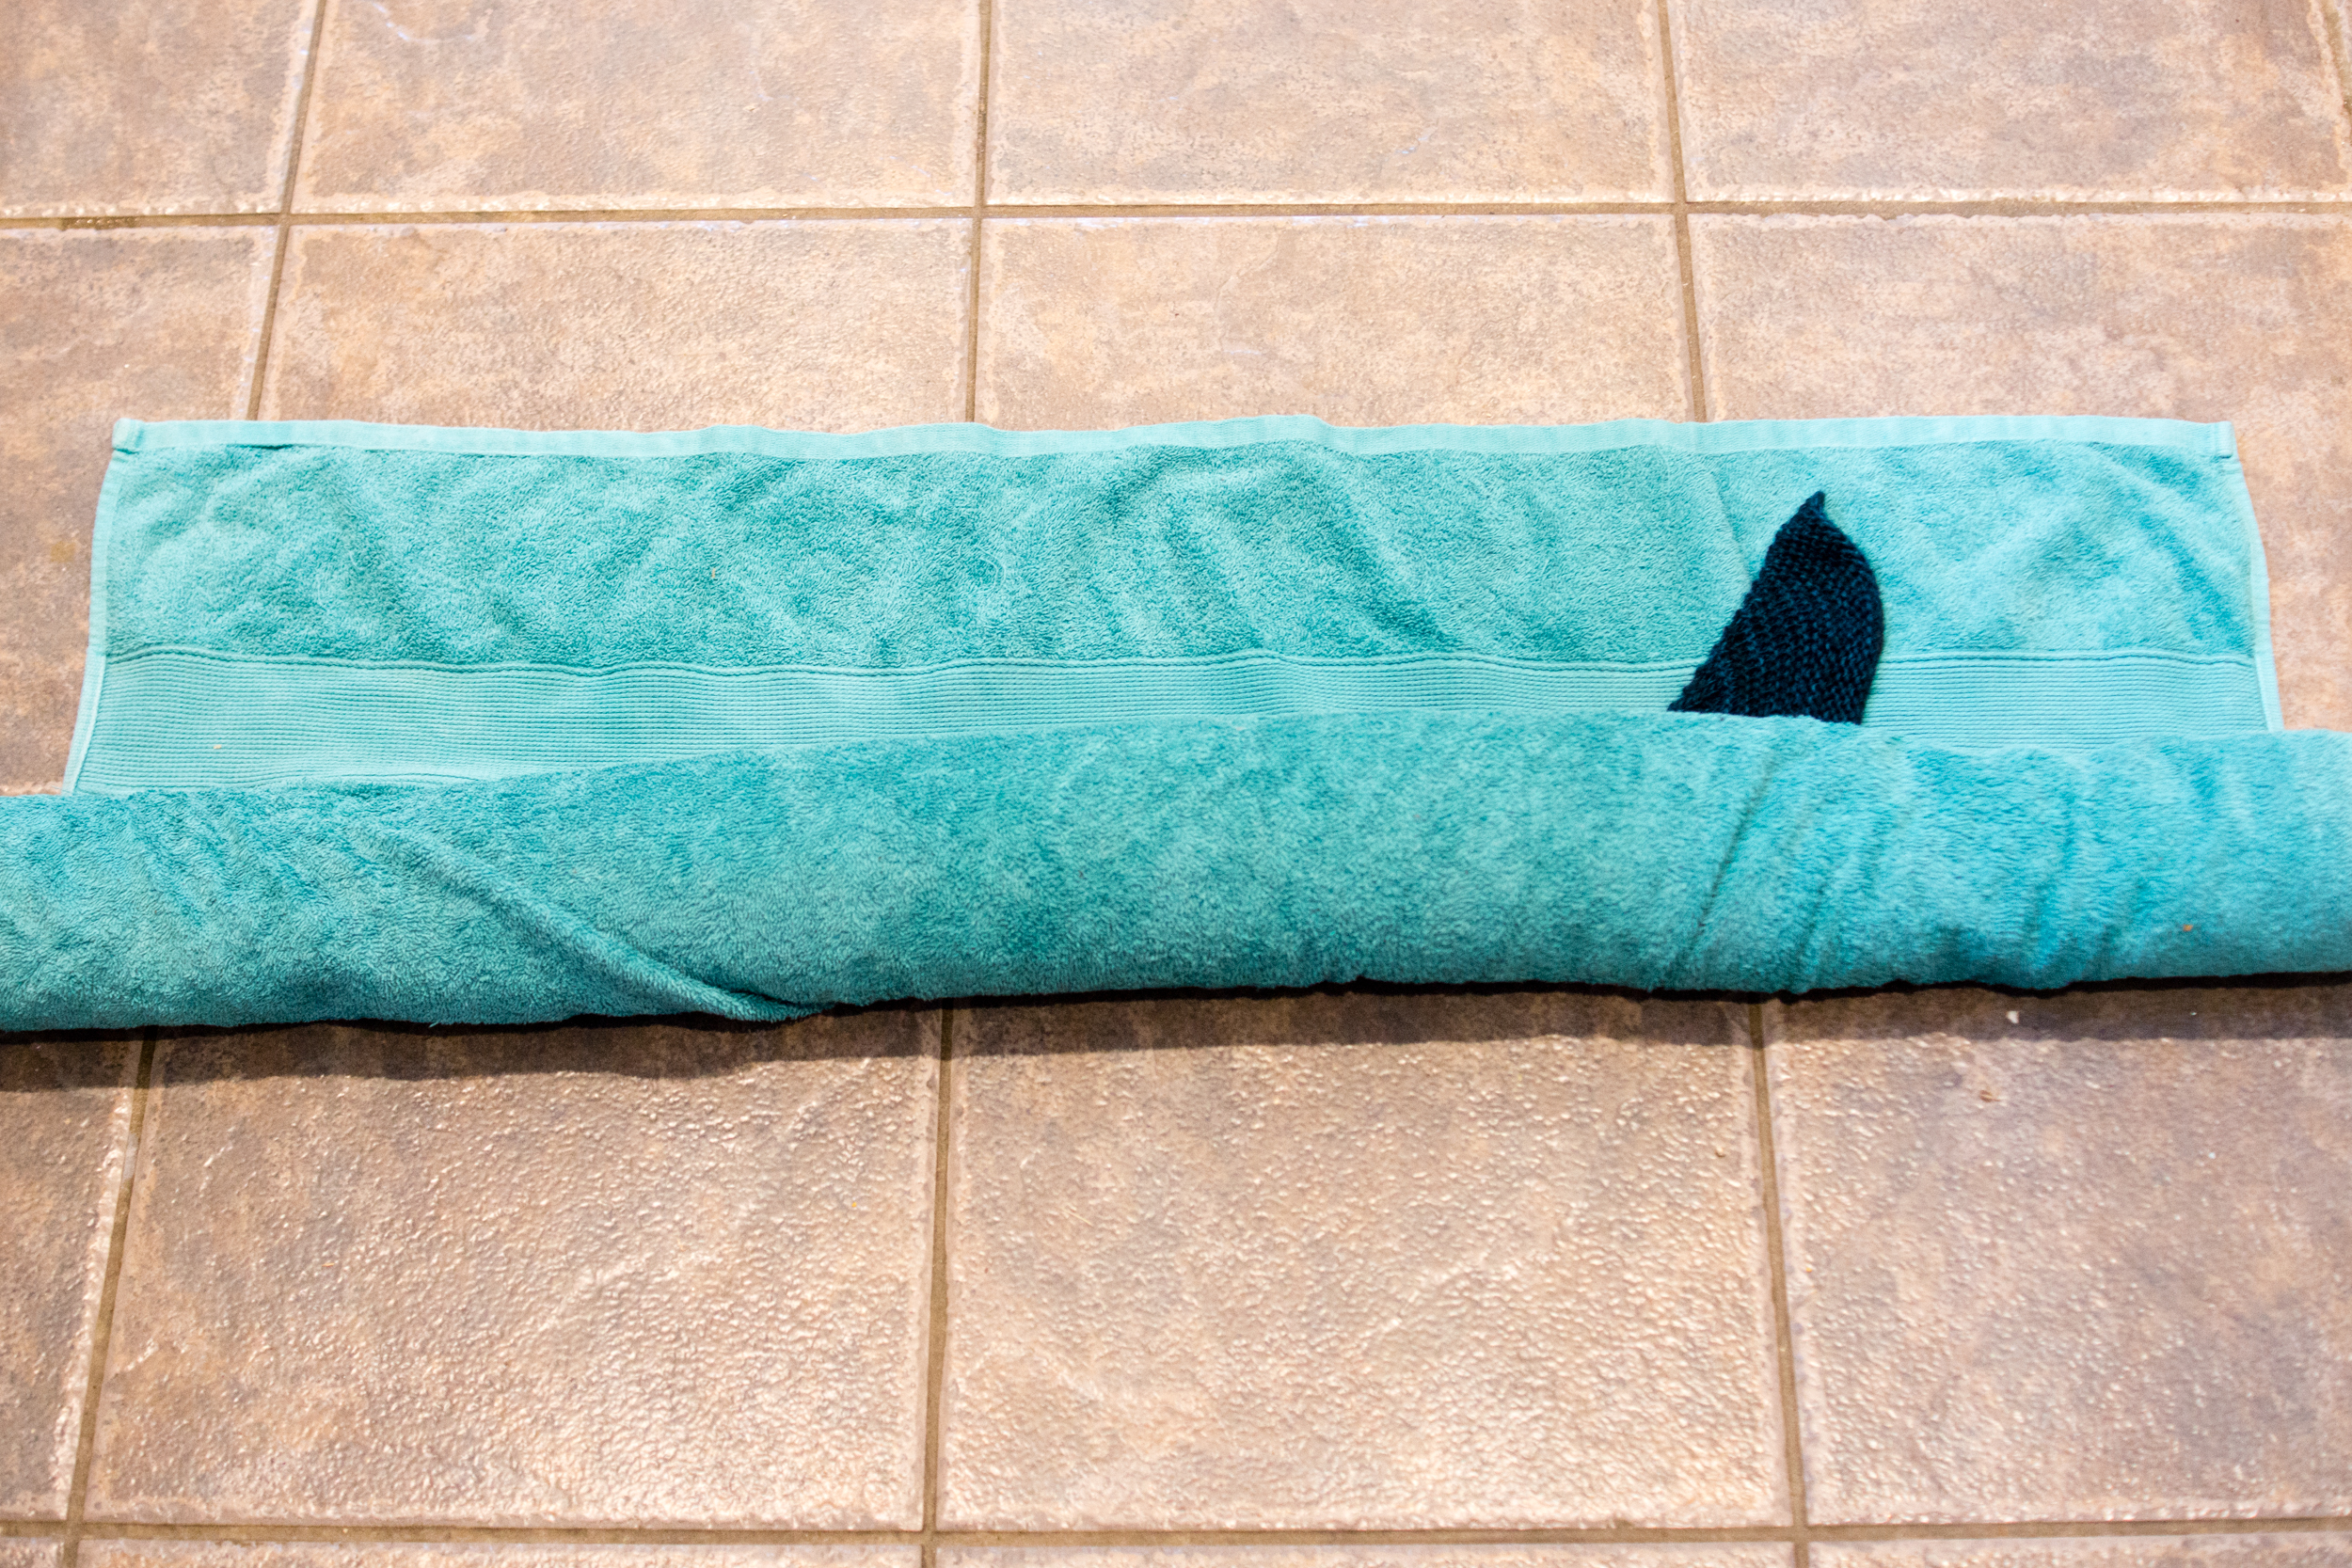
Spread out your item on your towel – ideally you want to lay it flat, but if it’s bigger than your towel, that’s okay.
Next you’re going to fold or roll up the towel so that your item is rolled up within it. Kind of like rolling up a jam roly poly, or cinnamon buns.
The next step is to apply pressure through the towel, to squeeze out the last of the water. A friend of mine sits on hers, but a certain TV show has left me terrified of a soggy bottom, so I walk on mine.
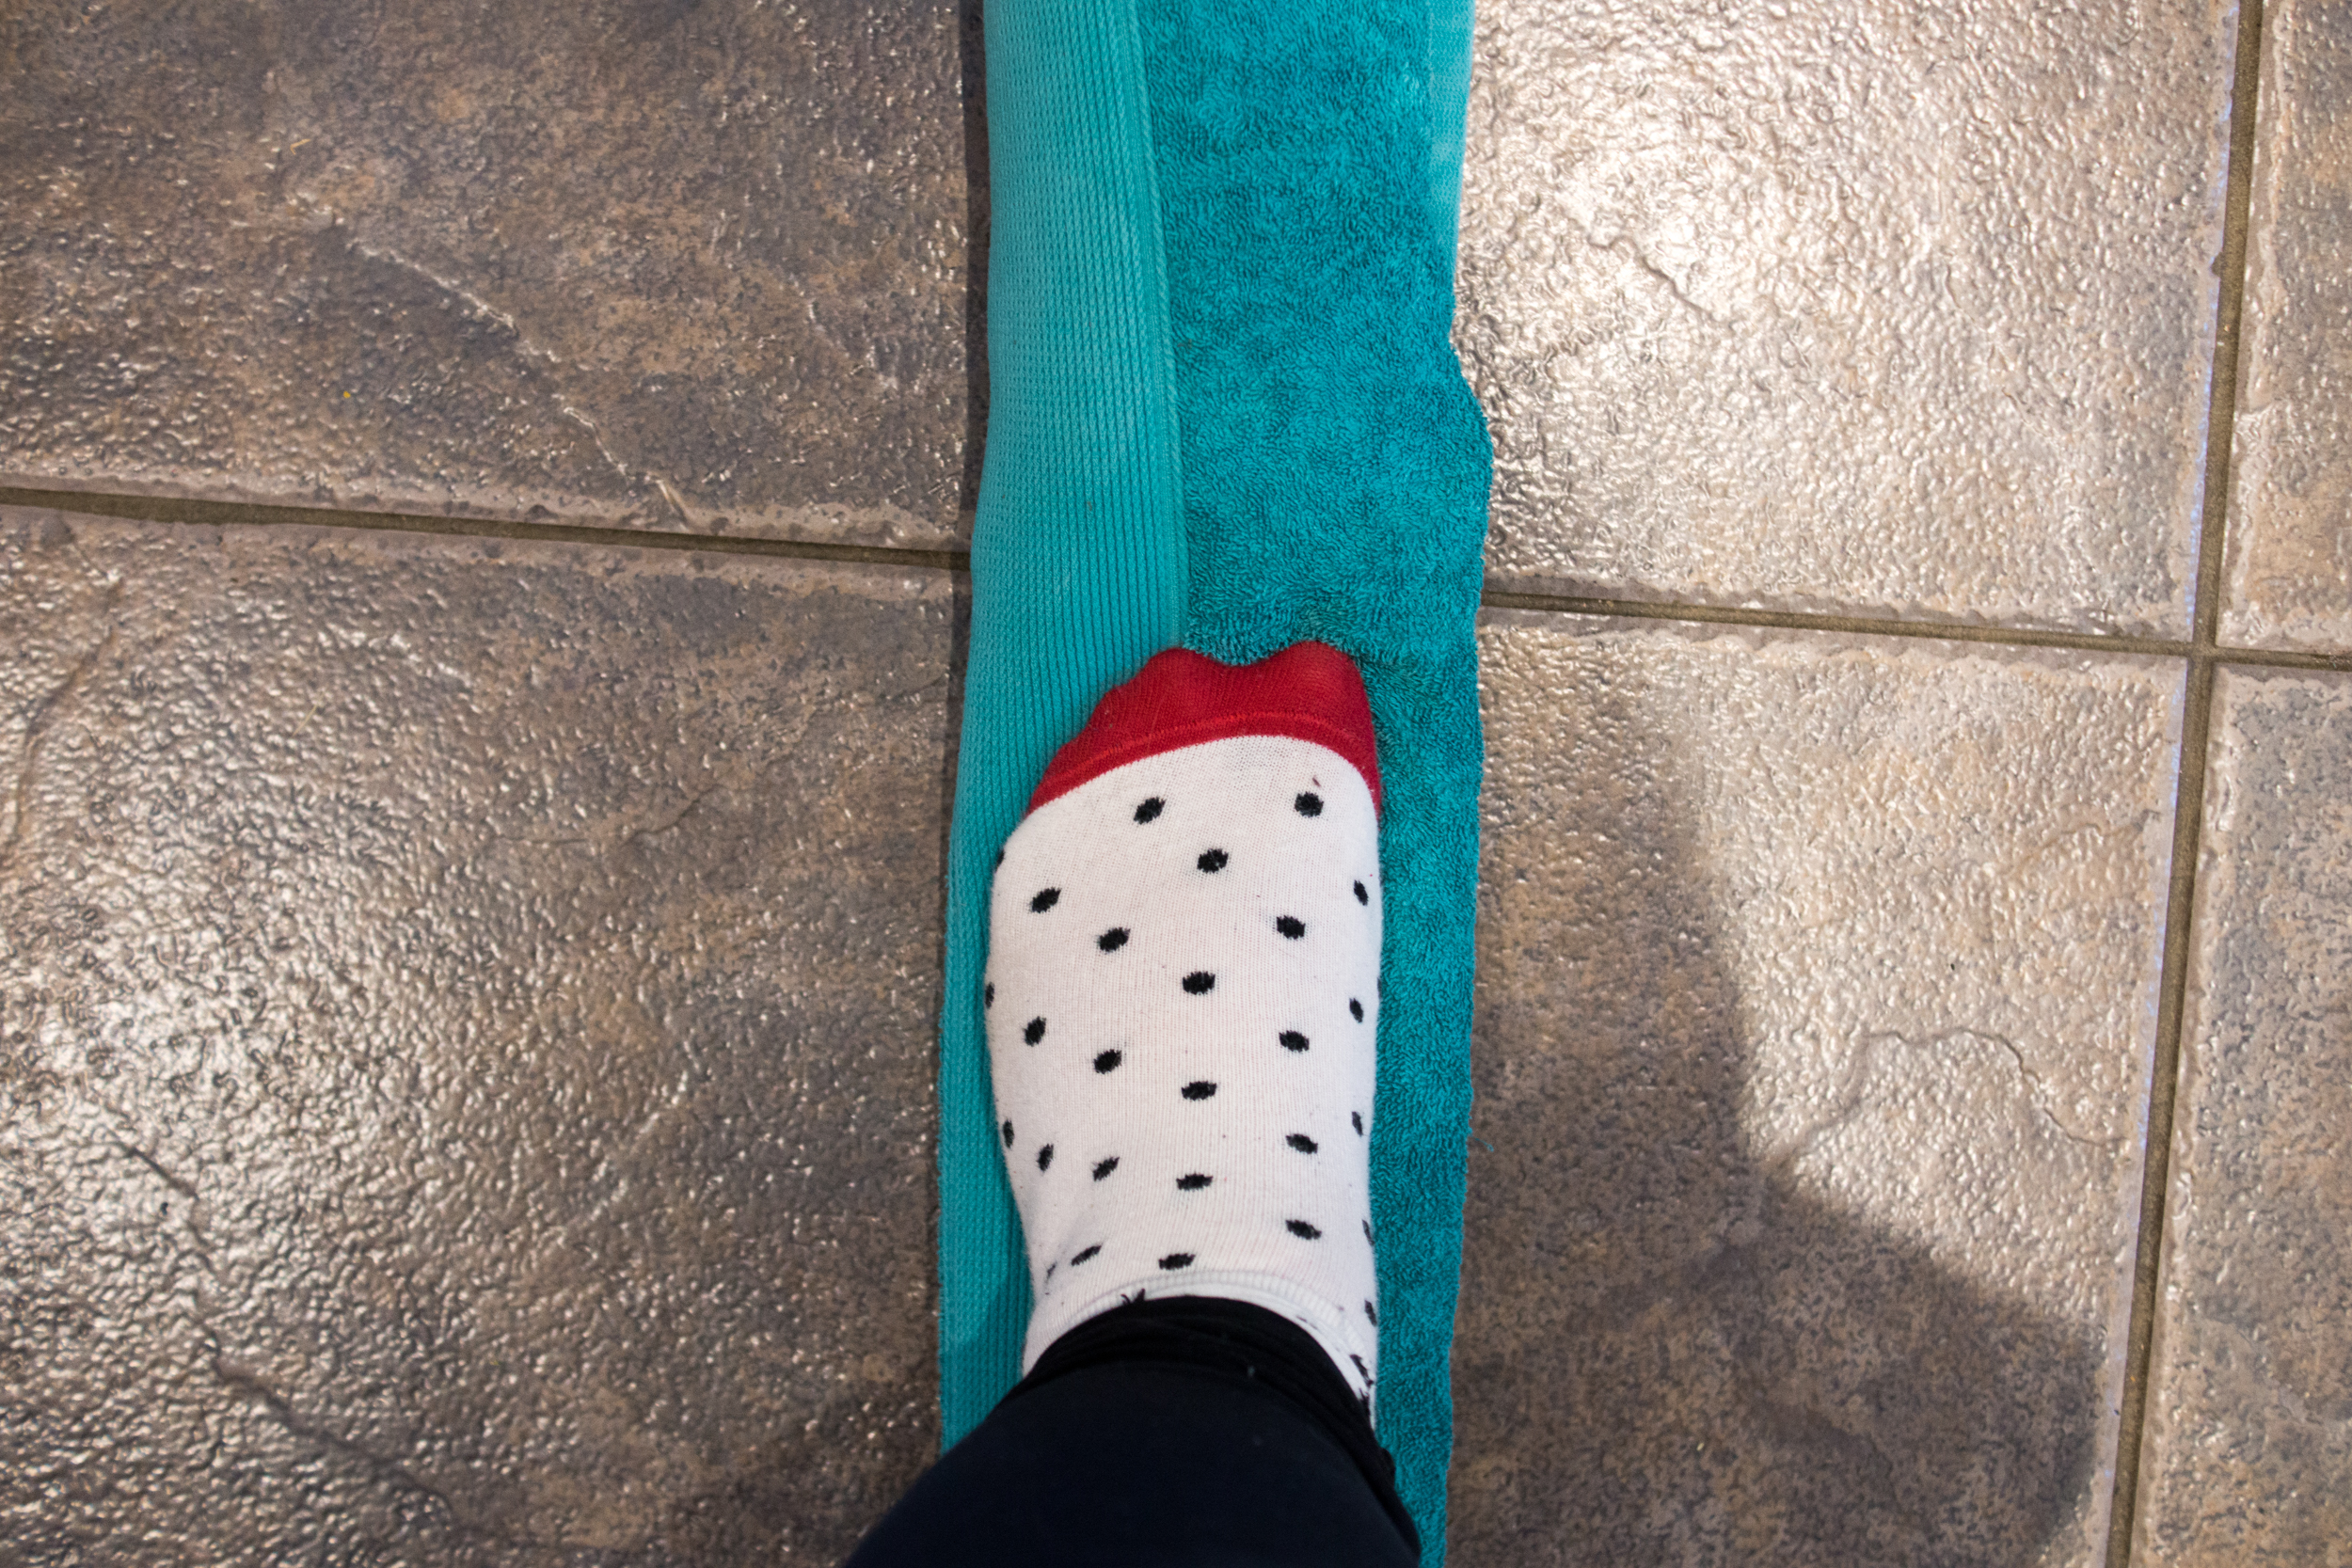
Sometimes I practice ballet. I think this is third position? I don’t really remember, it’s been… thirty odd years. Oof.
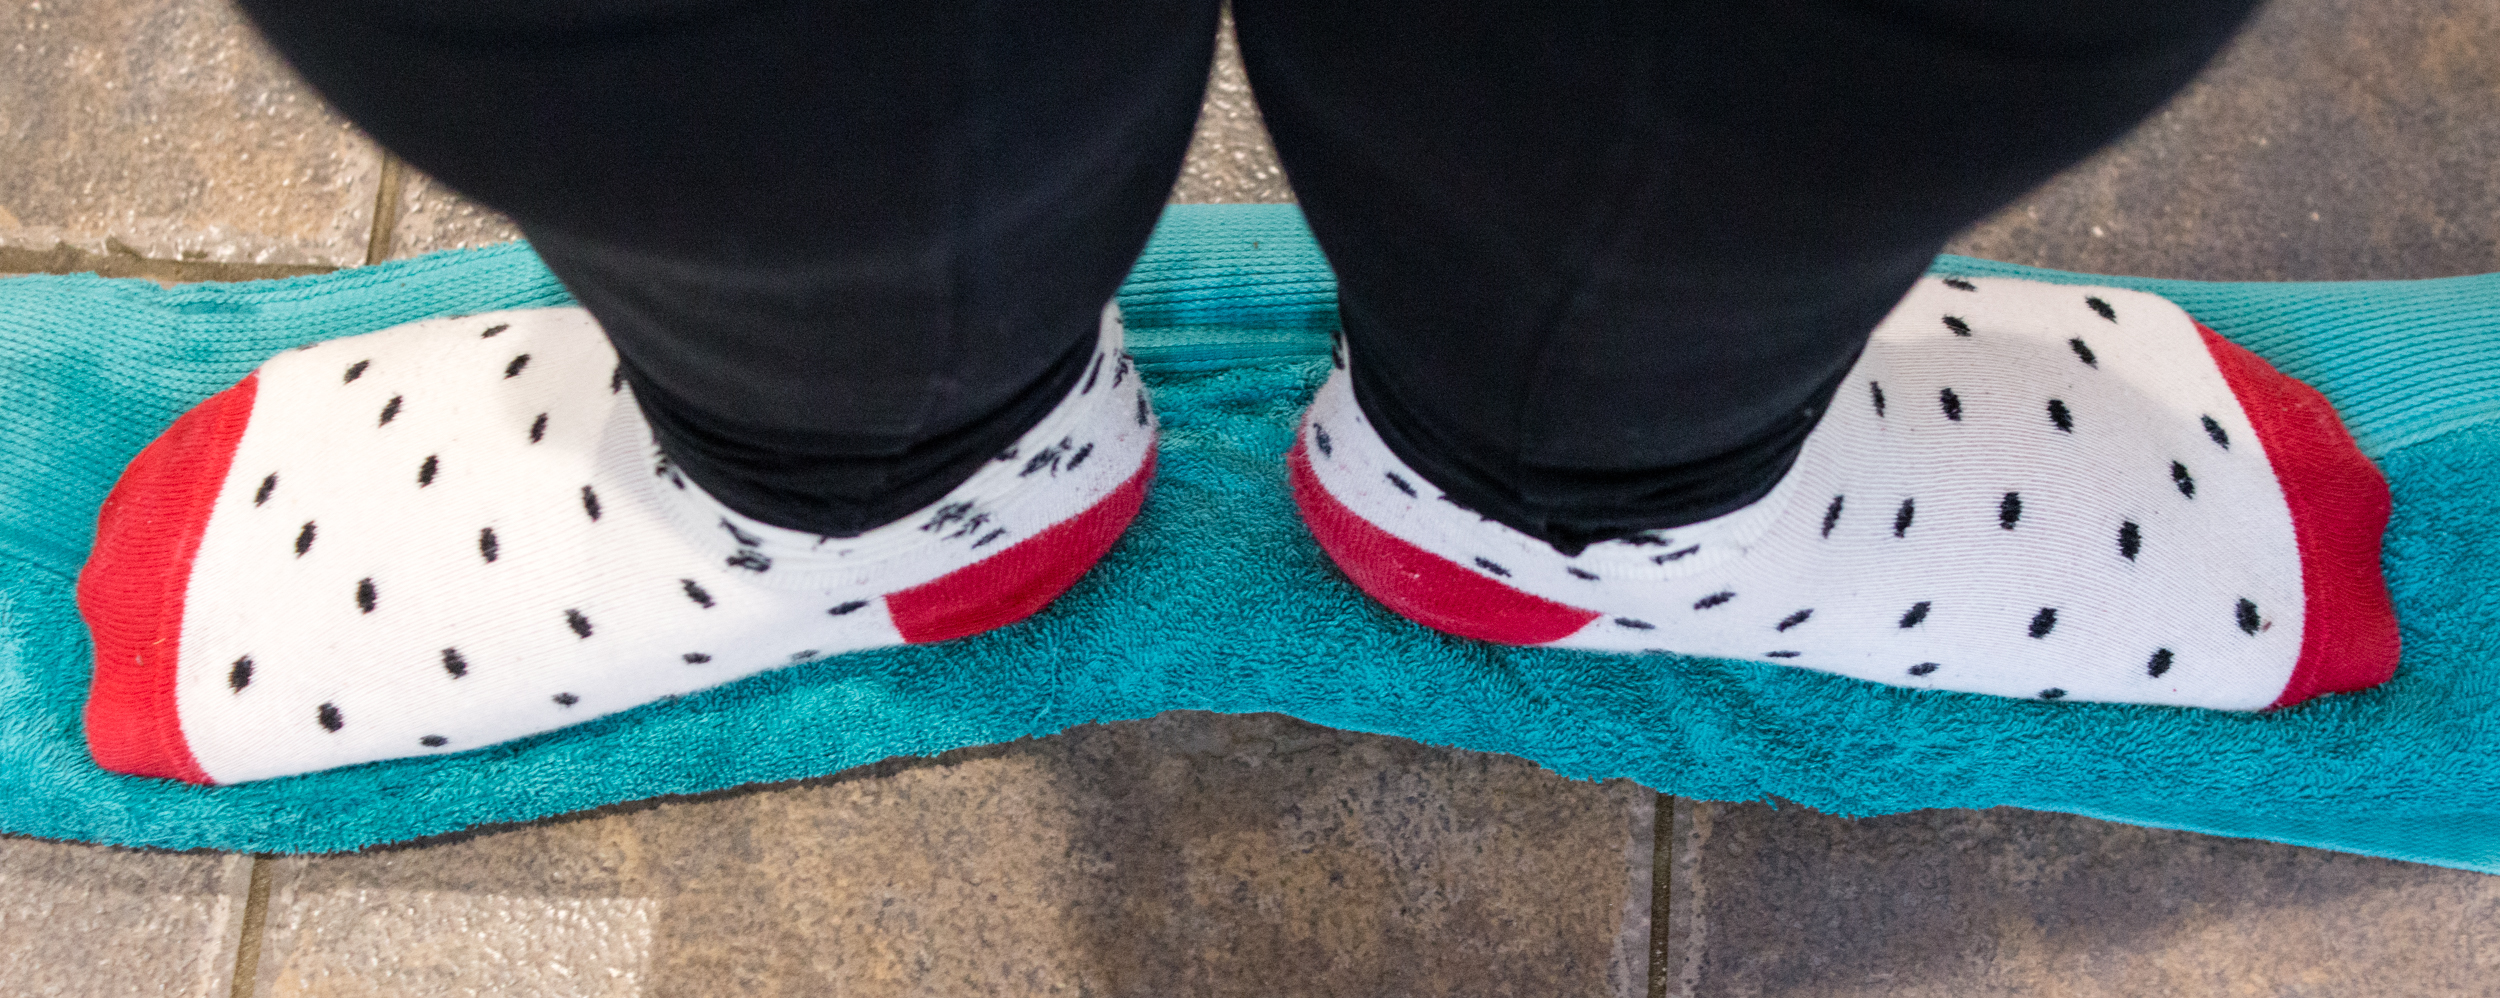
You should start to see wet patches on the towel where you’ve walked on it. Once it’s had a thorough (but gentle!) trampling, take the towel to wherever you’re going to lay your item out to dry.
It is MUCH easier to lay or pin it out in place than it is to do it somewhere else and then have to move it on the mats. Trust me.
Arranging It in the Desired Shape
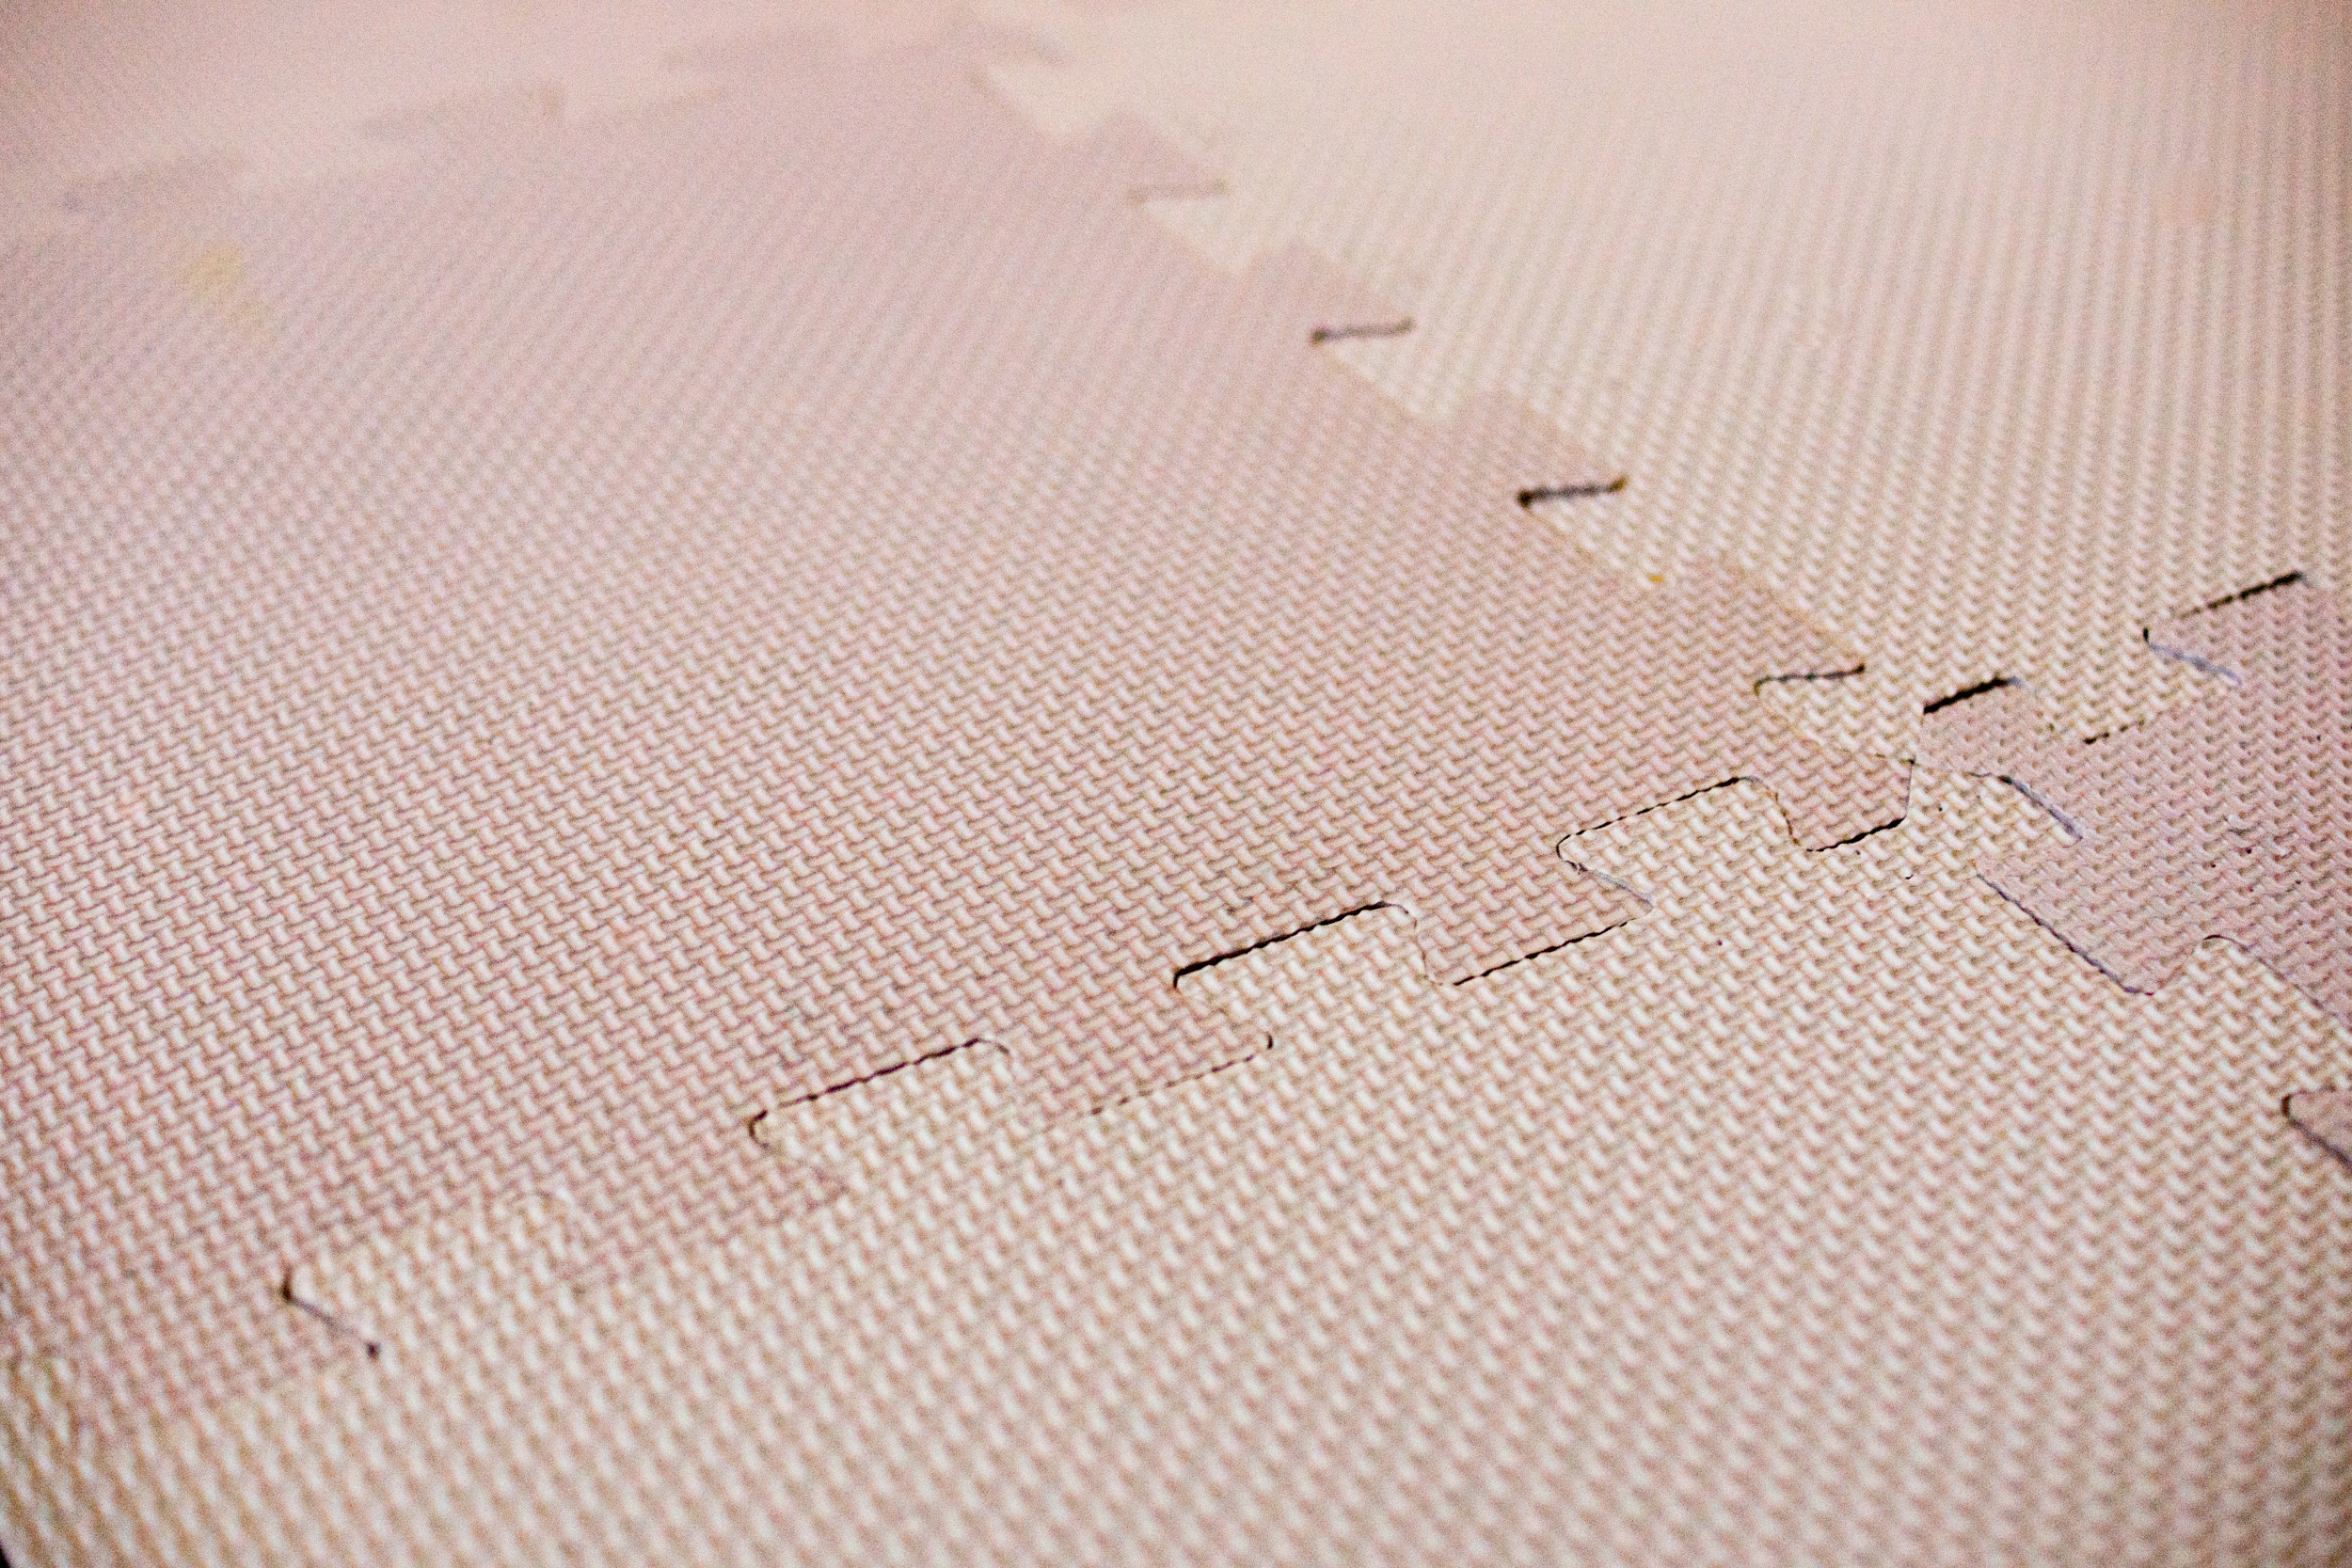
6. Set up your surface
For this example I need to use wires to get a nice straight edge and blockers to hold them in place, so I’m going to use blocking mats.
The mats need to be bigger than the item being dried, so it’s good to have plenty on hand.
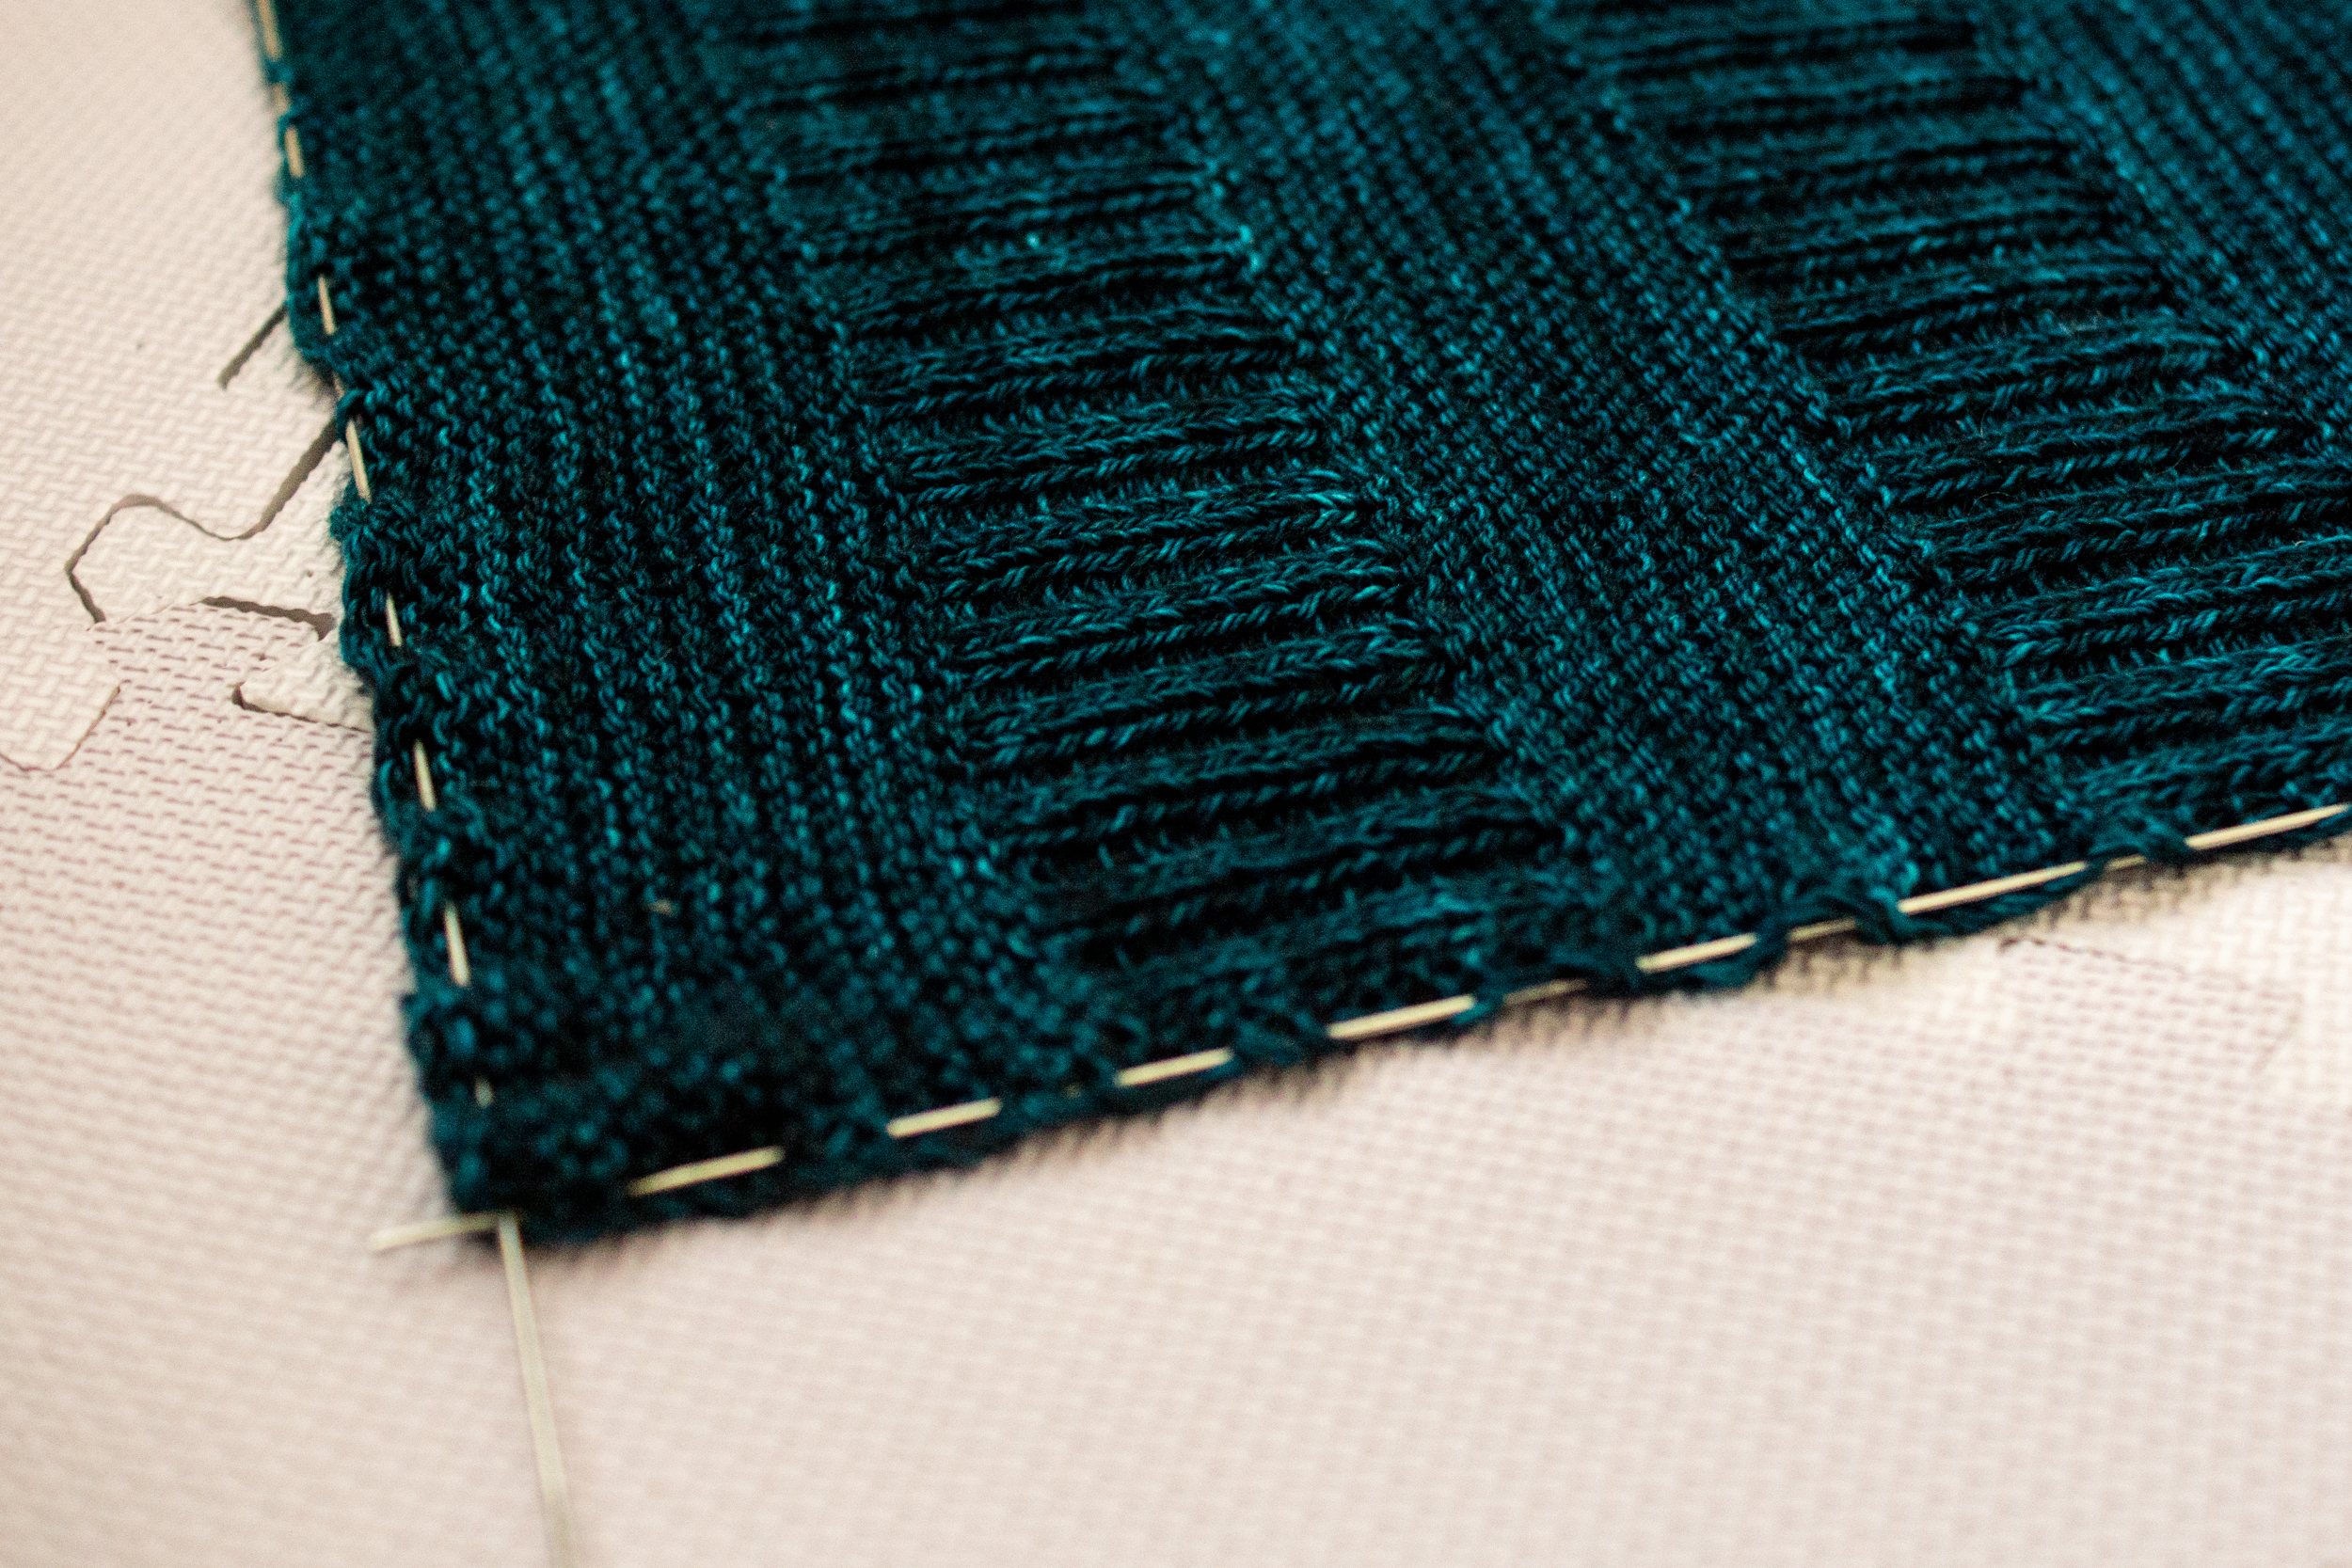
7. Lay out your item
Time to open up the towel and take the item out. It should still feel damp , but it shouldn’t be dripping.
Lay it on the blocking mats and make sure it fits.
If all you need to do is a rough shaping, then this is it – you’re done and can move on to letting it dry.
8. Provide Shape
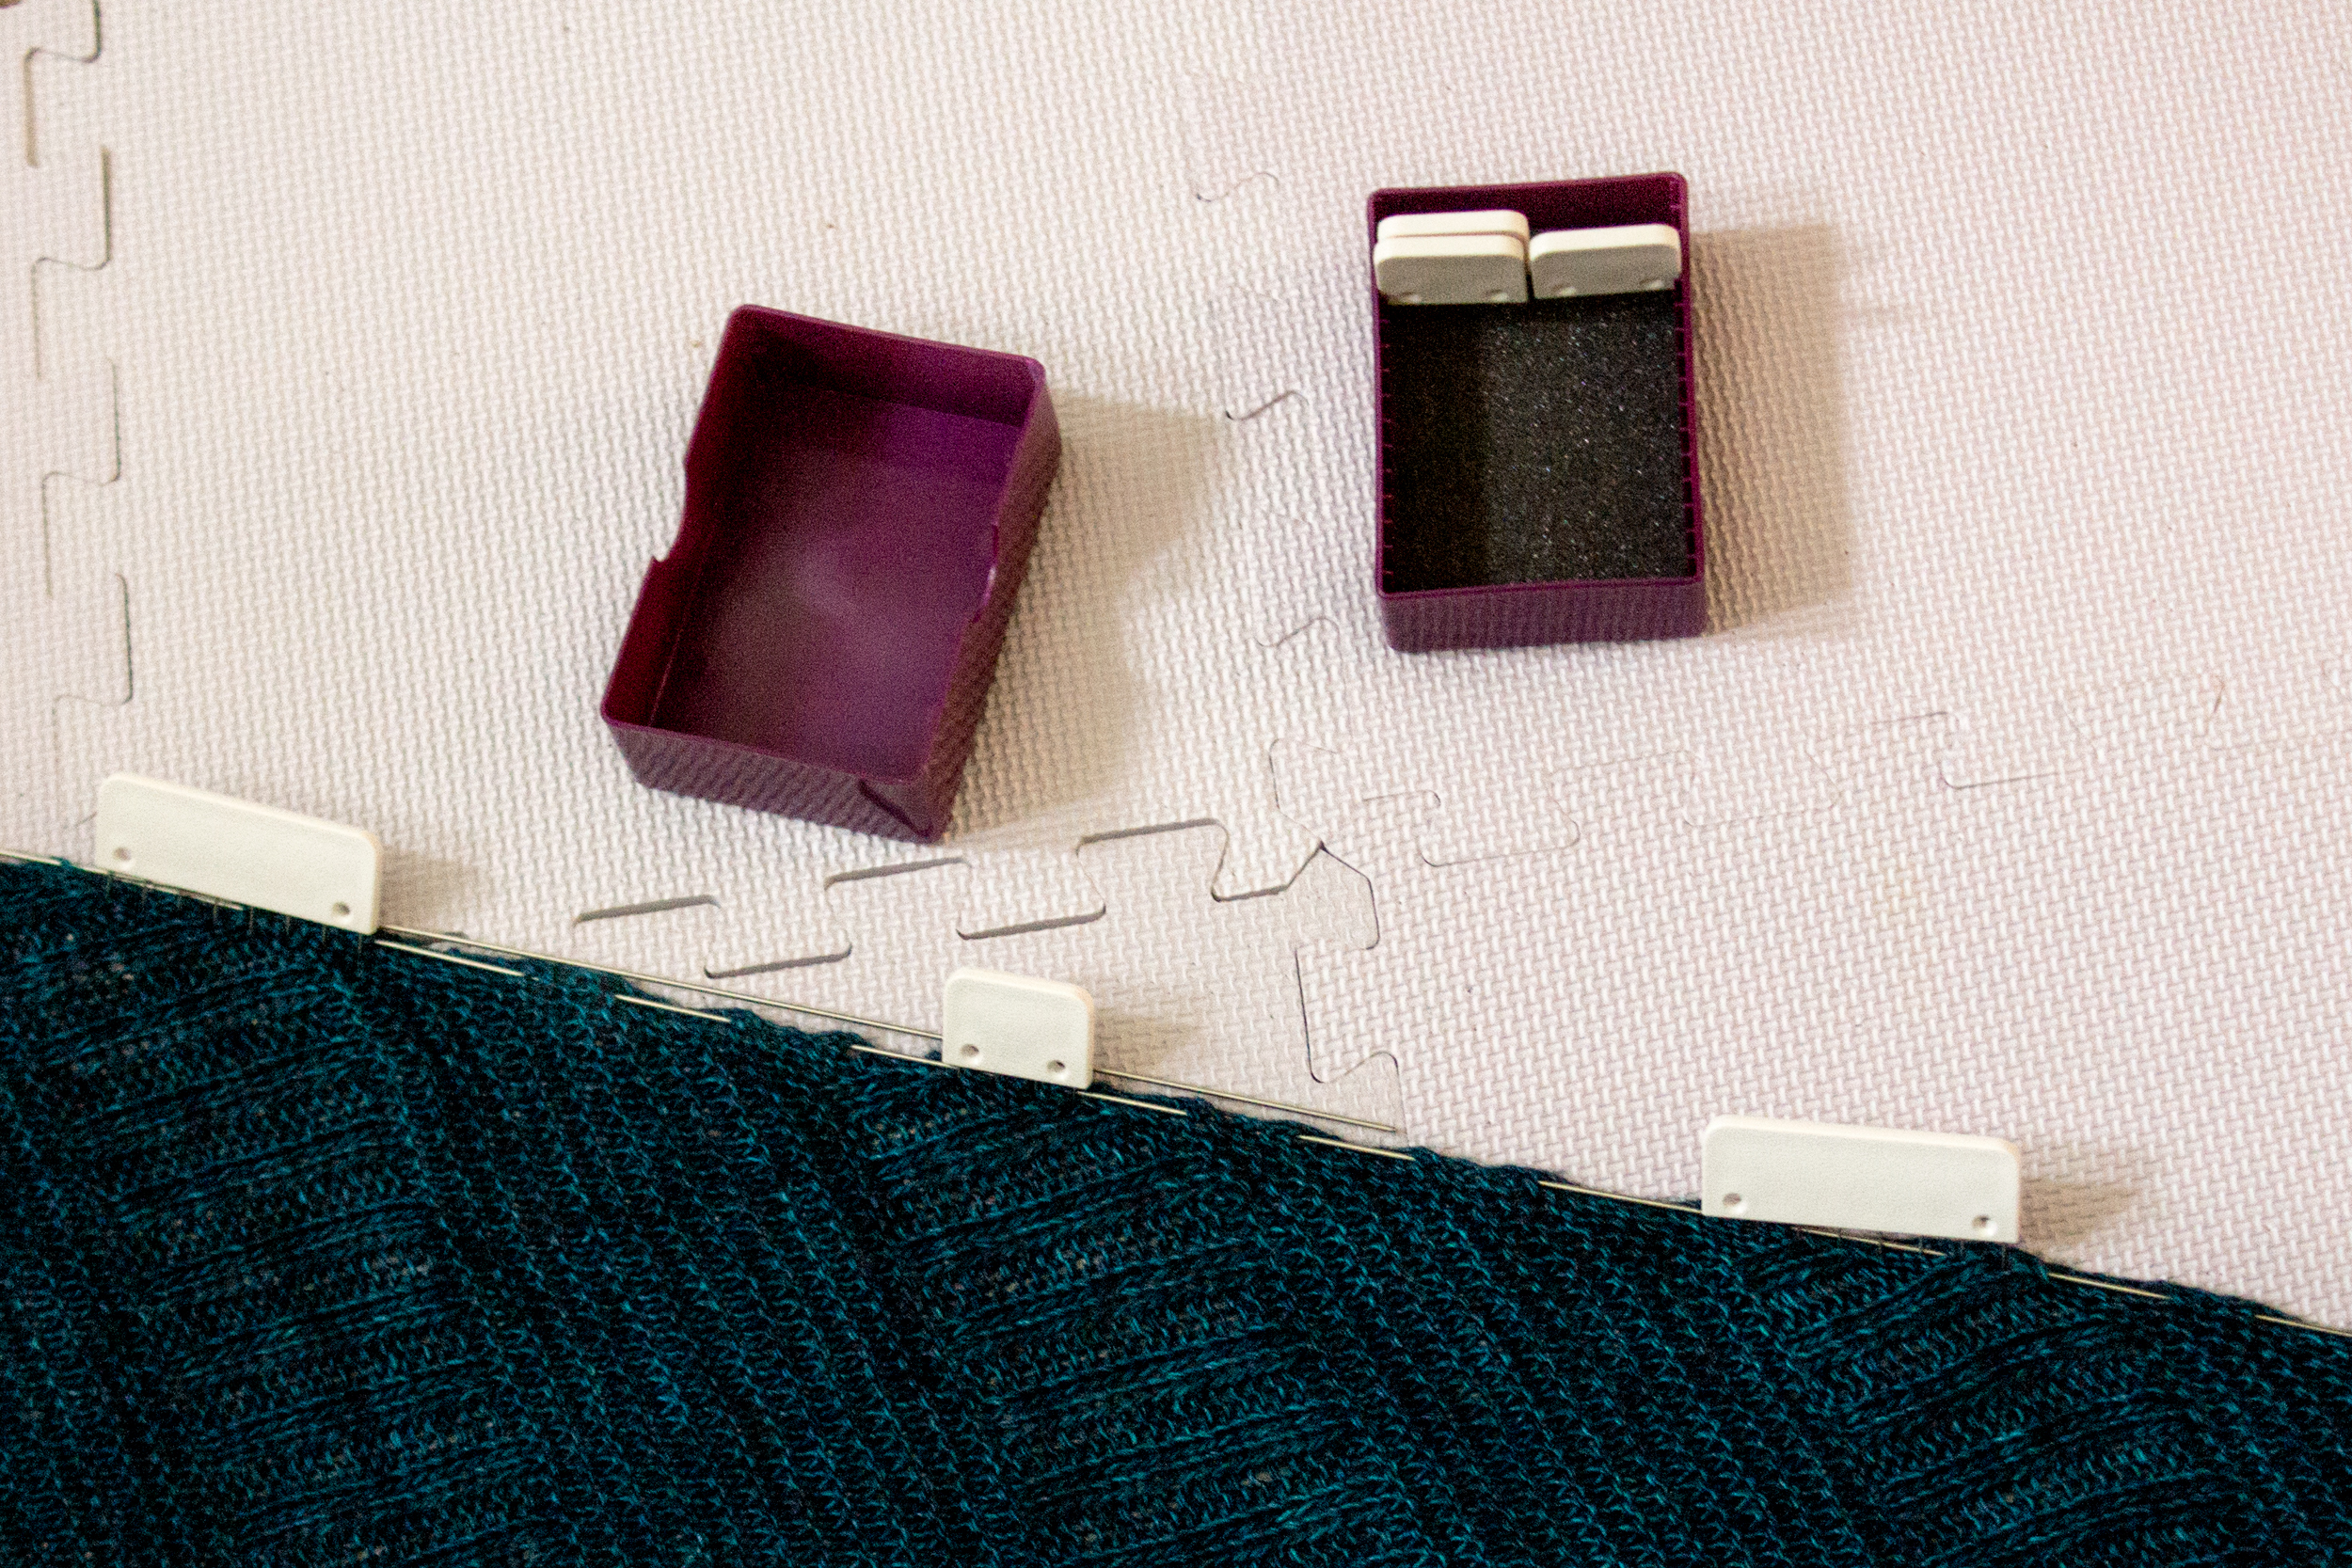
I’m using wires for this one, so my next step is to thread those through the edges. I’m using wires in this case because I want the finished item to have crisp, straight edges and sharp corners, and that’s much quicker to achieve with wires than with pins alone.
To lock the shape in place, I’m going to use blockers. I could use pins with wires, too, but blockers are quicker – and much harder to lose if you drop one – so with a kid and a cat in the house, I use blockers if at all possible.
Getting the right shape is a skill that’ll develop naturally the more you block. Quite how you achieve it depends on the shape in question, but mostly it’s a case of picking a couple of key points – a top edge, points, the base – and pinning them loosely in place, then tugging the rest of it into position.
There’s often a lot of fiddling, smoothing out, re-arranging, re-pinning. That’s perfectly normal. Just keep fiddling with it until you’re happy; refer back to the designer’s photos or pattern schematic if you need a reminder of how it’s supposed to look.
Let It Dry
9. Walk away and wait
This really is both the easiest and the hardest part: walk away from your item and leave it to dry. Depending on how warm it is, the airflow, sunlight, etc., it might take anything from a few hours to a few days.
You’ll know it’s dry when it no longer feels cool to the touch.
10. Take it up!
When it’s ready, remove any blockers / pins / wires and lift it up off the mats. You’re done! Time to take some photos and brag on social media.
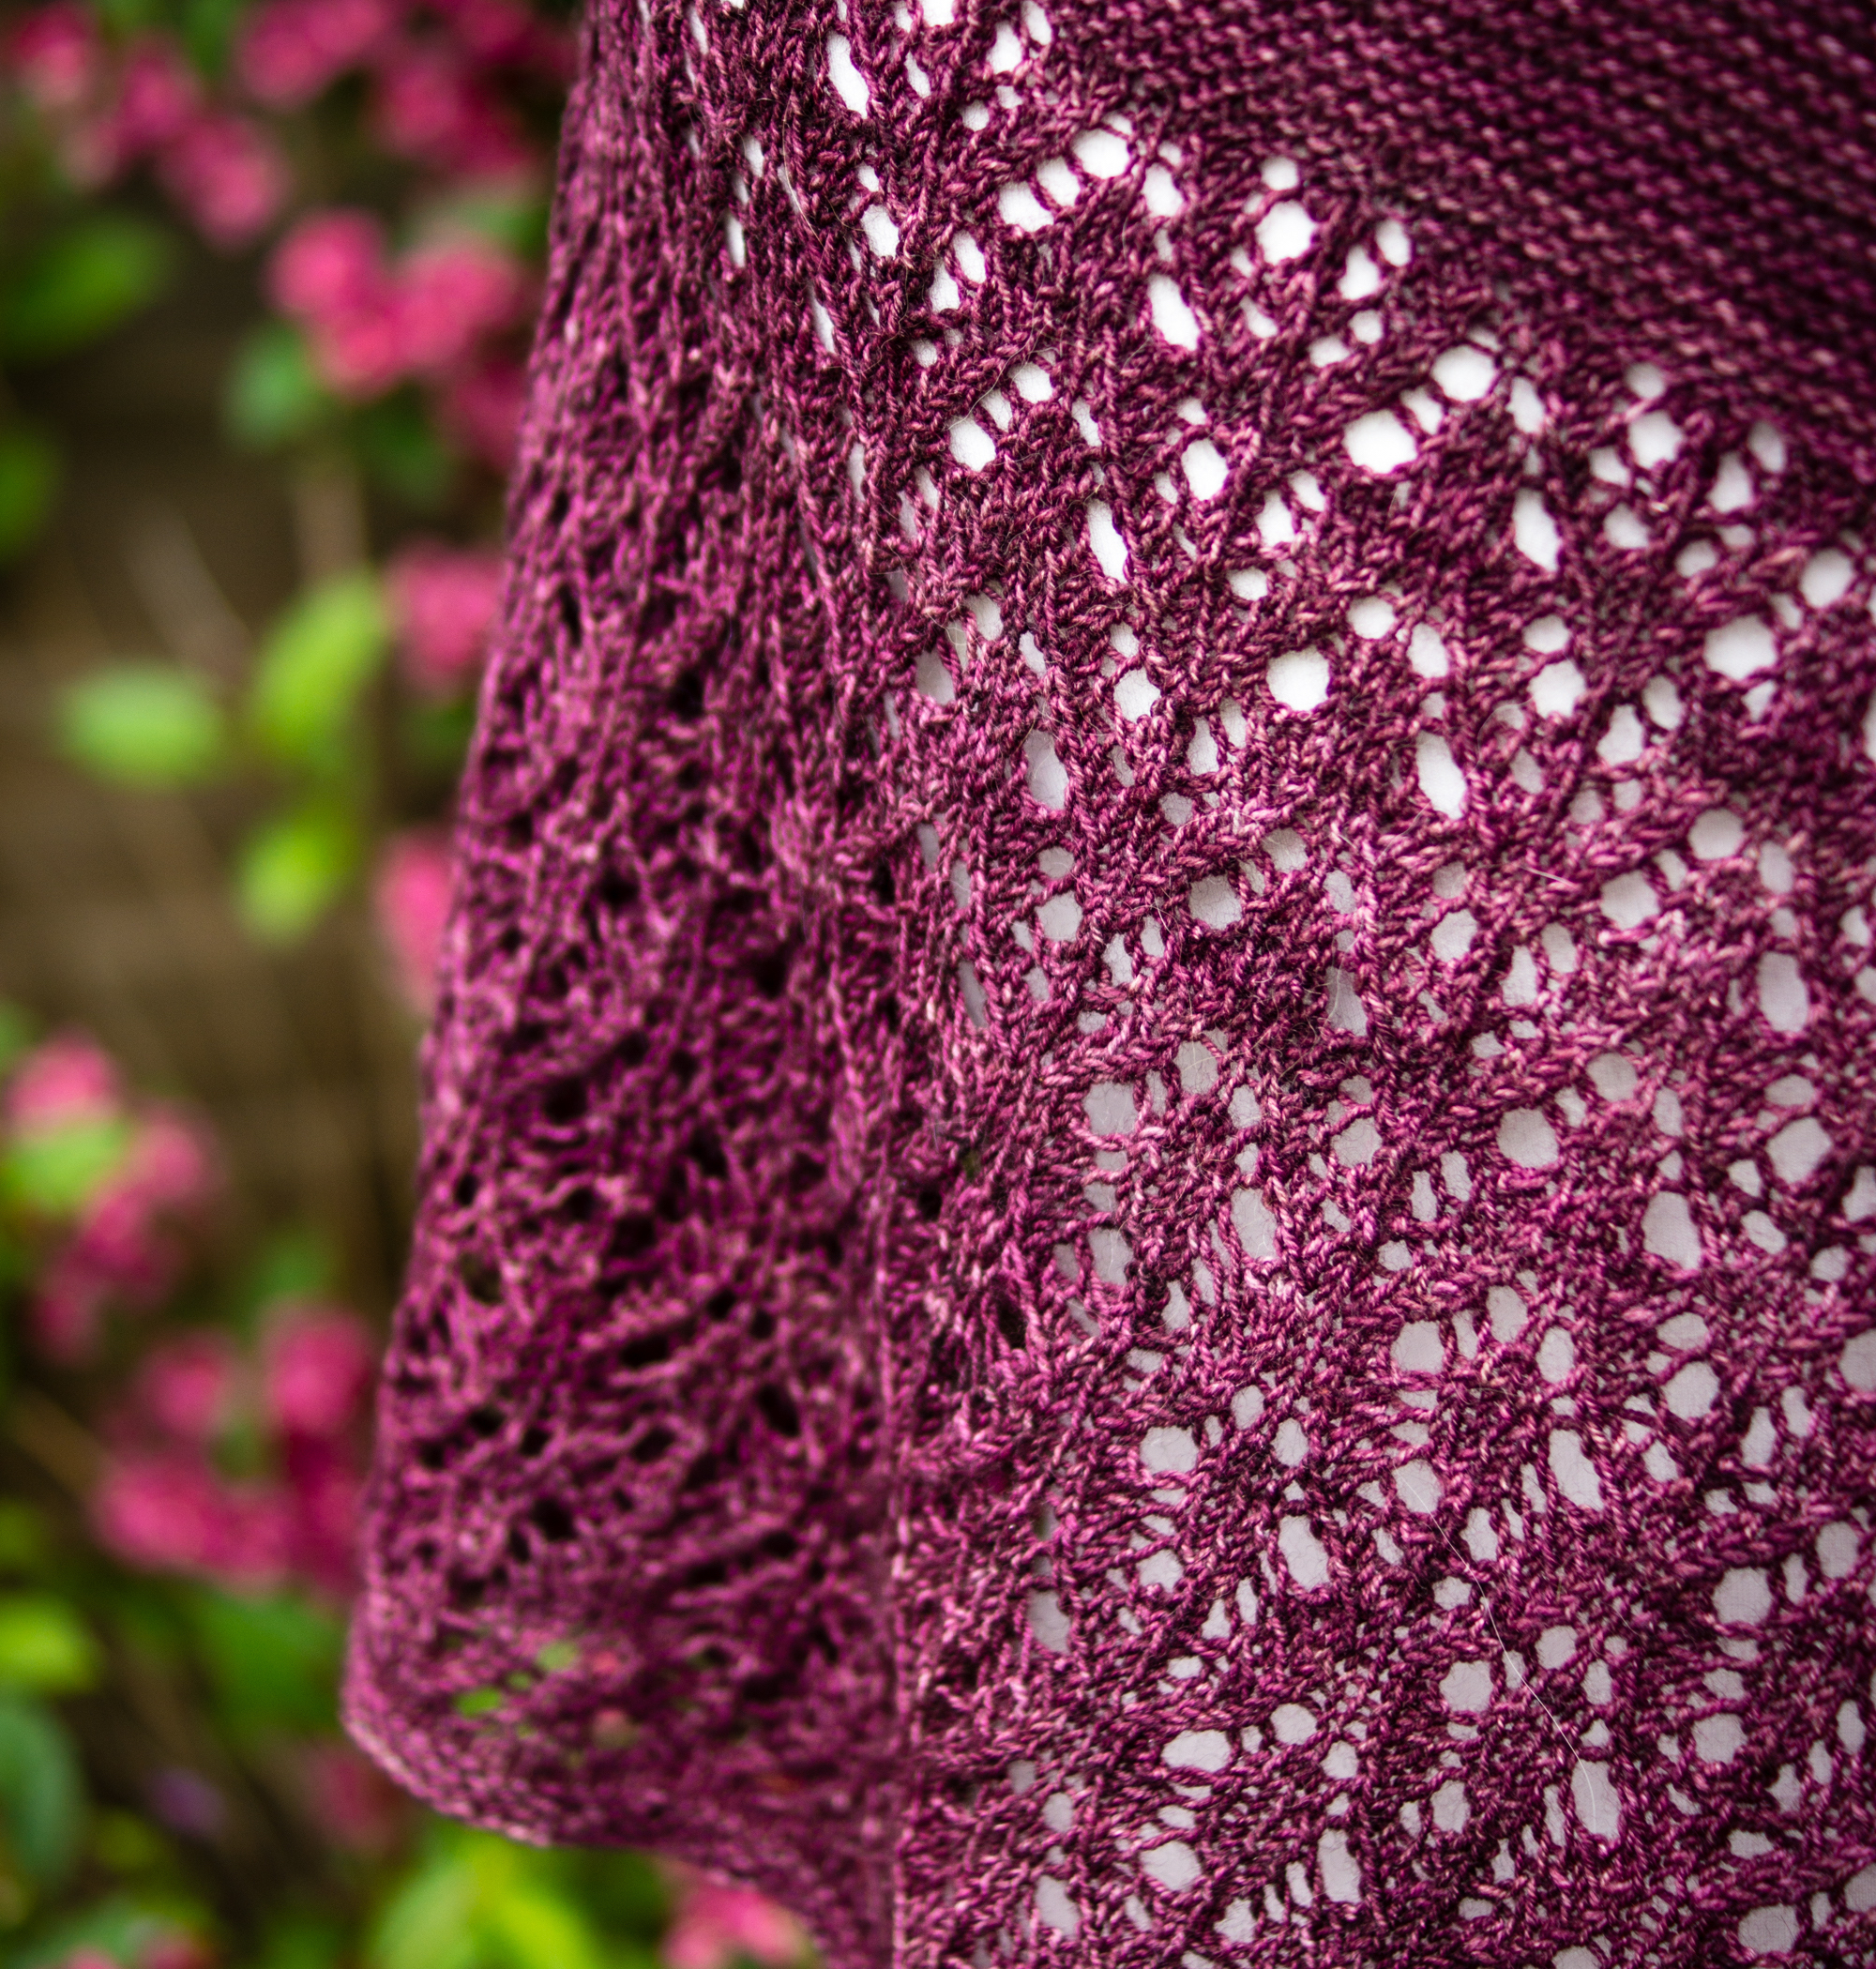
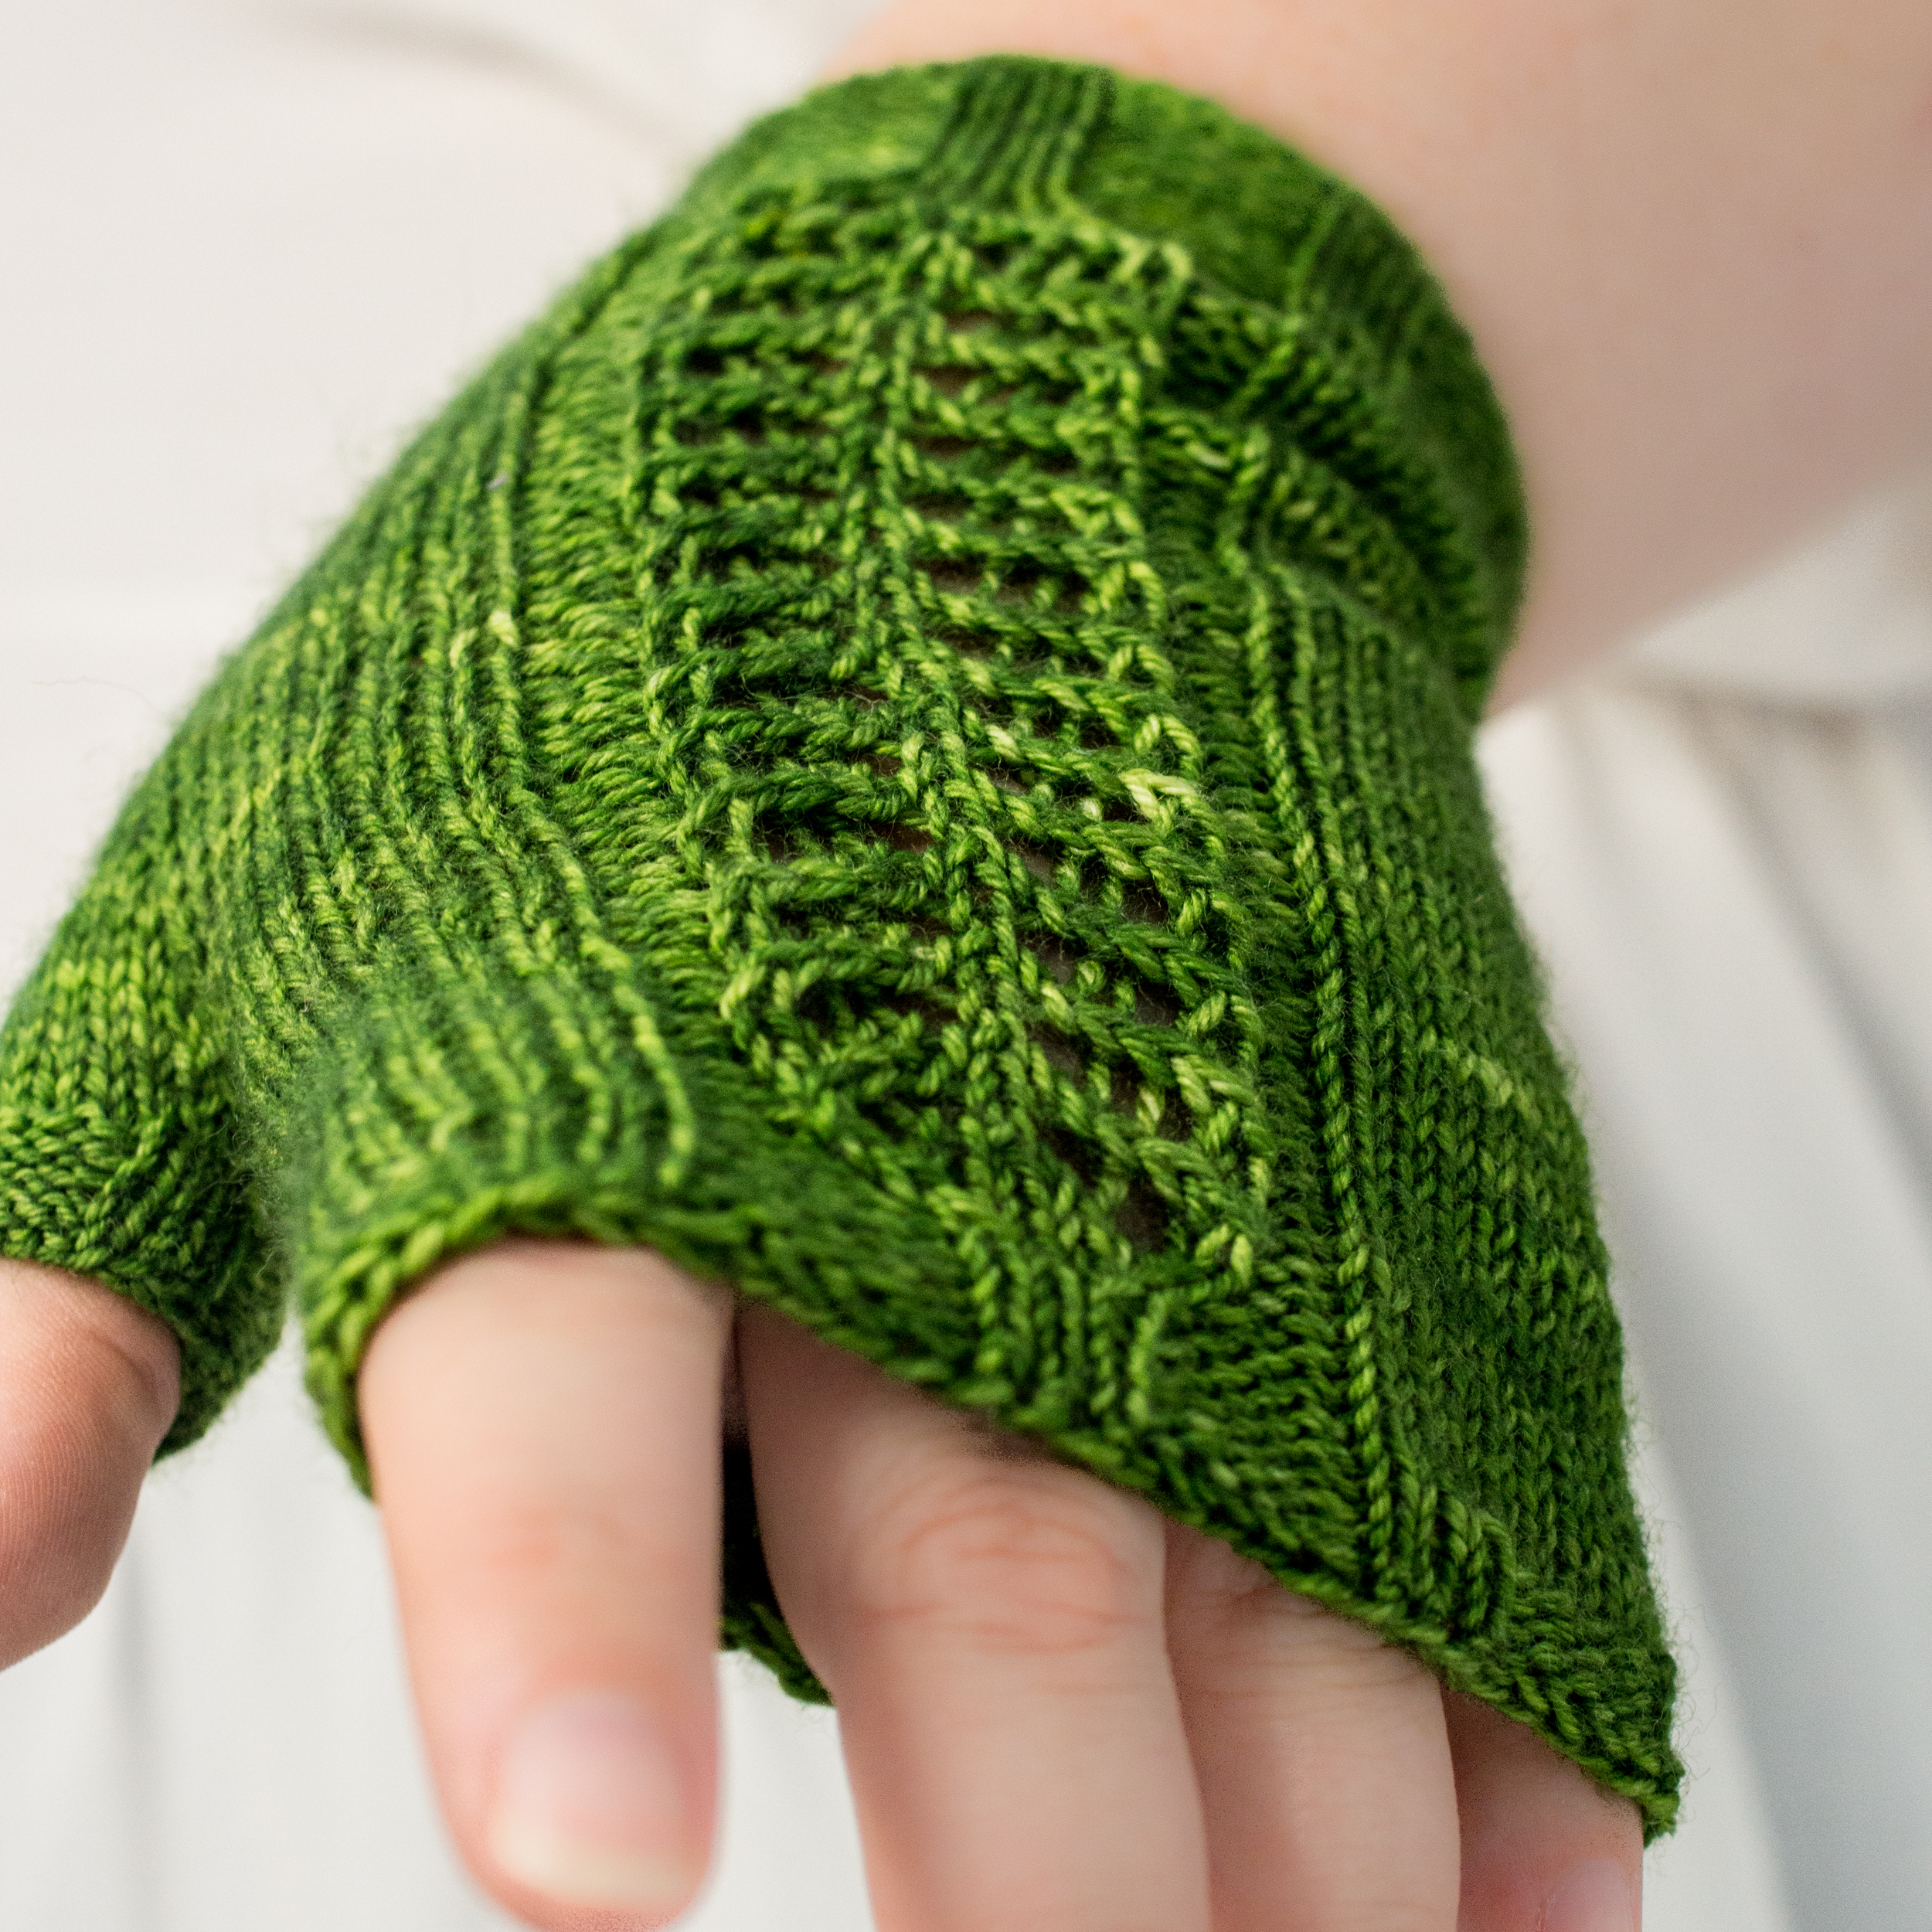
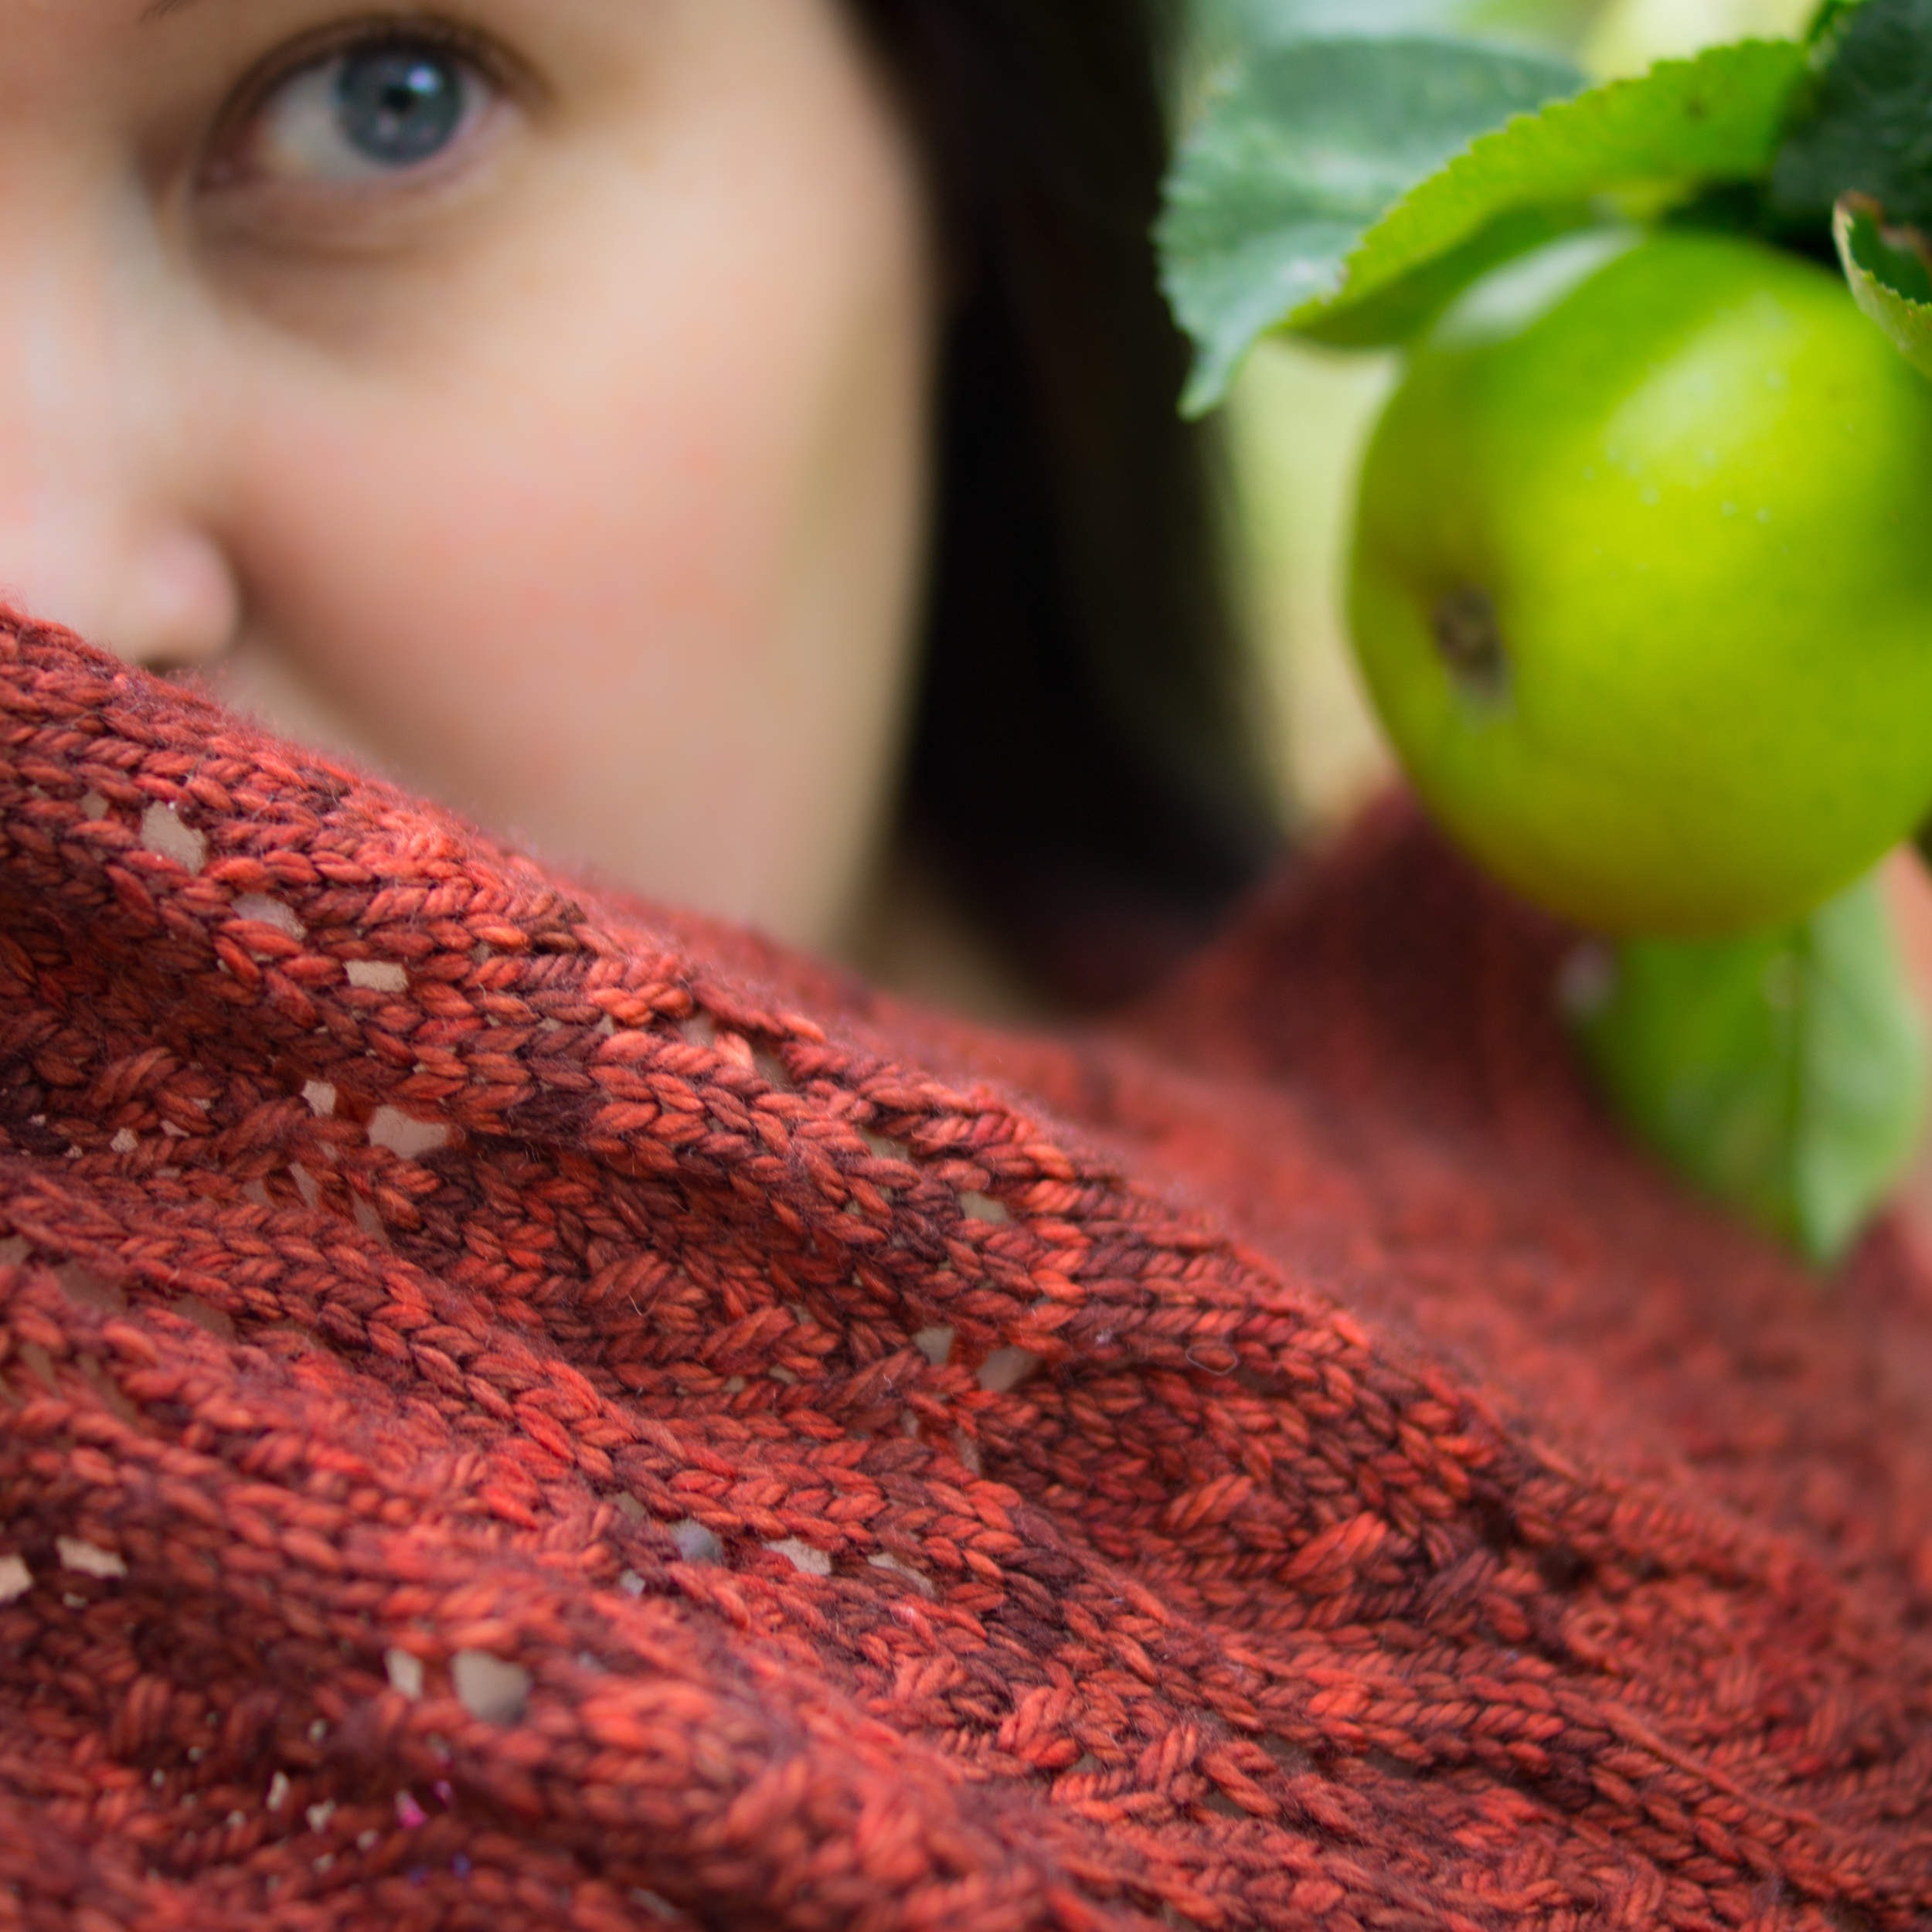
Lace Patterns
Lace is transformed by blocking! Take a look at some of my lace patterns below.


If this free guide helped you, please consider buying me a coffee.