

Colourwork knitting is so beautiful, isn’t it? And so versatile. Intricate Fairisle sweater yokes; bold, colour blocked intarsia; even simple stripes can be utterly charming.
The first colourwork technique I learned was stranded, using multiple colours at a time and alternating between them to create a toddler sized hat with an umbrella on it. Sadly it was a bit of a disaster; my expertise with handling multiple strands was non-existent, and my tension was far too tight. But my second attempt, after a lot of time spent researching and practising to improve my technique, was much better.
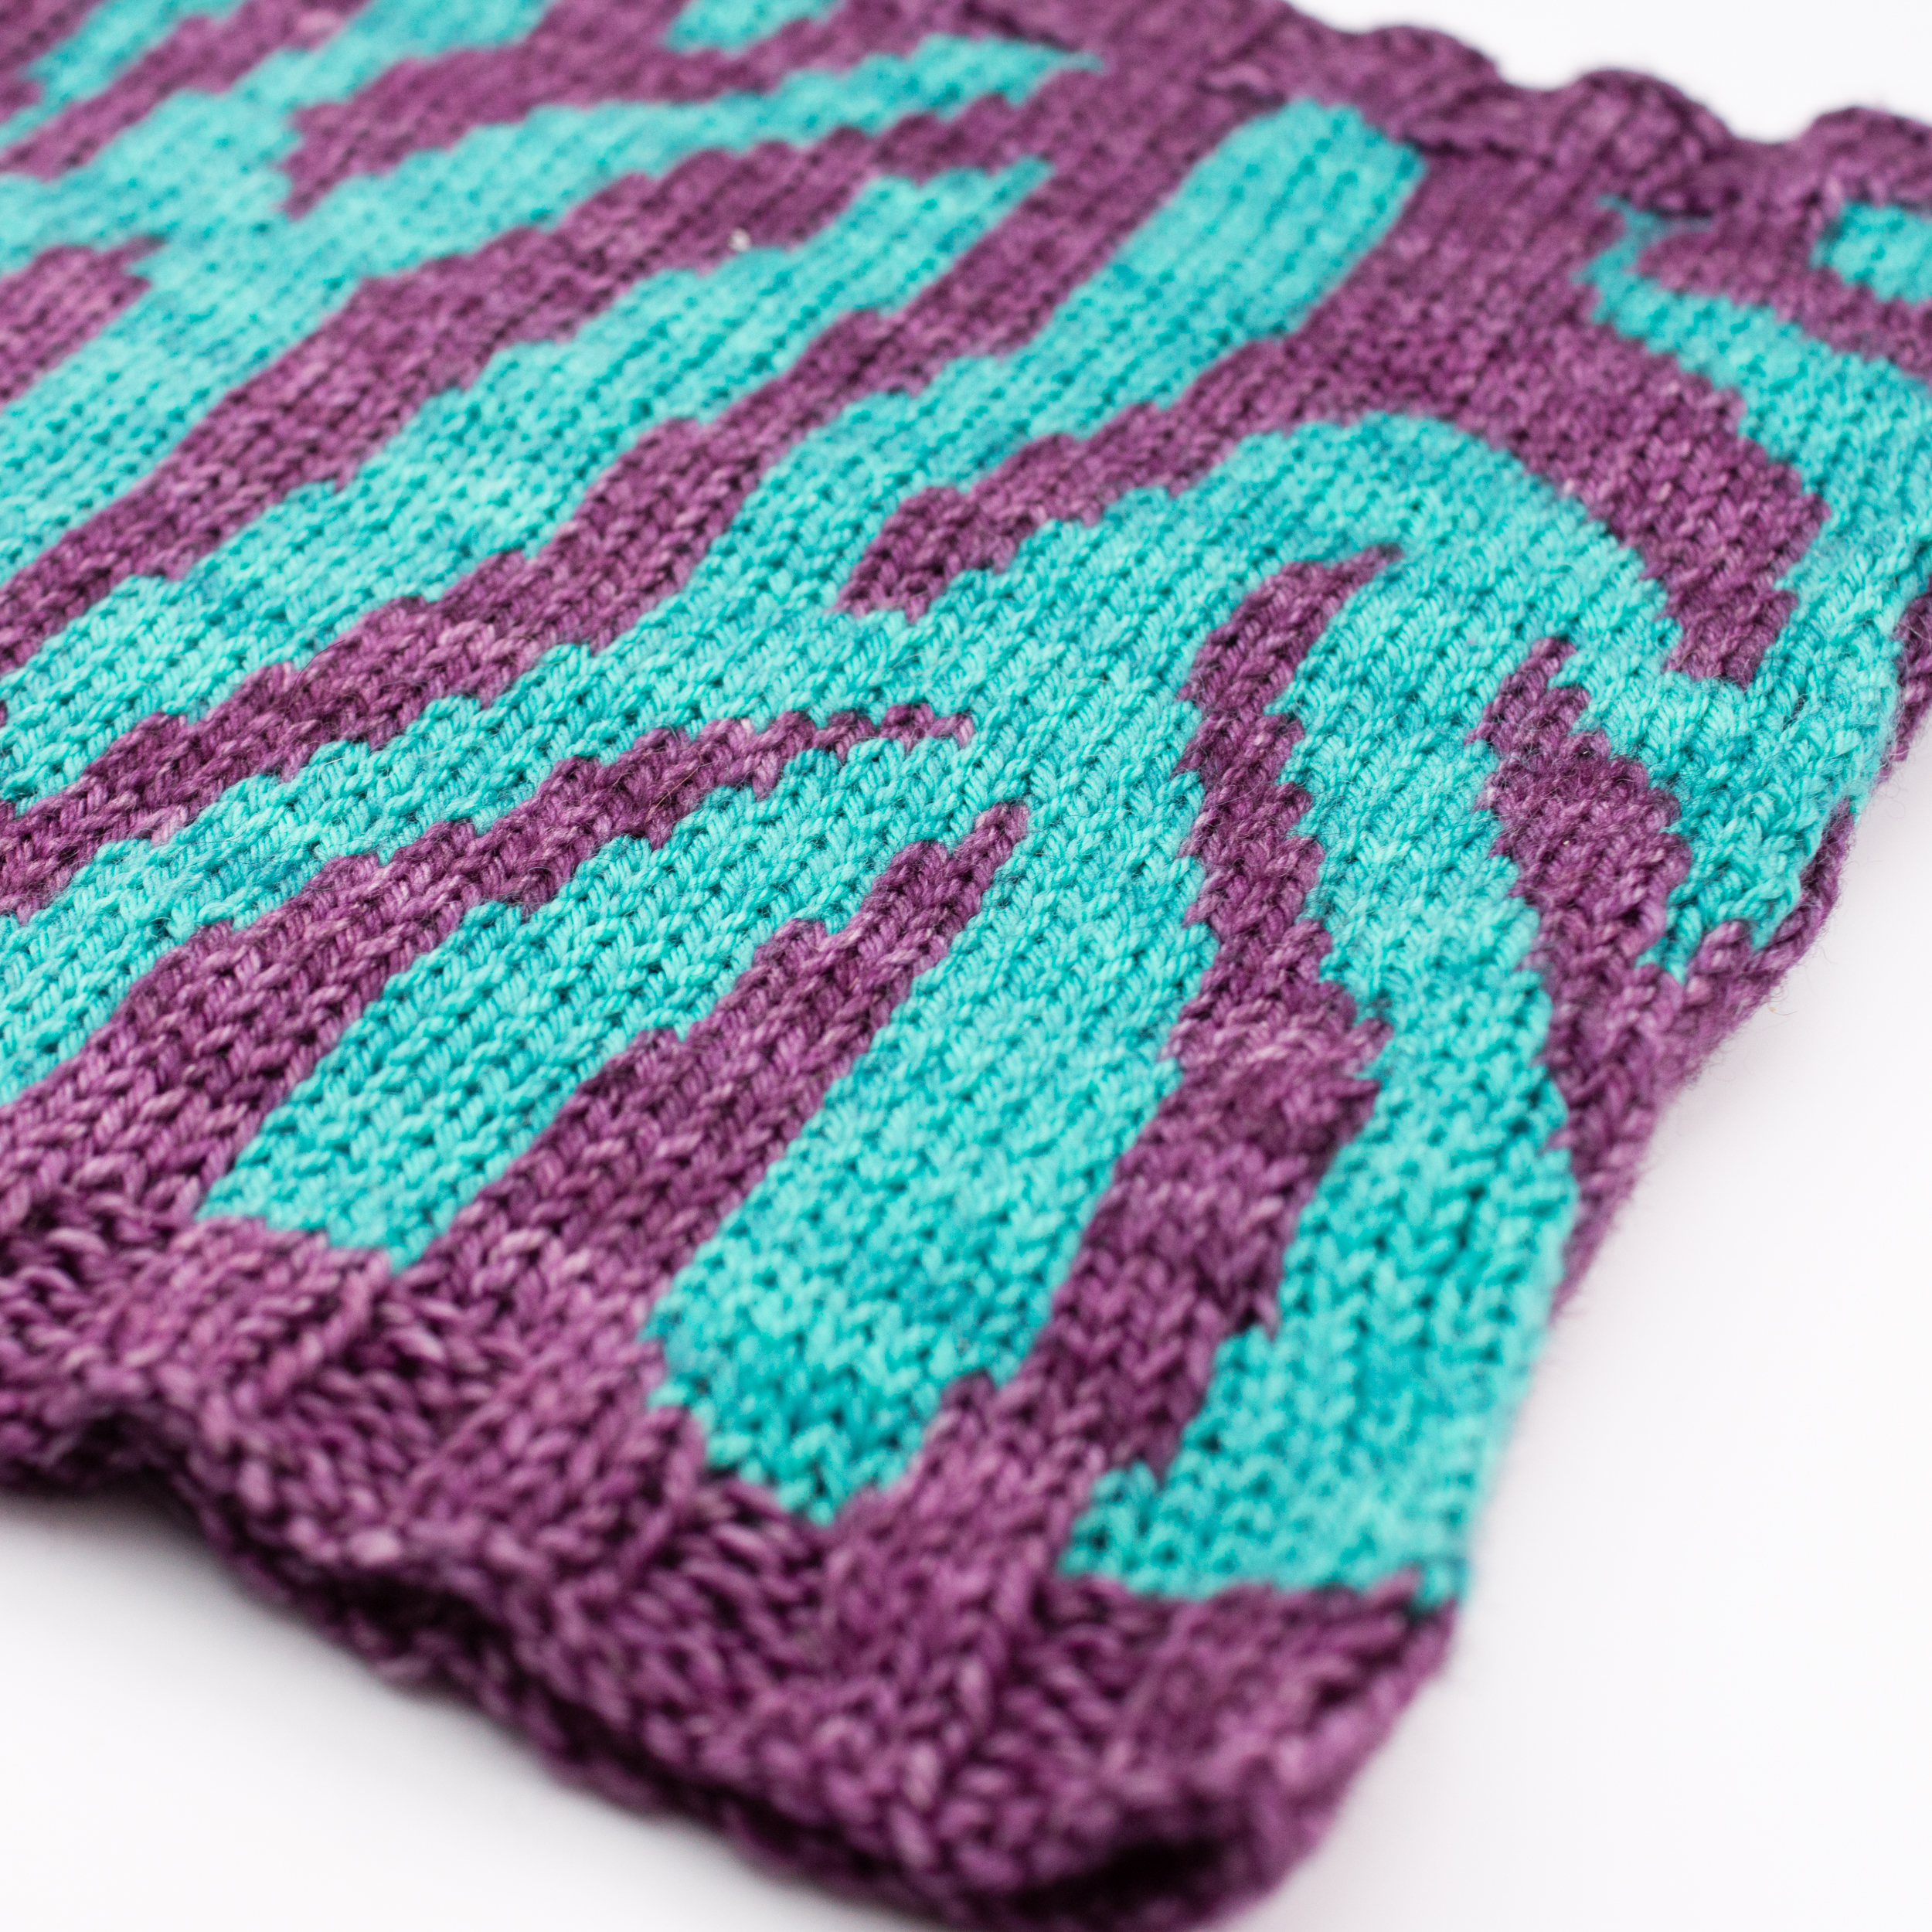
The reason why my results suffered so much from poor tension is that stranded colourwork requires you to carry the yarn you’re not using along the back of your work. This carried thread is called a float. If your floats are too tight, your work will pucker, causing it both to be too small and to look wrong.
Today I’d like to share what I learned with you, to help you get the best out of your colourwork projects, or to give you the confidence to try your first one.
Fairisle vs Stranded
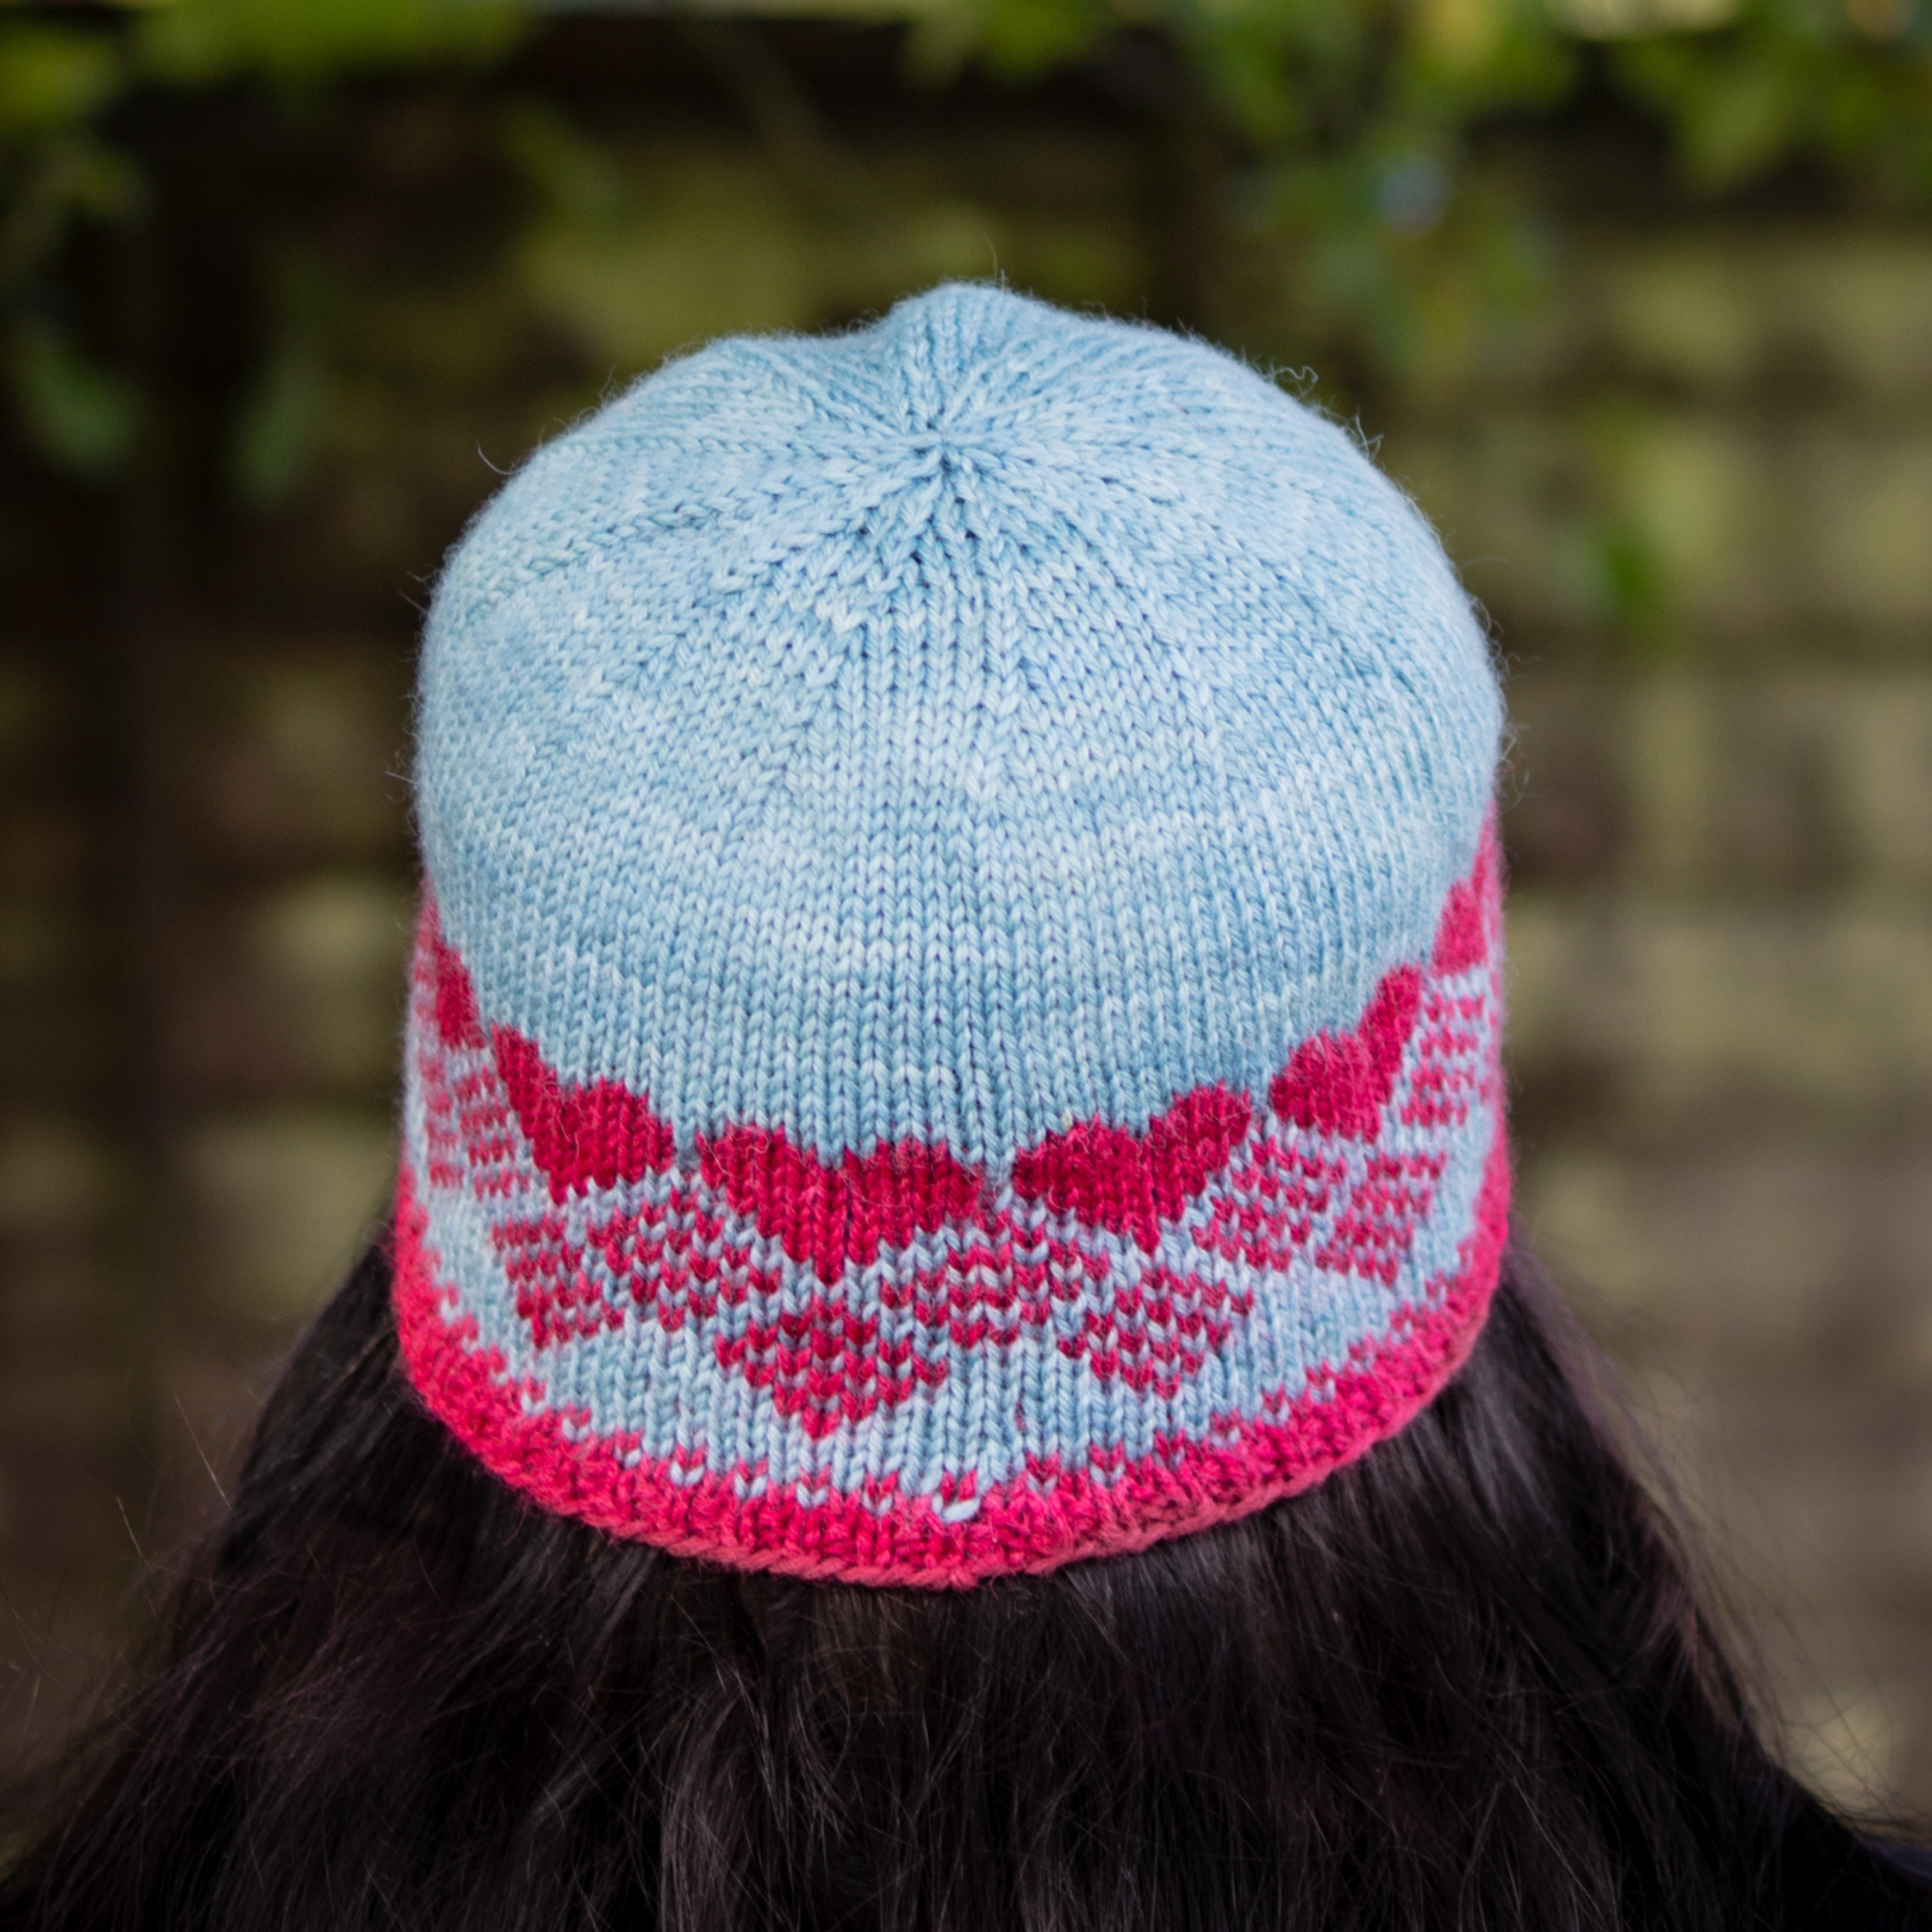
Fairisle knitting is a specific type of stranded colourwork, originating from Fair Isle, one of the Shetland islands. For stranded colourwork to be considered Fairisle, it must use no more than 5 colours total, no more than 2 colours per row, be worked in the round, and not have long runs of one colour. Many patterns self-describing as Fairisle do not actually meet these criteria, and would more accurately be described as stranded colourwork.
Choosing Yarn
Not all yarn is well suited to colourwork, for a few different reasons. The most obvious one is a yarn’s halo: any fluffy yarns with lovely halos are going to obscure your work at least a bit, and that might mean you lose all the beautiful detail you’re going to such lengths to create. However, you do want a yarn that plumps up a bit and doesn’t have super sharp stitch definition, as you want the yarn to fill up the tiny gaps between stitches.
This is where the fibre it’s made from comes into play. As well as filling those gaps, the important thing is that the stitches end up staying where they’re supposed to be, rather than stretching out of shape, as this vastly improves the appearance of your work. Ultimately these two criteria mean that you’re looking for a “sticky, woolly wool” – something rustic, non-superwash, not too tightly plied. And, yes, wool is ideal.
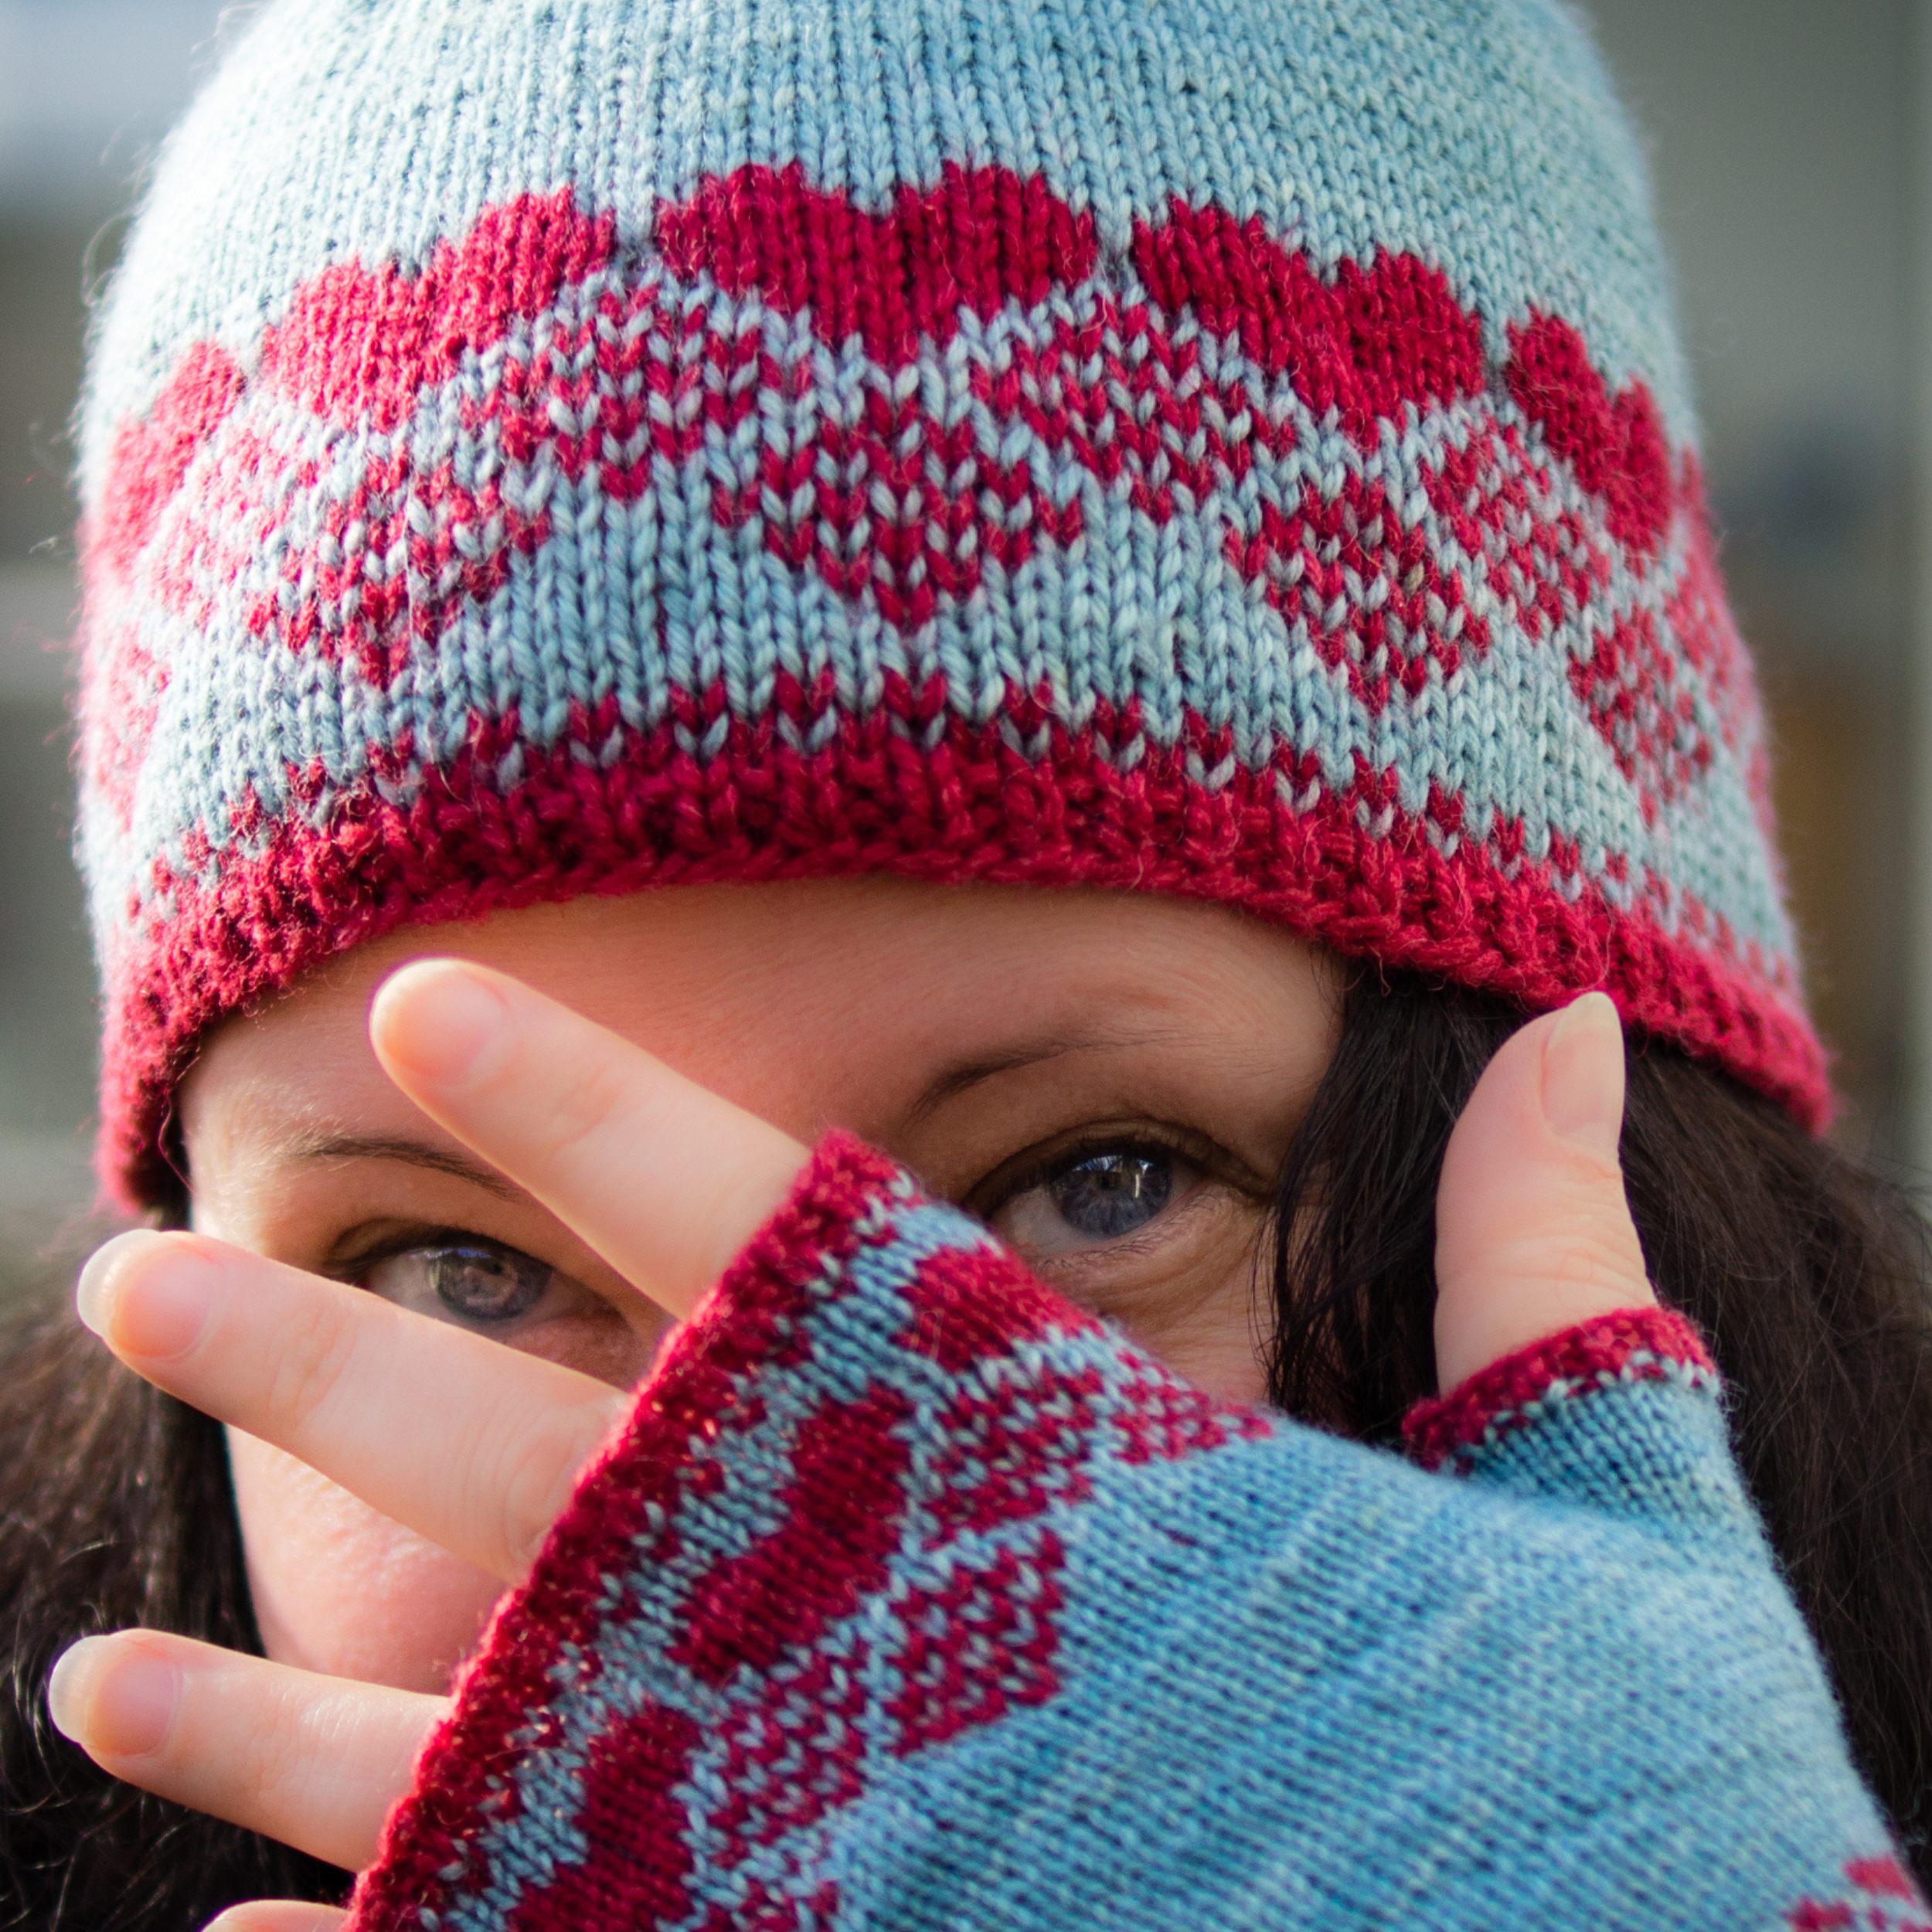
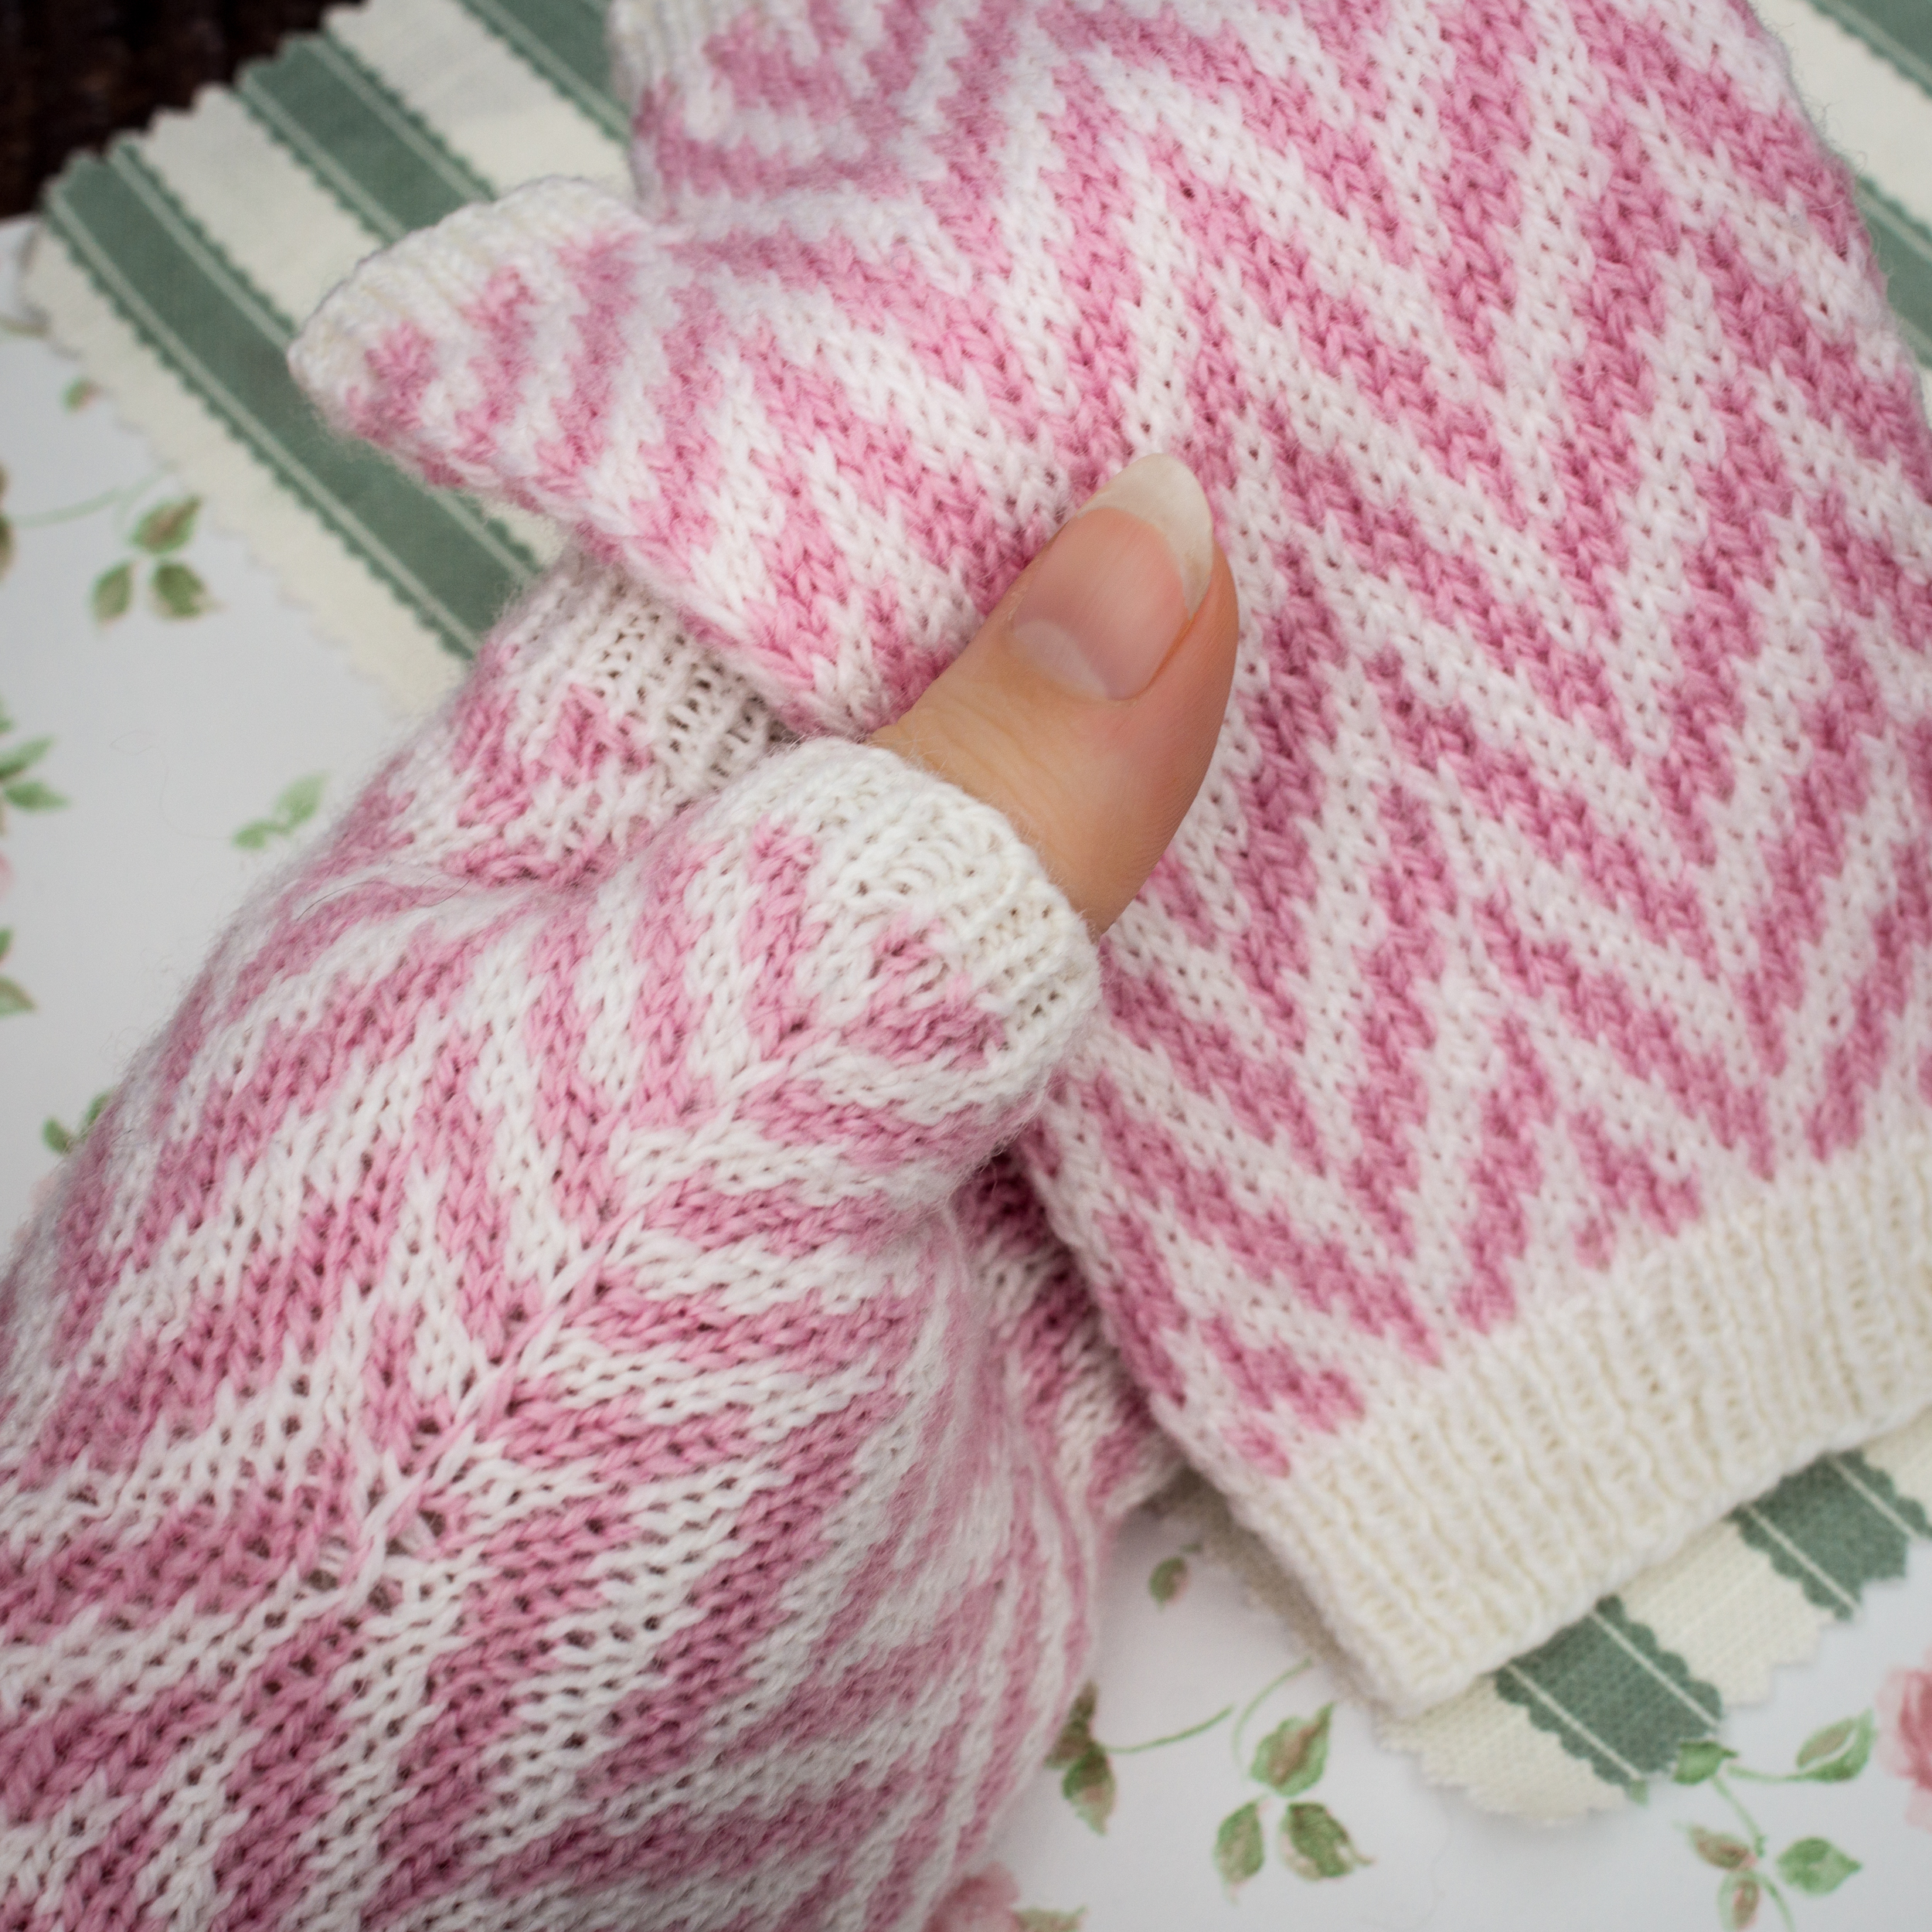
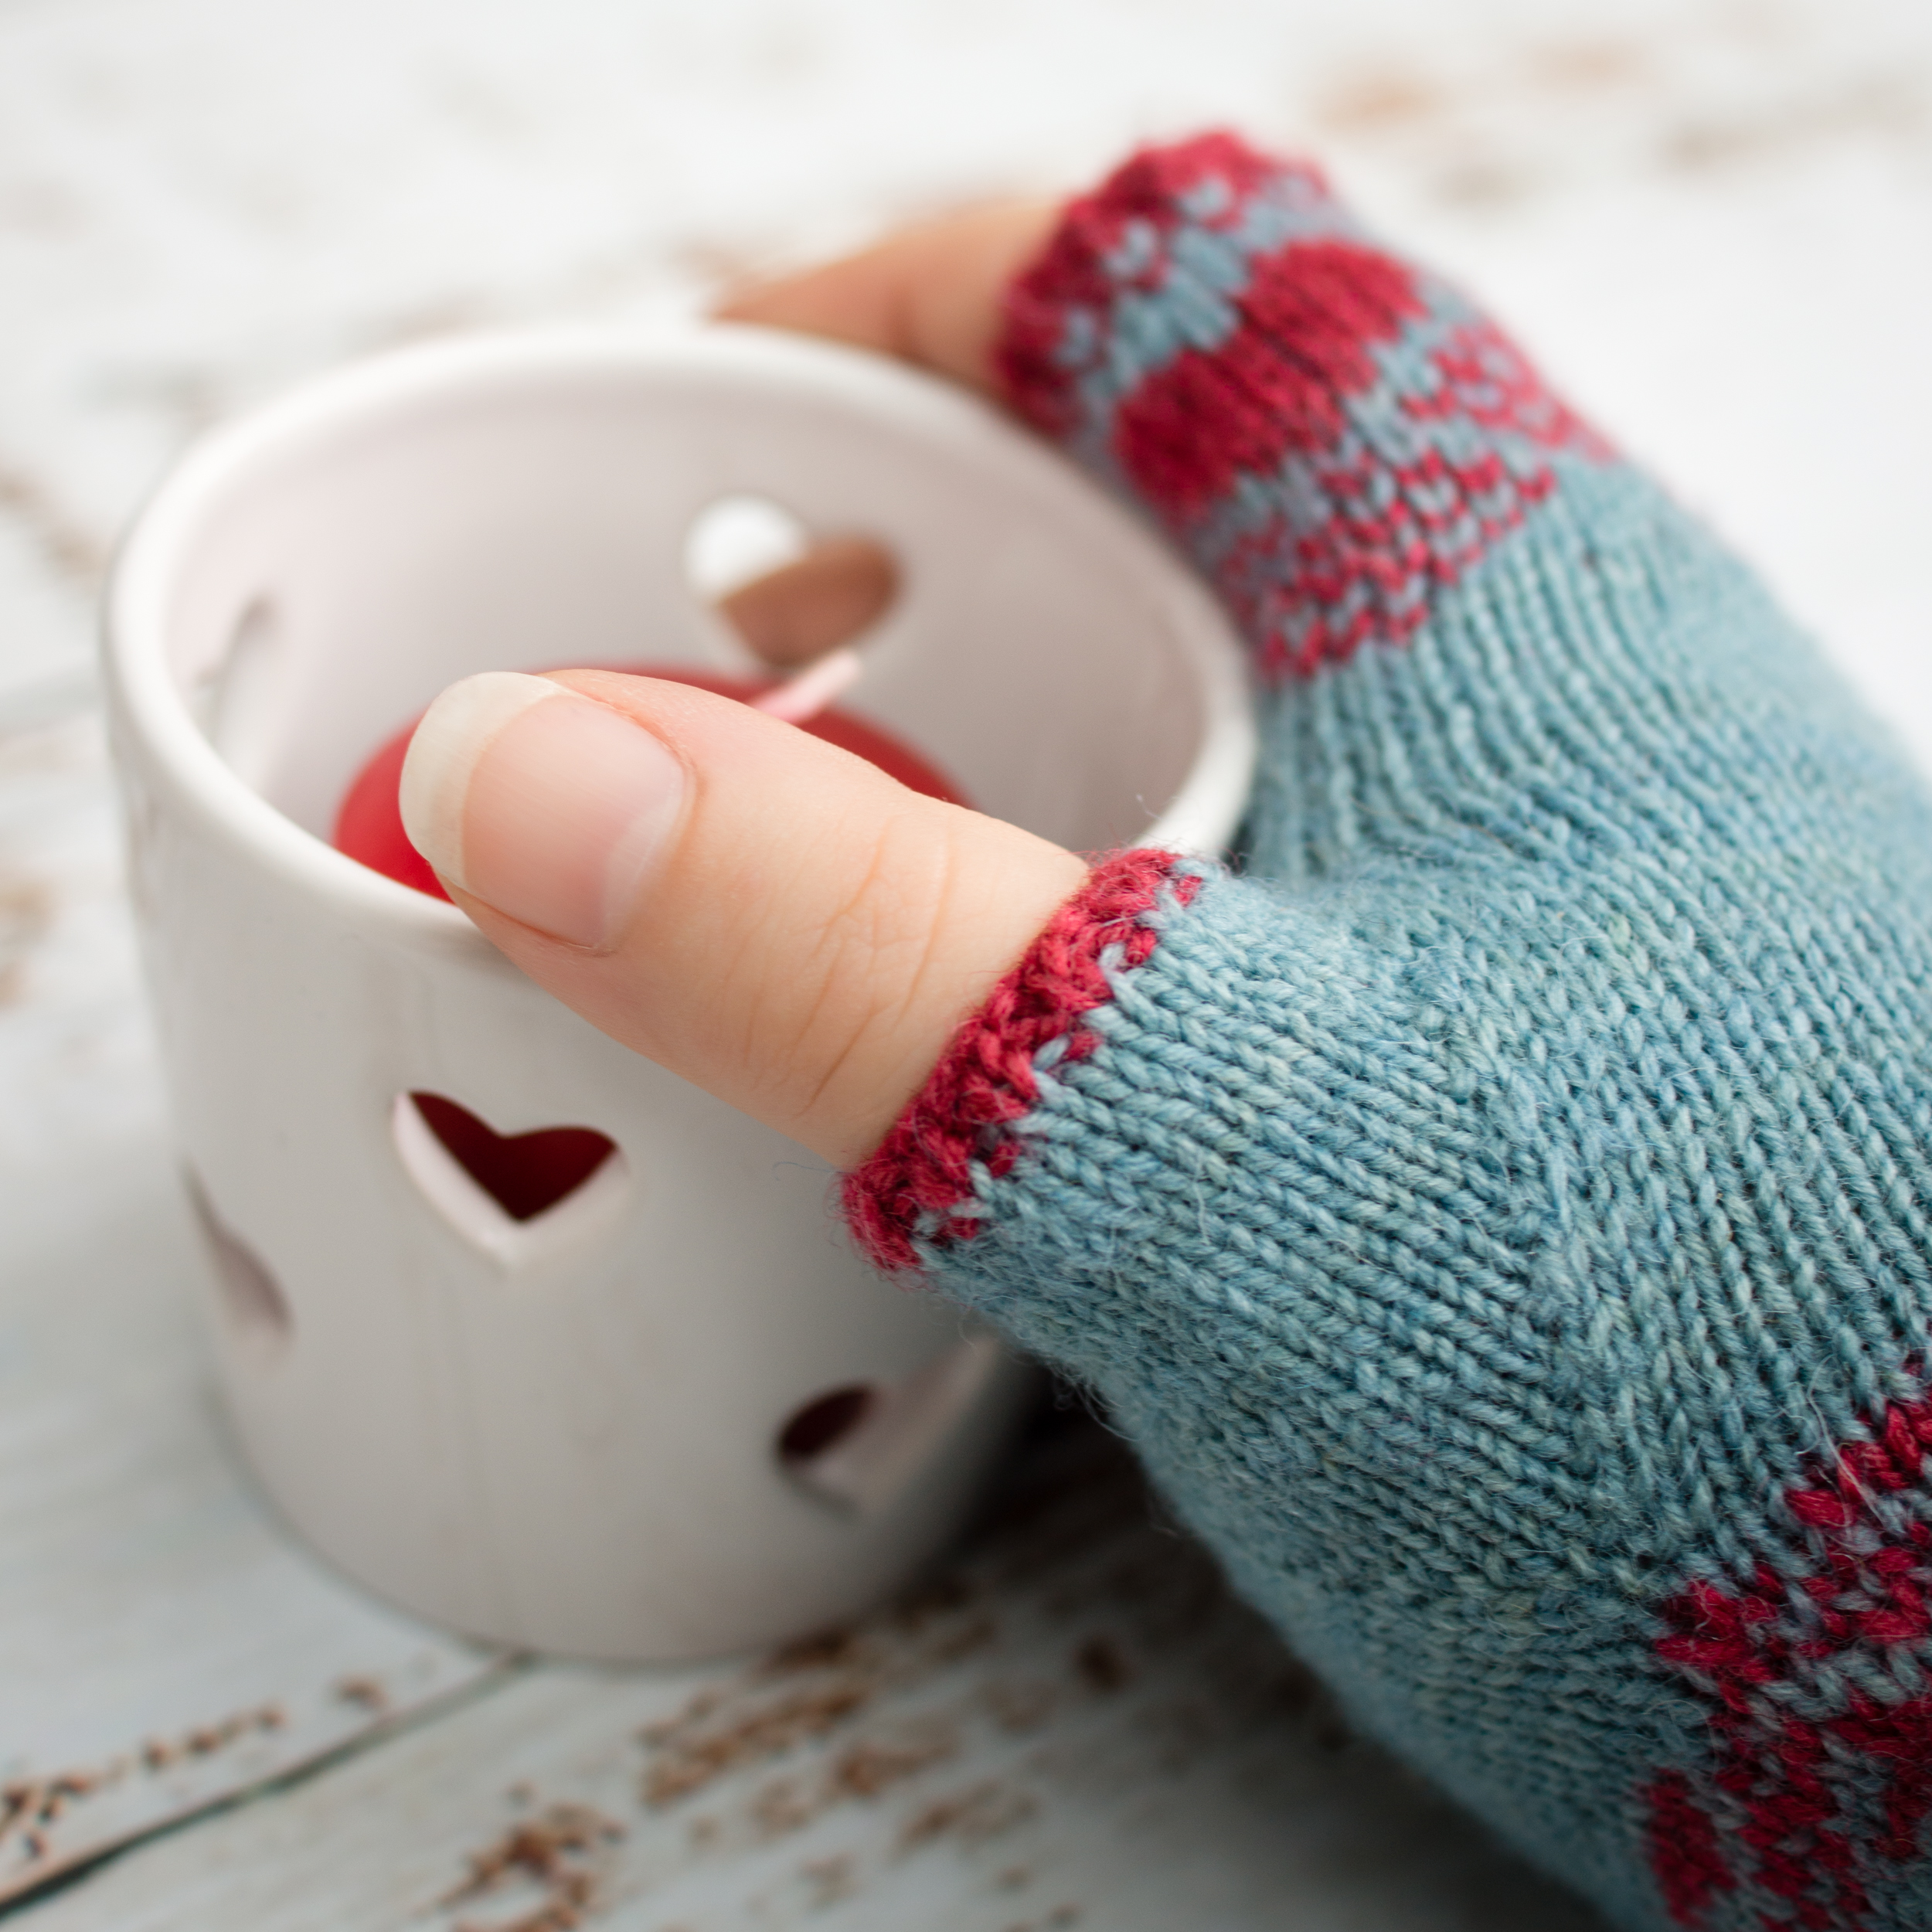
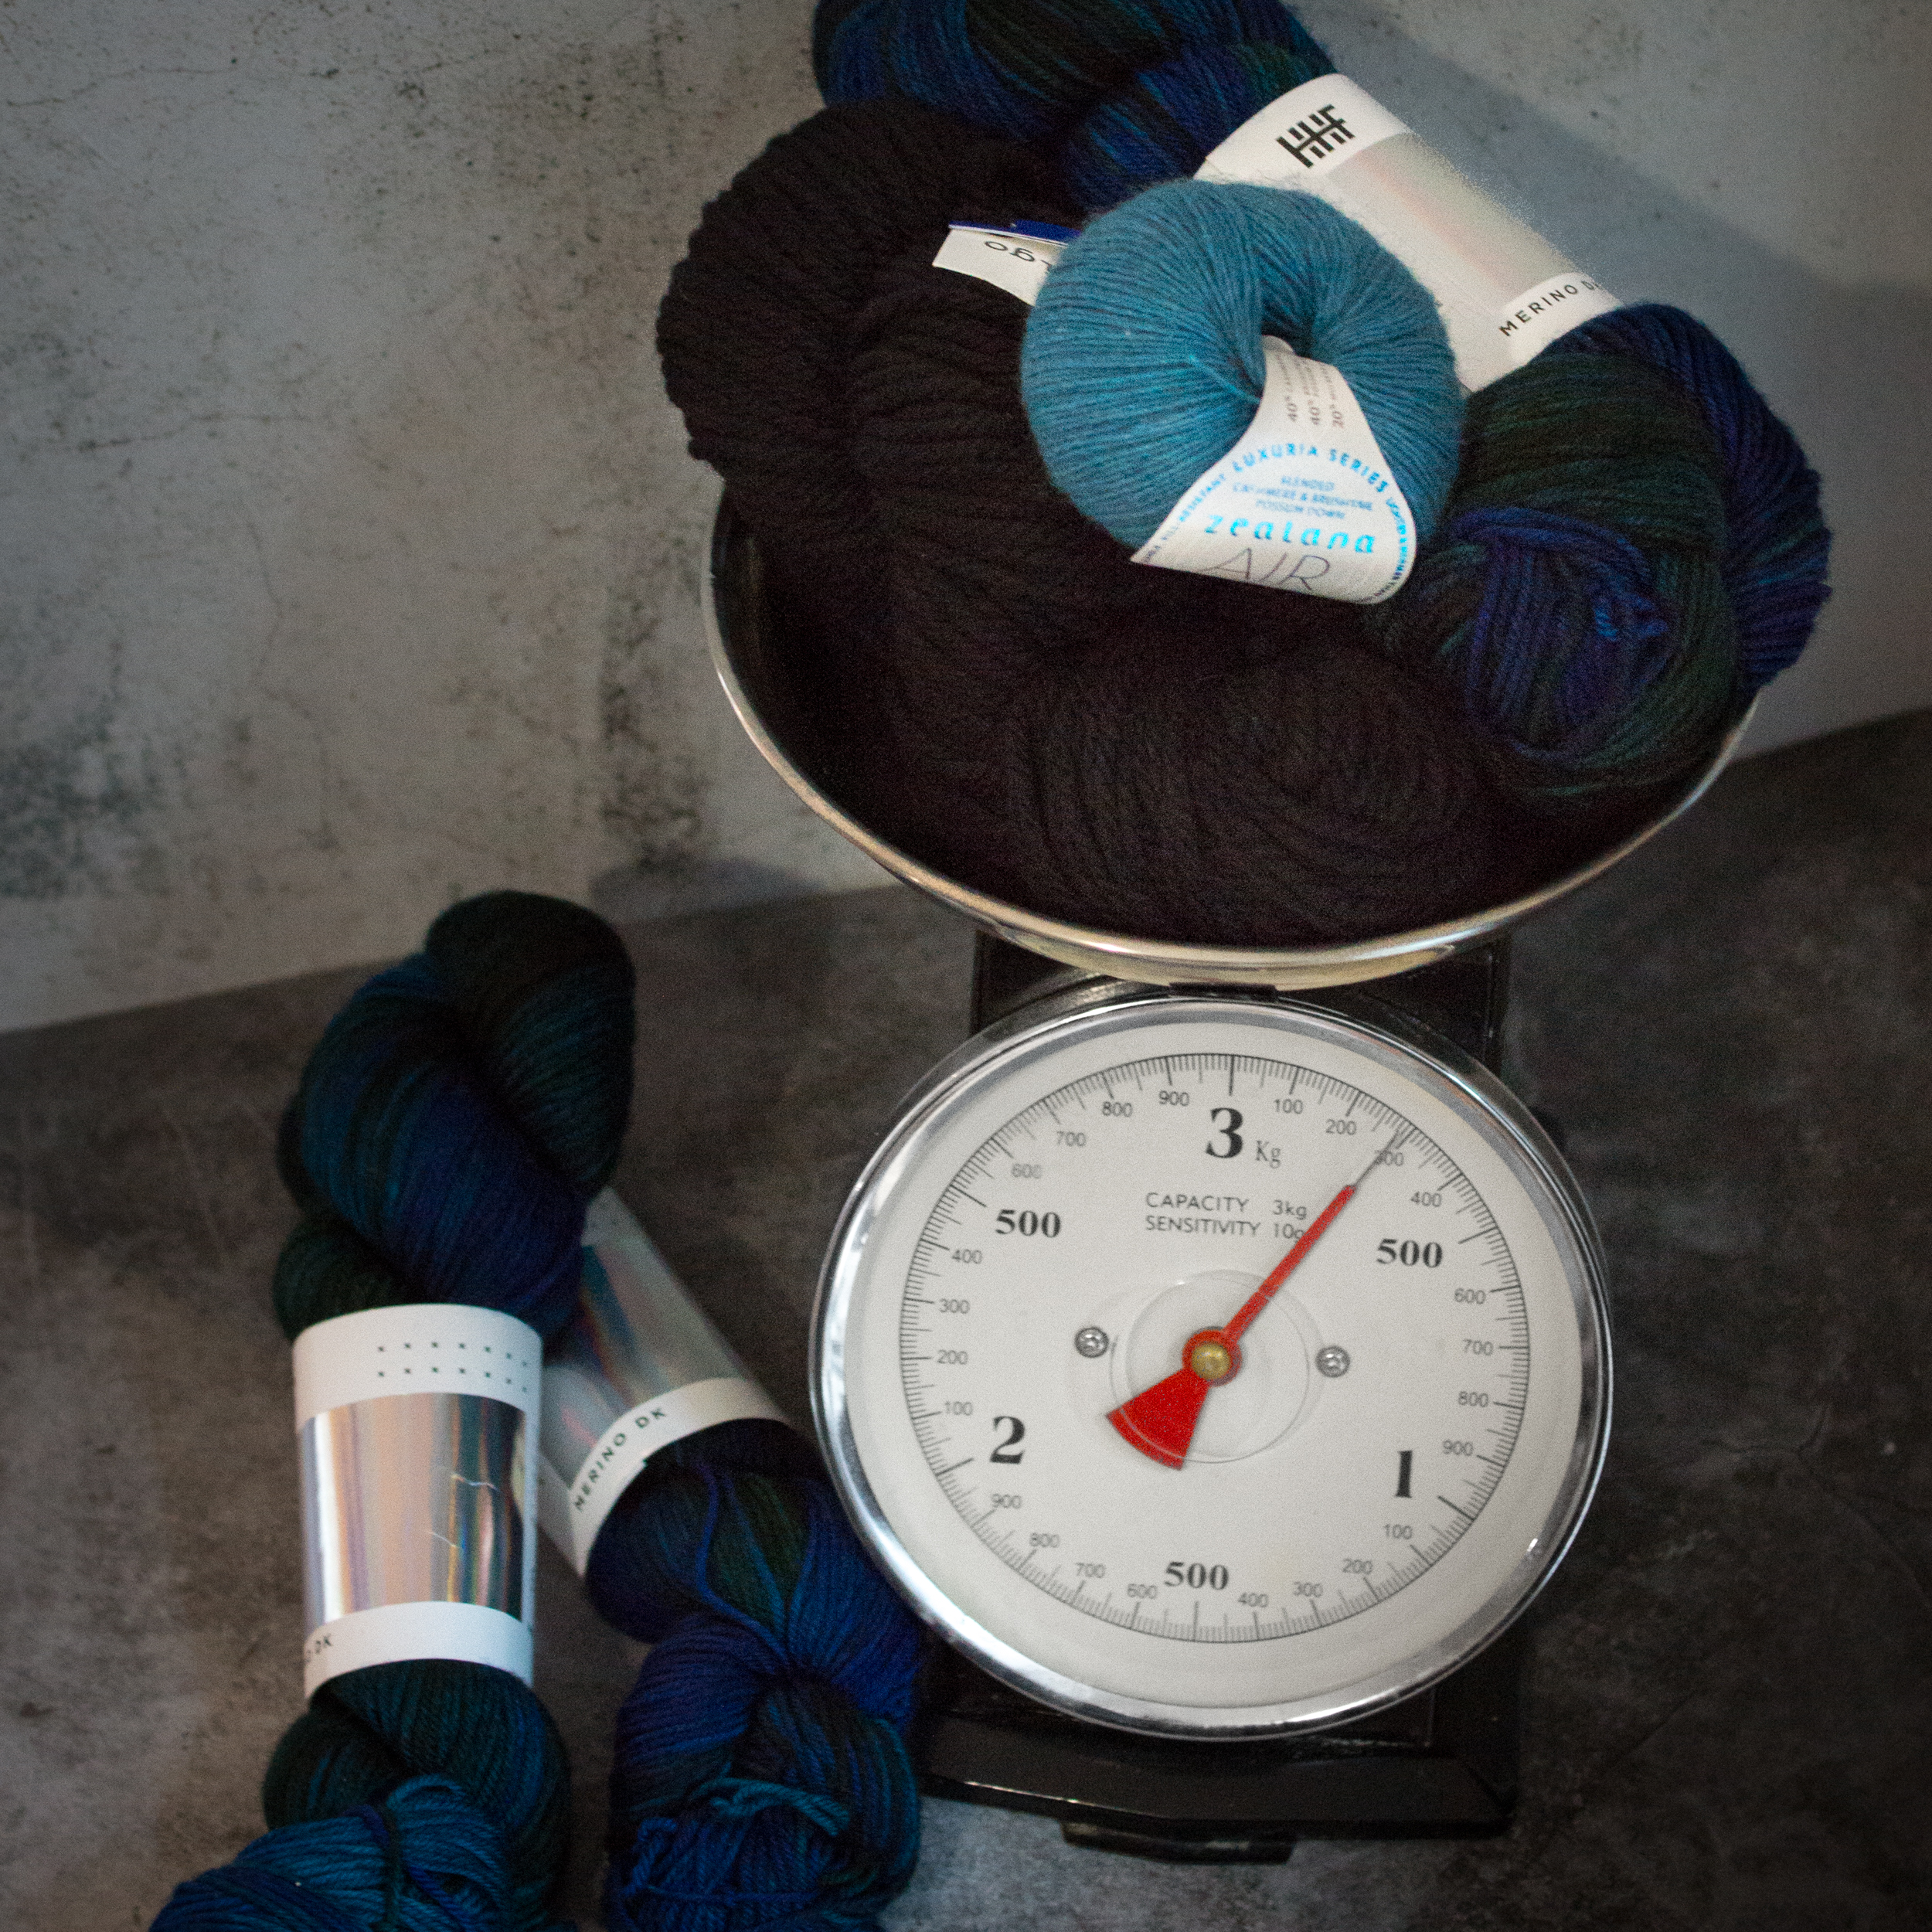
For Hearth and Midas, I used Giddy Aunt Yarns Highland. It’s perfect for colourwork: it’s rustic, it’s sticky, and it’s wool.
Of course, you don’t have to go for the “perfect” yarn every time, or indeed at all. Using any wool that isn’t single ply or high twist is likely to give you a great result.
For Tyger, I used Skein Queen Bloom DK, which is 100% Bluefaced Leicester. It’s not sticky and rustic, but it is wool and it is rounded and soft, and it’s done its job beautifully.
Selecting Colours
I would be remiss if I didn’t mention the importance of colour when choosing your yarns. It’s often the most fun part, but getting it wrong can lead to the results looking a little lacklustre and not really being sure why.
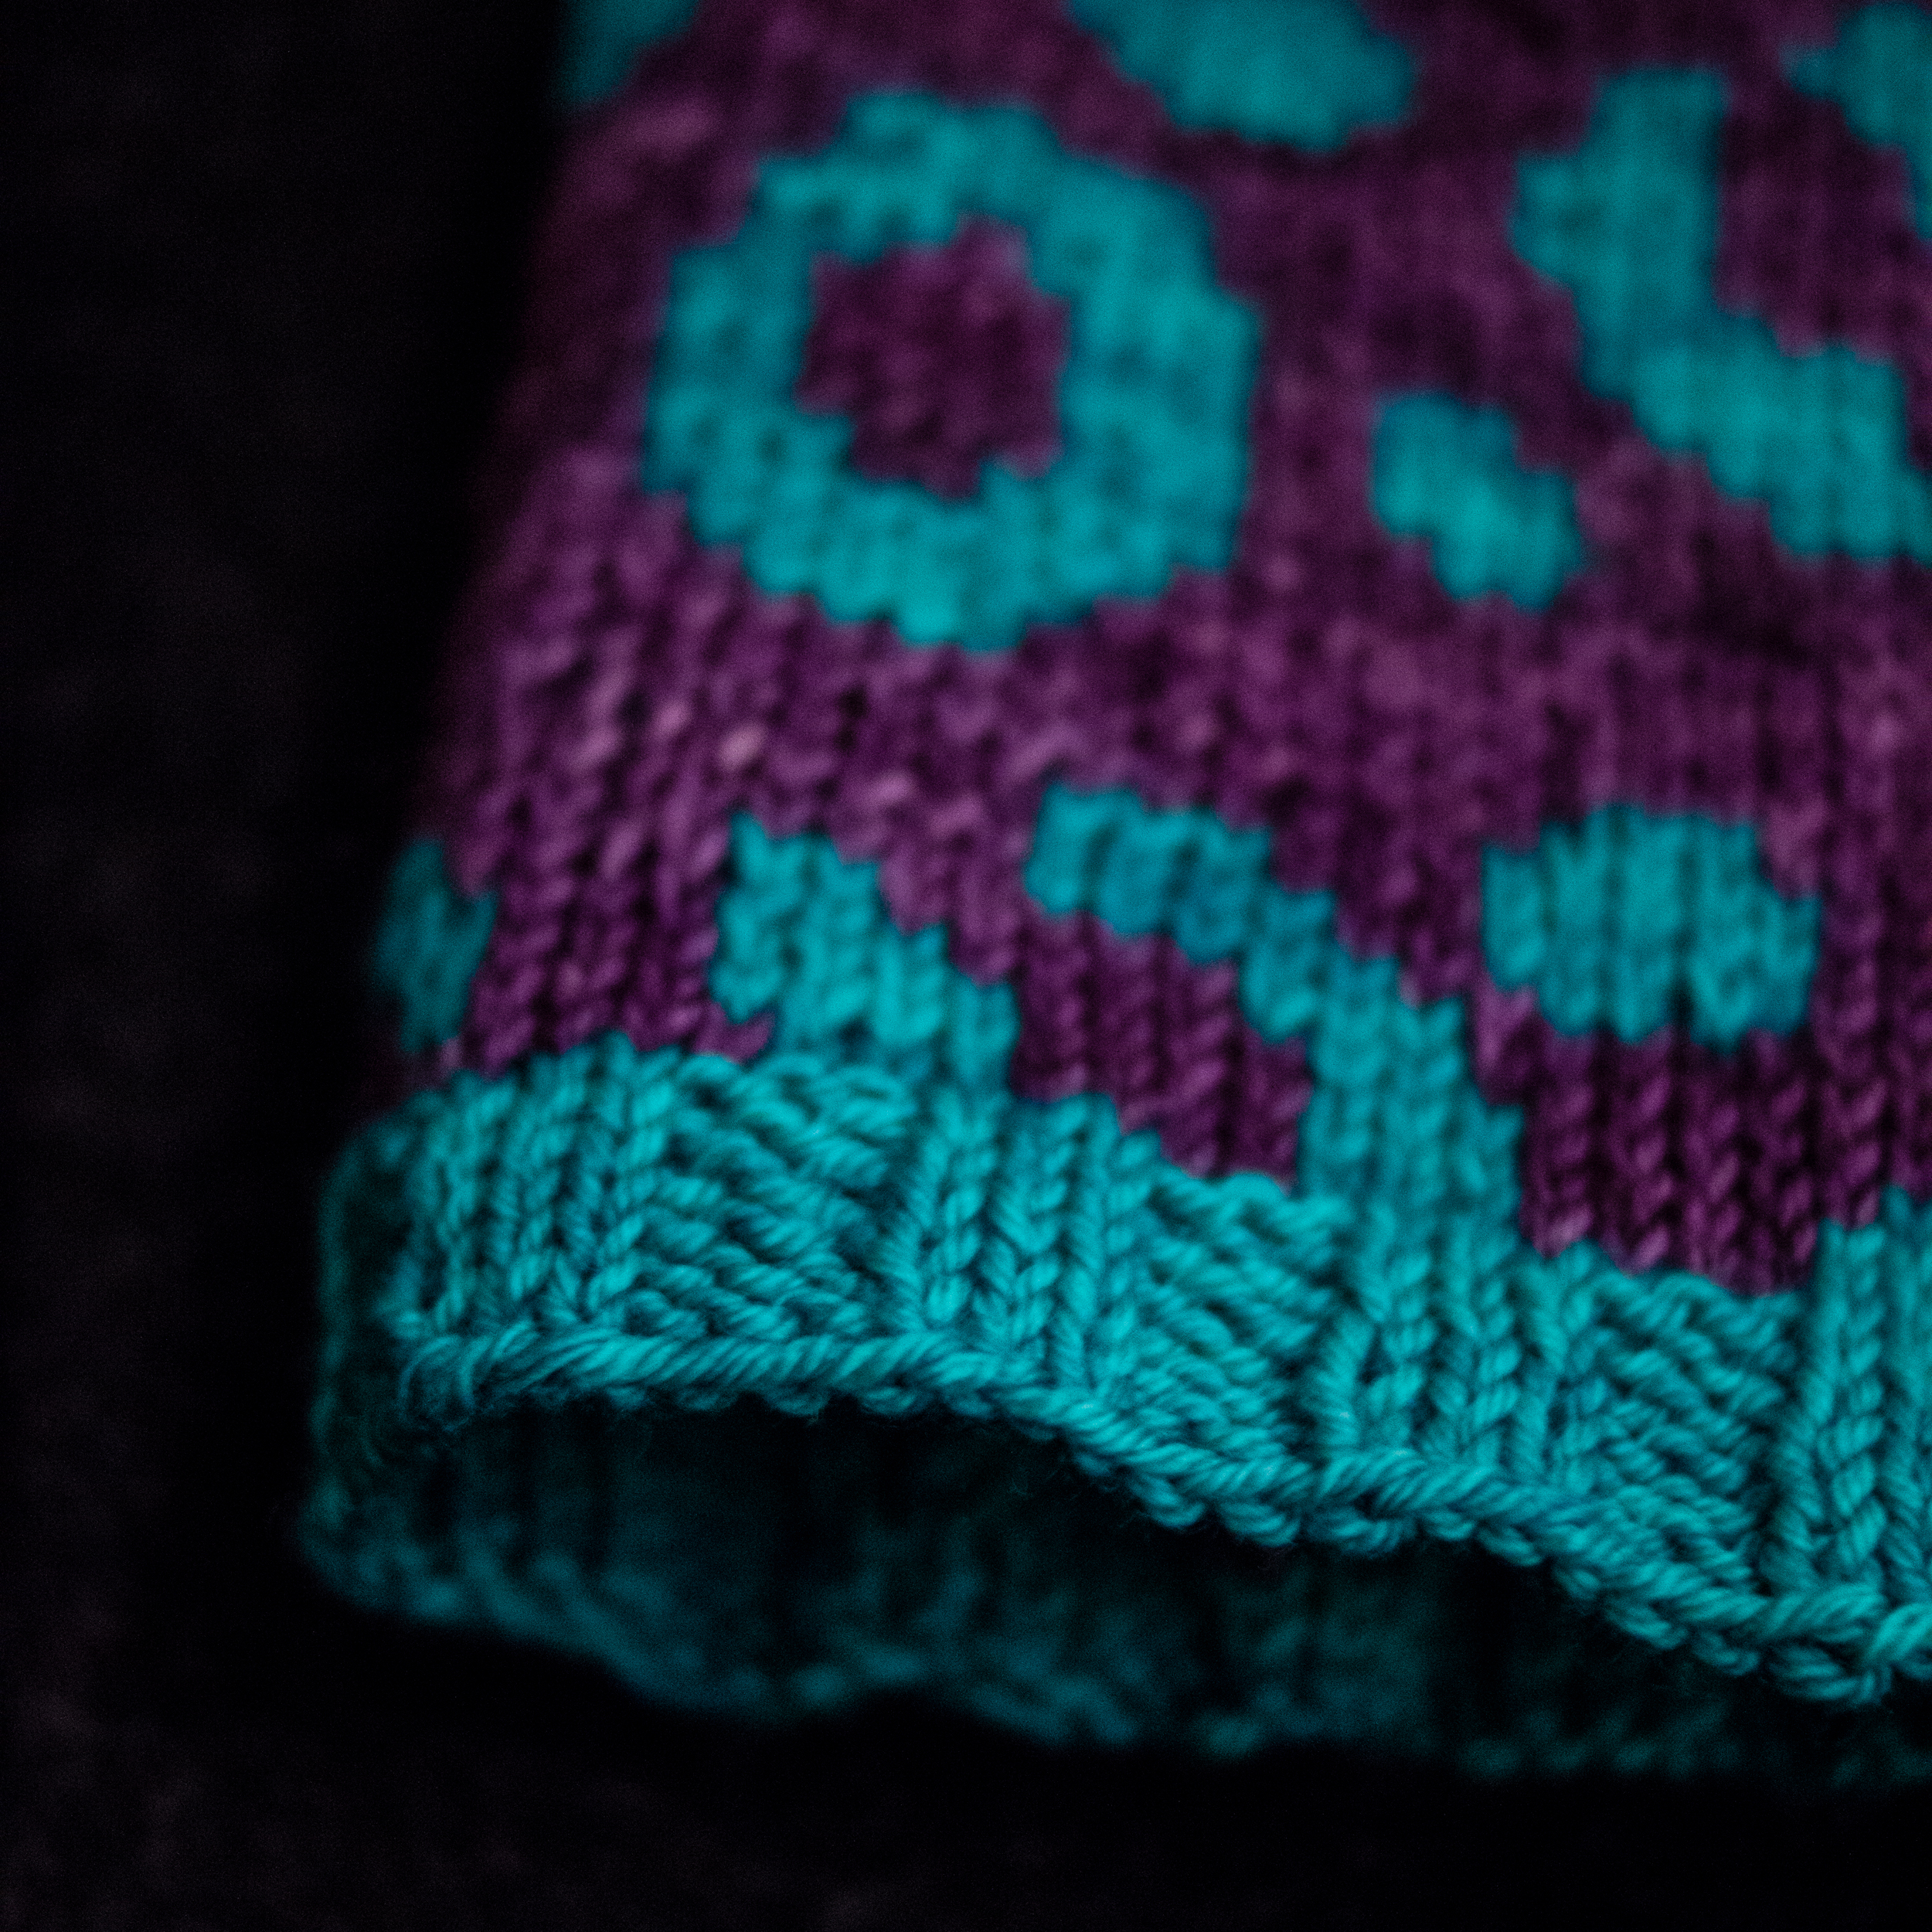
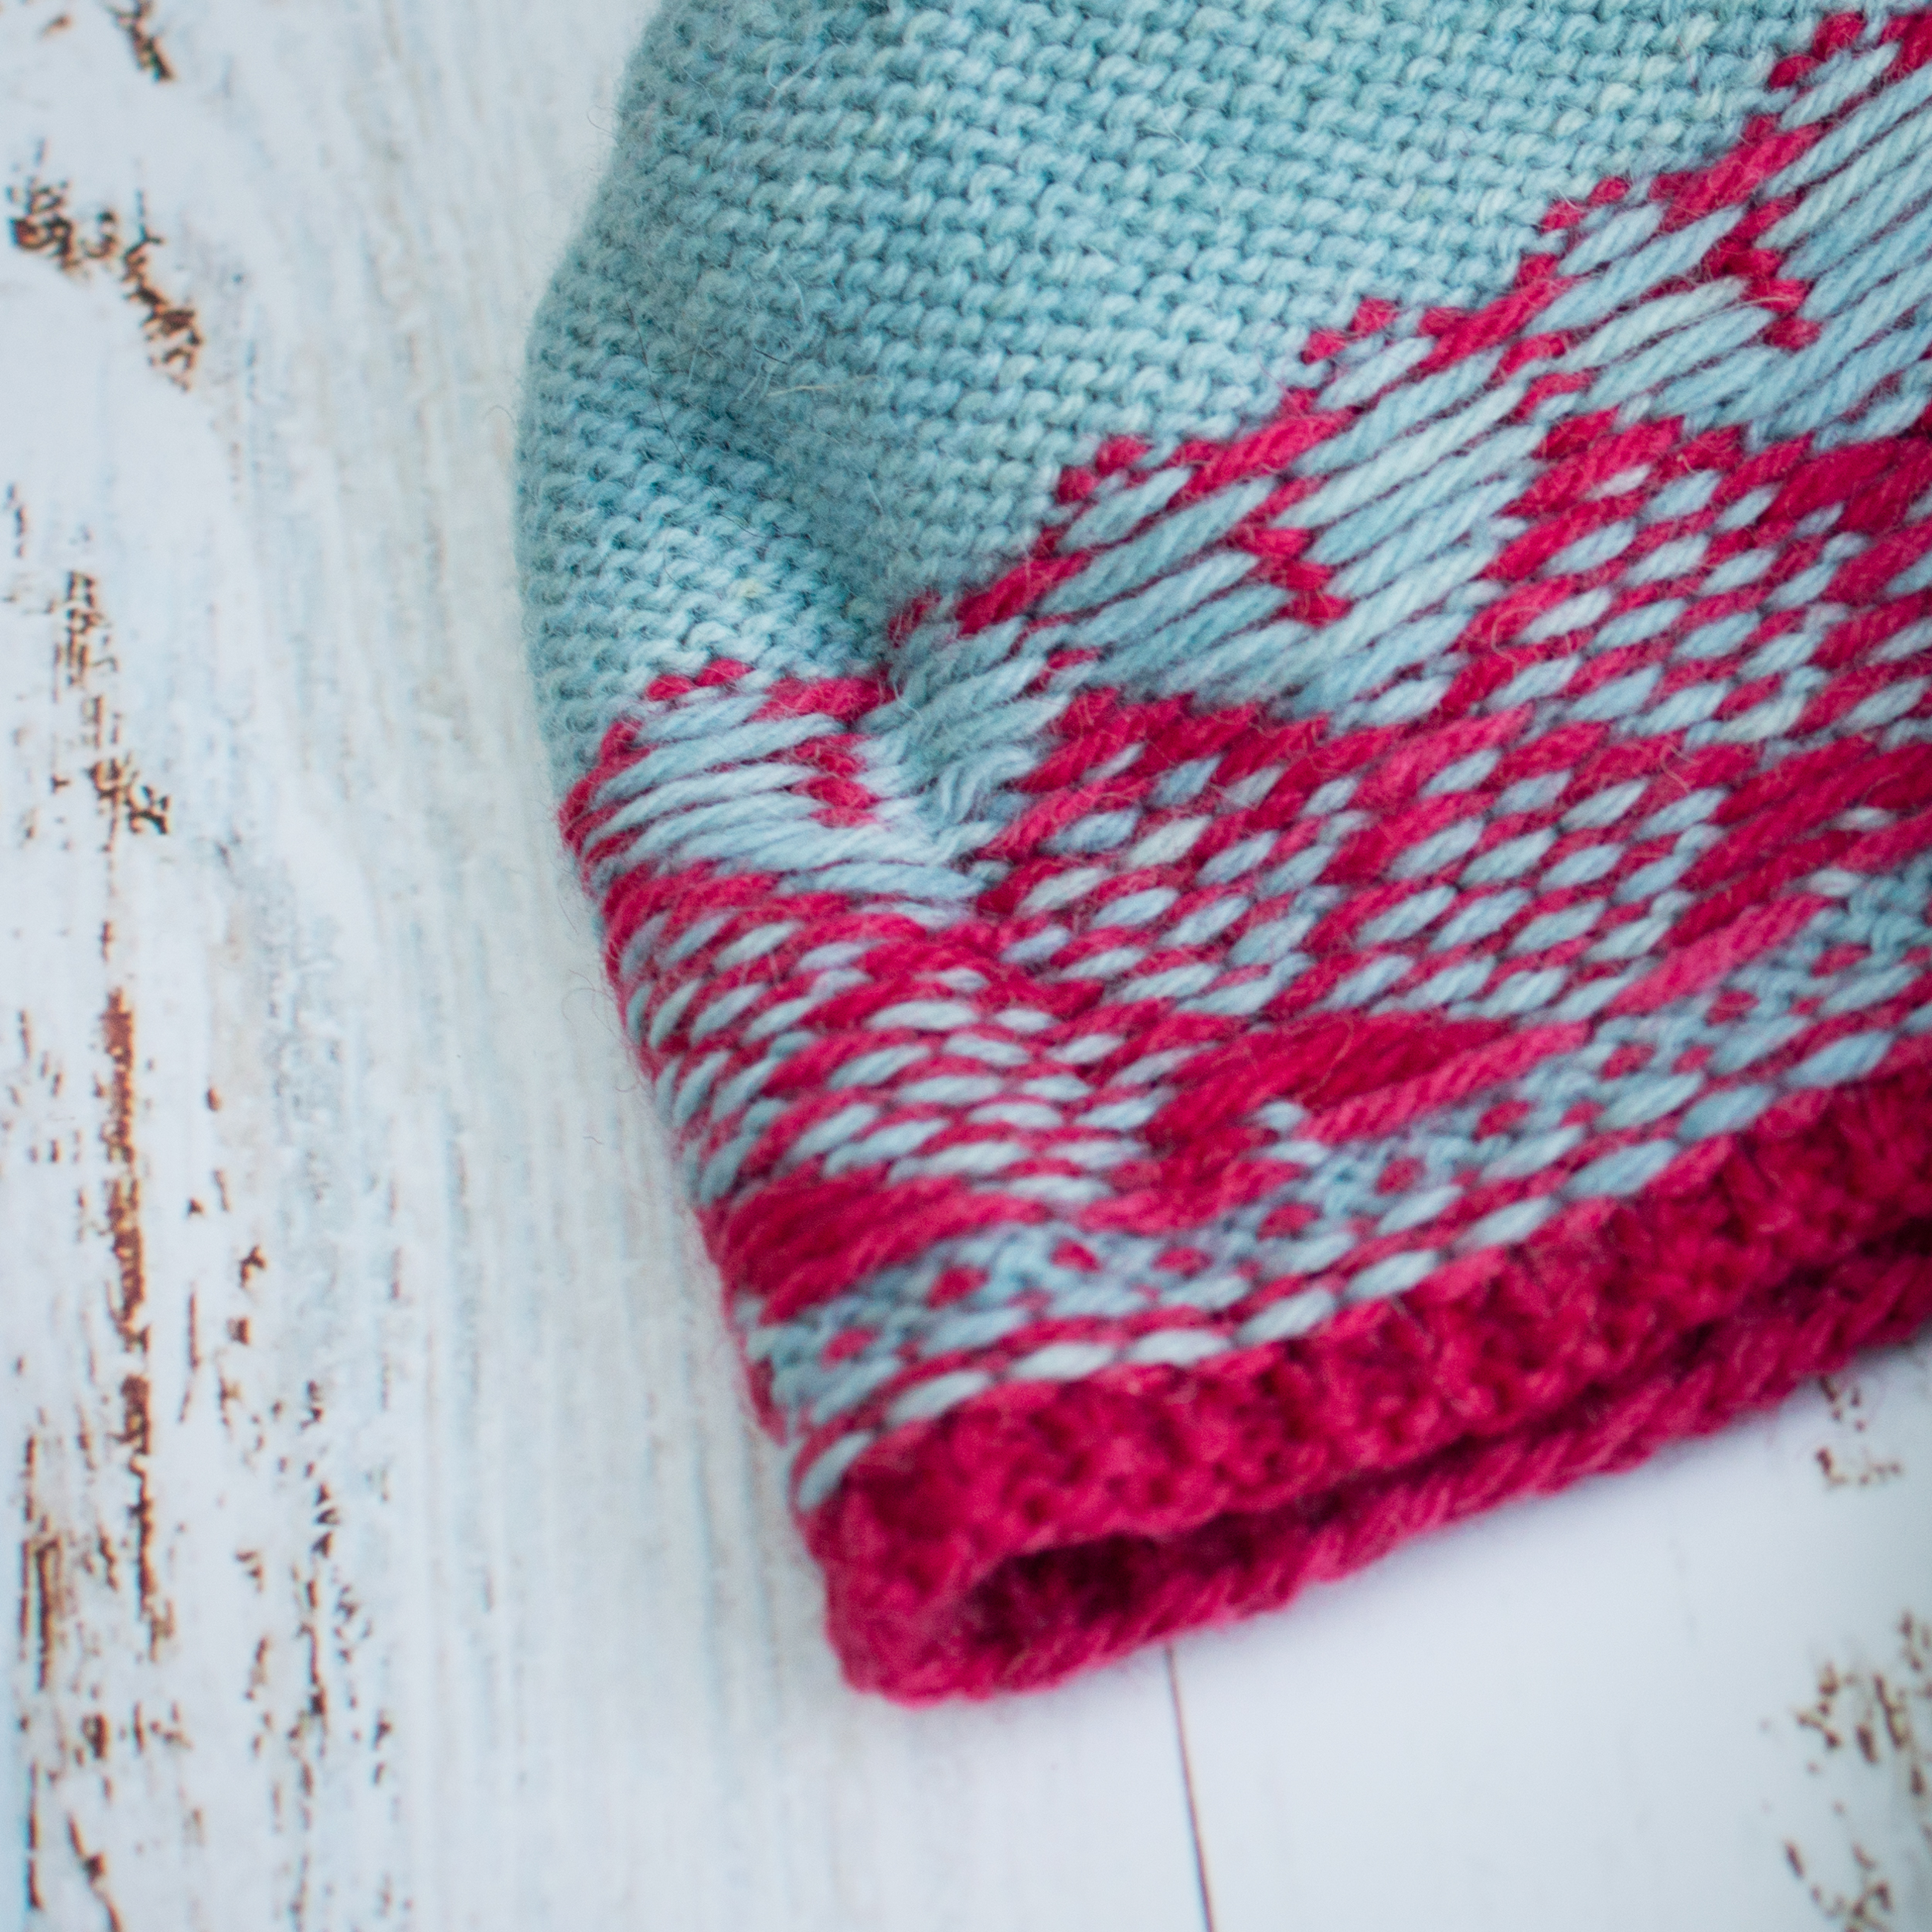
The answer is tonal contrast. In colour theory, tonal contrast refers to the difference in light and dark between two colours. It’s the thing that makes dark parts and light parts in a black and white photo. And that right there is how you can use a quick trick to check your colour choices before committing: take a photo and convert it to greyscale.
Take this example.
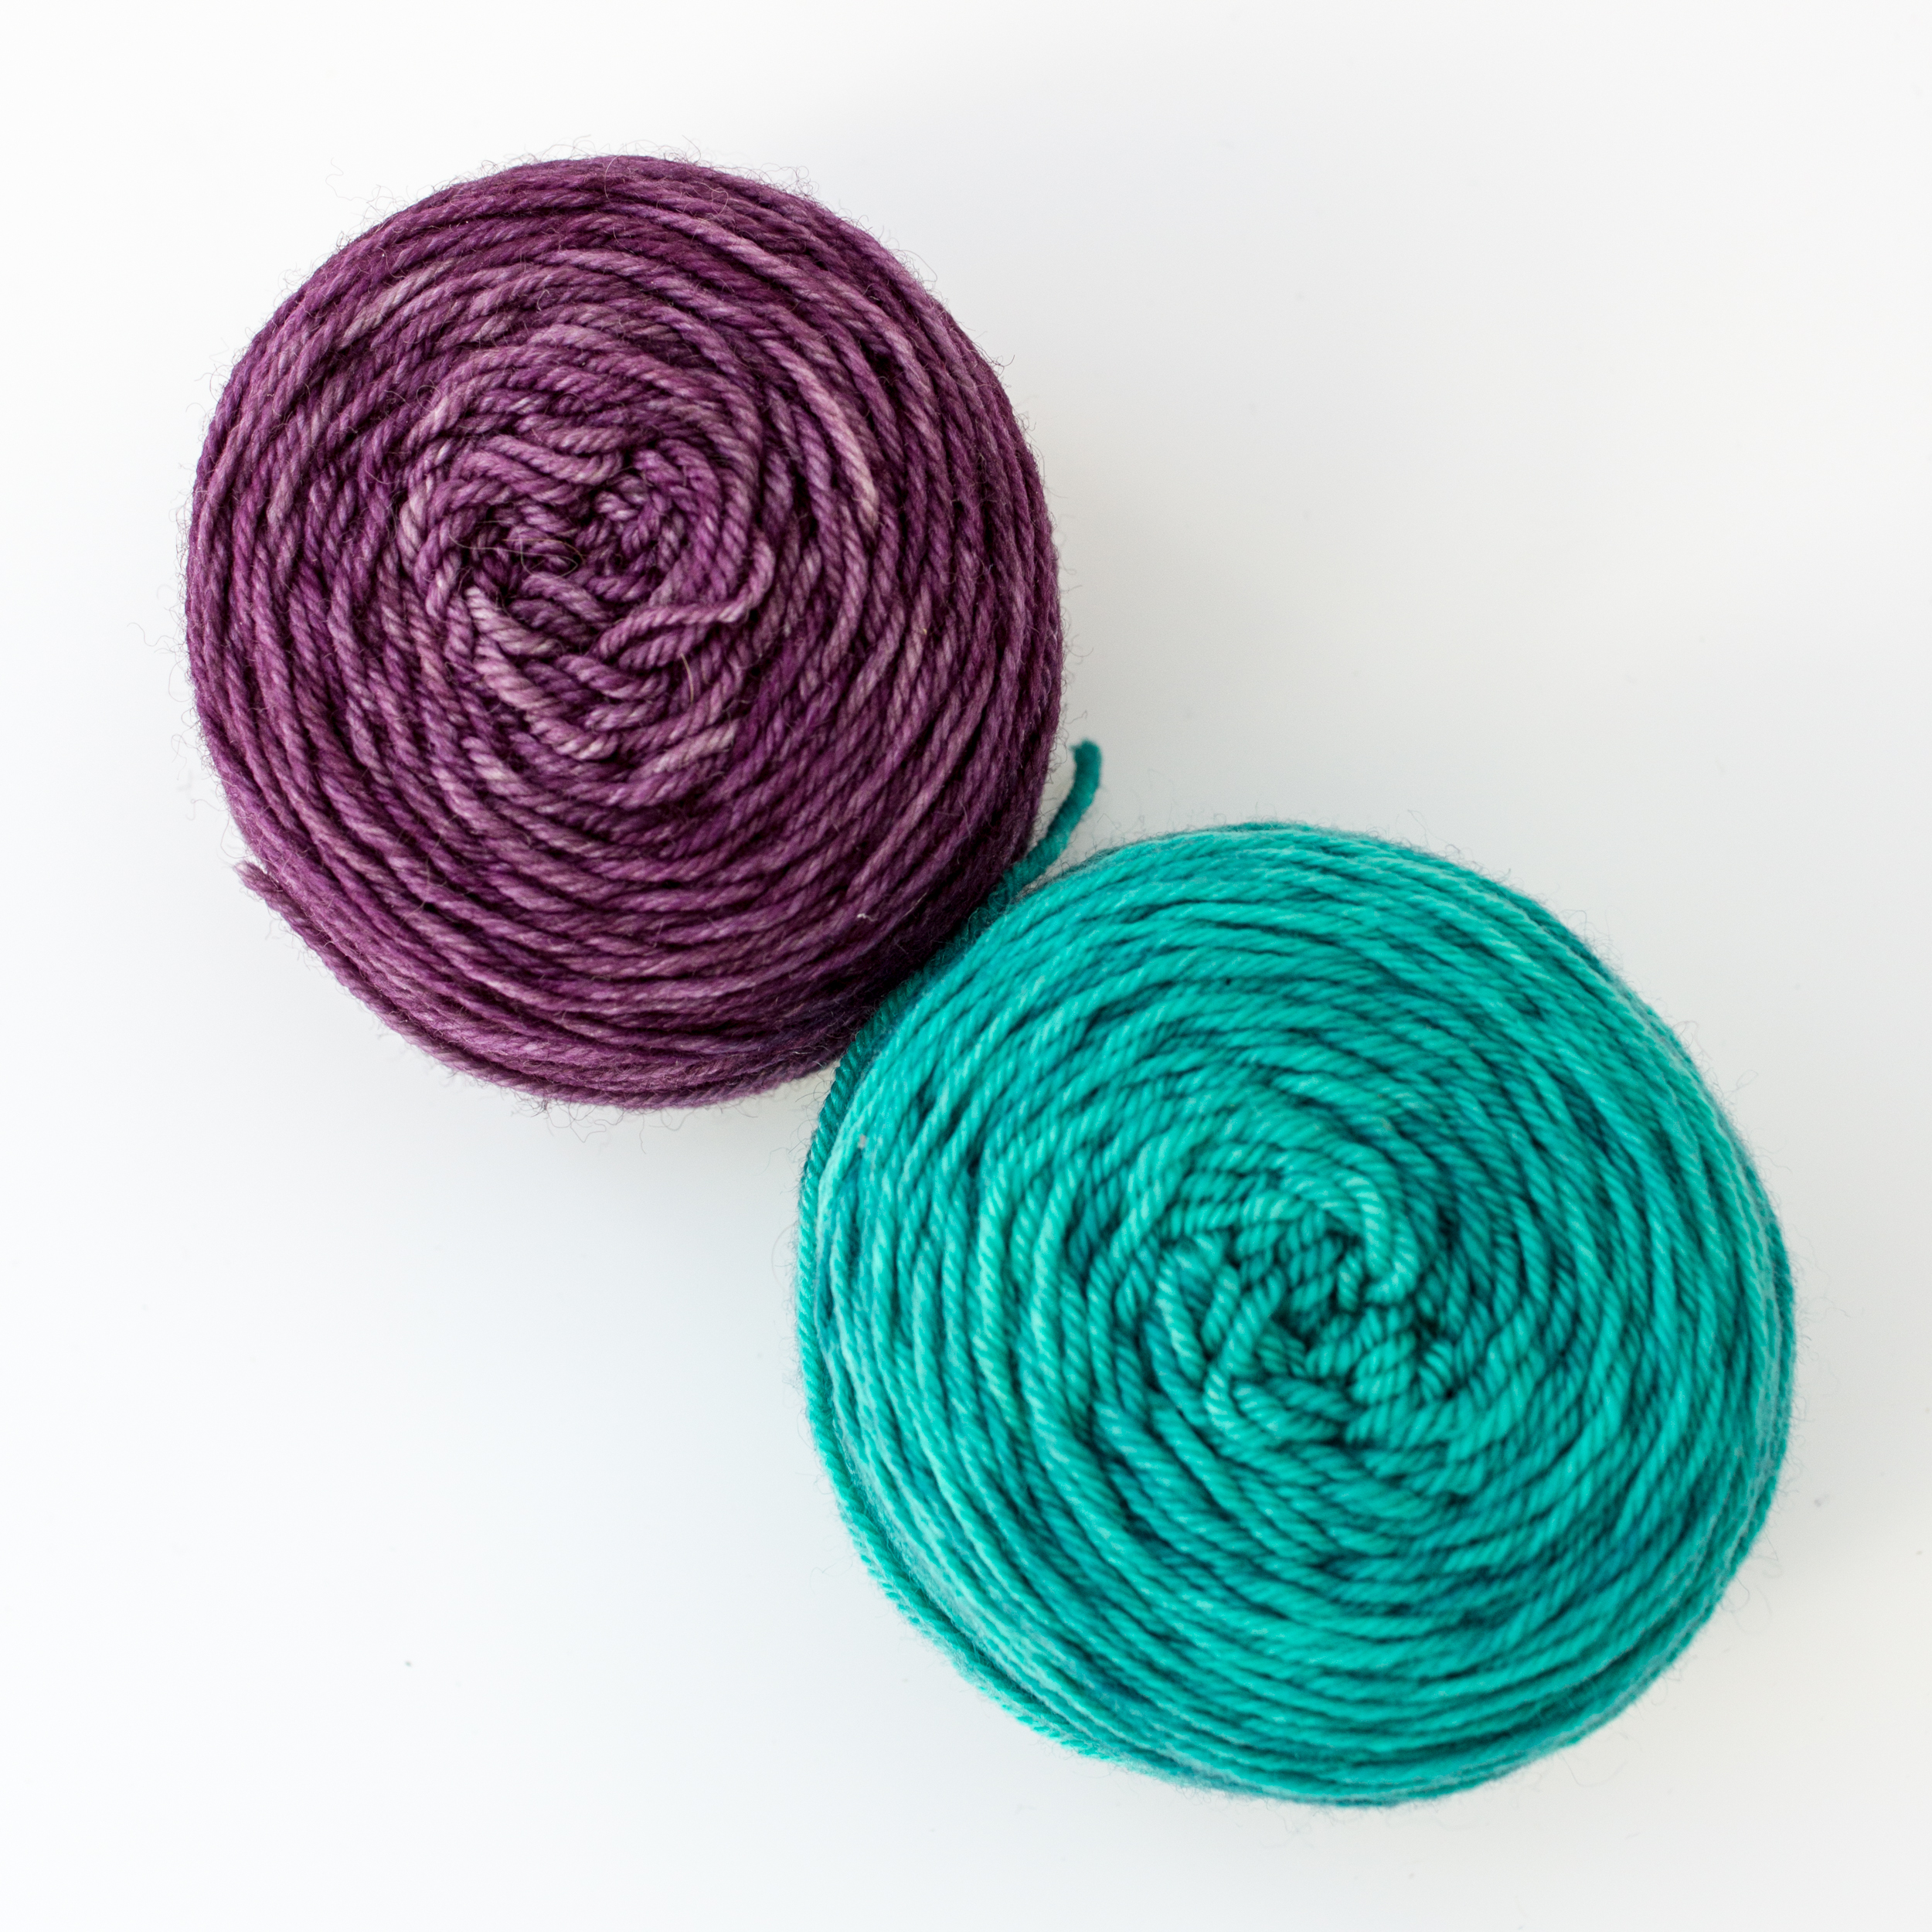
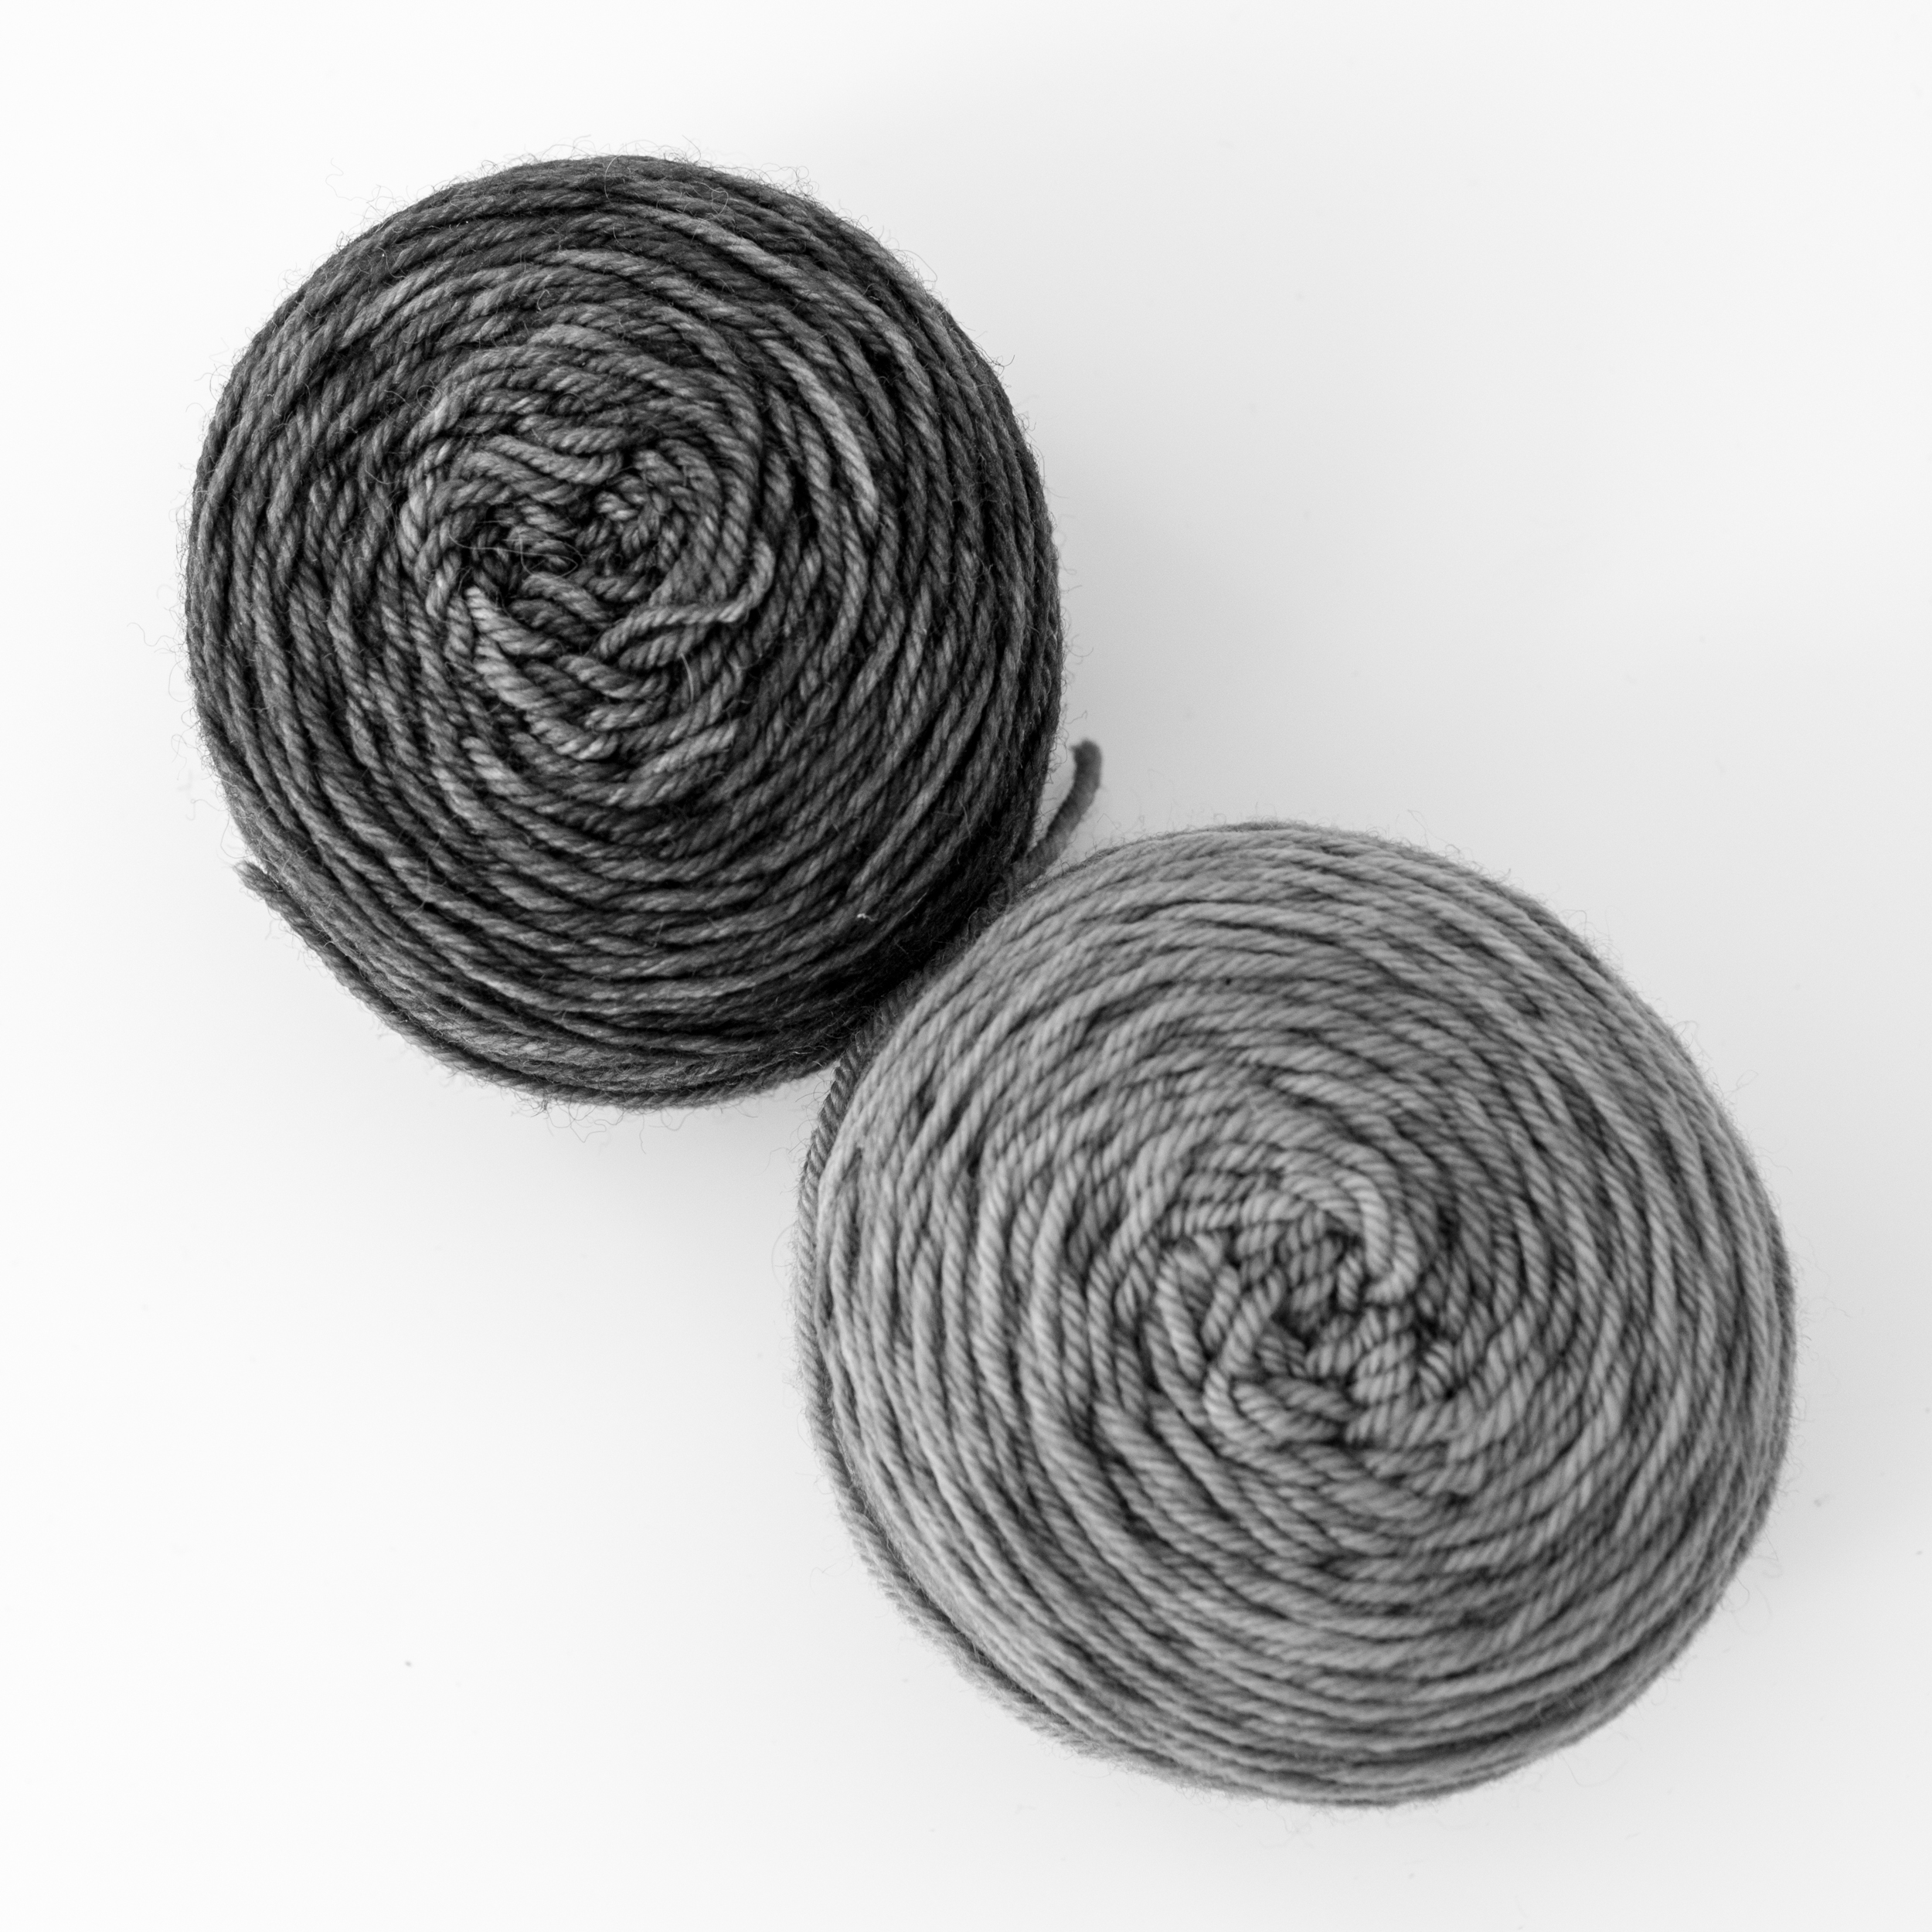
Even once the colour is removed, you can tell them apart clearly. The purple yarn on the left is tonally darker than the turquoise yarn on the right, and that’s why they work well together.
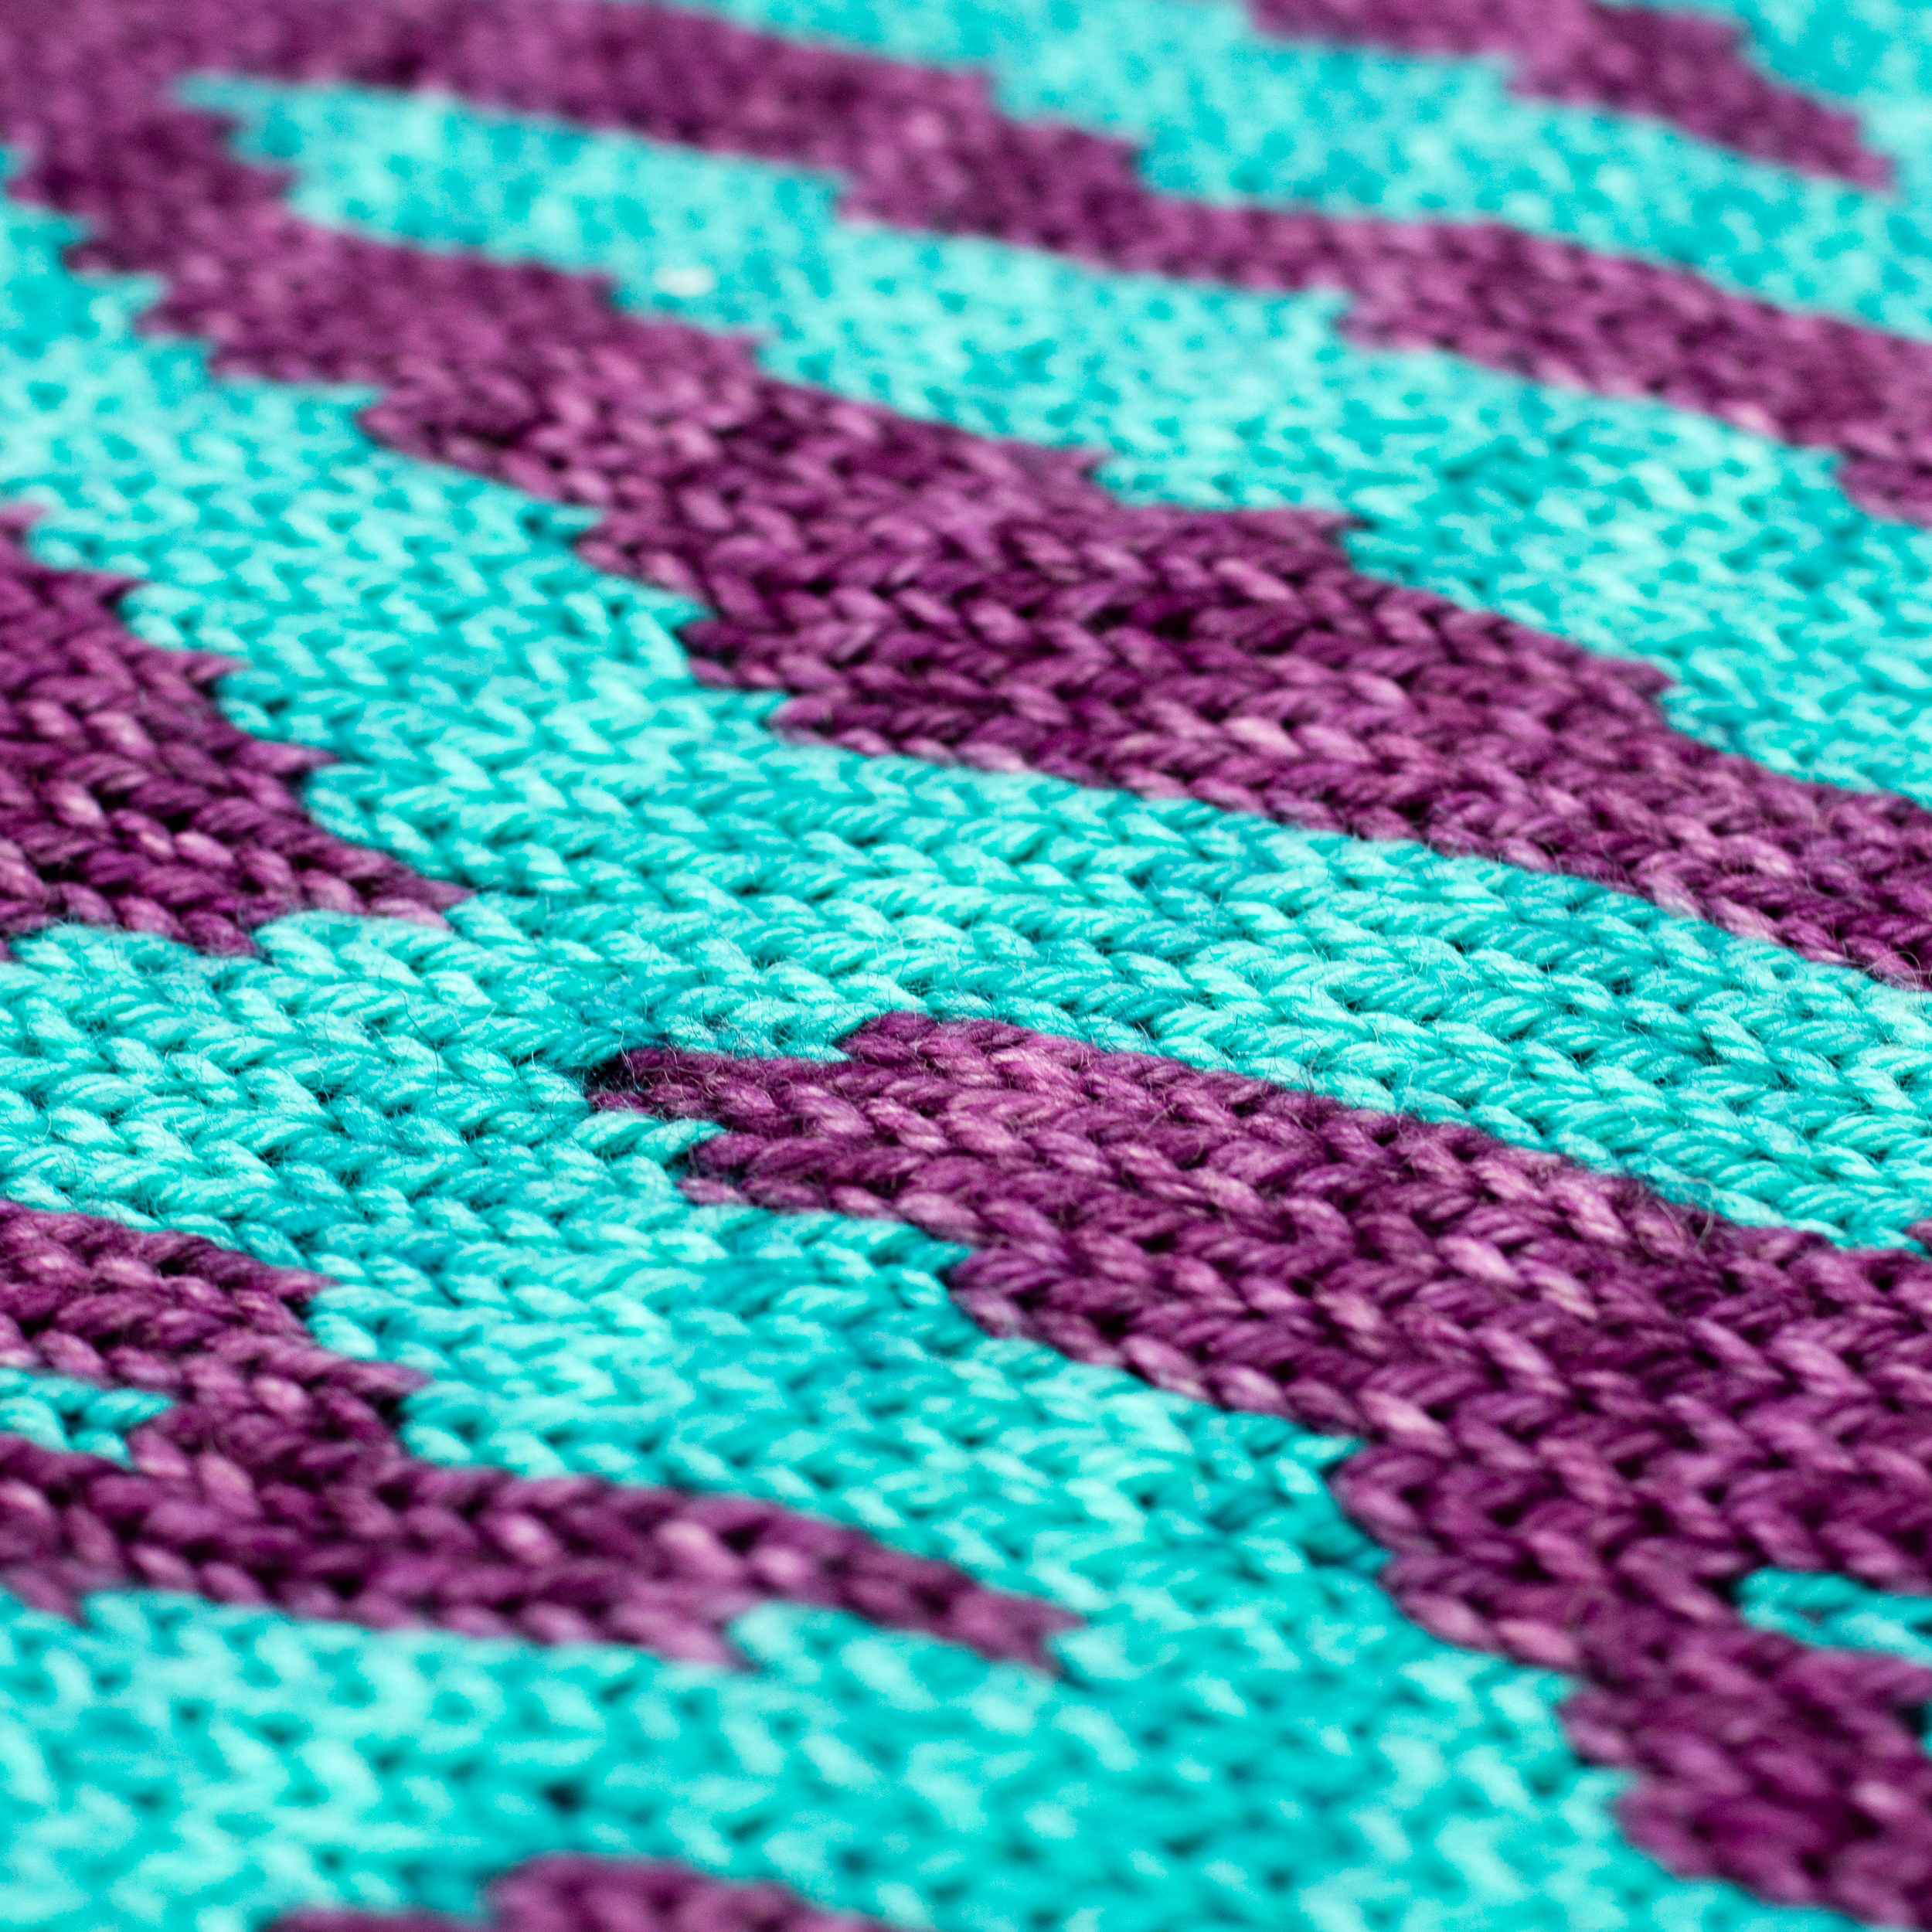
Tension Management
Once you’re ready to knit, the next hurdle to overcome is that pesky tension. There are a couple of things that really help me with this, and the first is regularly catching floats.
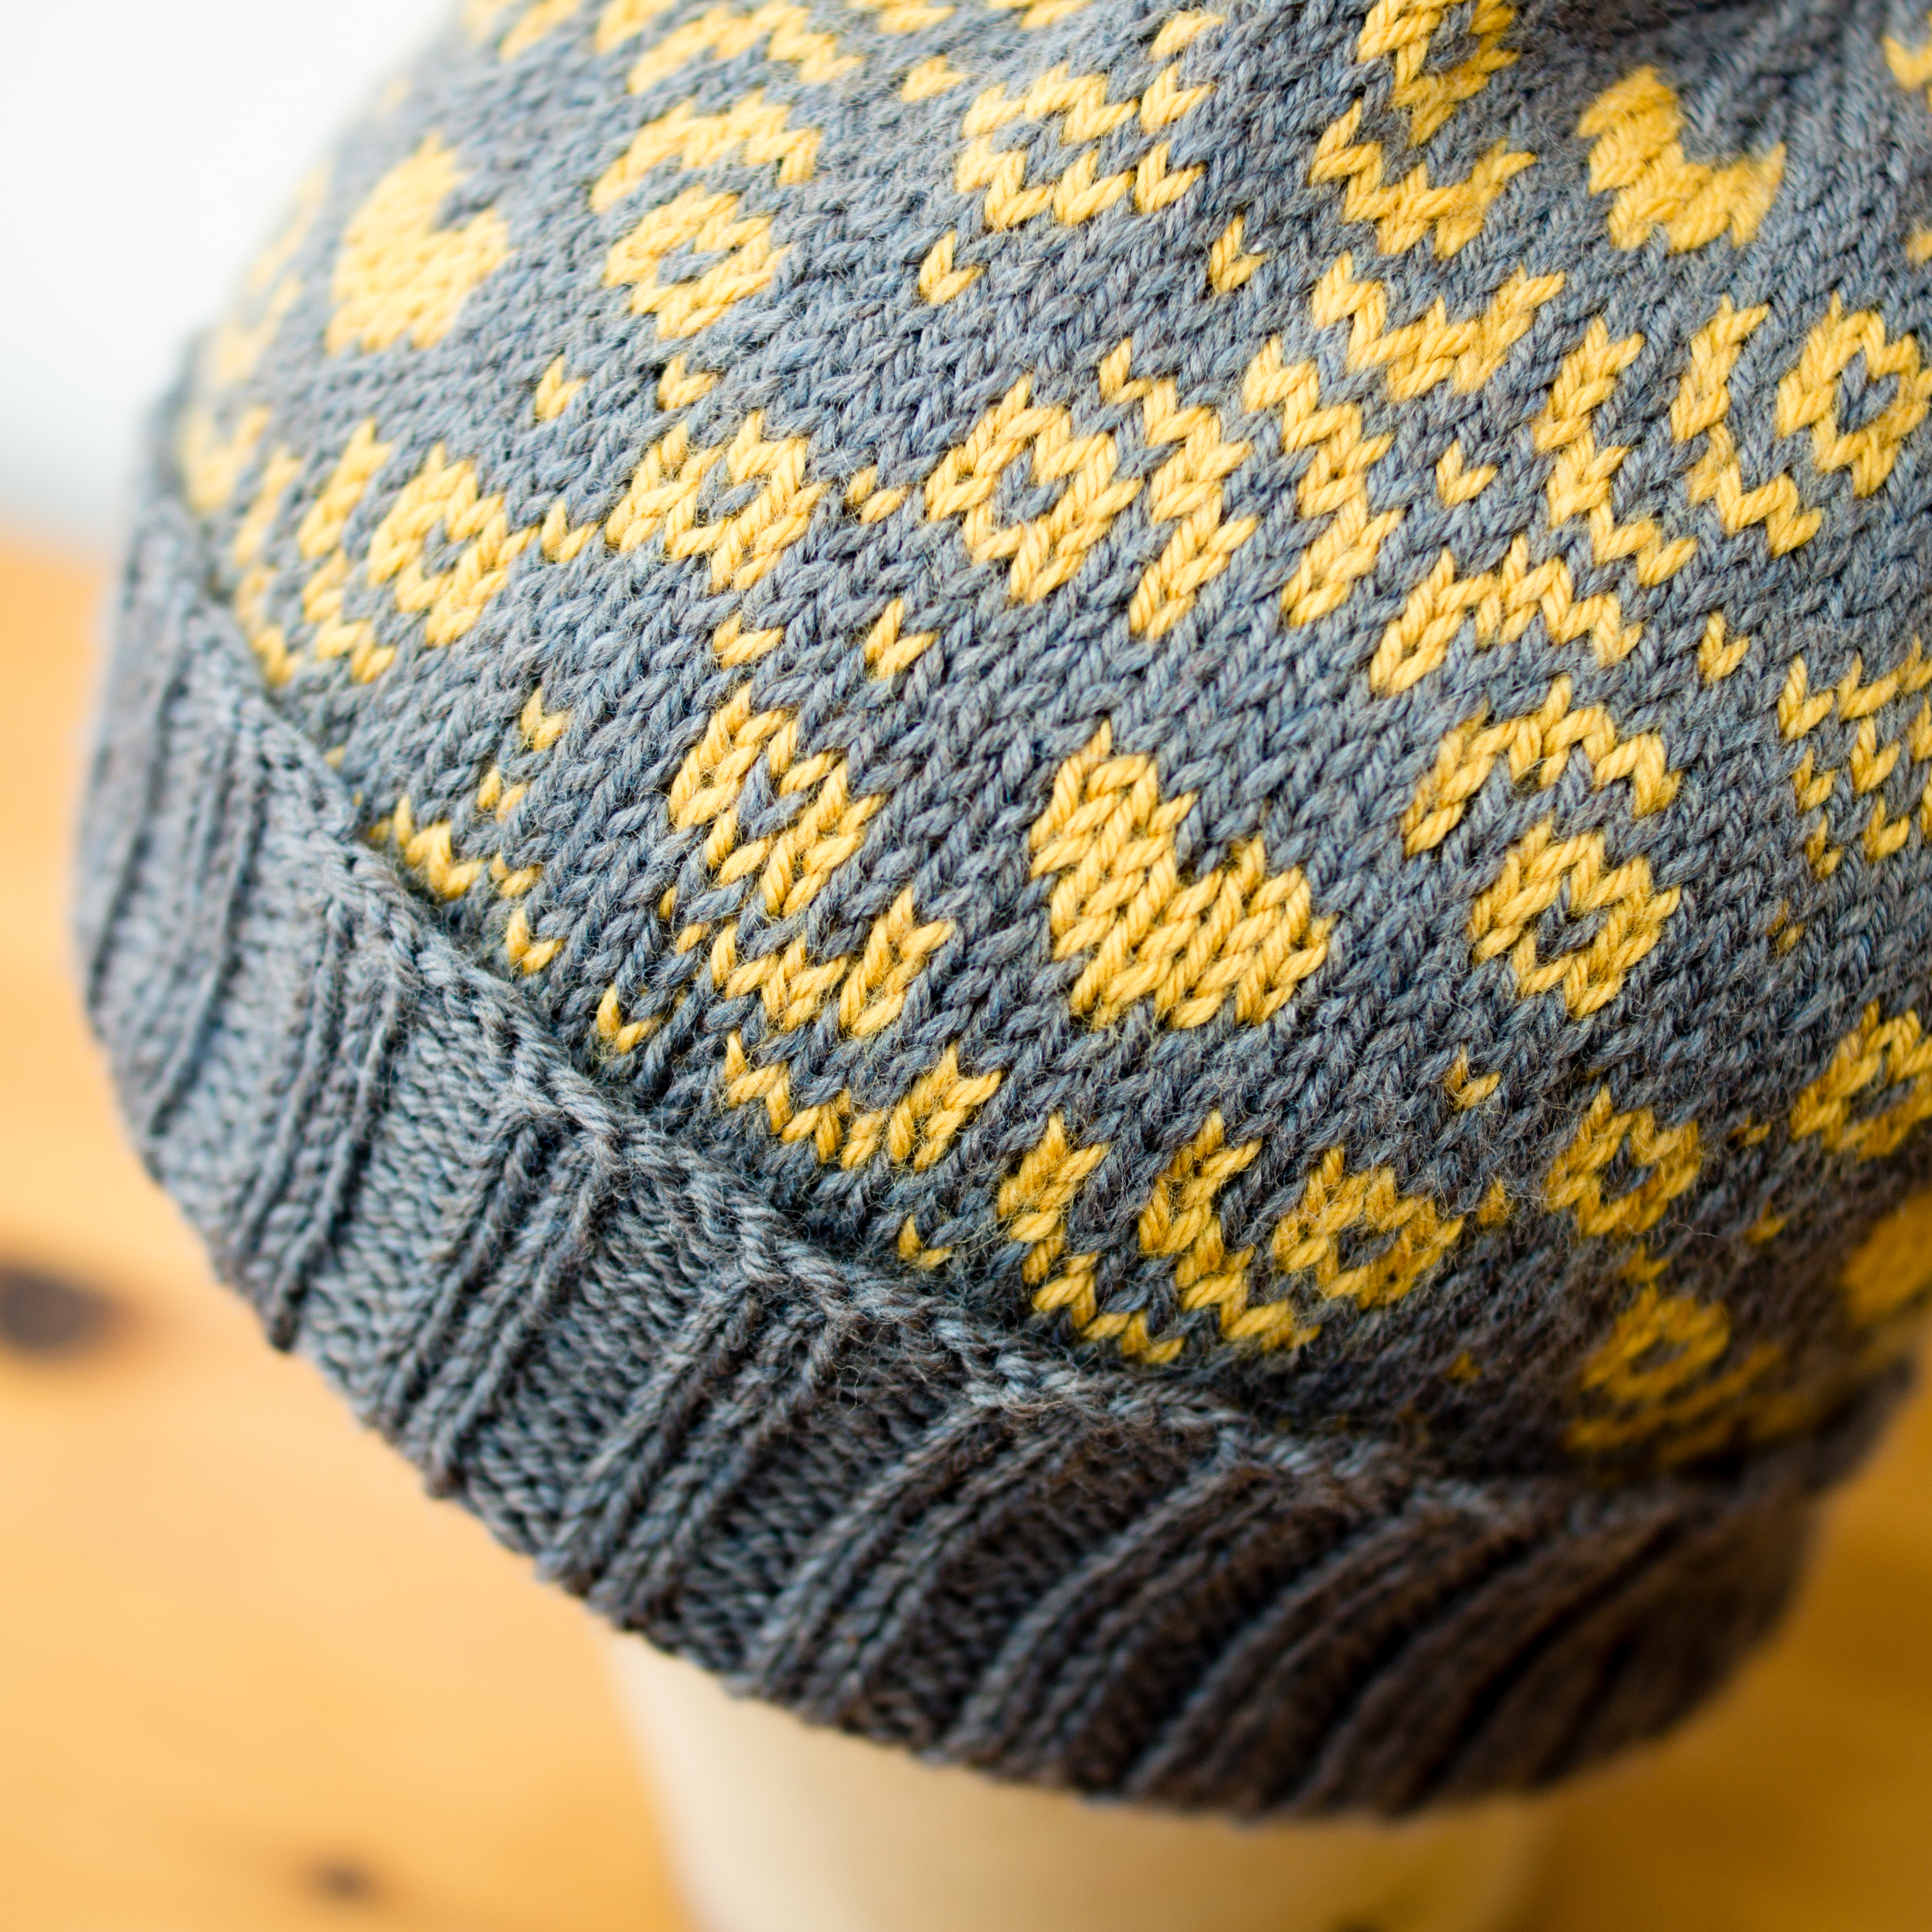
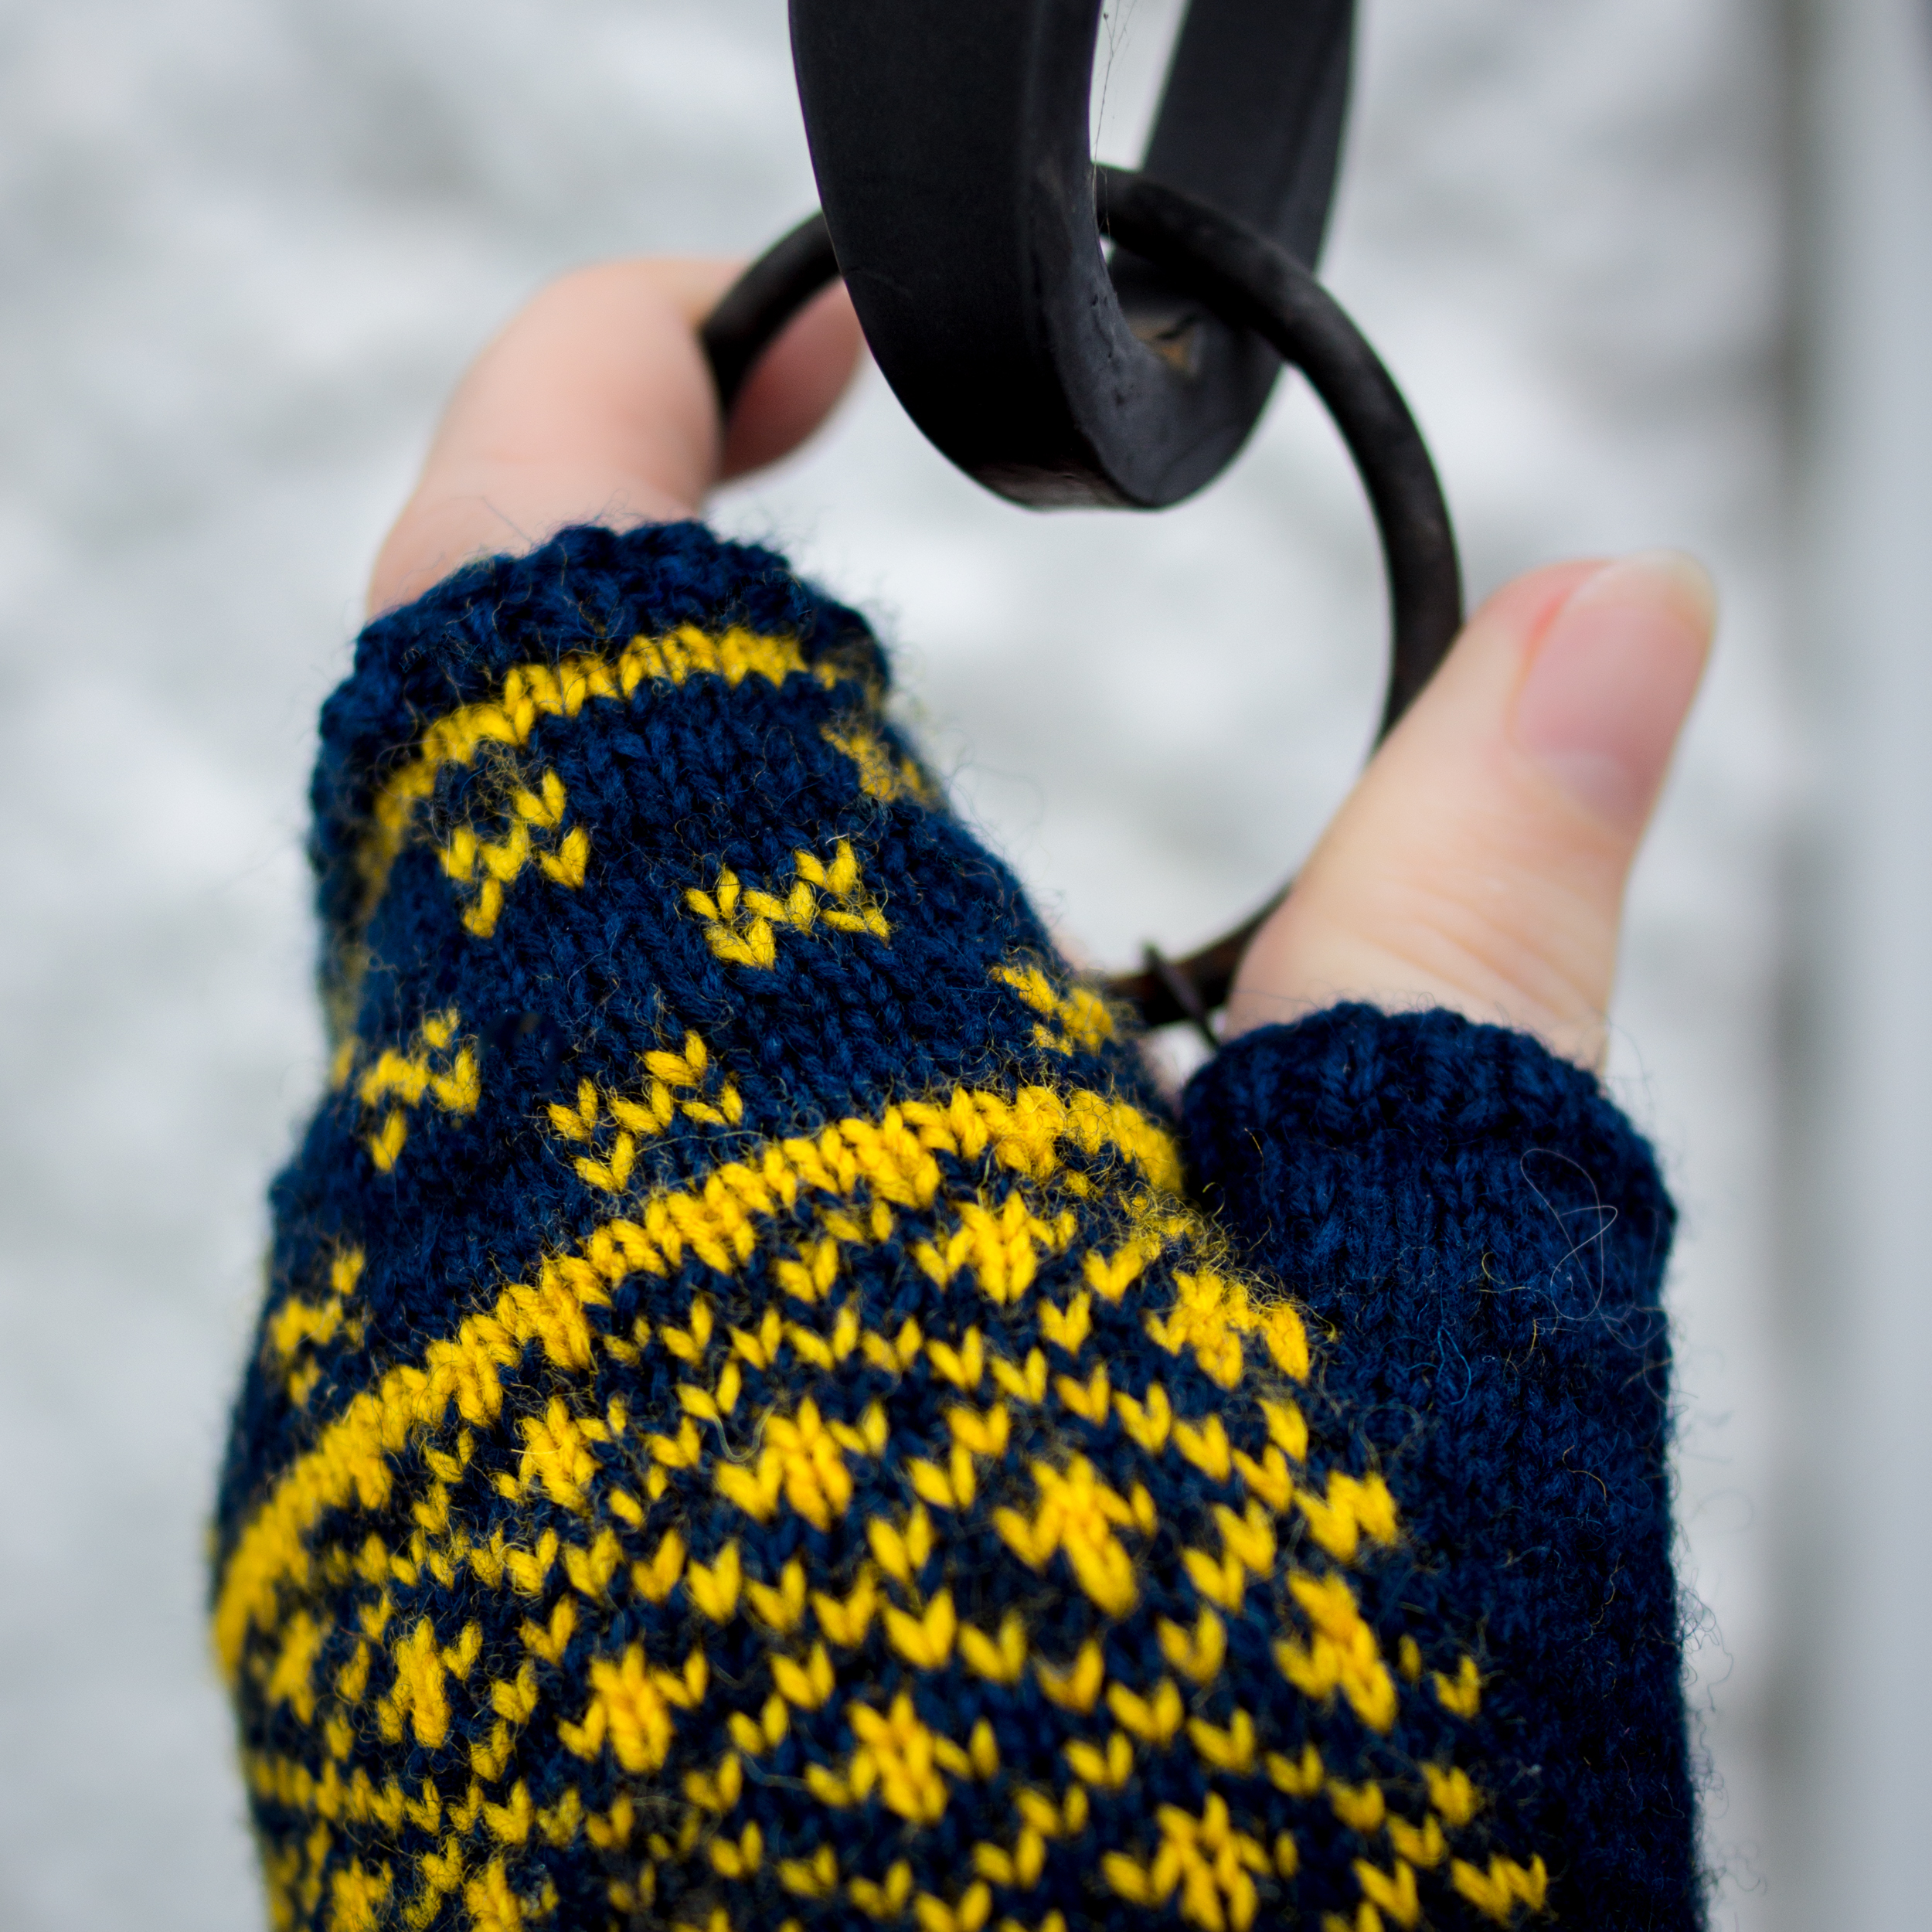
As I mentioned towards the start, Fairisle knitting only allows a few stitches in any given colour before changing. This is because it keeps the floats on the back of your work short, which means that any body parts (fingers, I’m looking at you) won’t get caught in them as you put the item on. It also helps to keep your tension even, as any tightness or looseness isn’t multiplied over a large number of stitches.
There are a few different ways to catch your floats and it depends on how you’re holding your yarns, so I won’t go into all the different options here – but Google “catching floats” and try a few things to see what works for you.
The other trick I sometimes use is to knit the thing inside-out – i.e. have the floats on the outside of your work and the right side on the inside. This works particularly well if your tension is regularly just a little bit too tight, for the simple reason that the outside circumference of your work is just a little bit bigger than the inside.
Holding Multiple Yarns
Or, as I like to think of it, “just how many hands do you think I have?”. Don’t panic; it’s one of those things that comes with practice, and with time, your hands will learn what to do.
You have a few options here:
One At a Time, Please
If you’d rather work with one yarn at at time, that’s totally possible! Just drop whichever yarn you’re not currently using and let it hang at the back of your work. When you need to switch, simply drop the one you were using and pick the other one back up.
This method works particularly well for colourwork where you don’t need to catch your floats. If you do need to catch, it can be easiest to physically pick up one ball and twist it around the other.
Two Yarns, One Hand
However you knit, it’s possible to hold two colours in one hand, and either pick (continental) or throw (English) the correct one for each stitch.
Two Yarns, Two Hands
The other option is to hold one colour continental style, and the other English style. If you’ve mastered both ways of knitting, why not take advantage!
Yarn Dominance
The inside-out trick works because of tiny differences in the distance a strand of yarn travels, and that difference is also why we have yarn dominance.
Simply put, when you’re working with 2 colours, one of them is going to have to travel a little bit further than the other one, because of the way the floats lie on the back of the work. Whichever colour has to travel a bit further will get pulled a little tighter to compensate, making the stitches seem less obvious on the front of the work. Sort of like whichever yarn is dominant being bold text and the other one being regular.
It often doesn’t matter which yarn is held dominant, but if in doubt, make sure the “detail” yarn is dominant and the “background” yarn is not. More importantly, pick one and stick with it! If you change half way through, it’ll be obvious.
However you’re managing multiple colours, you should be holding the dominant yarn to the left.
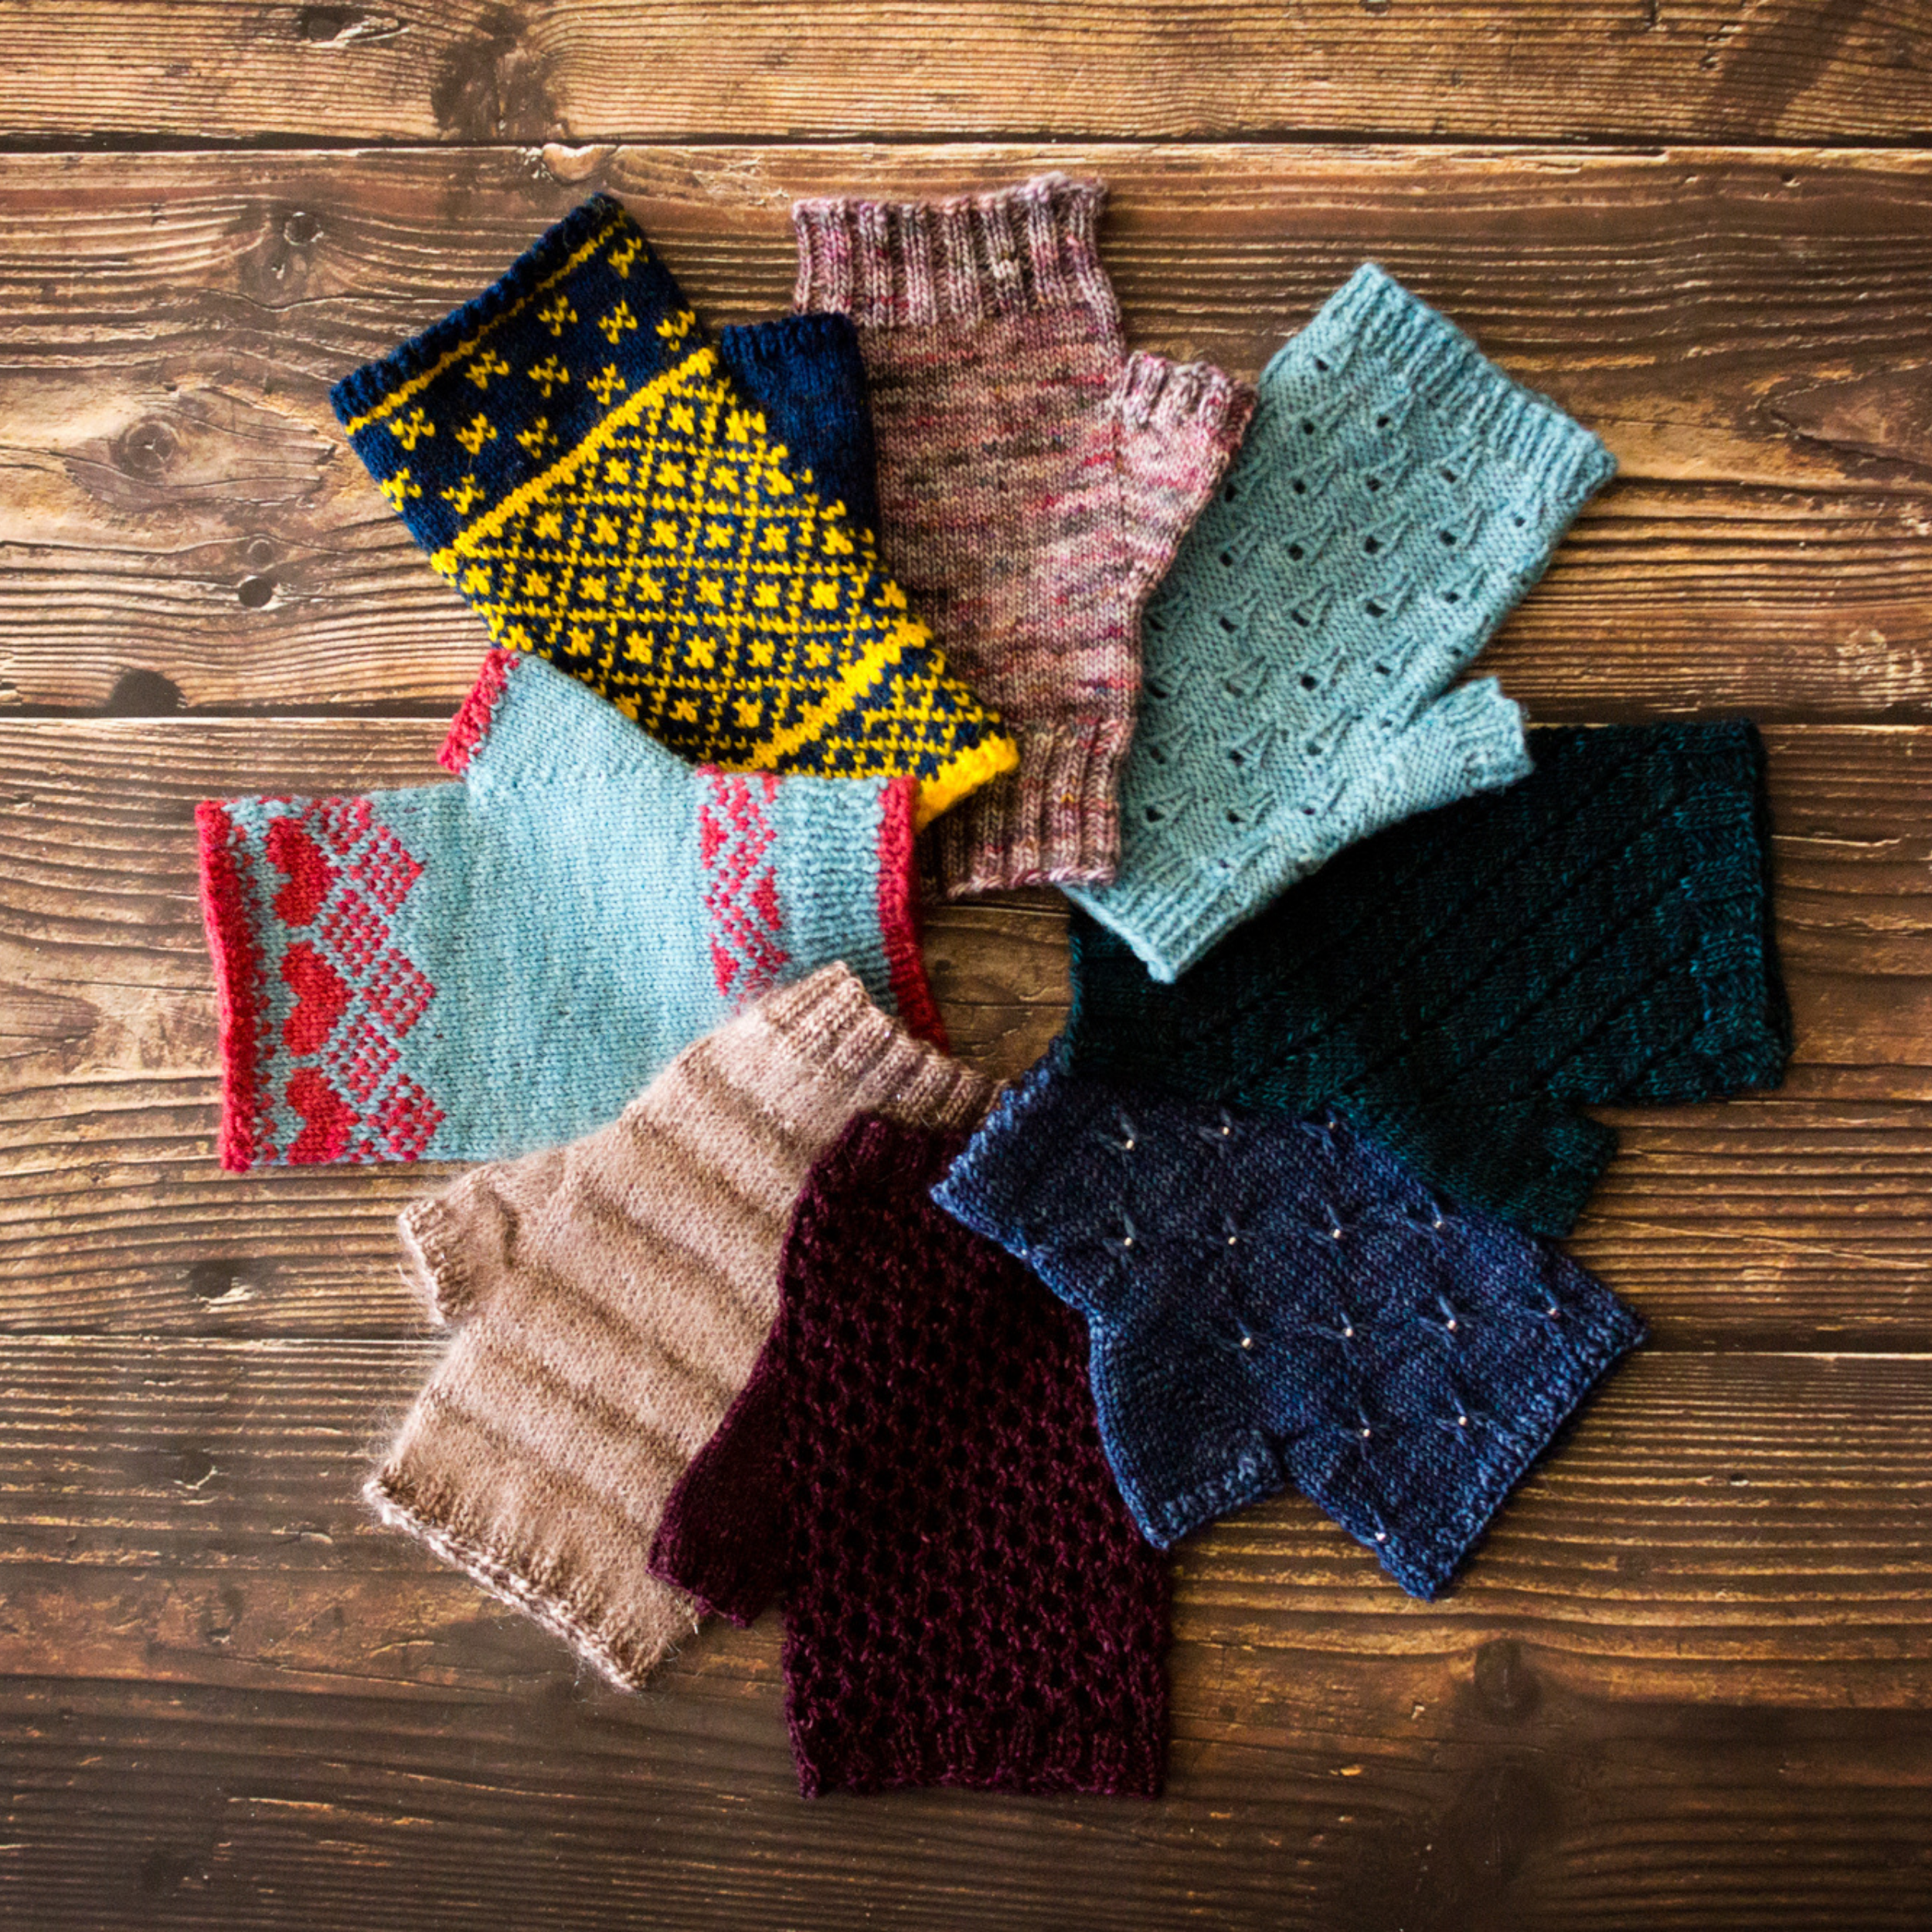
Stranded Colourwork Patterns
If you’re ready to give it a try, find your favourite pattern below!