

Last week, I gave a little introduction to blocking, talking about why it’s sometimes contentious and how miscommunications can happen. Catch up on that here.
This week I’m going to take a look at some of the equipment used for different blocking techniques. As a little reminder, blocking involves three key things: getting the item wet, arranging it into the desired shape, and allowing it to dry.
Getting It Wet
Sink, Bowl, or other Container

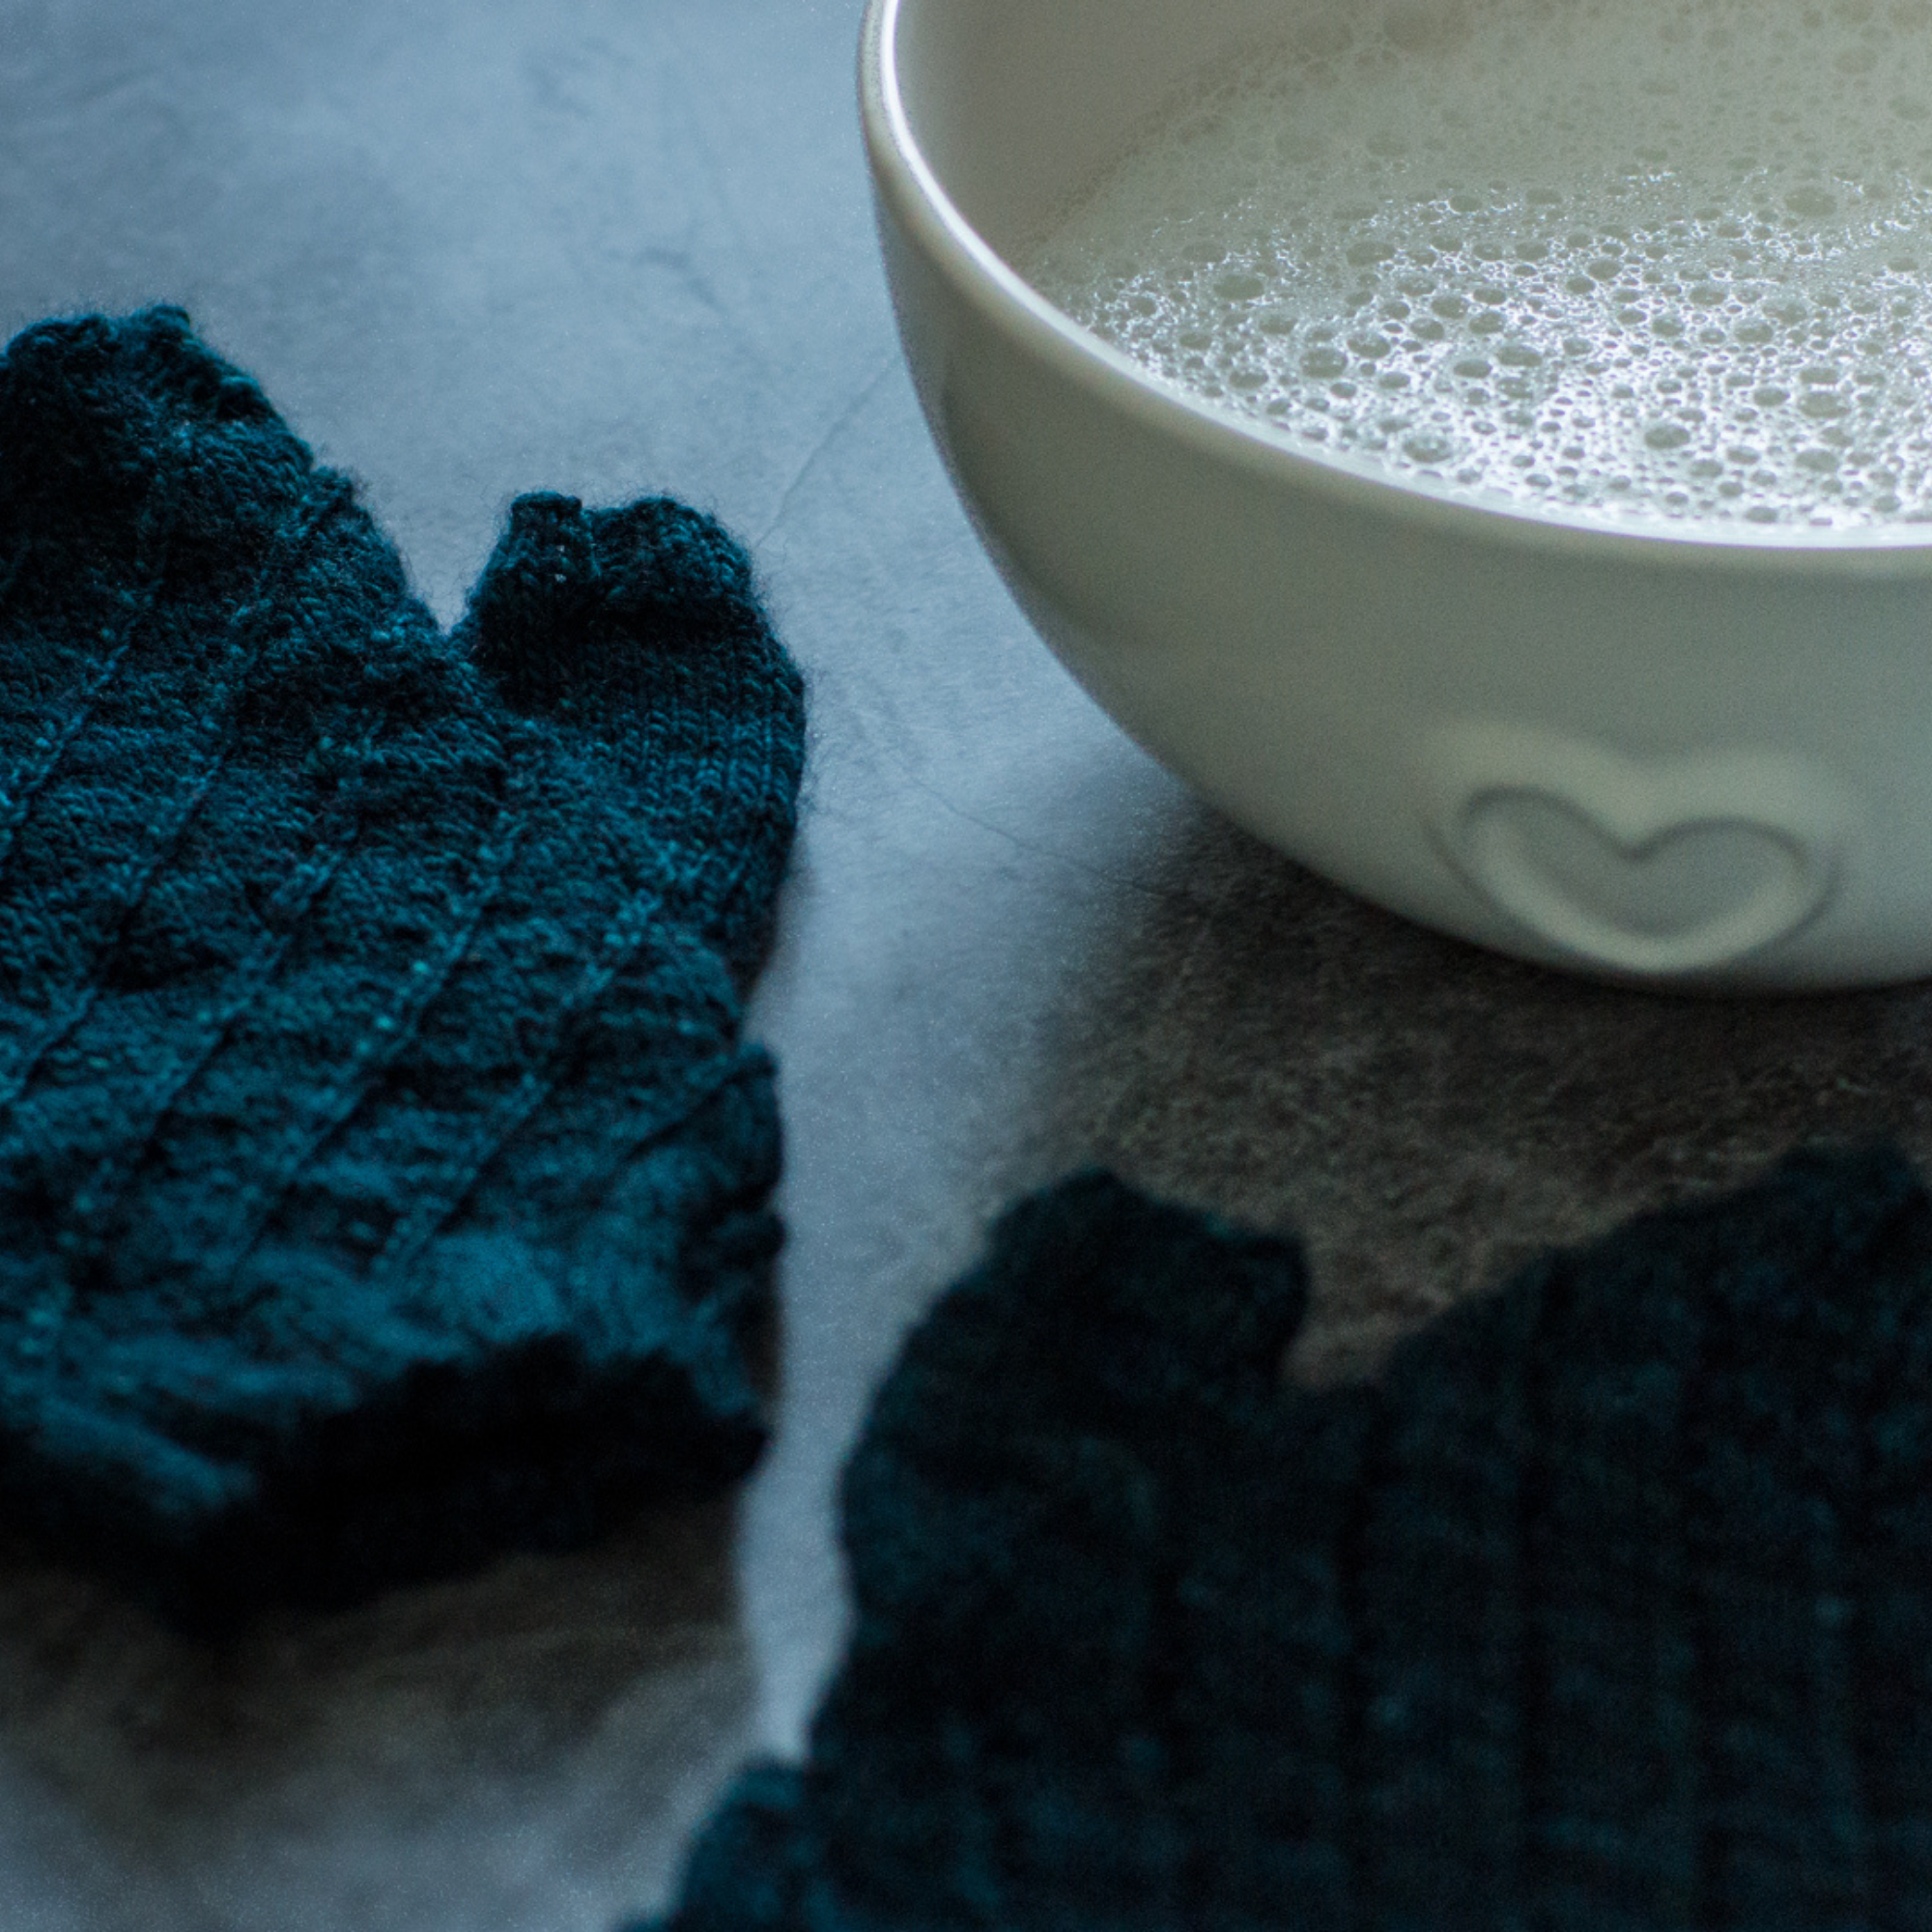
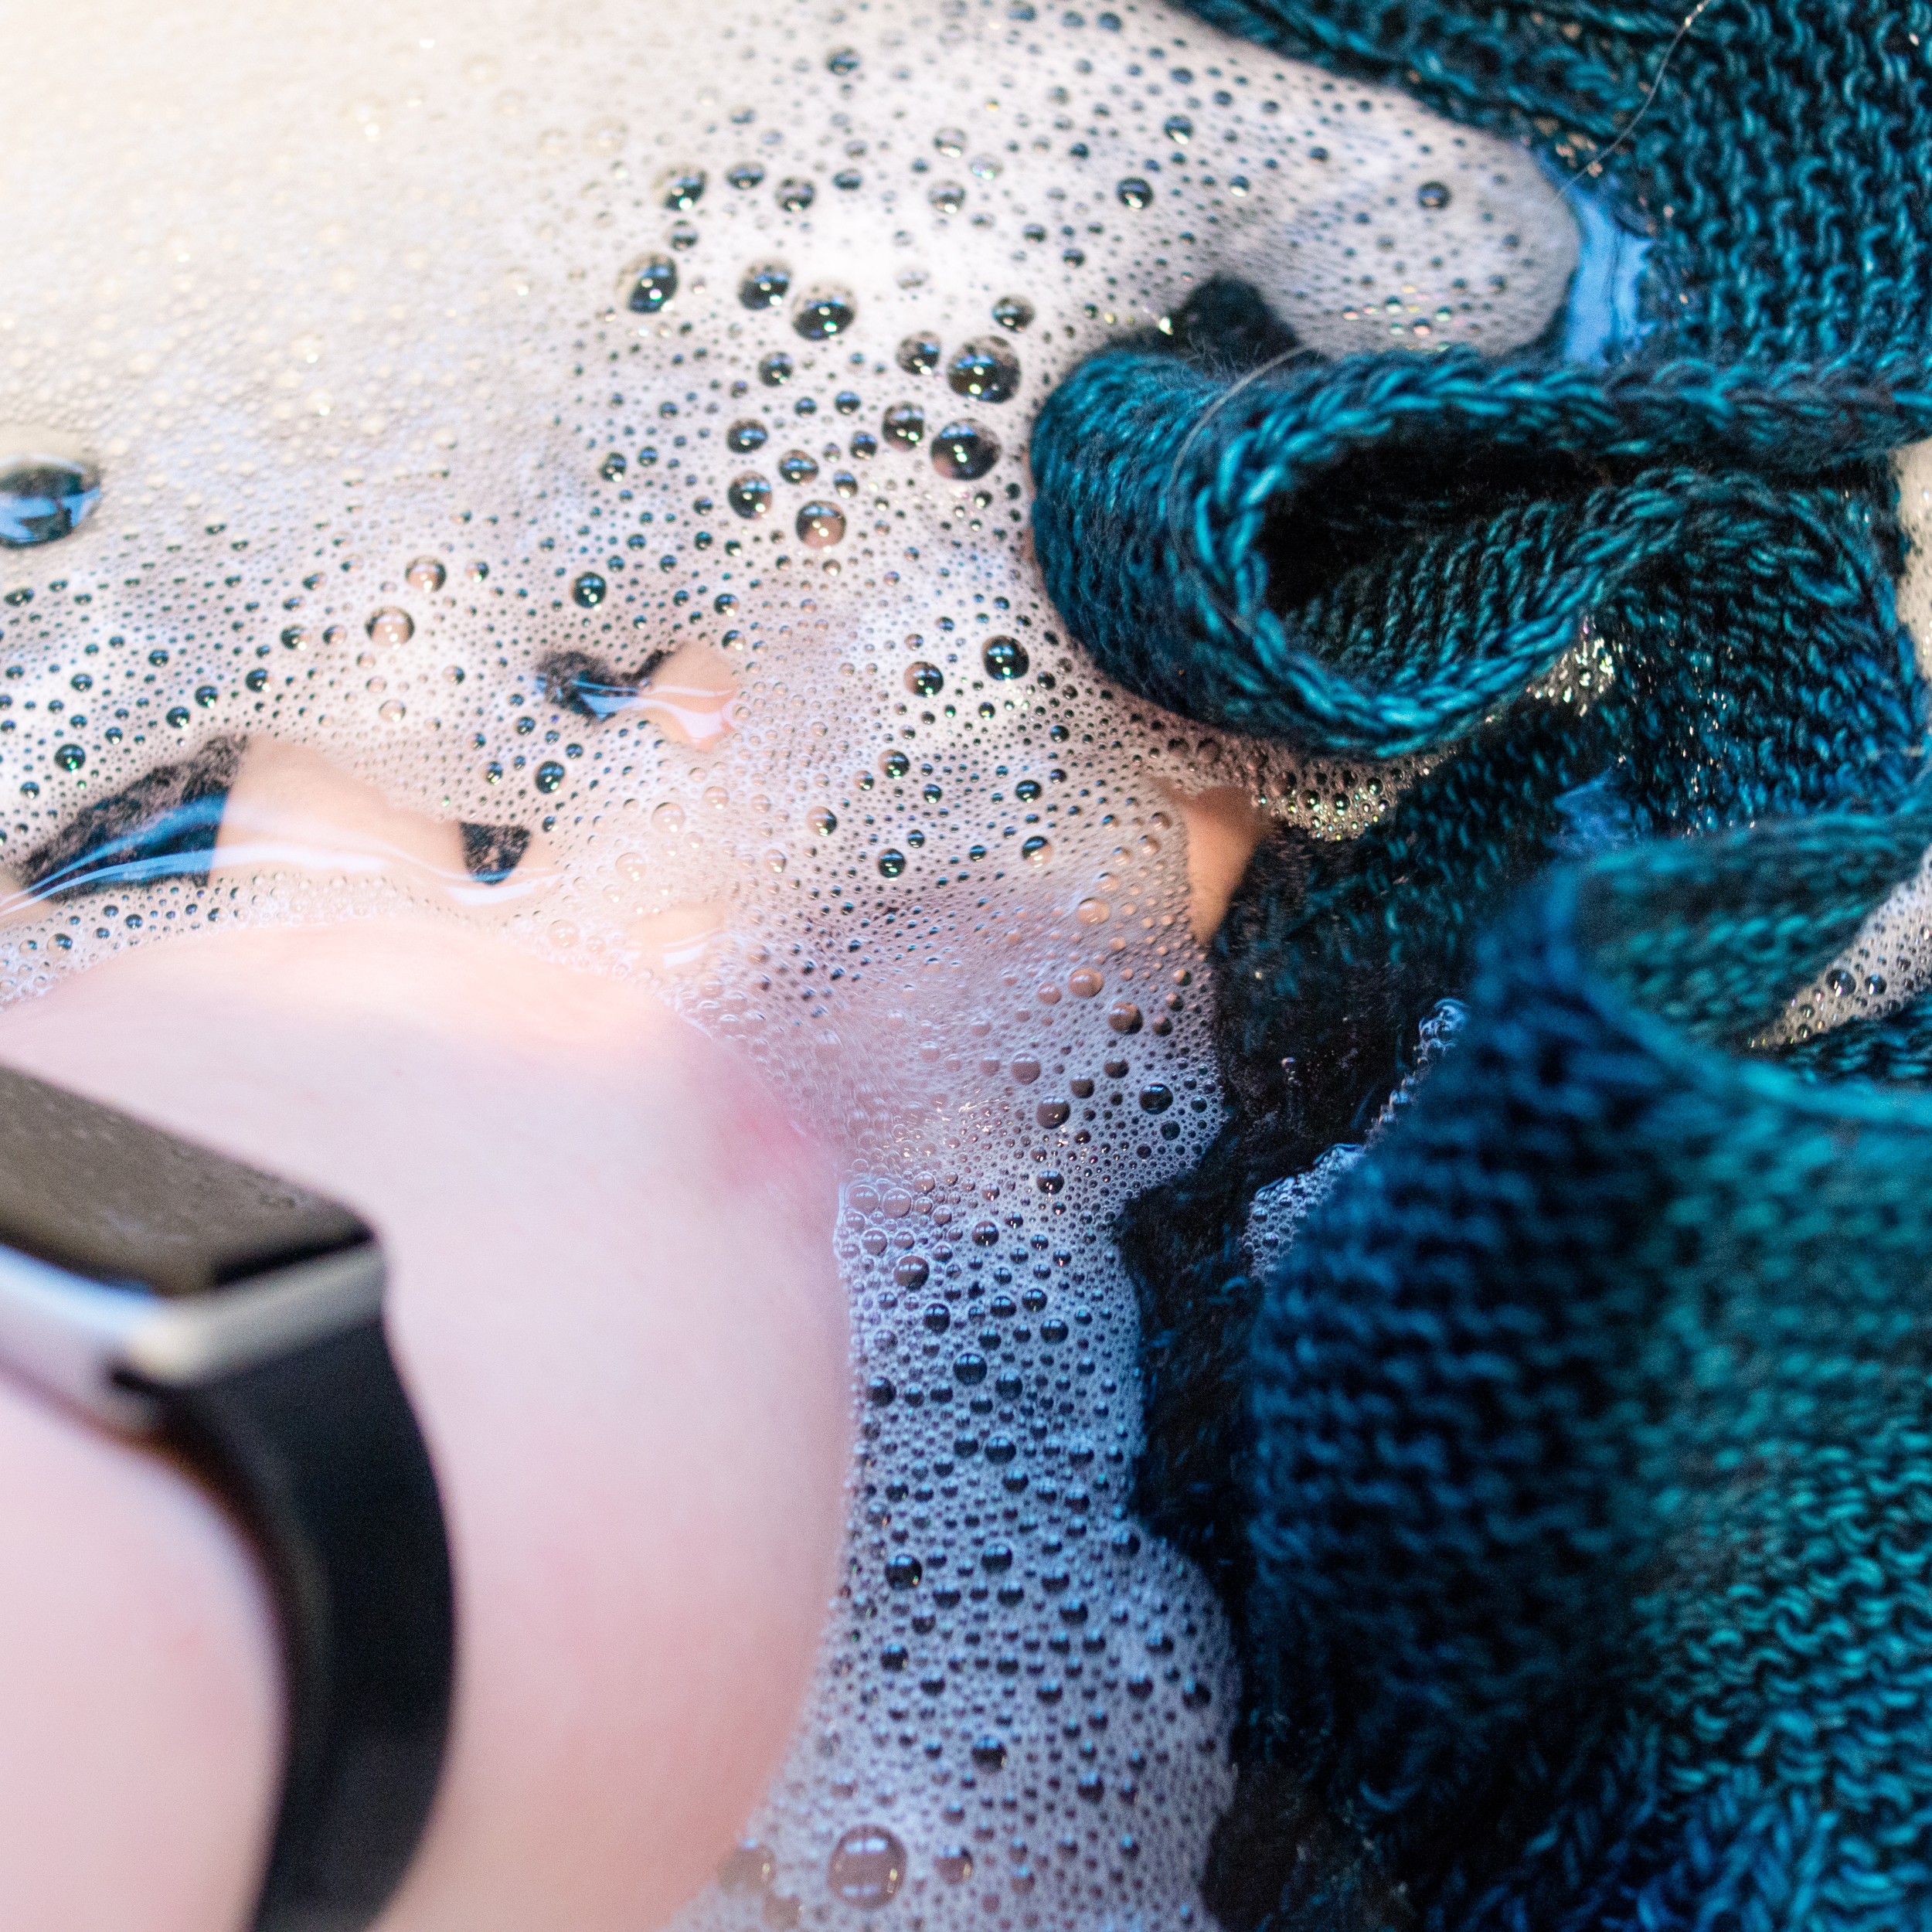
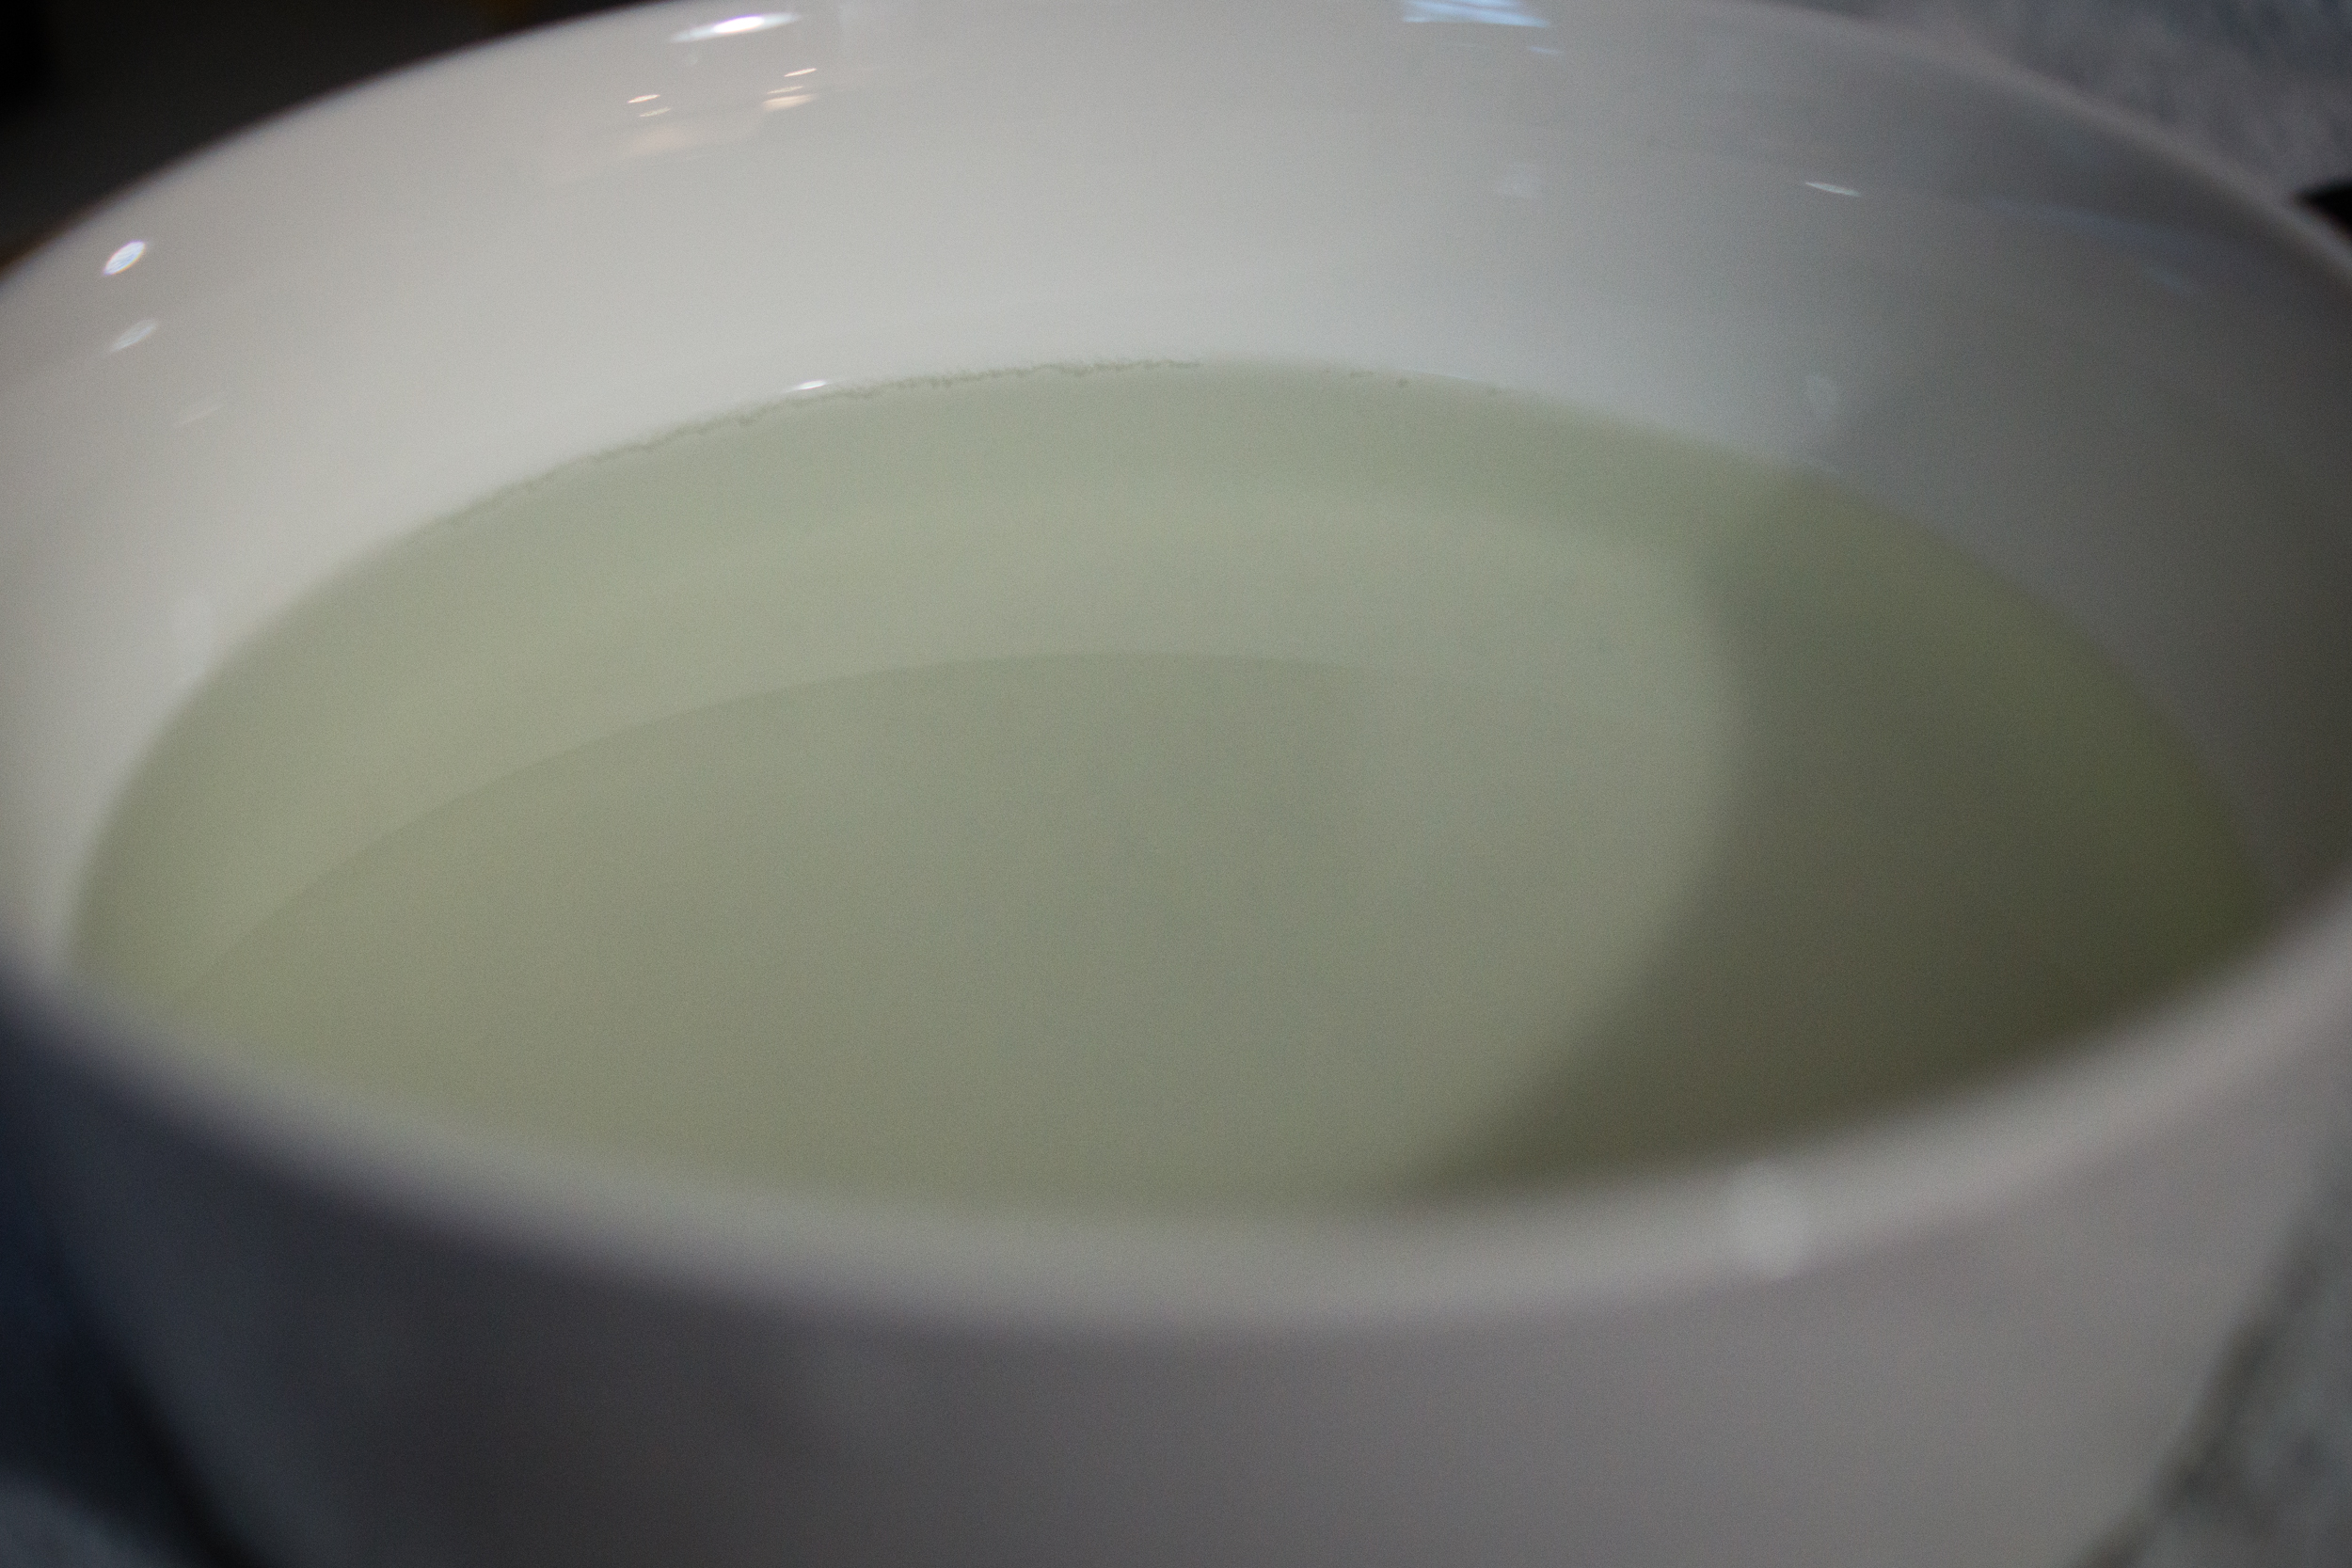
For wet blocking, you’ll start by fully submerging your item in water – so you’ll need a container of water. I use all sorts of things, depending on the size of the item being blocked. If I’m blocking something small like mitts, there’s a particular ceramic bowl that I like to use, but I’ve also used an empty Quality Street tub (plastic, not metal). For larger things like garments, I fill up the kitchen sink.
Spray Bottle
For spray blocking, you’ll need some kind of spray bottle or mister to dispense the water. Any sort will do – I have a metal one designed for hairdressing that I bought for this purpose, but the plastic ones I use for gardening would work equally well.
The one thing I recommend is not using the bottle for anything else – tiny amounts of other products left in the bottle might not be safe to use on wool, or might affect the dye.
If re-using a bottle from a household cleaner, give it a VERY thorough wash first, and test on some scrap yarn.
Iron & Steamer
Both these tools are used to steam the item, getting it both warm and wet. You’ll want to be careful not to touch the garment directly with an iron, and not to get it too hot.
A garment steamer can be a hefty purchase, but if you knit a lot, it may be worth the investment. Alternatively many household steam cleaners have a garment attachment.
Washing Machine
I don’t know about you, but I don’t hand wash my store-bought, synthetic knits. I chuck them in the washing machine the same as my other clothes, and technically, this is blocking them.
If using your washing machine for your knits, remember that the risk here is felting, which is caused by both (not either – both) heat and agitation. So you’ll want to keep the temperature low – 30C is perfect – and lay off the spin cycle.
Additions to the Water
Wool Wash
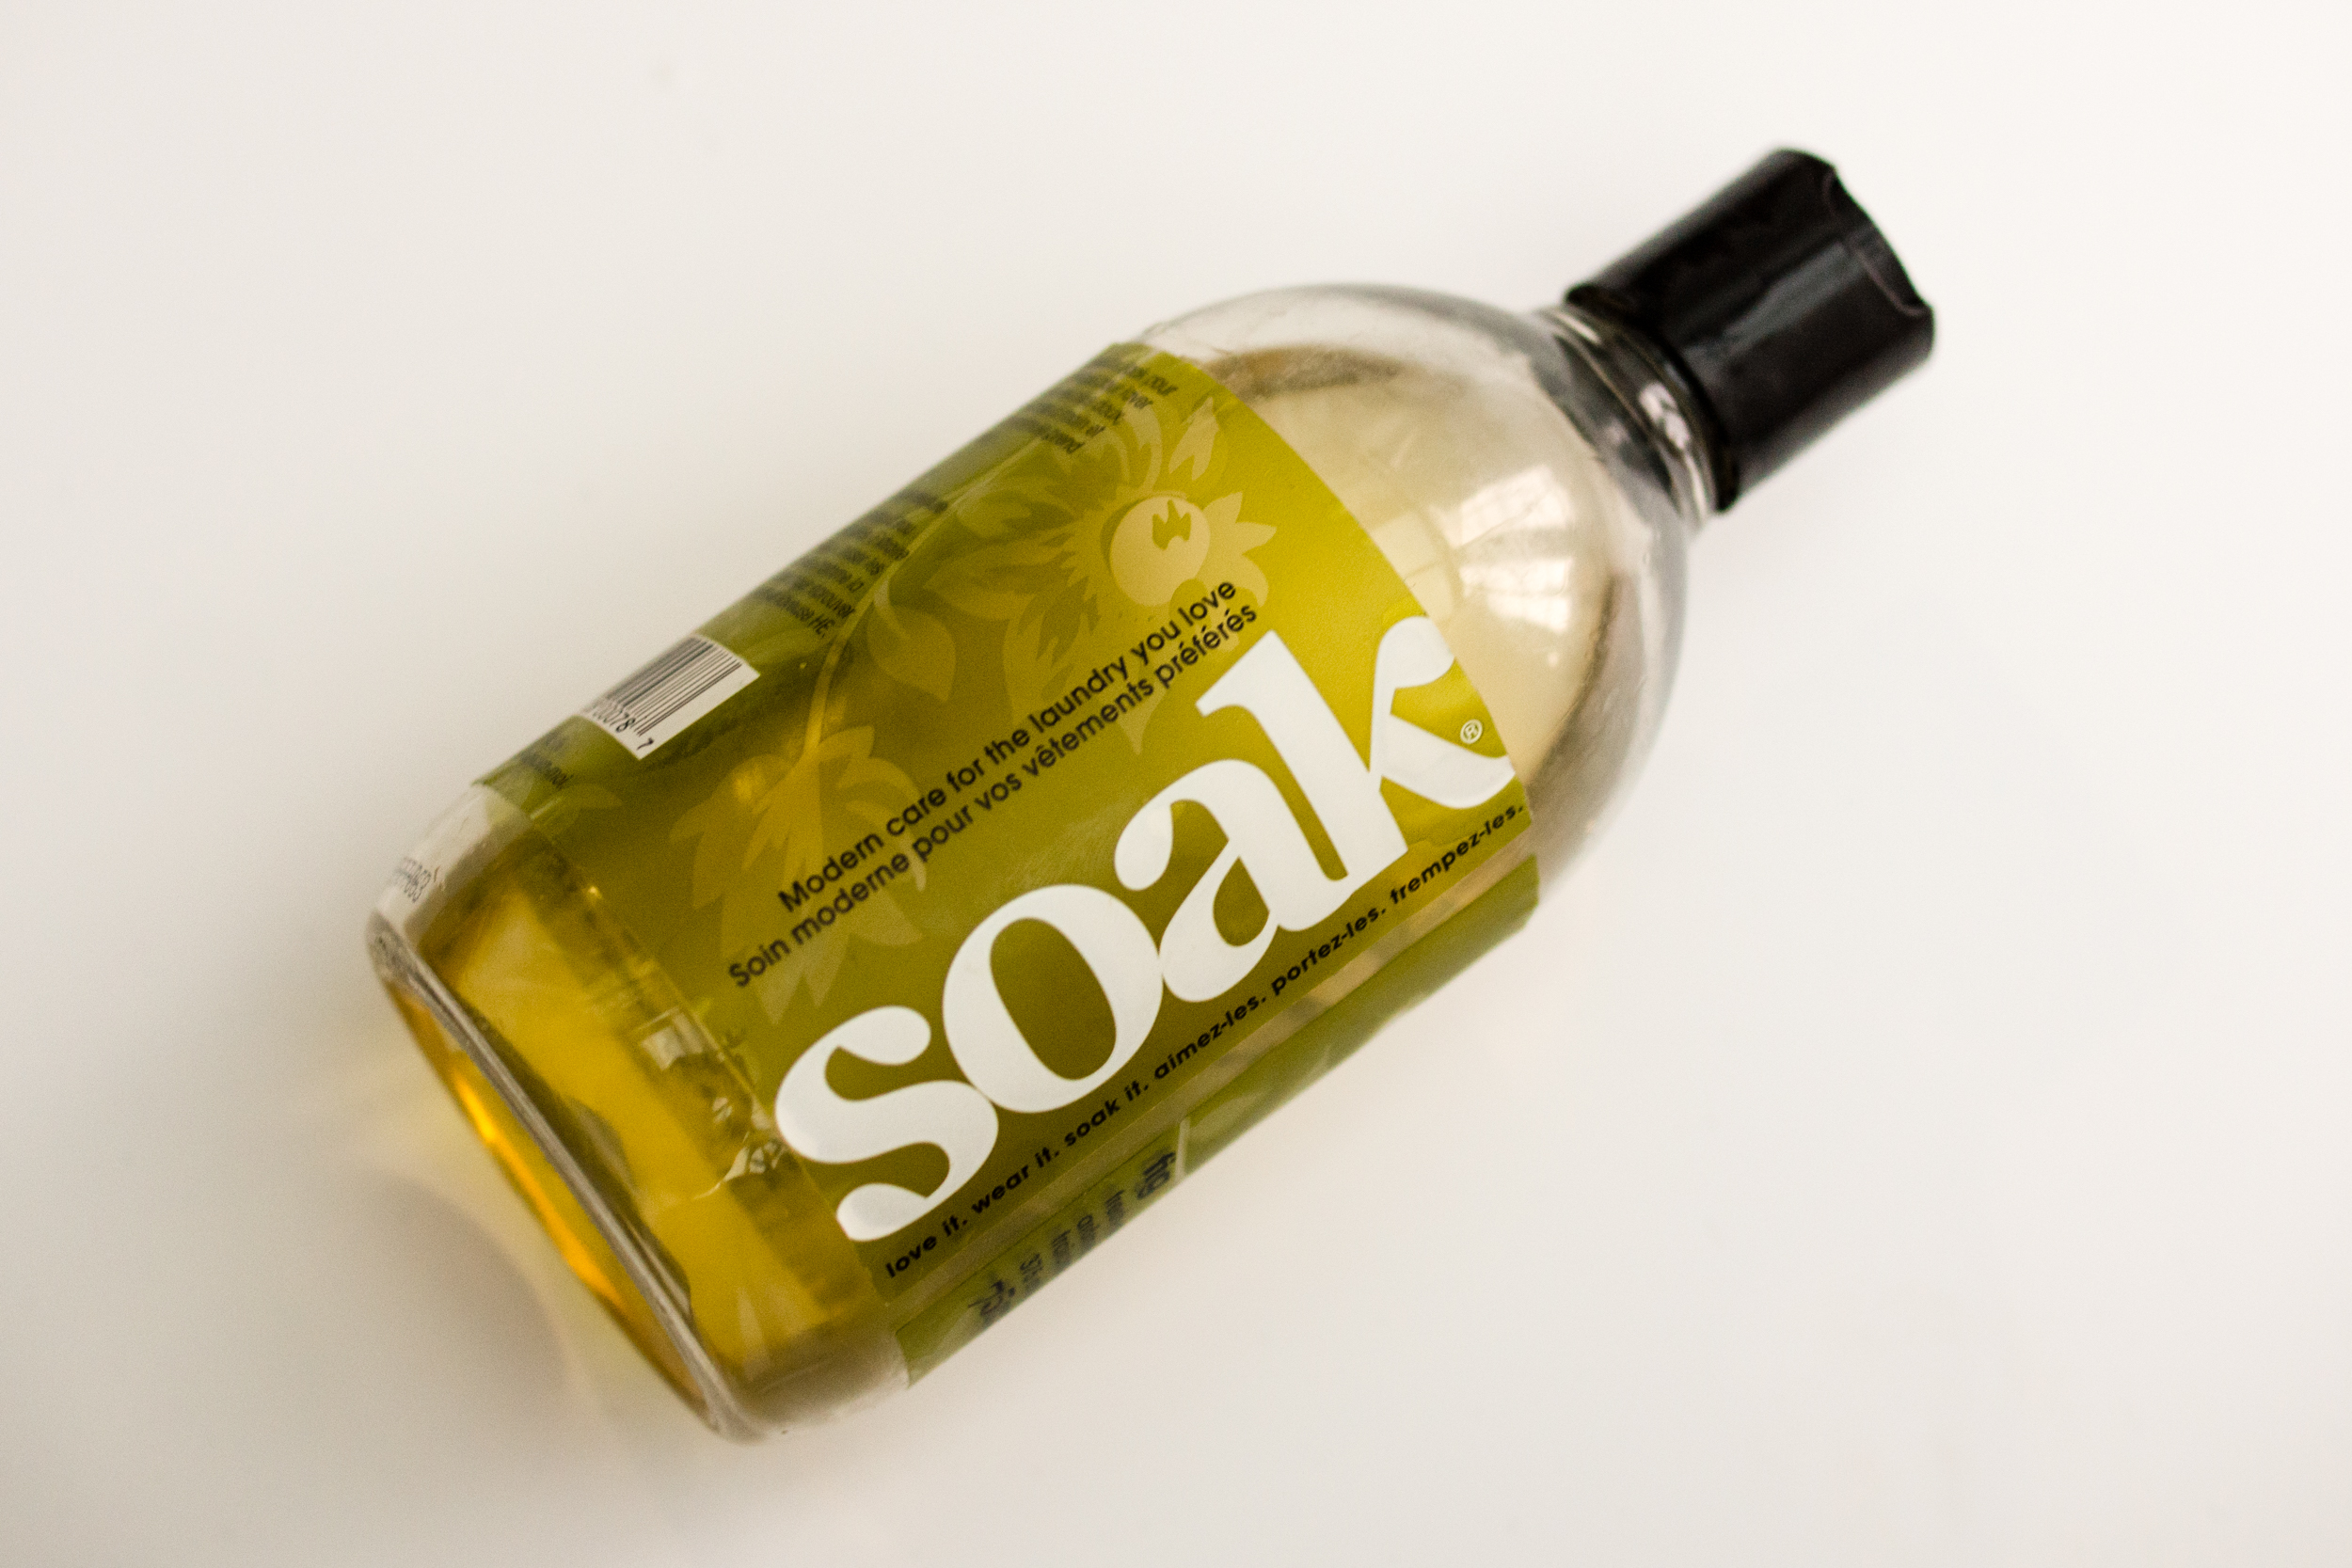
For wet blocking, I use a little wool wash like bubble bath, adding a little under a running tap. I like Yuzu scented Soak; Euclan is another popular brand. Both brands do little sample packets, so you can try the different scents before committing to a big bottle.
I think it makes the items a little bit softer, but more importantly, it smells lovely. I’ve come to associate the smell with the pride I have in an FO, and now a cheeky sniff of the opened lid is a mini mood booster.
For spray blocking, adding a little wool wash to the water in the spray bottle will have the same effect.
In the washing machine, make sure the detergent you’re using is suitable for the fibre being washed.
Smoothing Sprays & Ironing Water
The company which makes Soak also make a product called Flatter, which comes in a spray bottle and is designed for use with either spray or steam blocking. Like its wool wash counterpart, it helps to soften and add scent.
Here in the UK we have a similar product known as ironing water, which is a scented water you add to your iron’s steam reservoir instead of plain water. You can use it straight or diluted, and it just makes your laundry smell nice. There’s no reason why you can’t use that when using your iron to steam block.
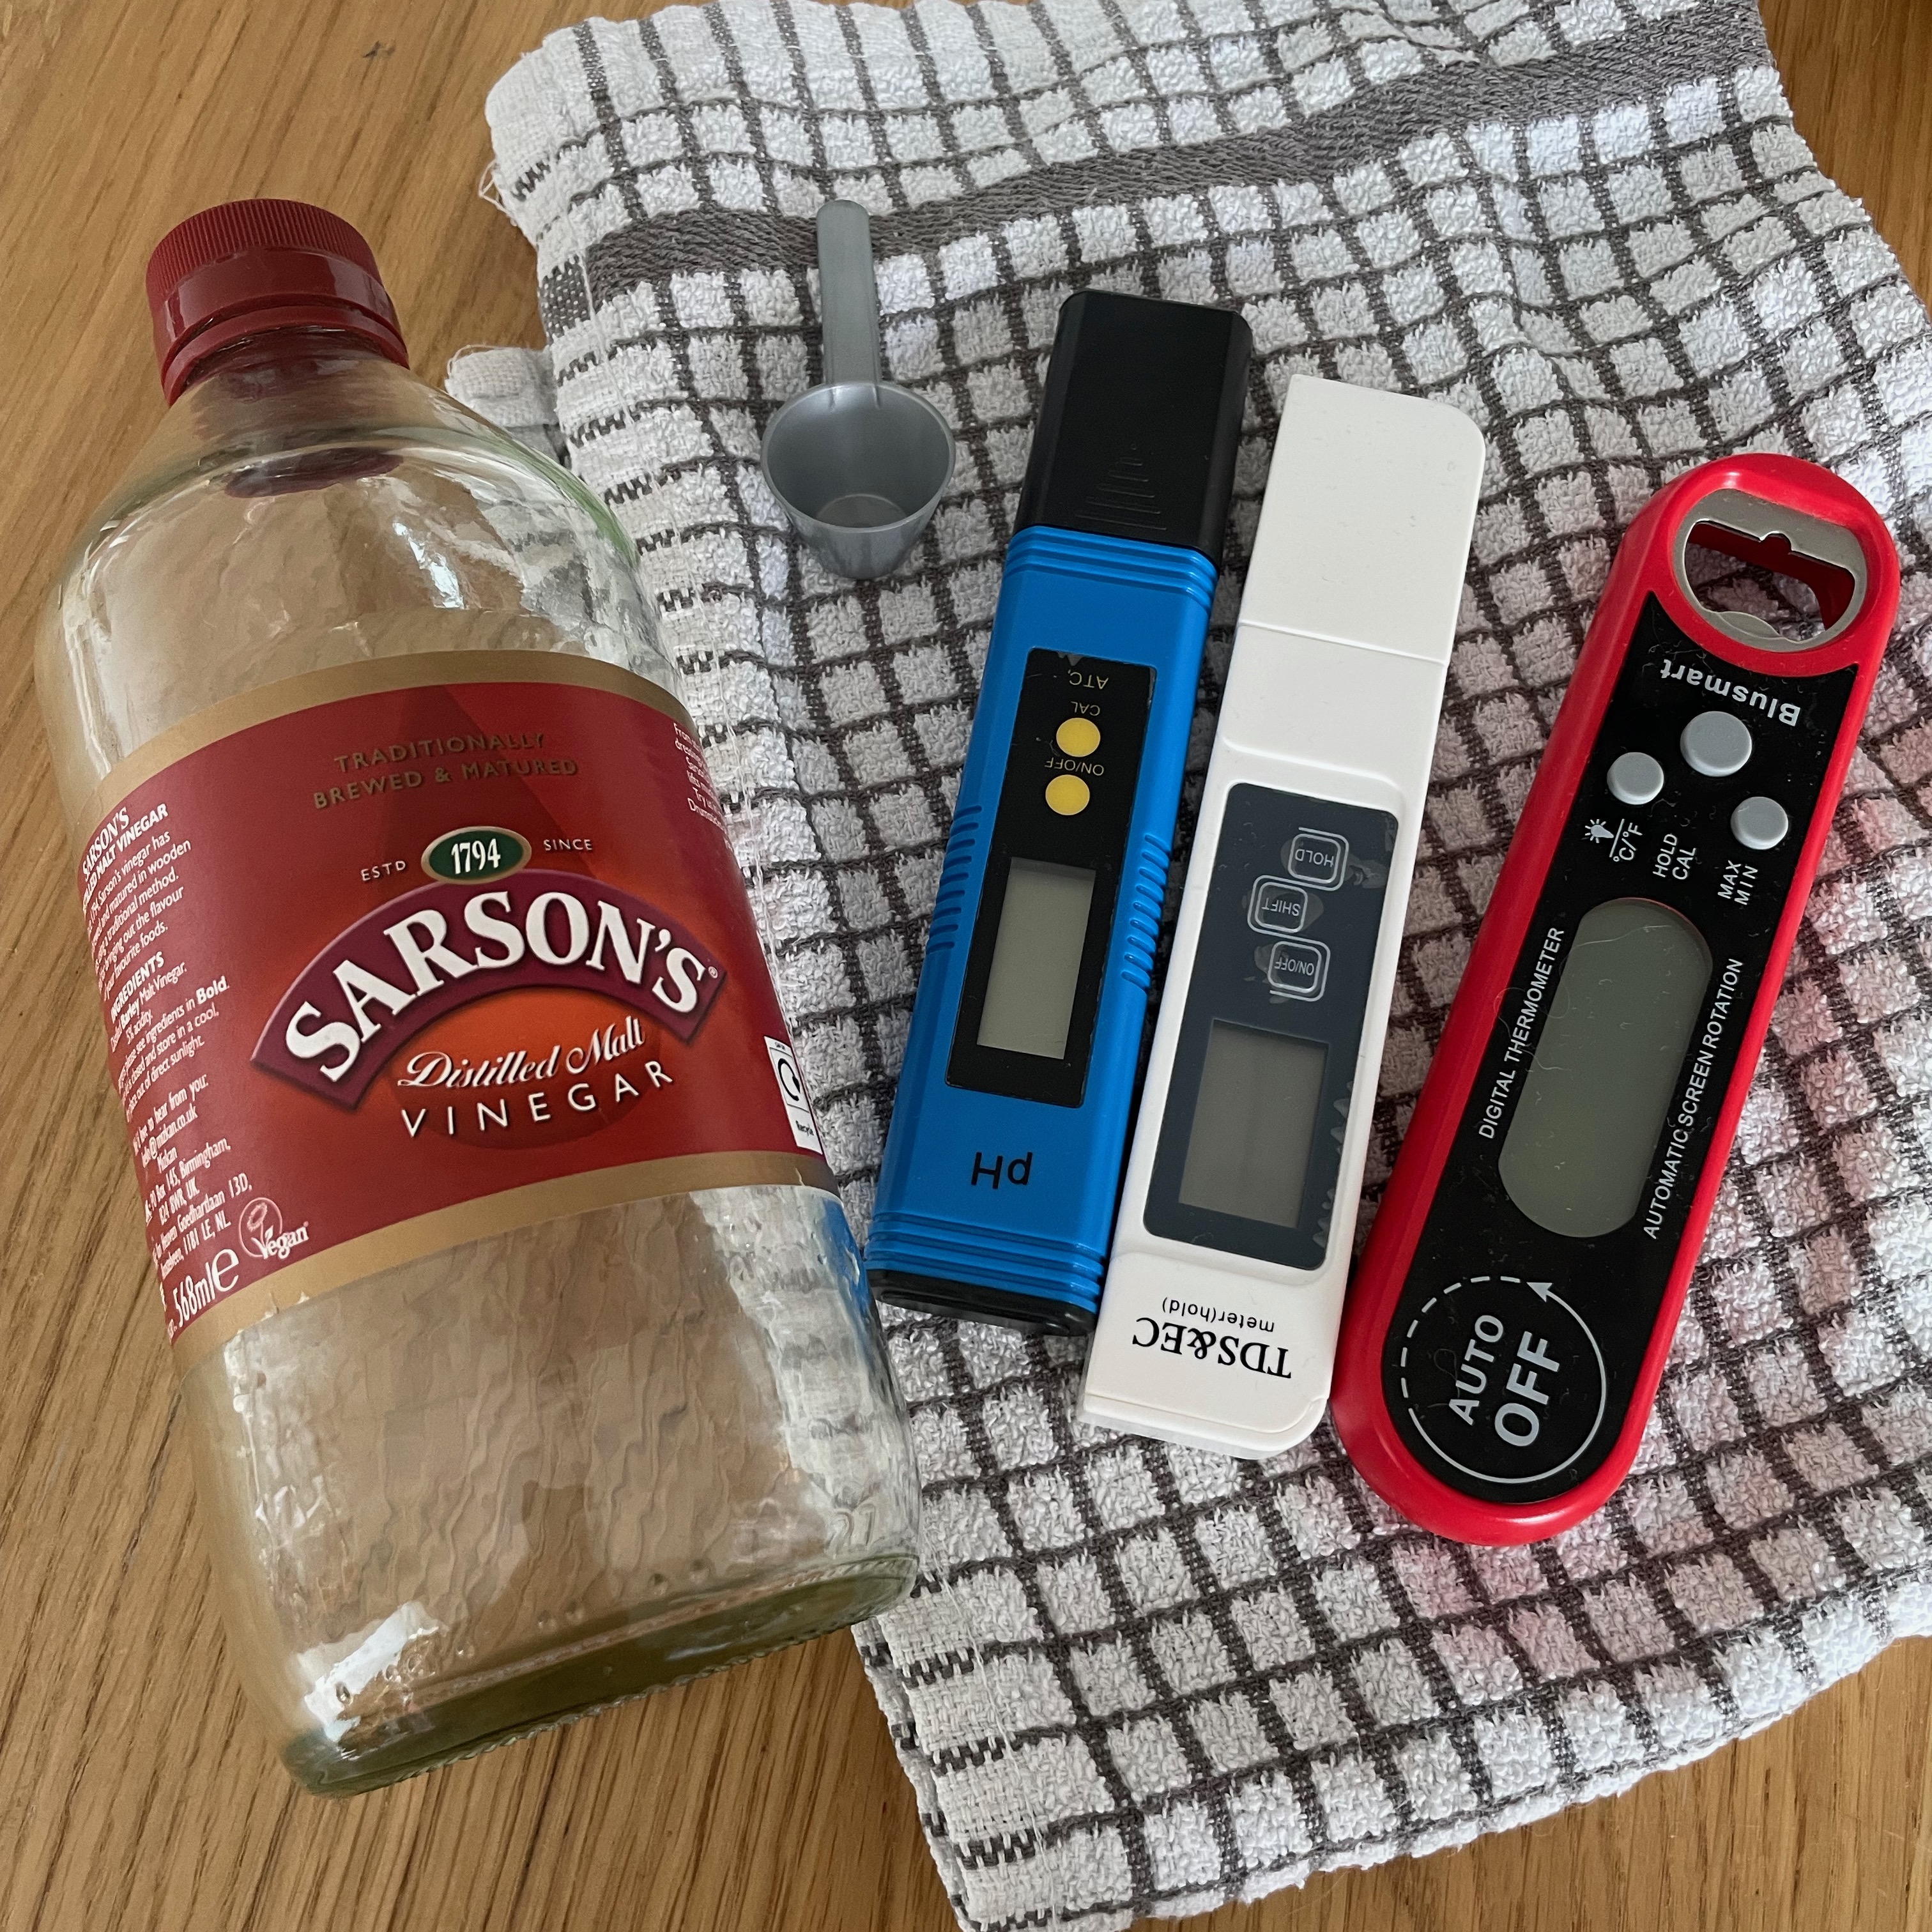
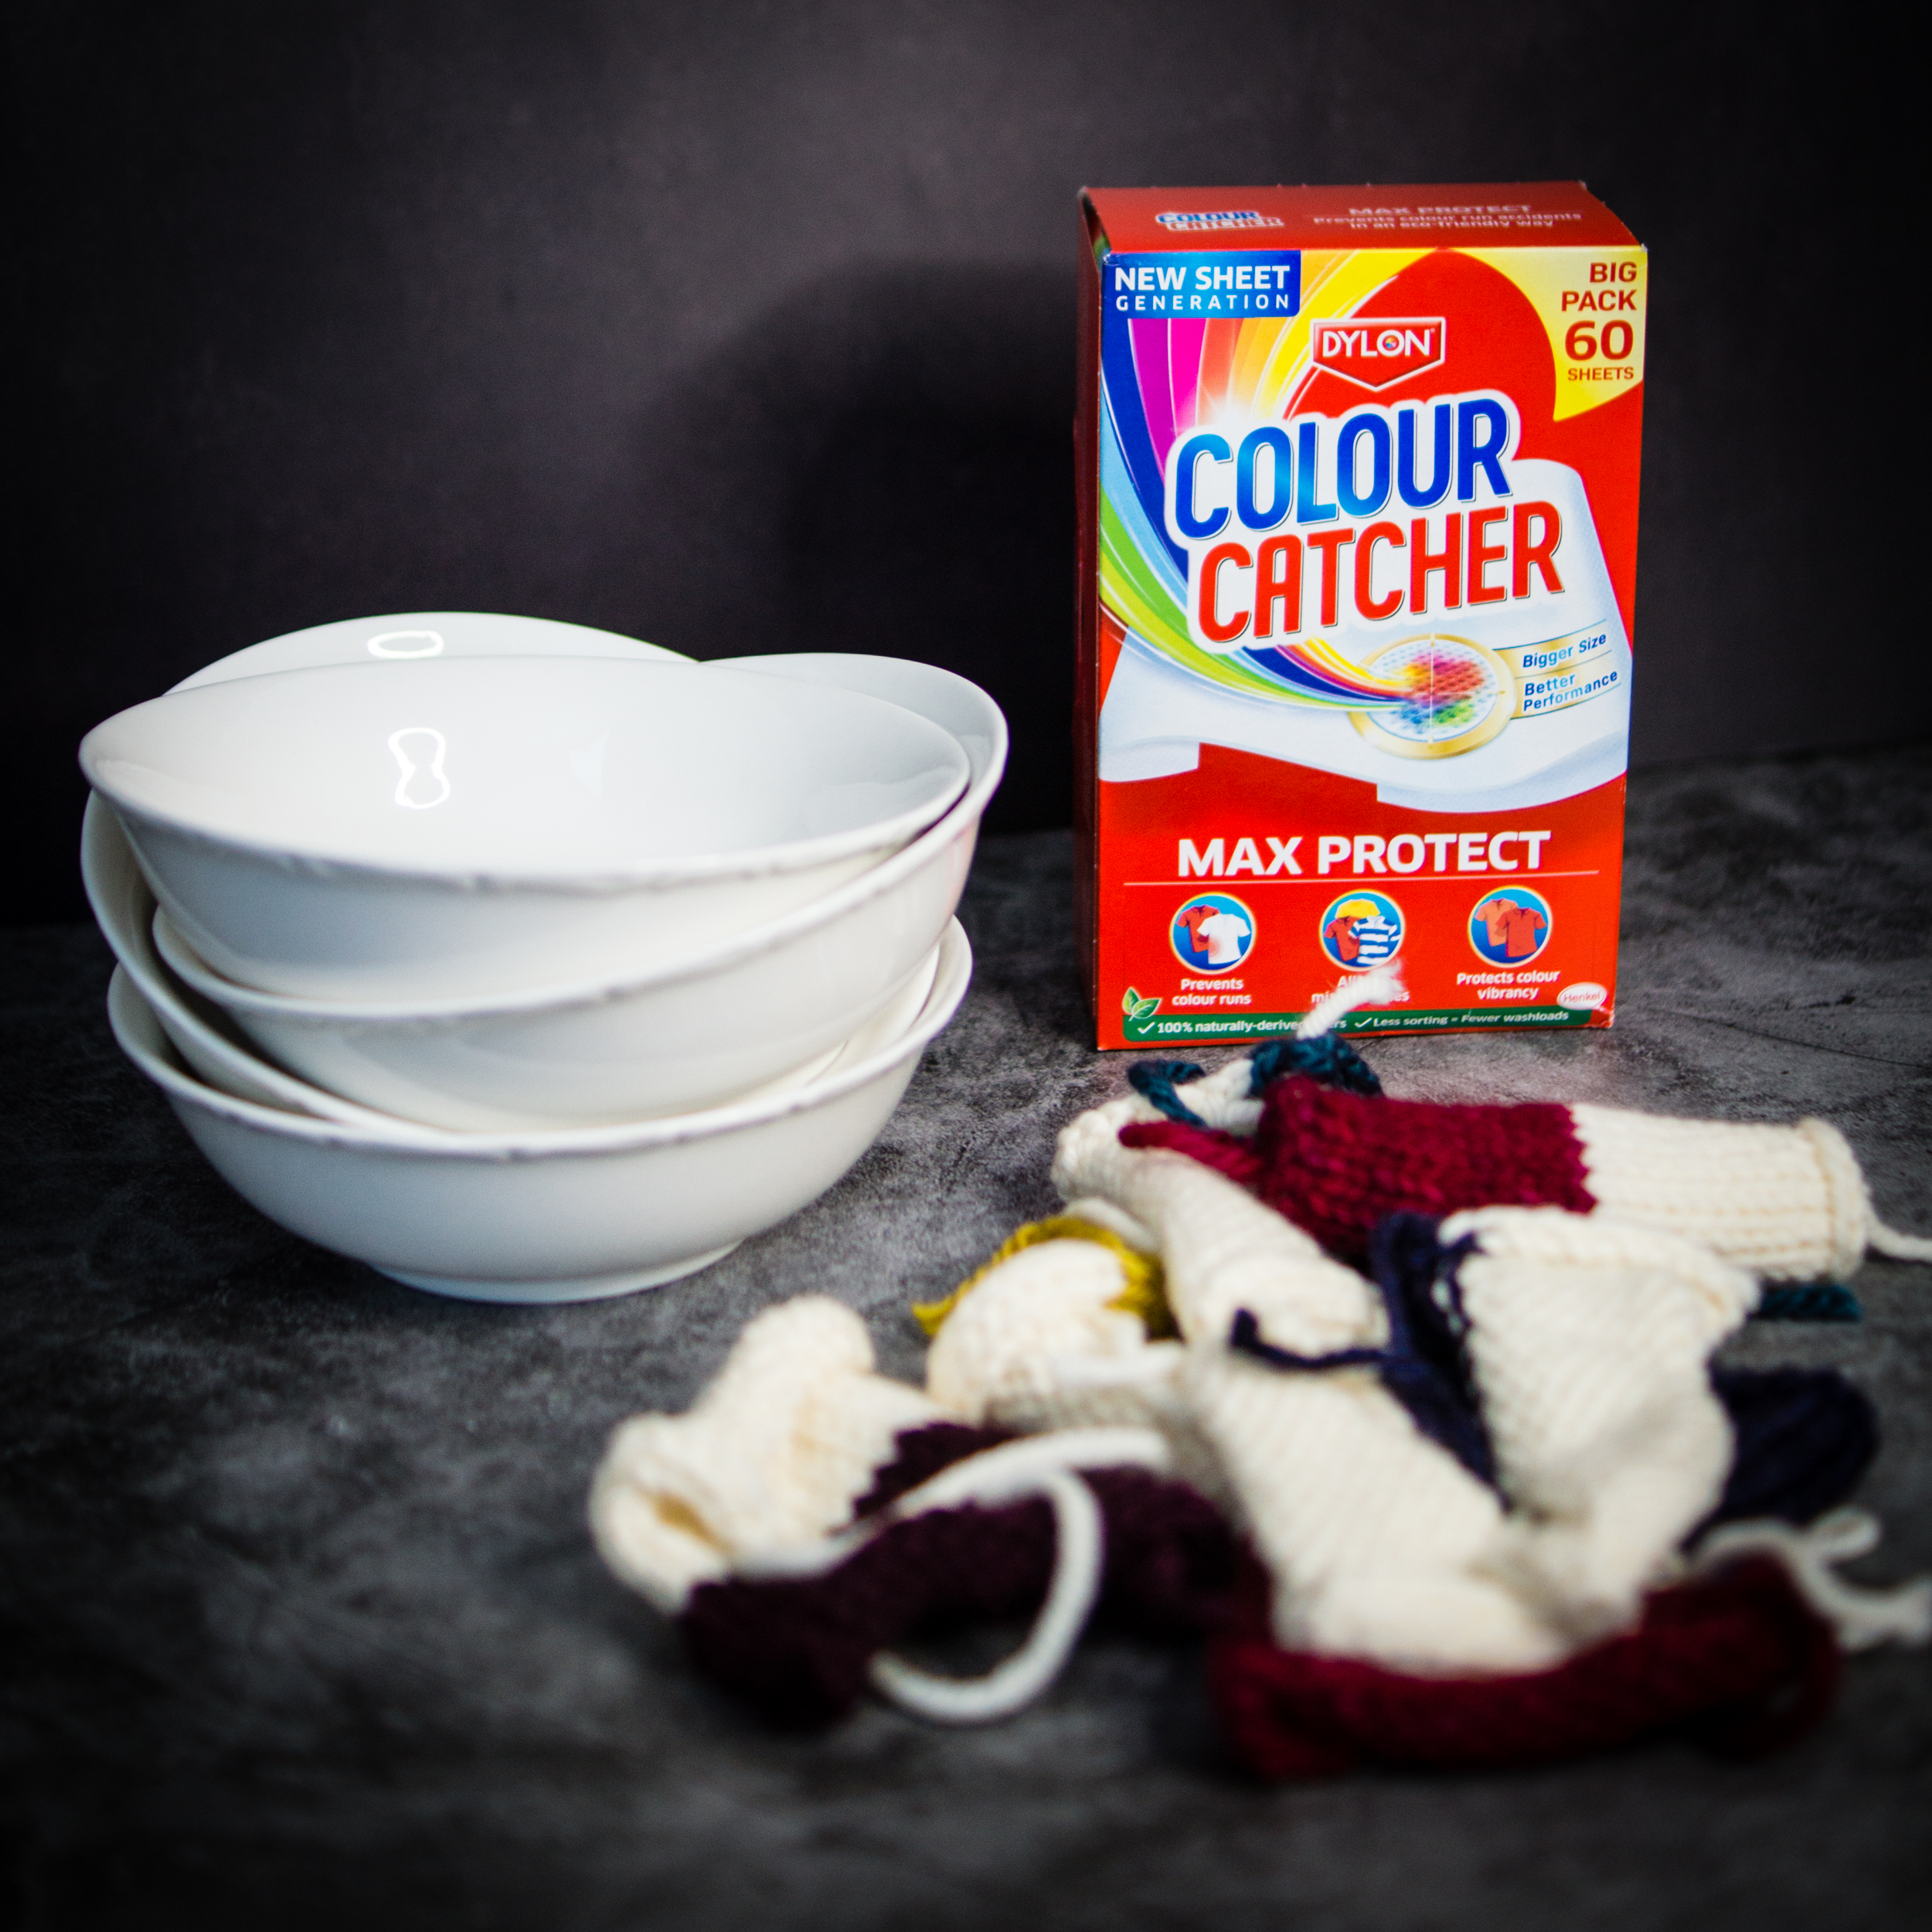
White Vinegar
Some people think that adding vinegar when blocking will help “set” the dye and prevent it bleeding. Vinegar is sometimes used as a mordant when dyeing wool, that’s true, but it won’t set any dye on its own – you also need heat.
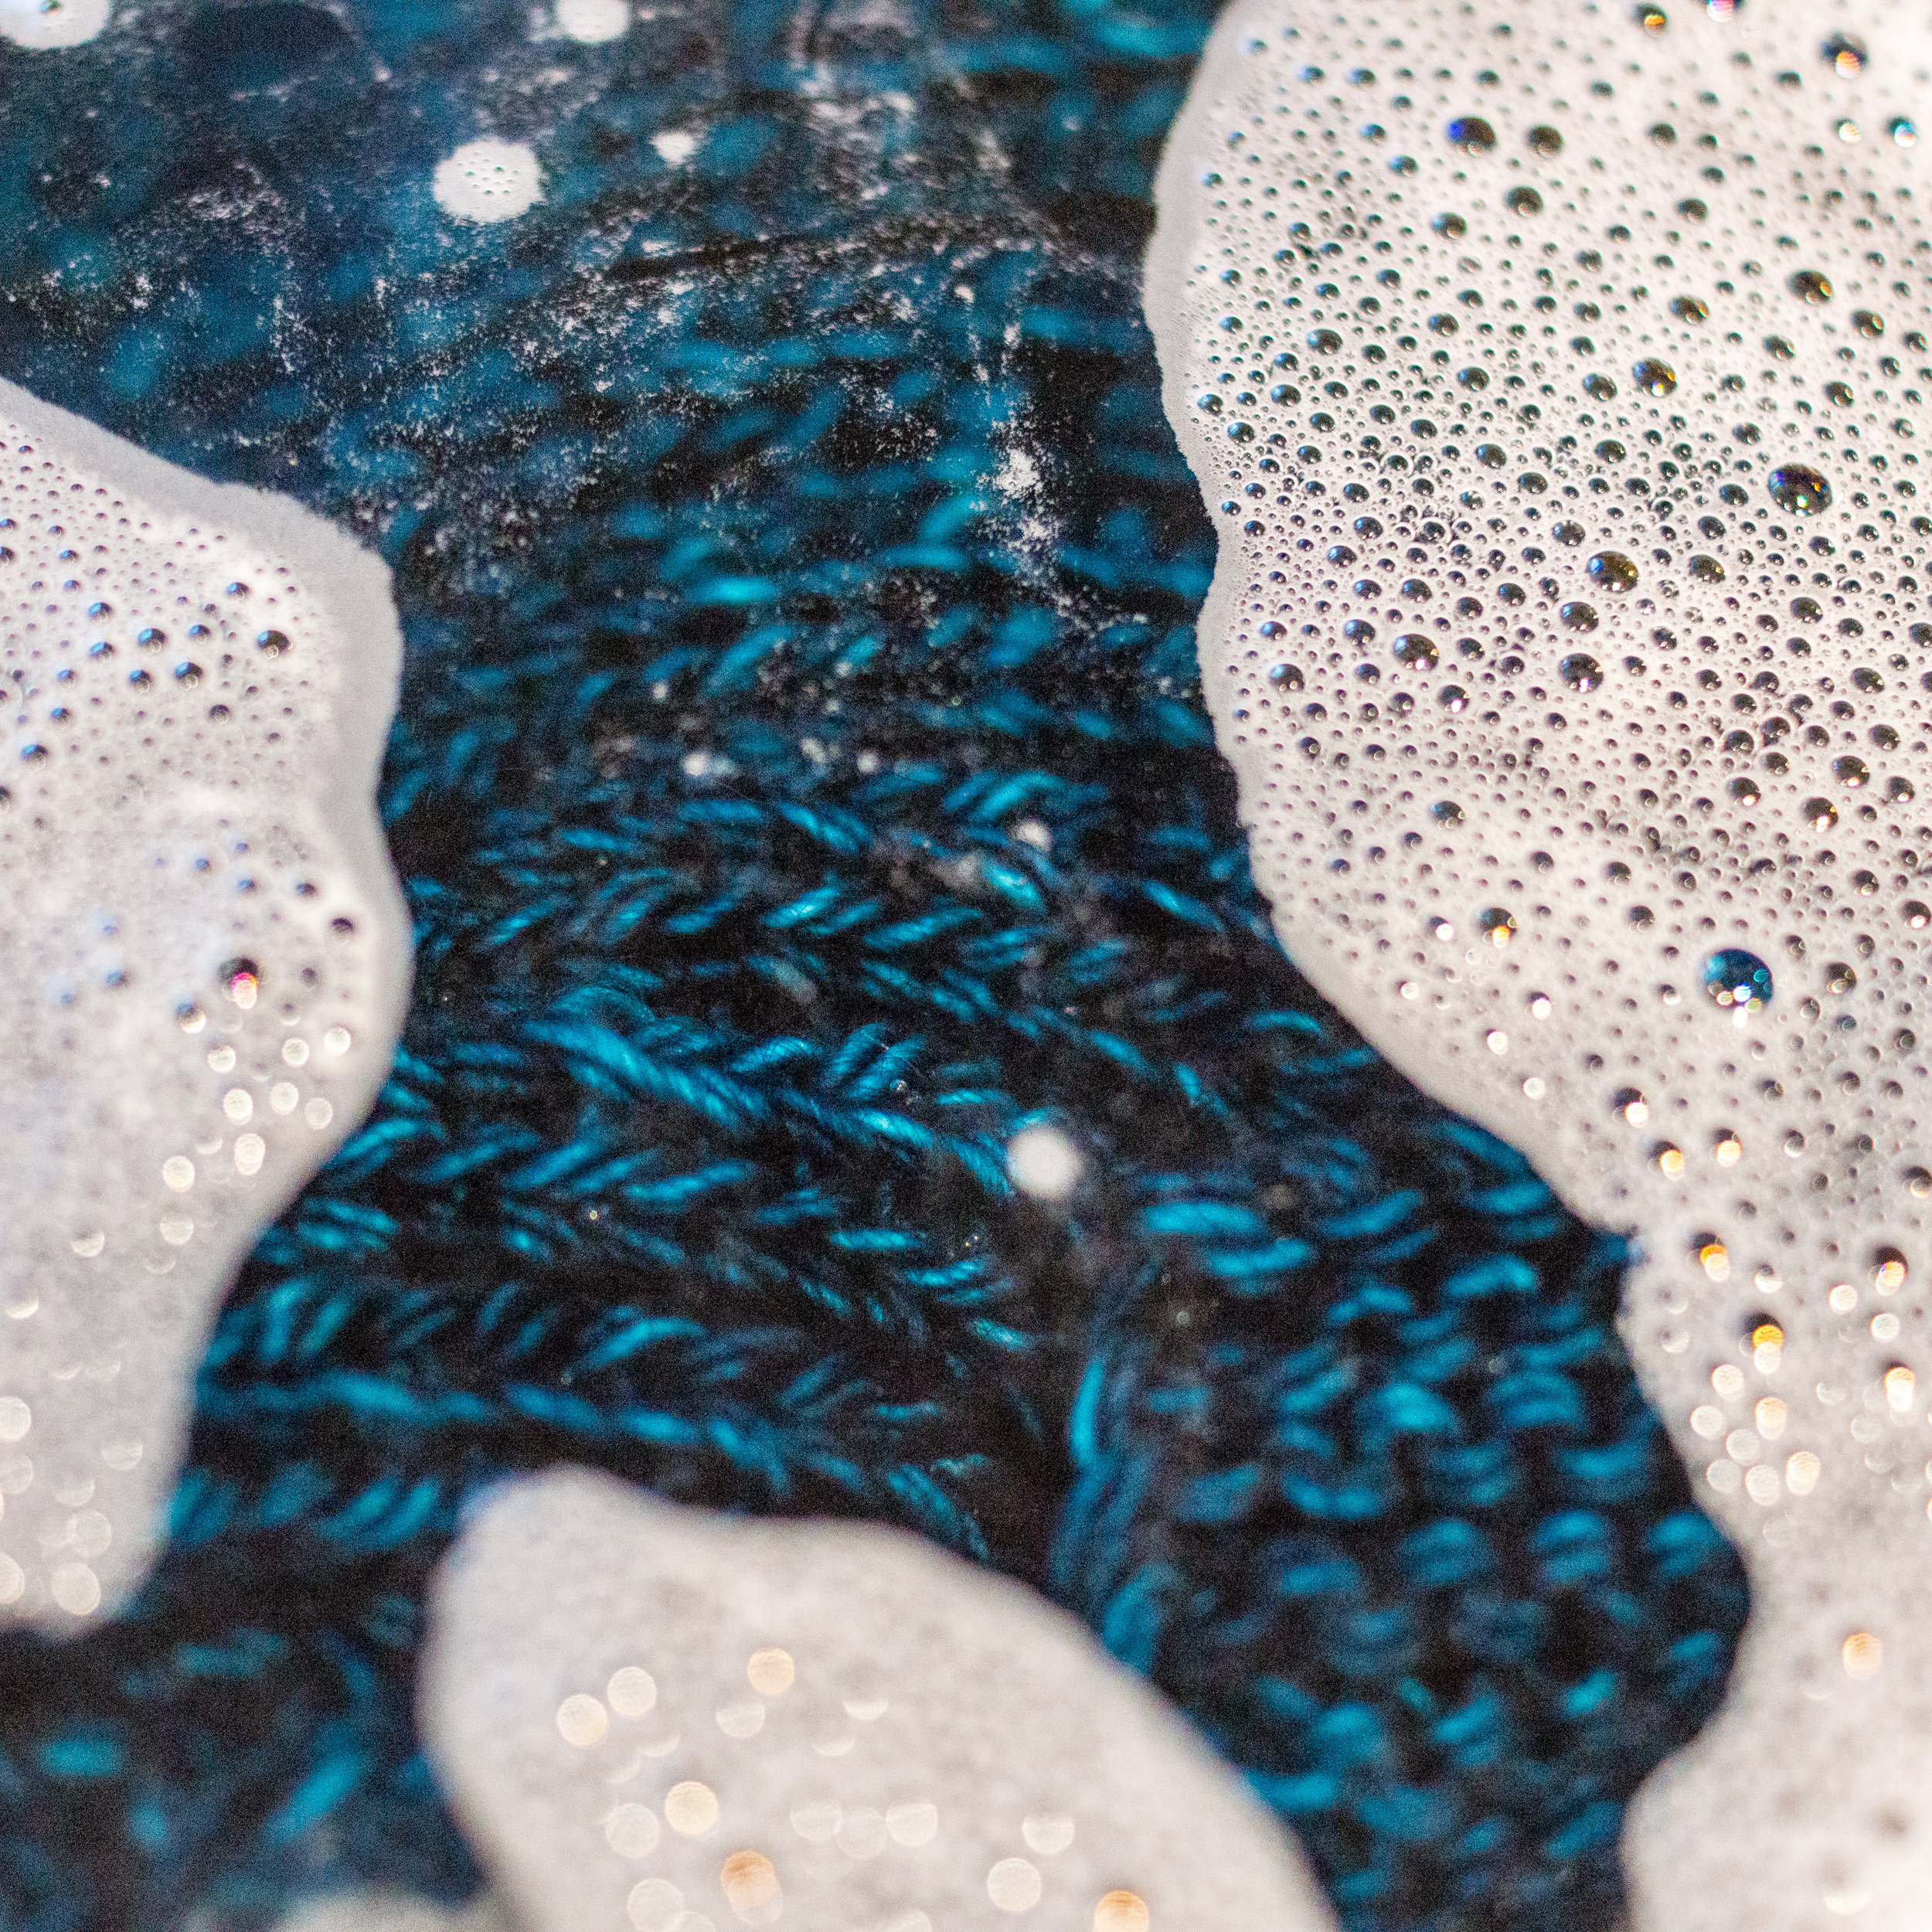
It’s perfectly normal for dyed yarn, especially hand dyed yarn, to bleed a little when blocking. It doesn’t mean the dyer has done anything wrong (especially if the dye is blue – as someone who’s had blue hair more than once in her life, let me tell you that it NEVER runs clear) and it doesn’t mean that you need to do anything to “fix” it.
As well as measuring gauge to predict the final size, checking for bleeding is an excellent reason to make a swatch and block it.
White vinegar can be used in place of fabric softener in the washing machine.
Giving It Shape
Laundry Airer
If arranging your knit and leaving it to dry is all you need to do, a humble laundry airer will do the job just fine. Try to position it where there’s warmth and good air flow – a warm day outside or near an open radiator is great.
Pins & Blockers
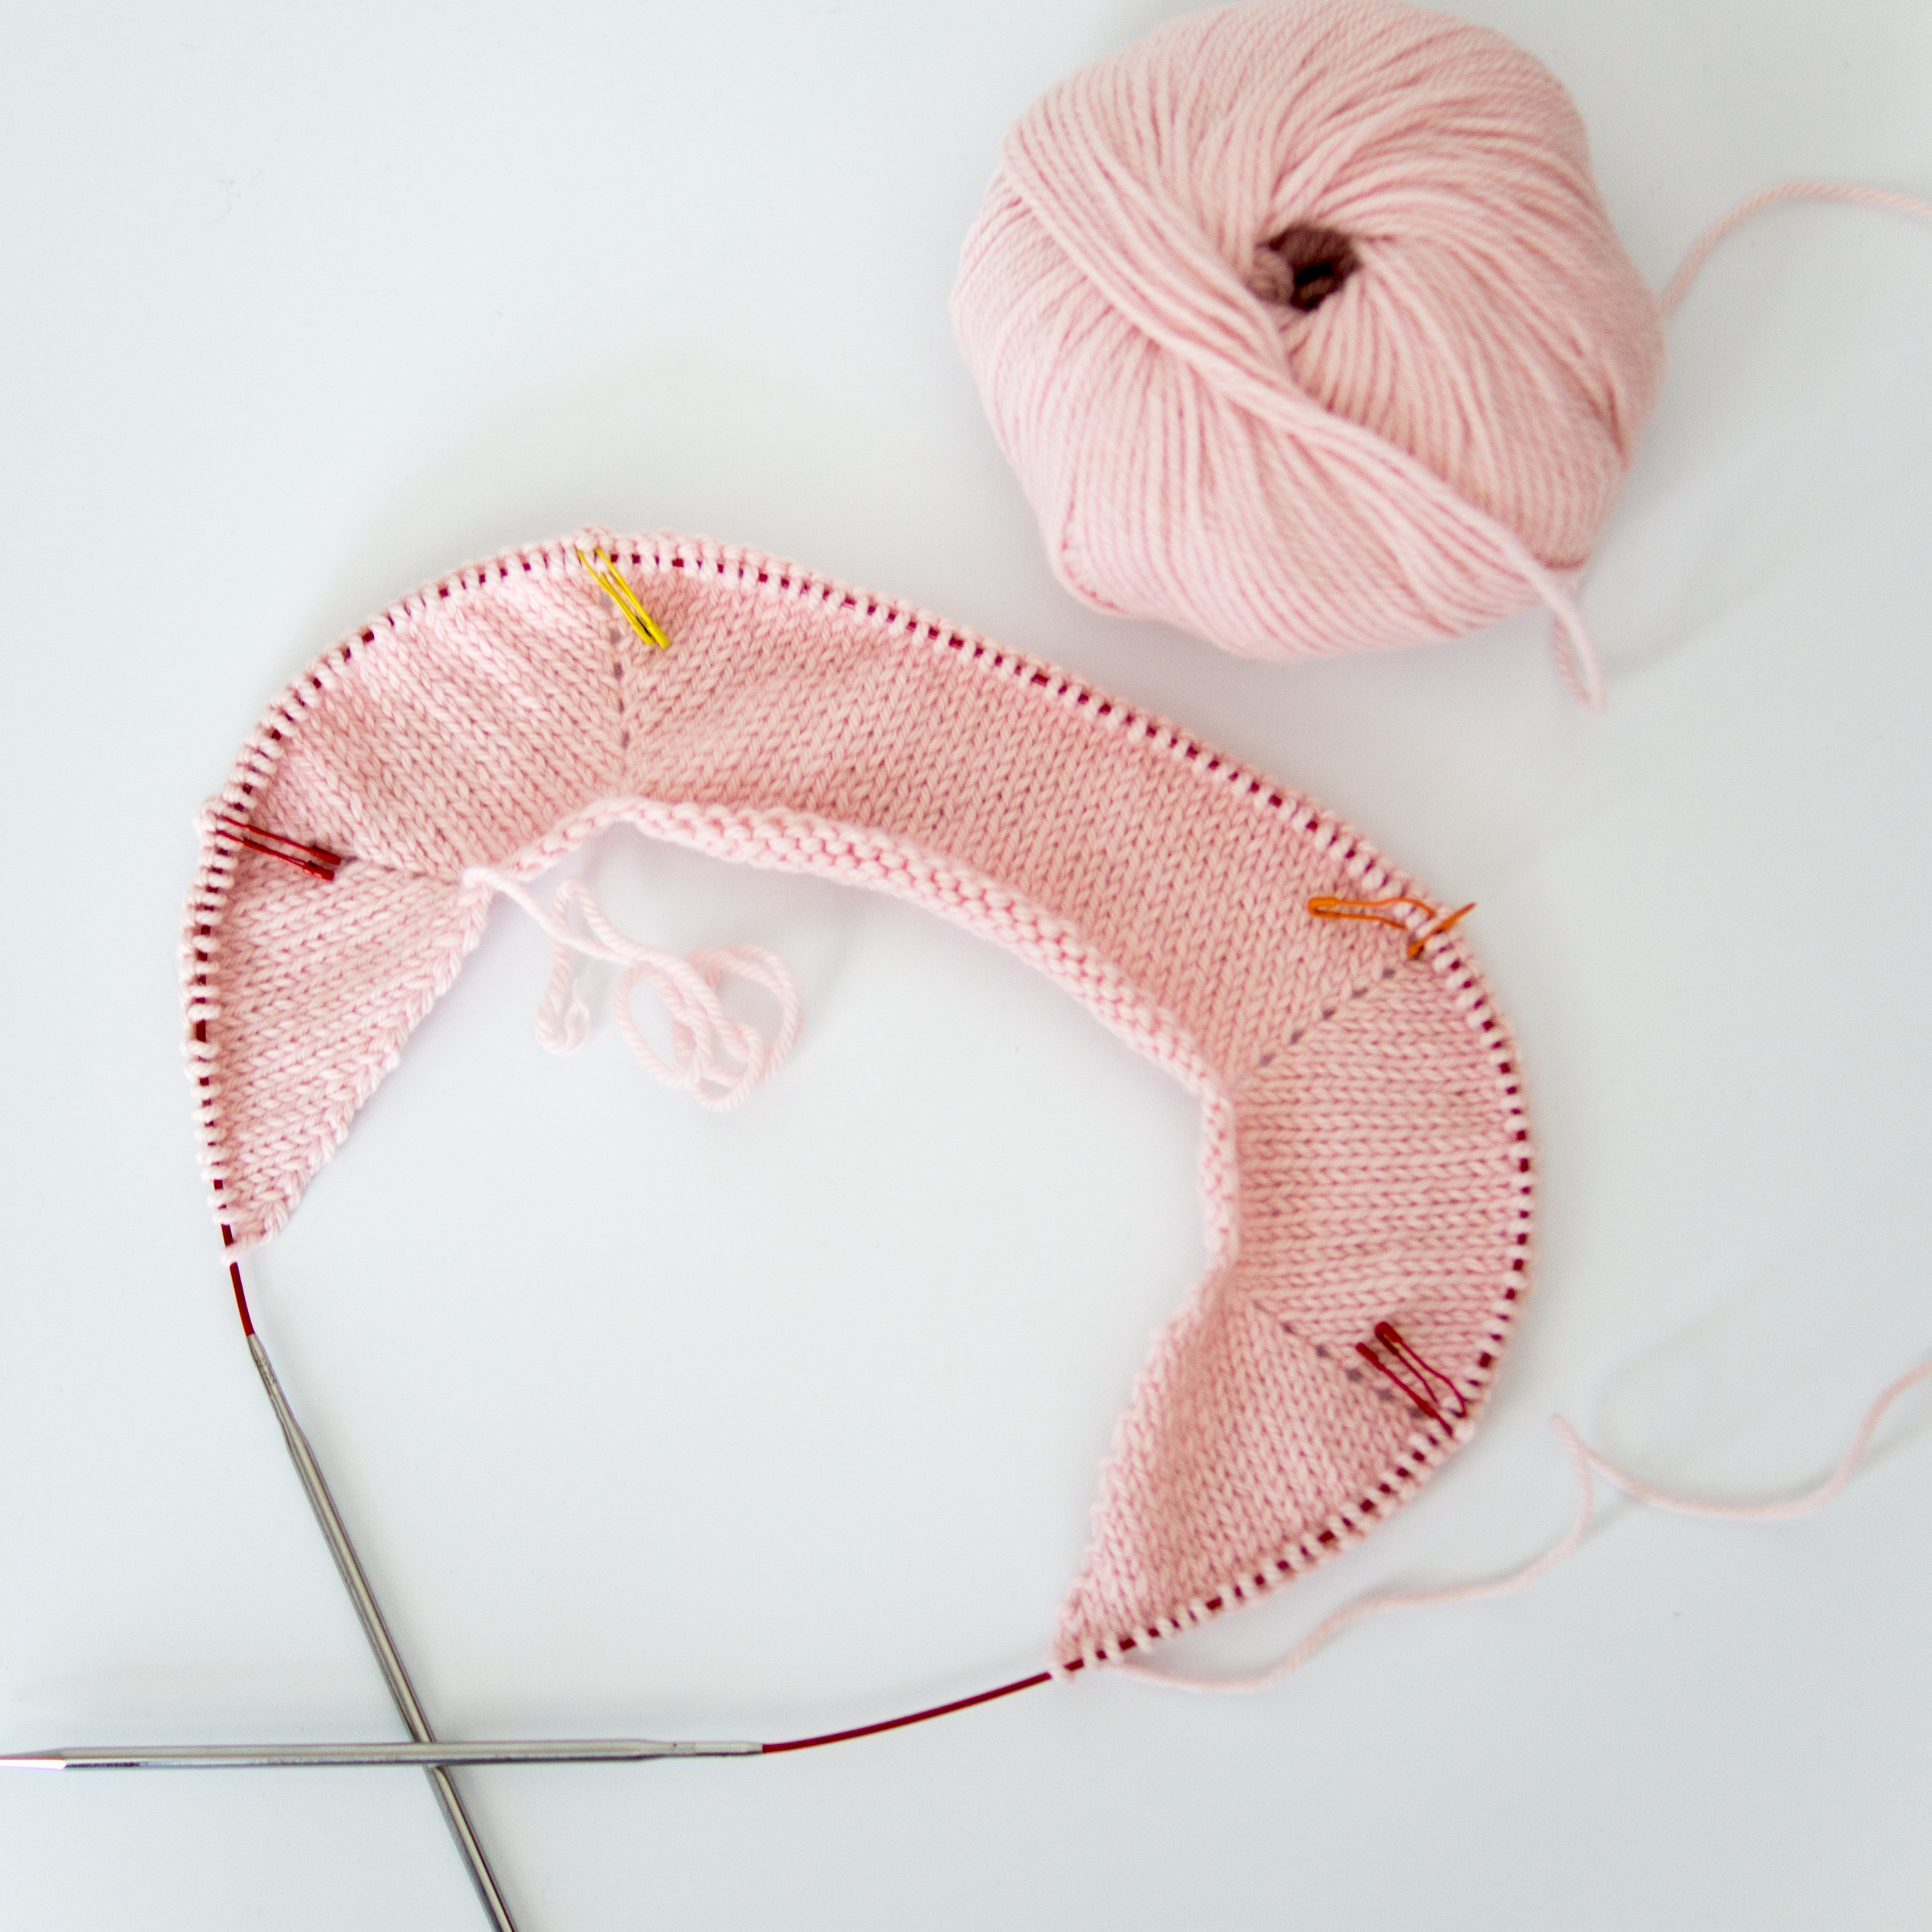
The most common way to hold an item in its shape while it dries is by using pins – usually T-pins. You can use any pins, but make sure they’re rust-proof as you’re going to be getting them wet.
For larger projects, it can be much quicker to use blockers. These are plastic handles with multiple pins protruding from the edge like a very sharp comb. They make very quick work of straight edges.
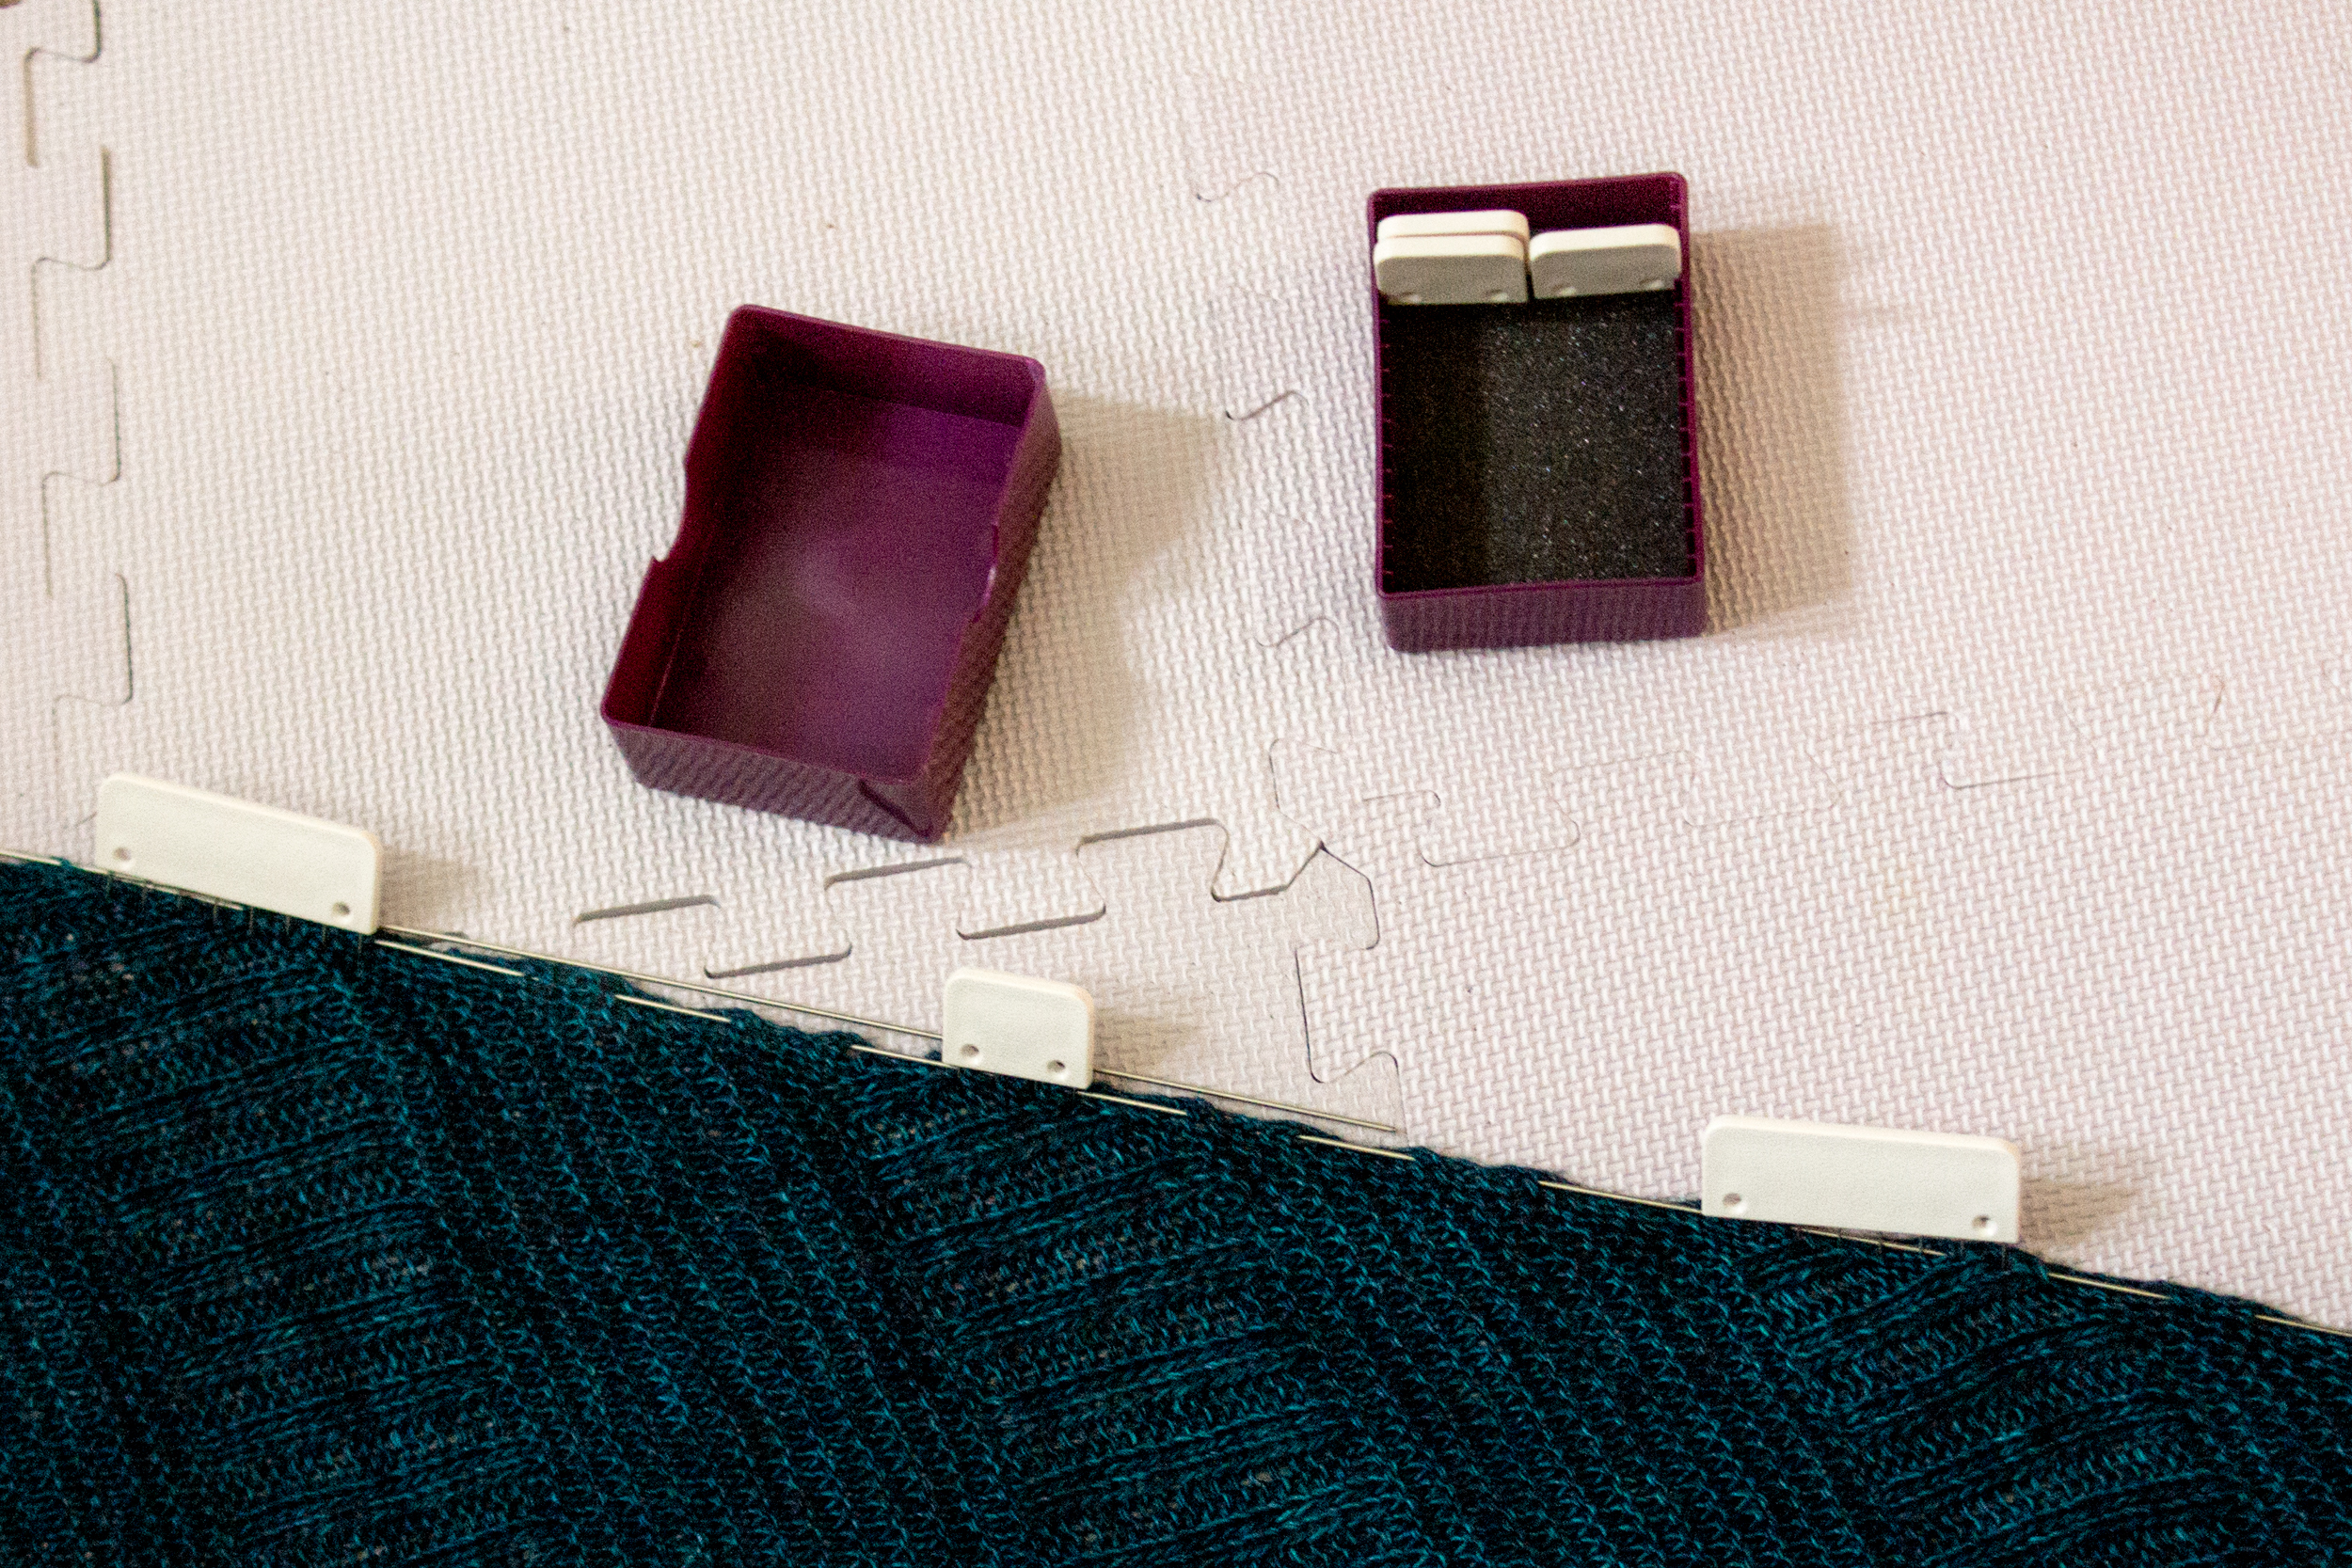
Blocking Mats
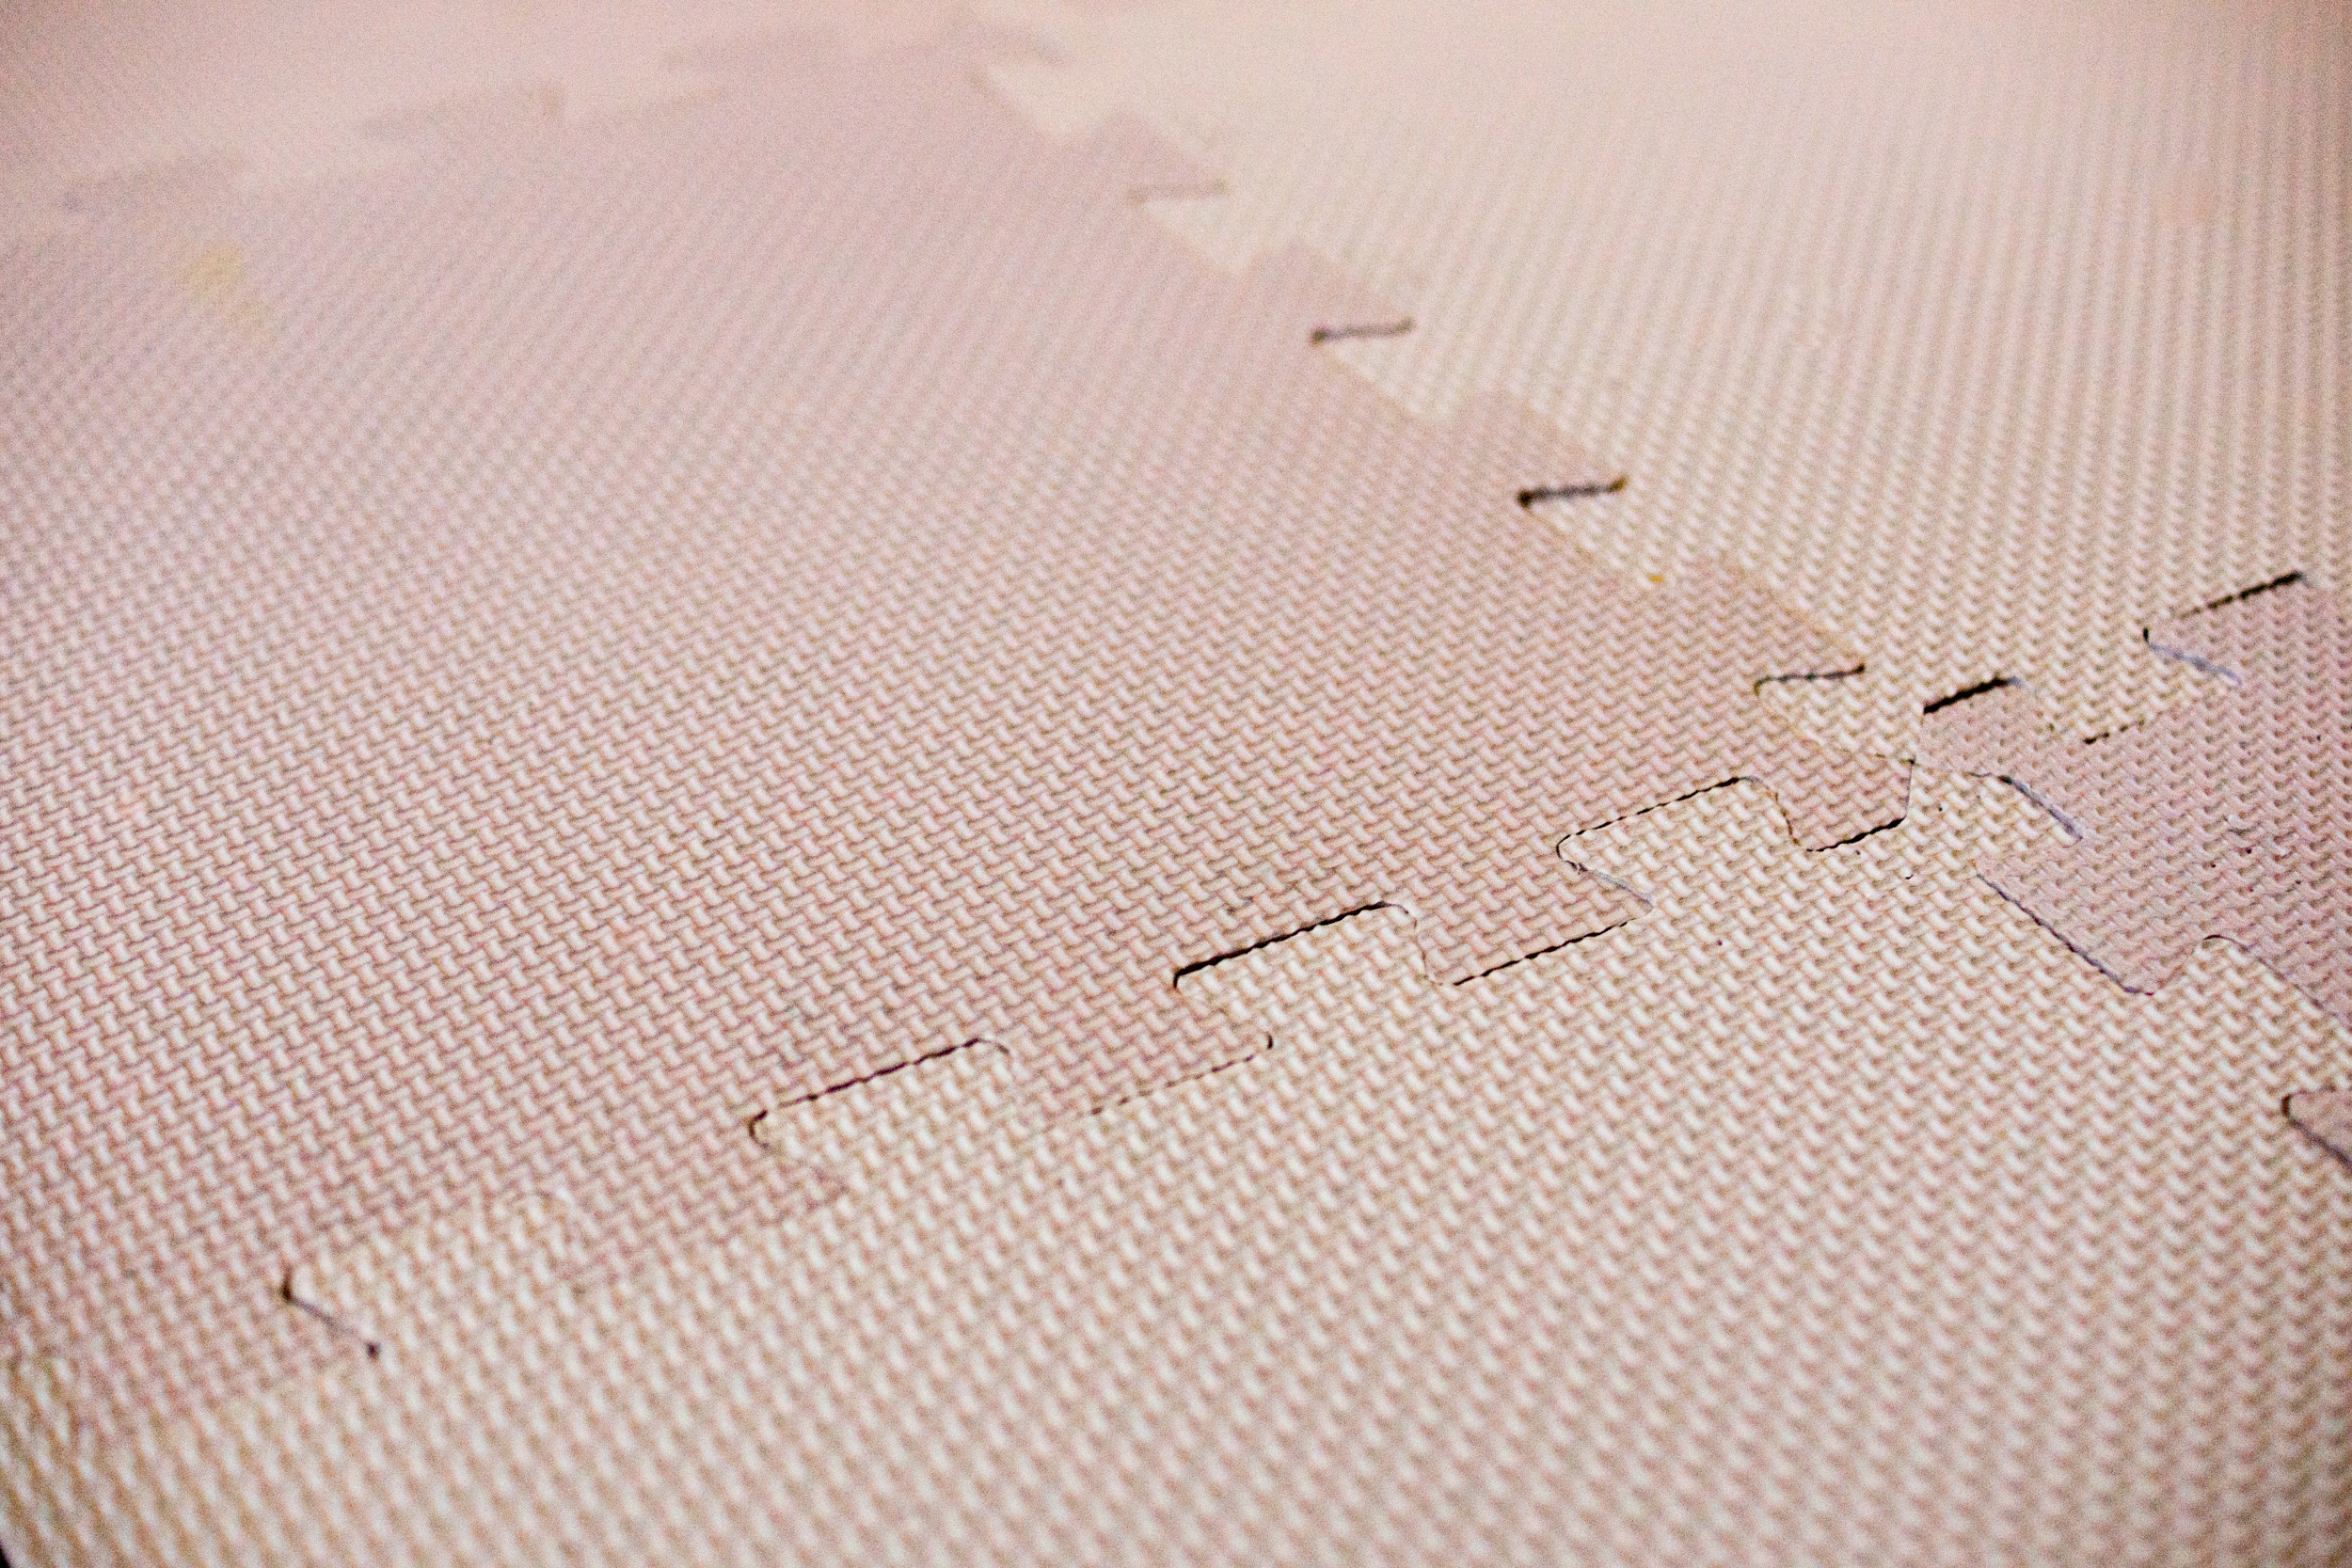
If you’re using pins then you’re going to need to stick them into something. Blocking mats are designed for this and will take a repeated sticking without being ruined. You can get them from knitting shops and those designed specifically for knitting sometimes have rulers or guides printed on them, which can be really helpful. However these are a bit on the pricey side, and essentially they’re just interlocking foam tiles. Kids play tiles do the job just as well and if you can pick some up in a sale, they’re a bargain.
If you’re someone who knits a lot of blankets or big shawls, you might need two sets – remember that your blocking mat area needs to be bigger than your final knit size.
If you don’t have blocking mats, in a pinch you can pin into a spare bed or carpet in an unused room.
Wires
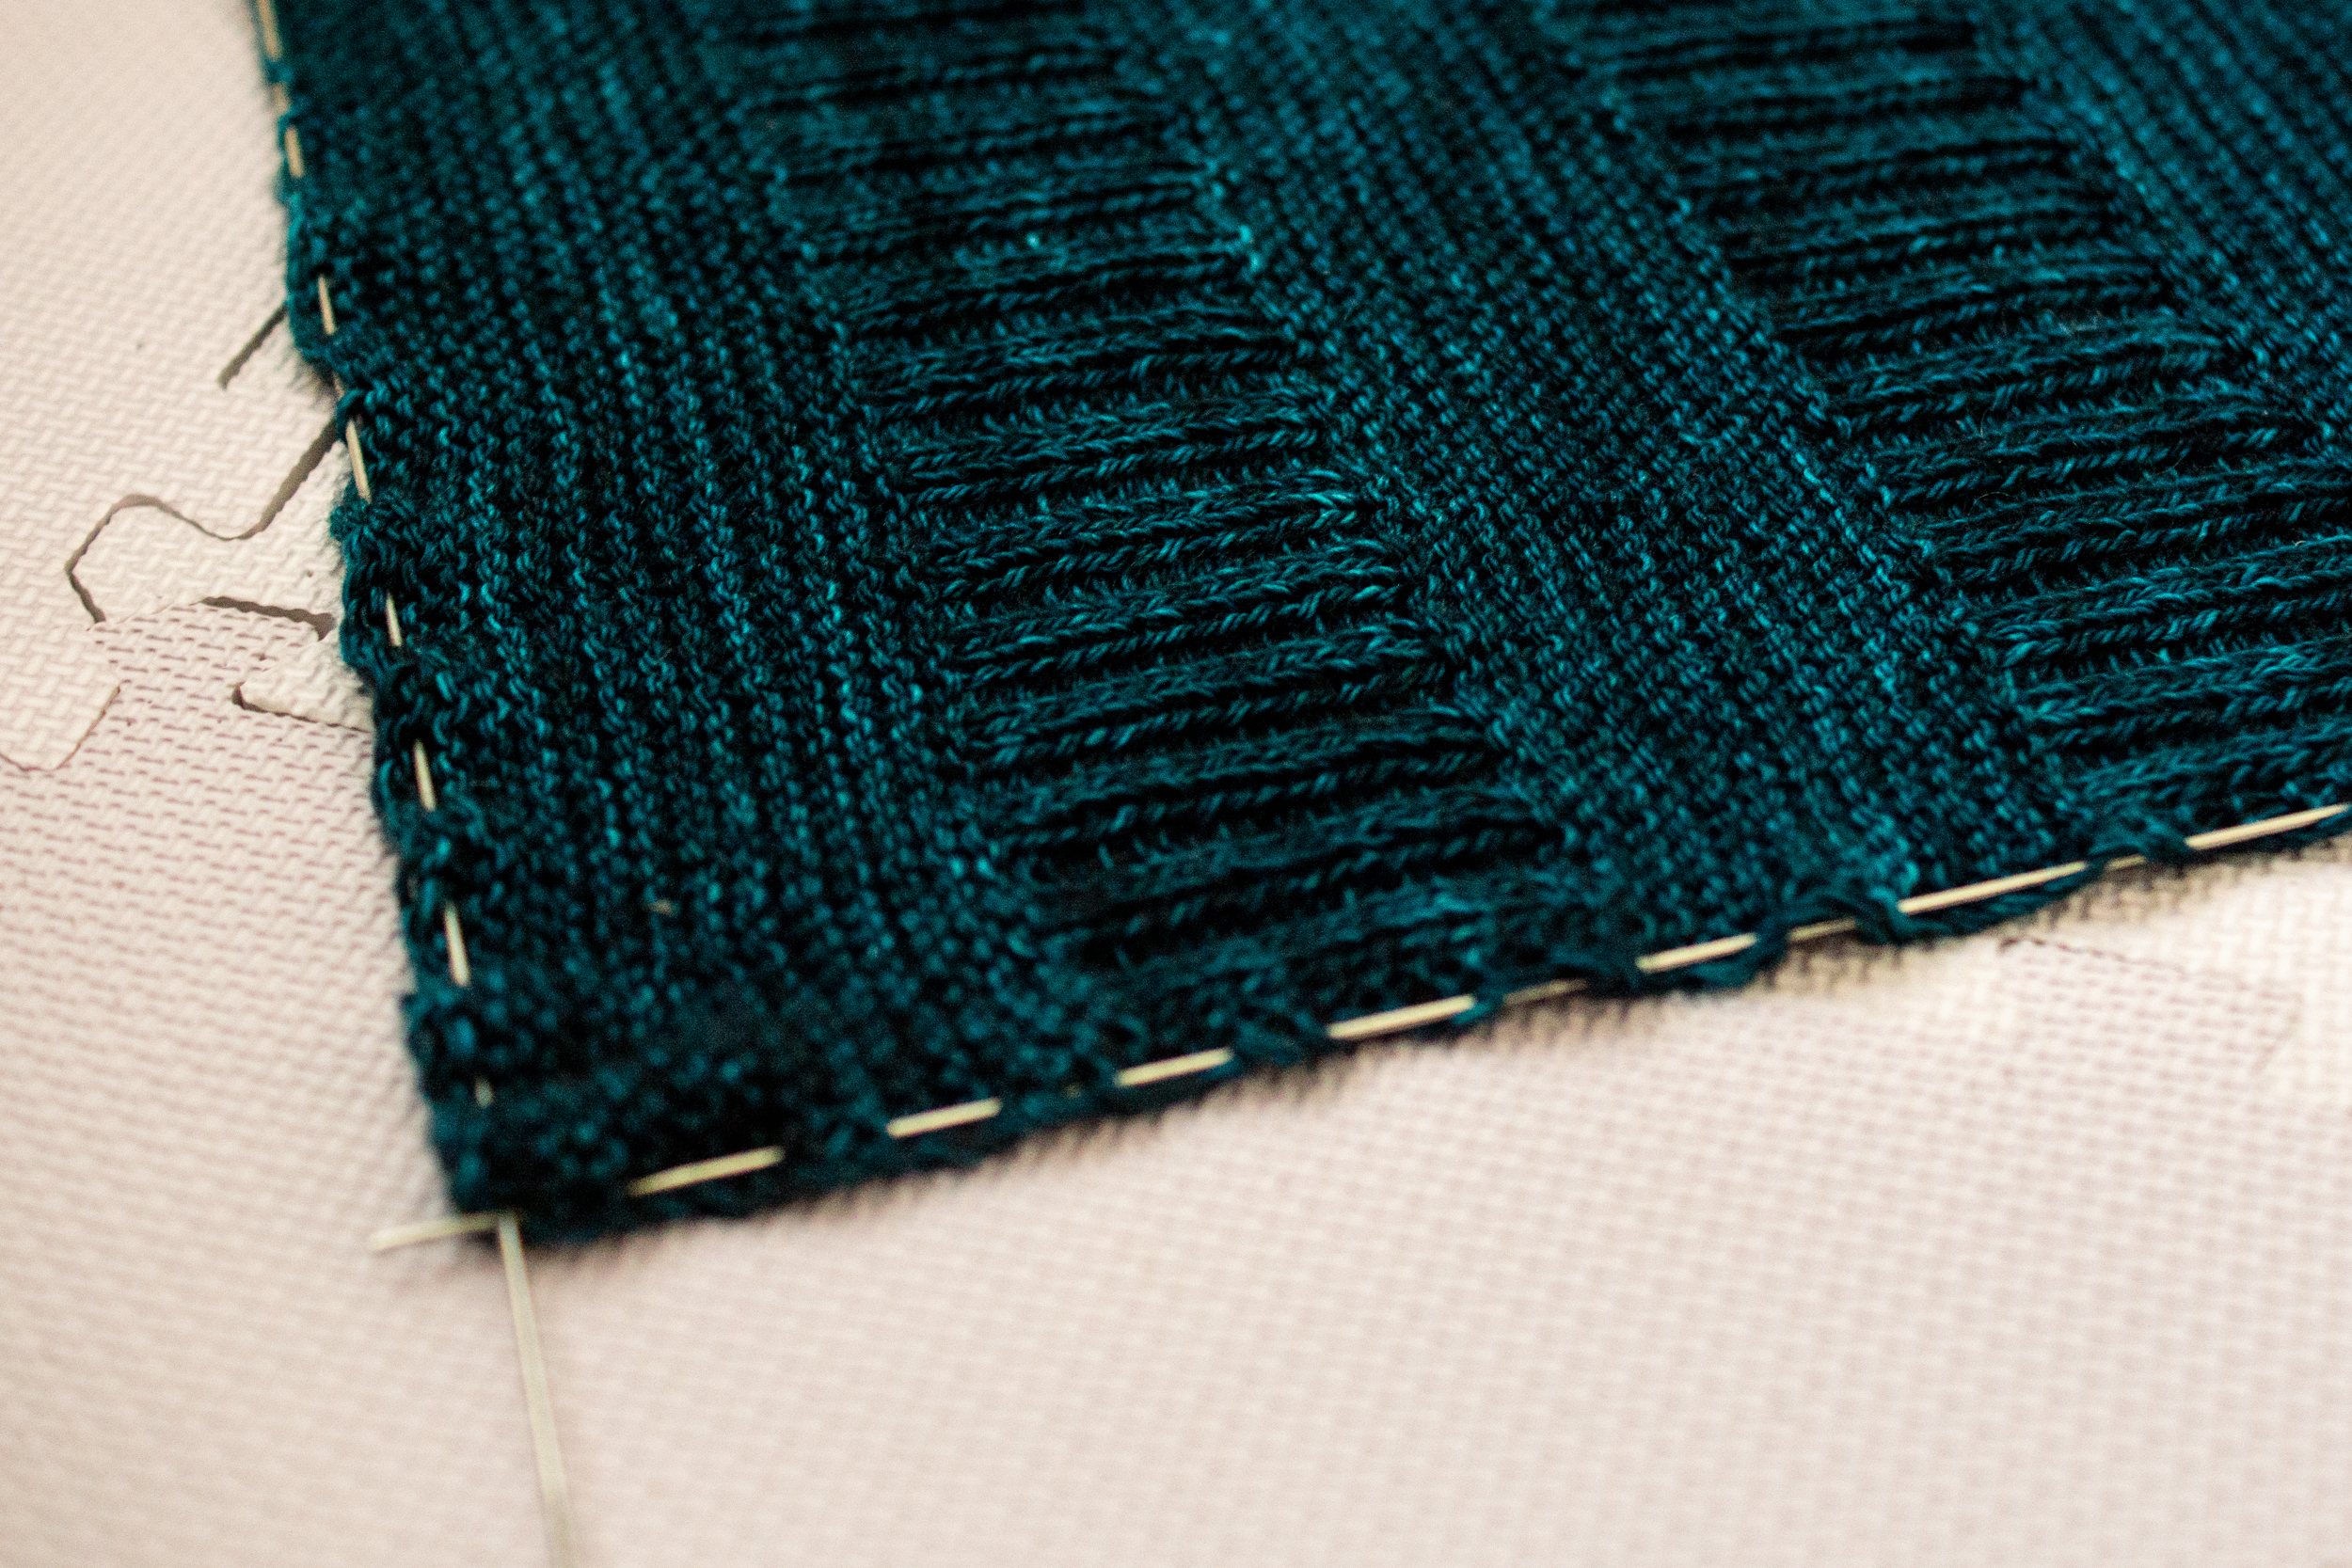
If you’ve got an item that demands straight edges or smooth curves, wires can help achieve that perfect finish with minimum fussing. They can be threaded through the edge of your work to manipulate a whole length of edge in one go, needing just a few pins or blockers to hold it in place.
Blocking Forms
If you’re an avid sock knitter then you may well own a pair of sock blockers – wooden foot shapes, sometimes adjustable to different sizes, designed to sit inside your socks and help them dry neatly.
Being a mitt-lover, I have mitt blockers, which are the same idea but for hands.
Hats are a tricky one to block to the right shape. I have a head form that I use for photography, which can be useful for getting a crown to set just so. Another trick is to blow up a balloon to the right size, then pop the hat on that and let it dry.
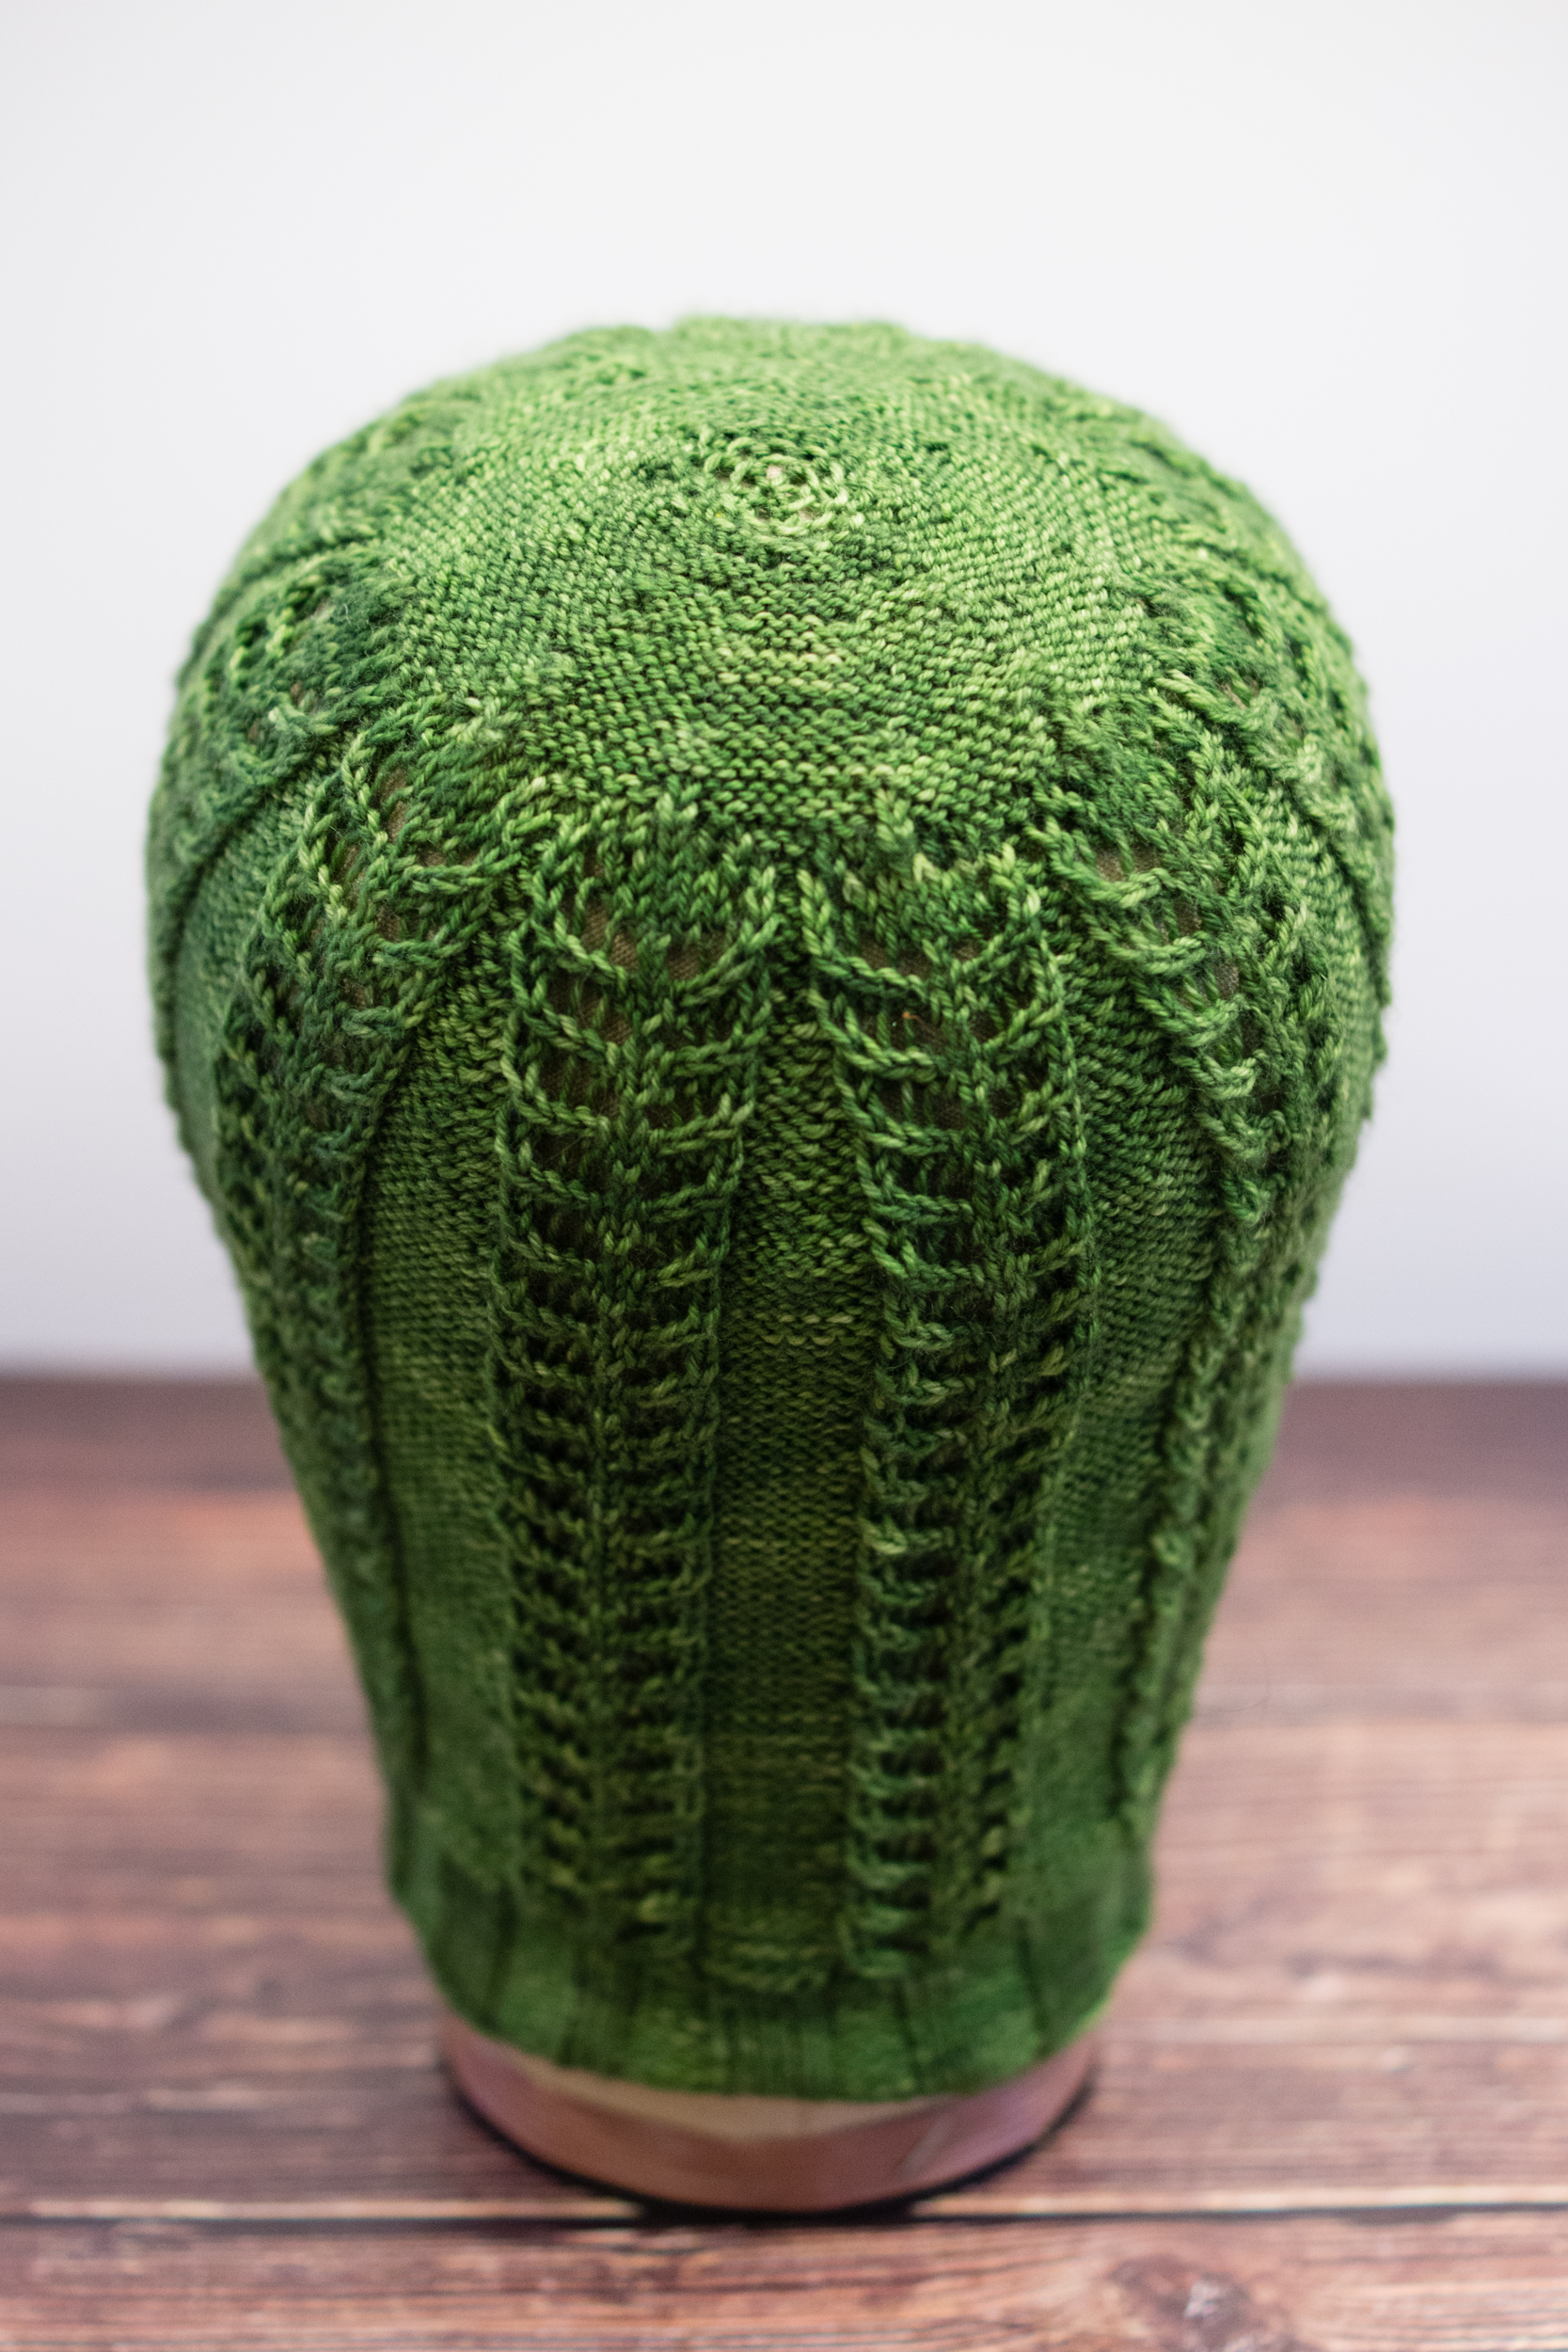
Almost anything that’ll give you the desired shape, whatever that may be, can be used as a blocking form – so long as it’s safe to get it wet.
Let It Dry
Air Dry
The most common method, and with good reason: heat + agitation = felting.
Like using an airer, things dry fastest when there’s good ventilation, low humidity, and warmth.
Towel
When wet blocking, your item will get fully saturated with water. If you shape it like that and wait for it to dry, it’ll take forever. A towel is the equivalent of spin & drain on your washing machine: it gets the majority of the water out so the item dries in a sensible amount of time.
Hair Dryer
We’ve all been there: you’re packing to travel for the wedding, you’ve crocheted a shawl in the perfect colour to match your dress, and your shawl is just. not. dry. So out comes the hair dryer…
…okay, maybe that’s just me. But look, it’s a perfectly acceptable method. Just keep the heat low, keep it moving, don’t get too close, and remember that metal retains heat so those pins are gonna be a bit toasty.
Tumble Dryer
There are yarns which are perfectly happy going through the tumble dryer, so it would be remiss not to include it here. However, one big caveat: not all yarns are created equal. Just because Margaret from knitting club says she tumble dries all her knits, that doesn’t mean yours will be safe! Different fibres will respond in different ways.
As a general rule, I would not tumble dry any hand knit that I would be upset about felting.
If this free guide helped you, please consider buying me a coffee.