

What is a circular yoke?
Circular yokes are most often used with stranded colourwork designs, but they’re increasingly being used with other techniques. When knit top down, they start with a circle of stitches, which expands – sometimes in wedges, sometimes in concentric circles – before splitting for body and sleeves, both of which are usually completed in the round. Short rows are commonly used for shaping, sometimes before and sometimes after the yoke detail (and sometimes both).
This construction method lends itself to mix and match sizing pretty well, because there’s a nice clear relationship between the body stitches, the sleeve stitches, and the yoke stitches.
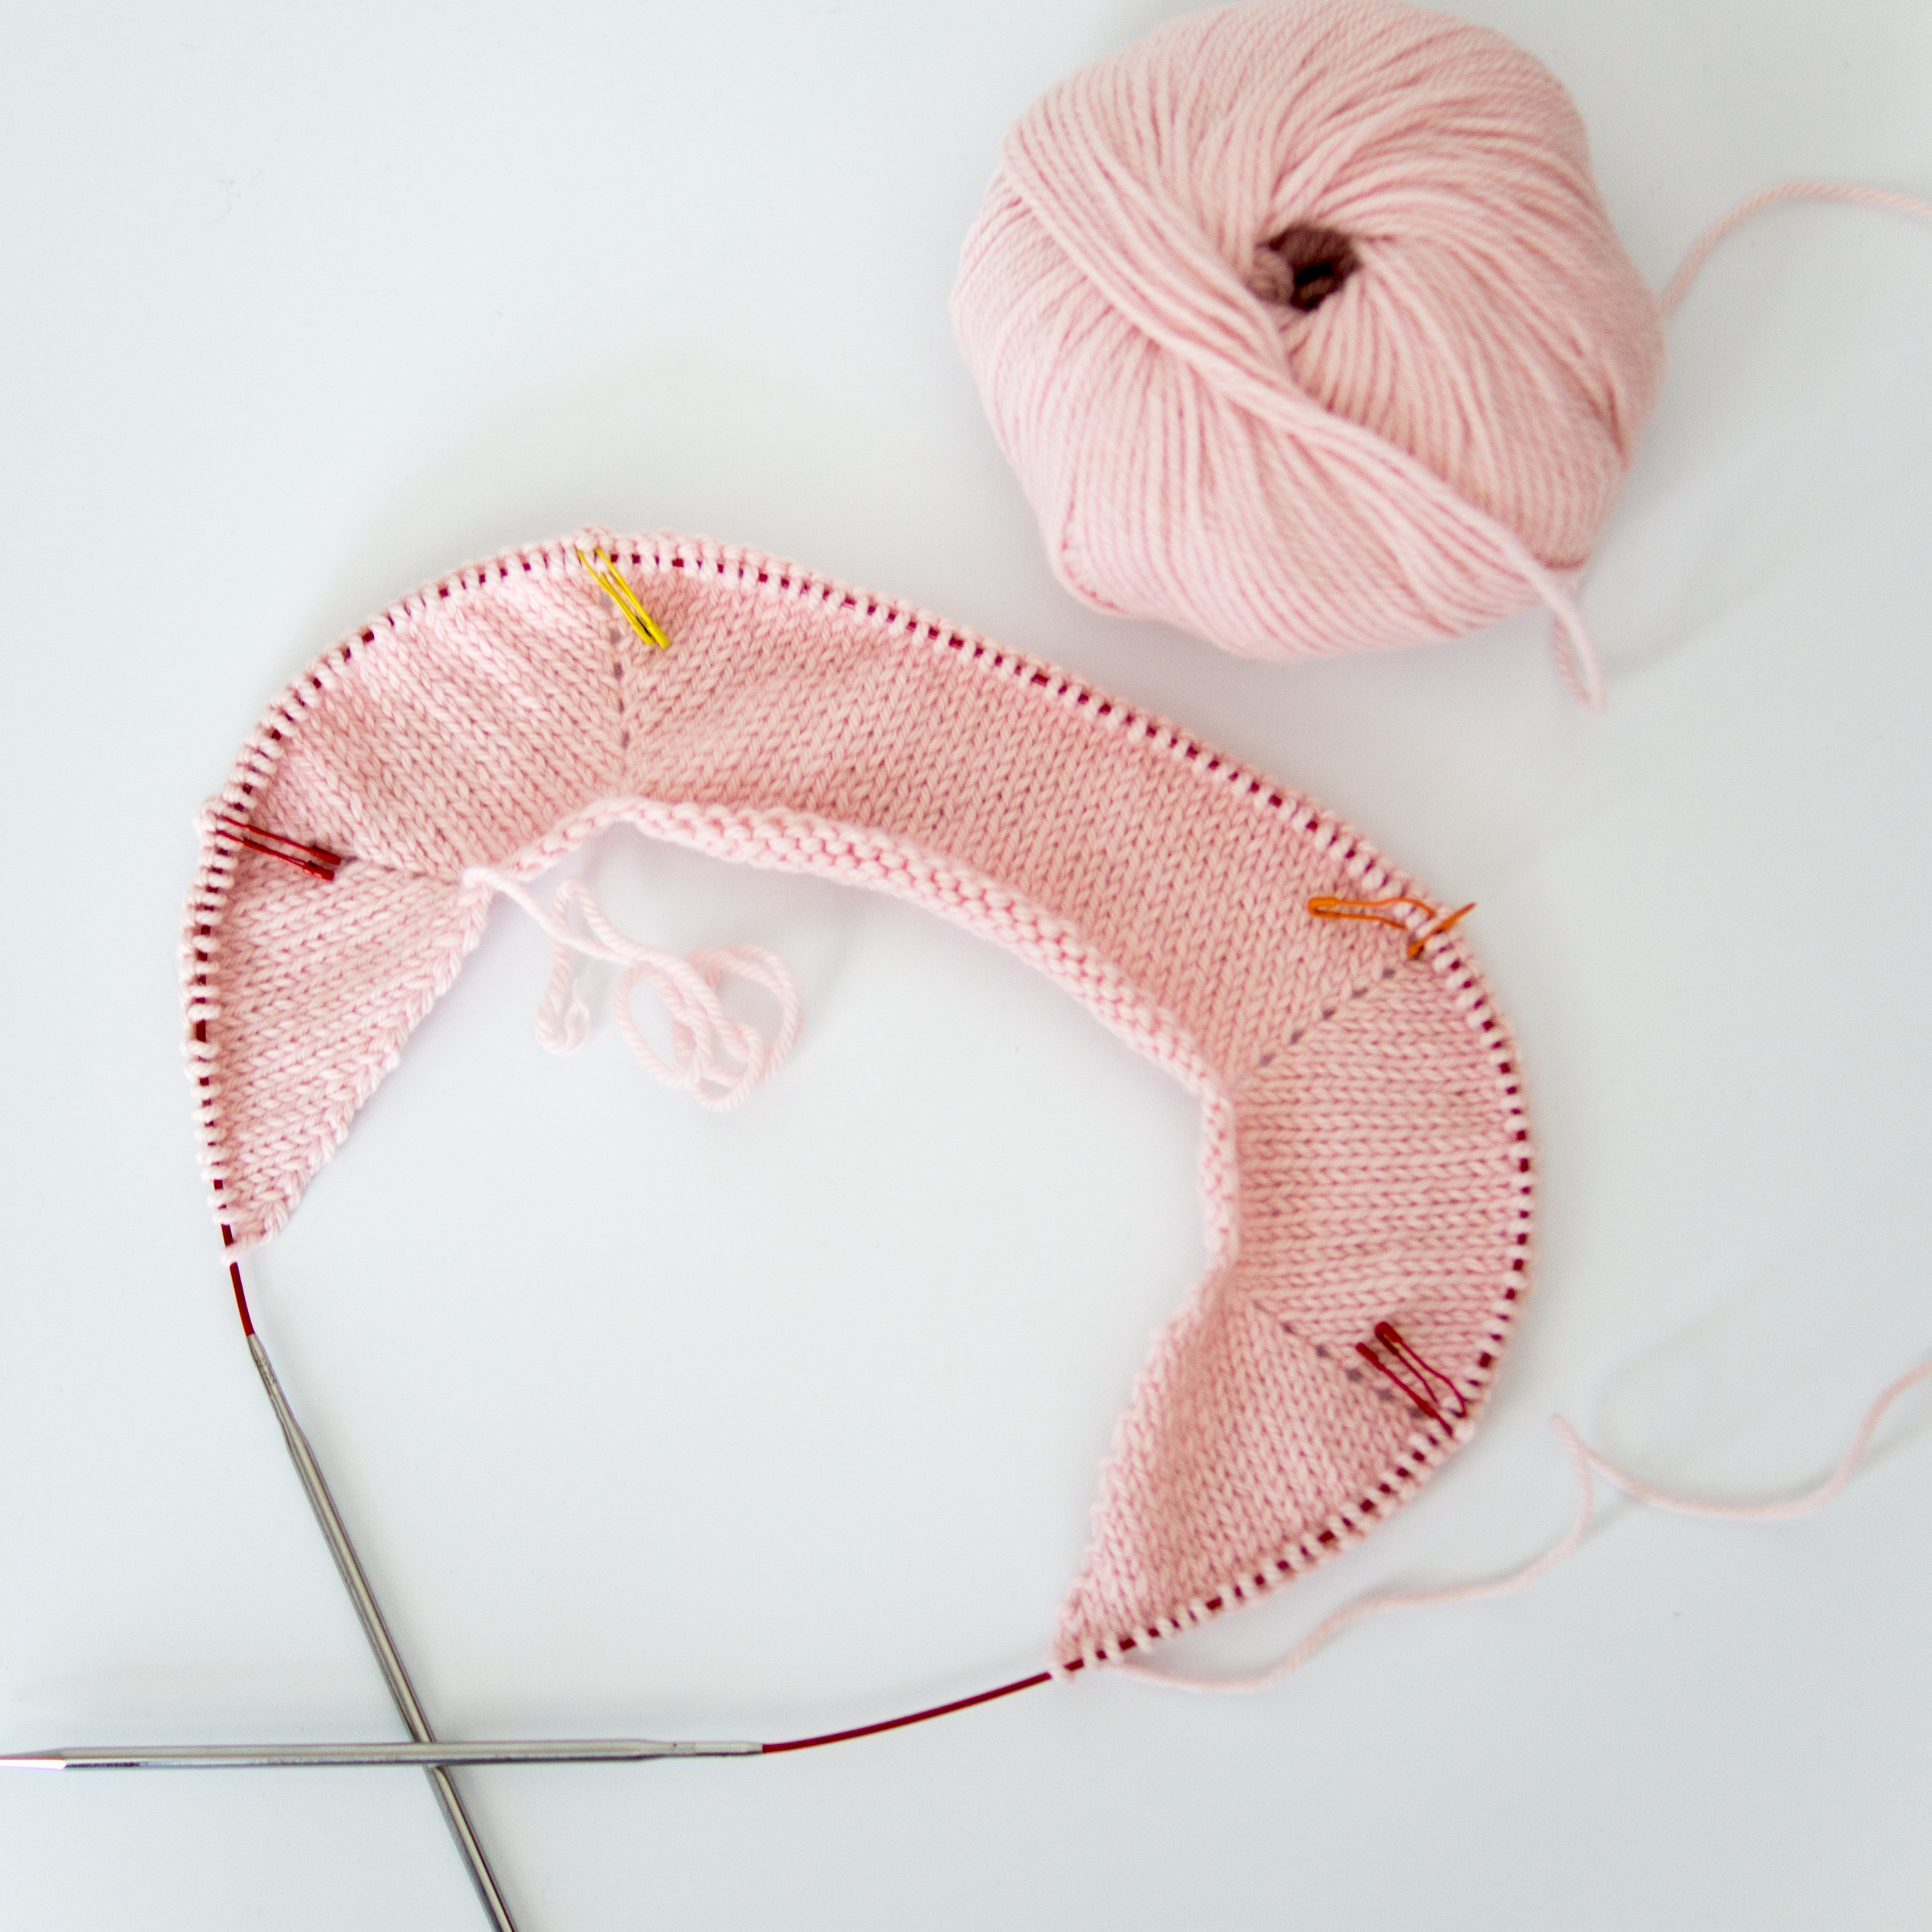
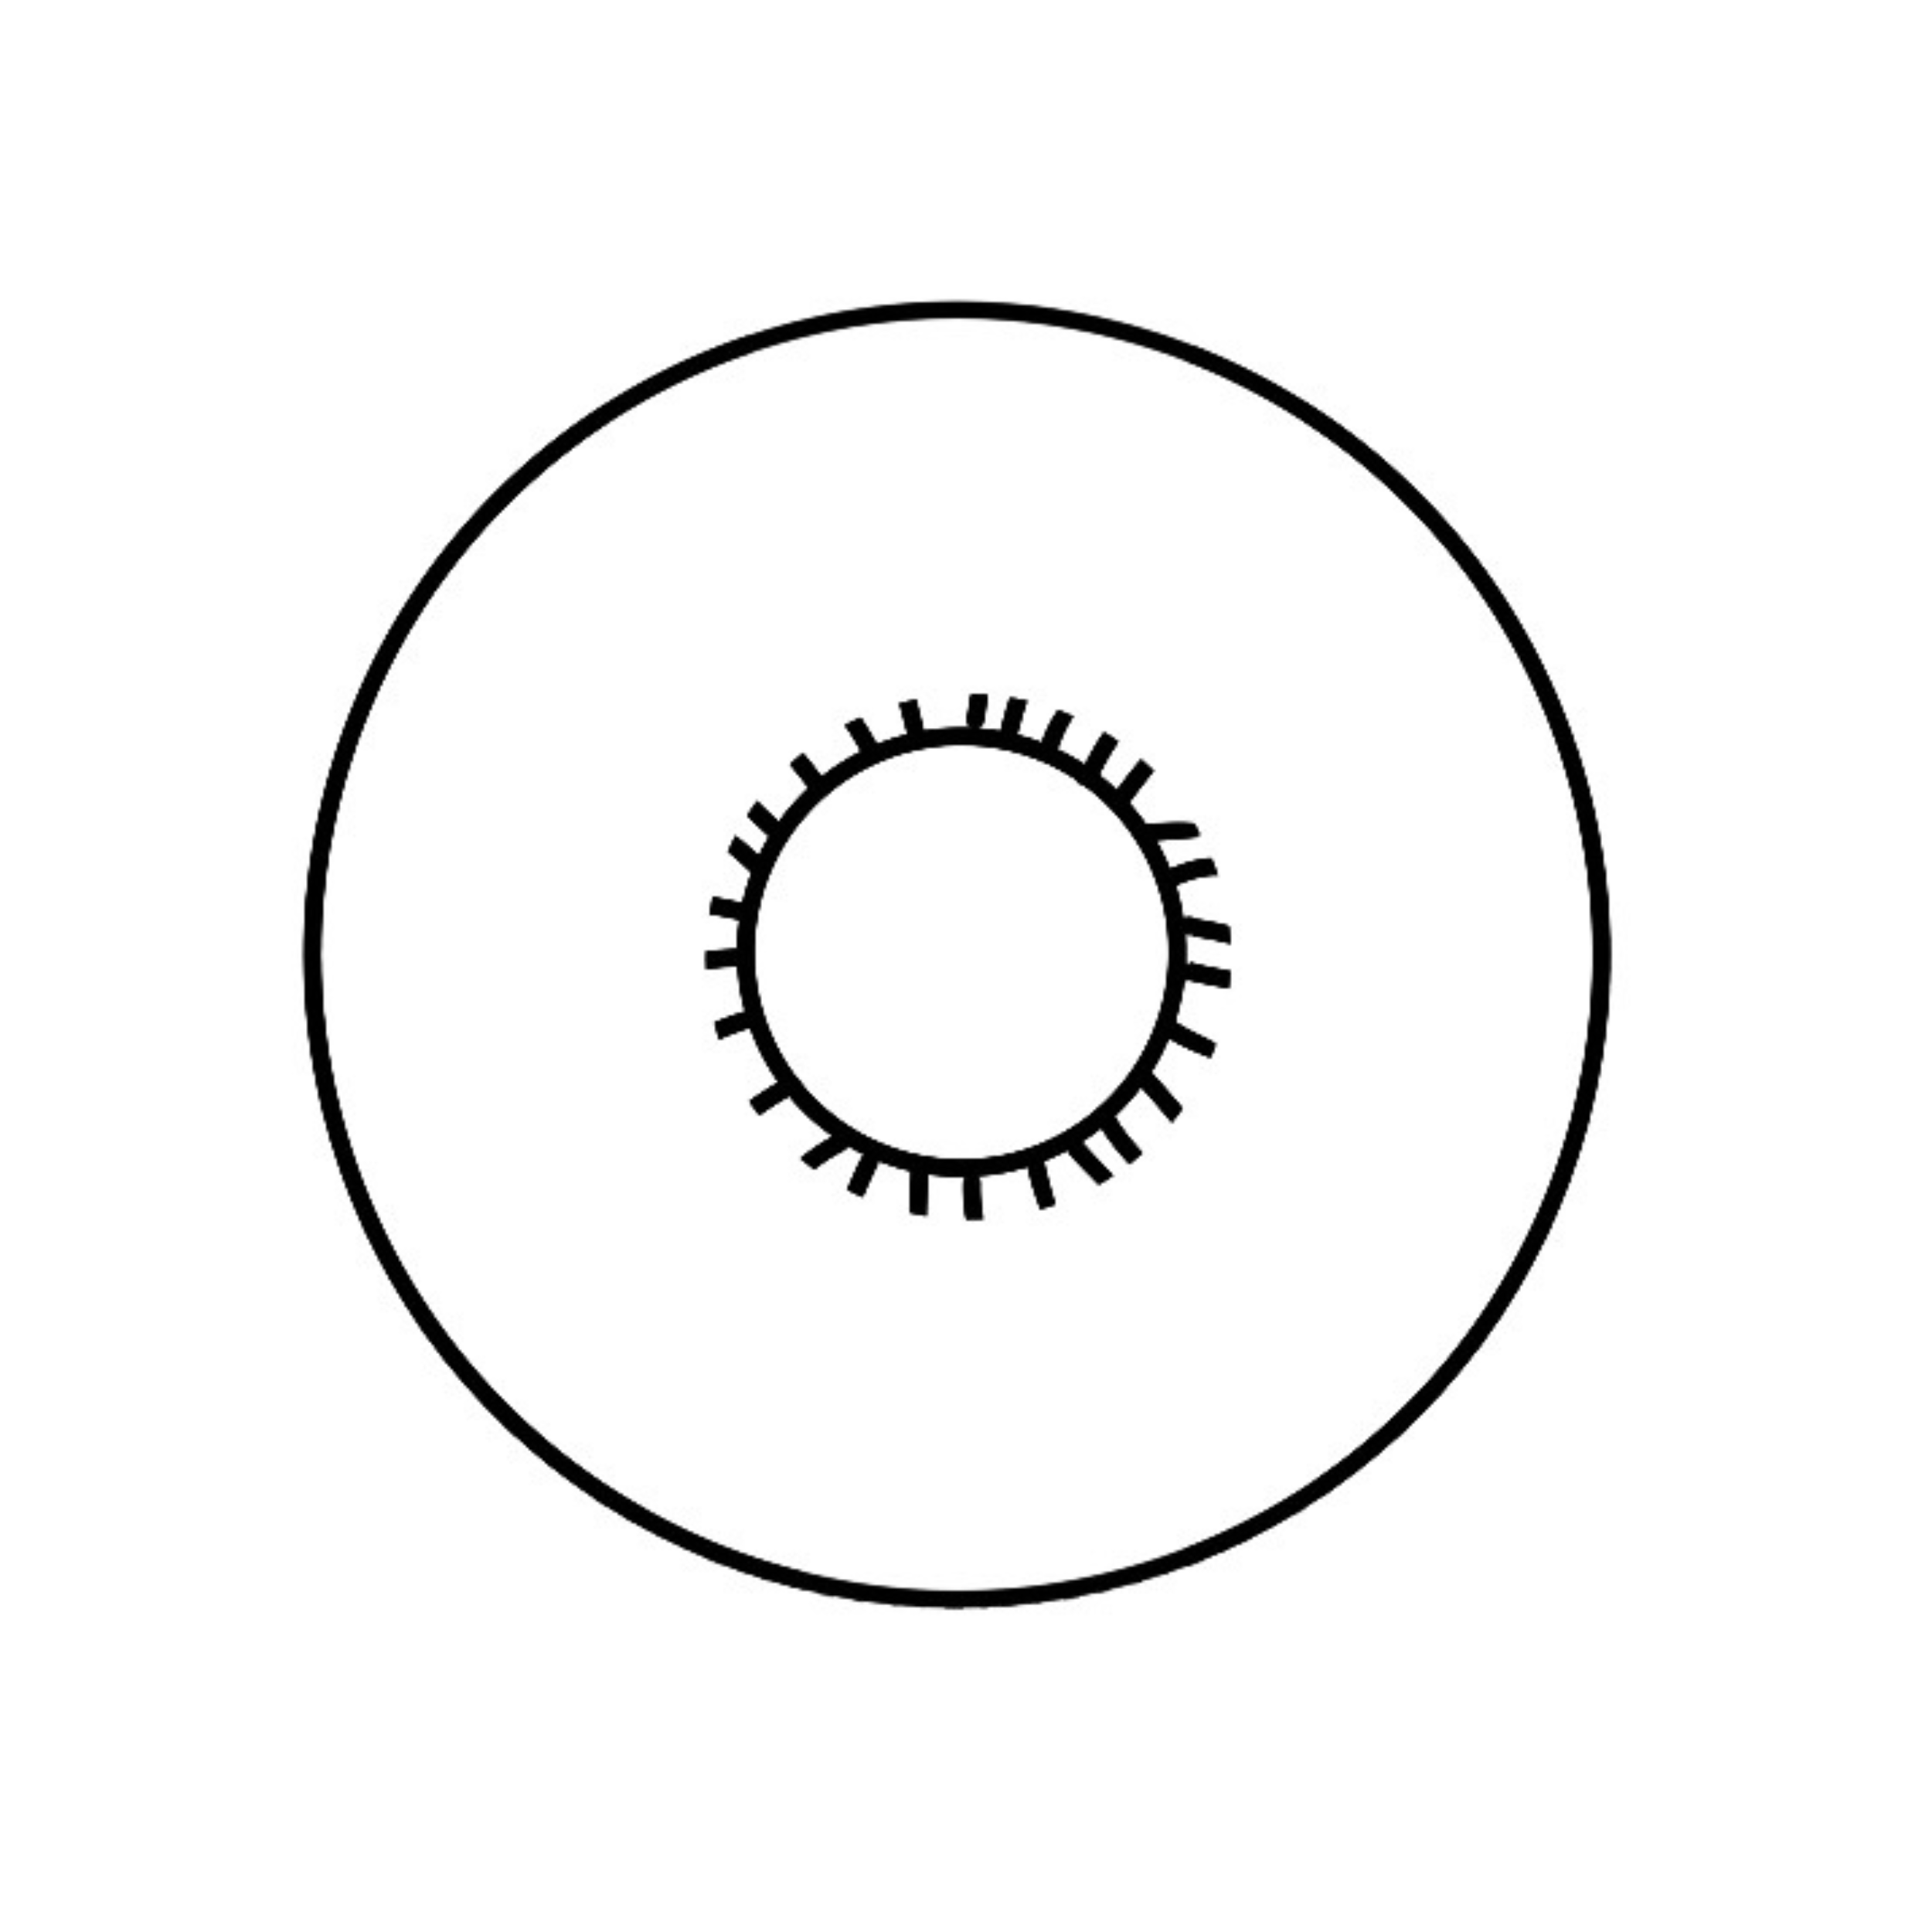
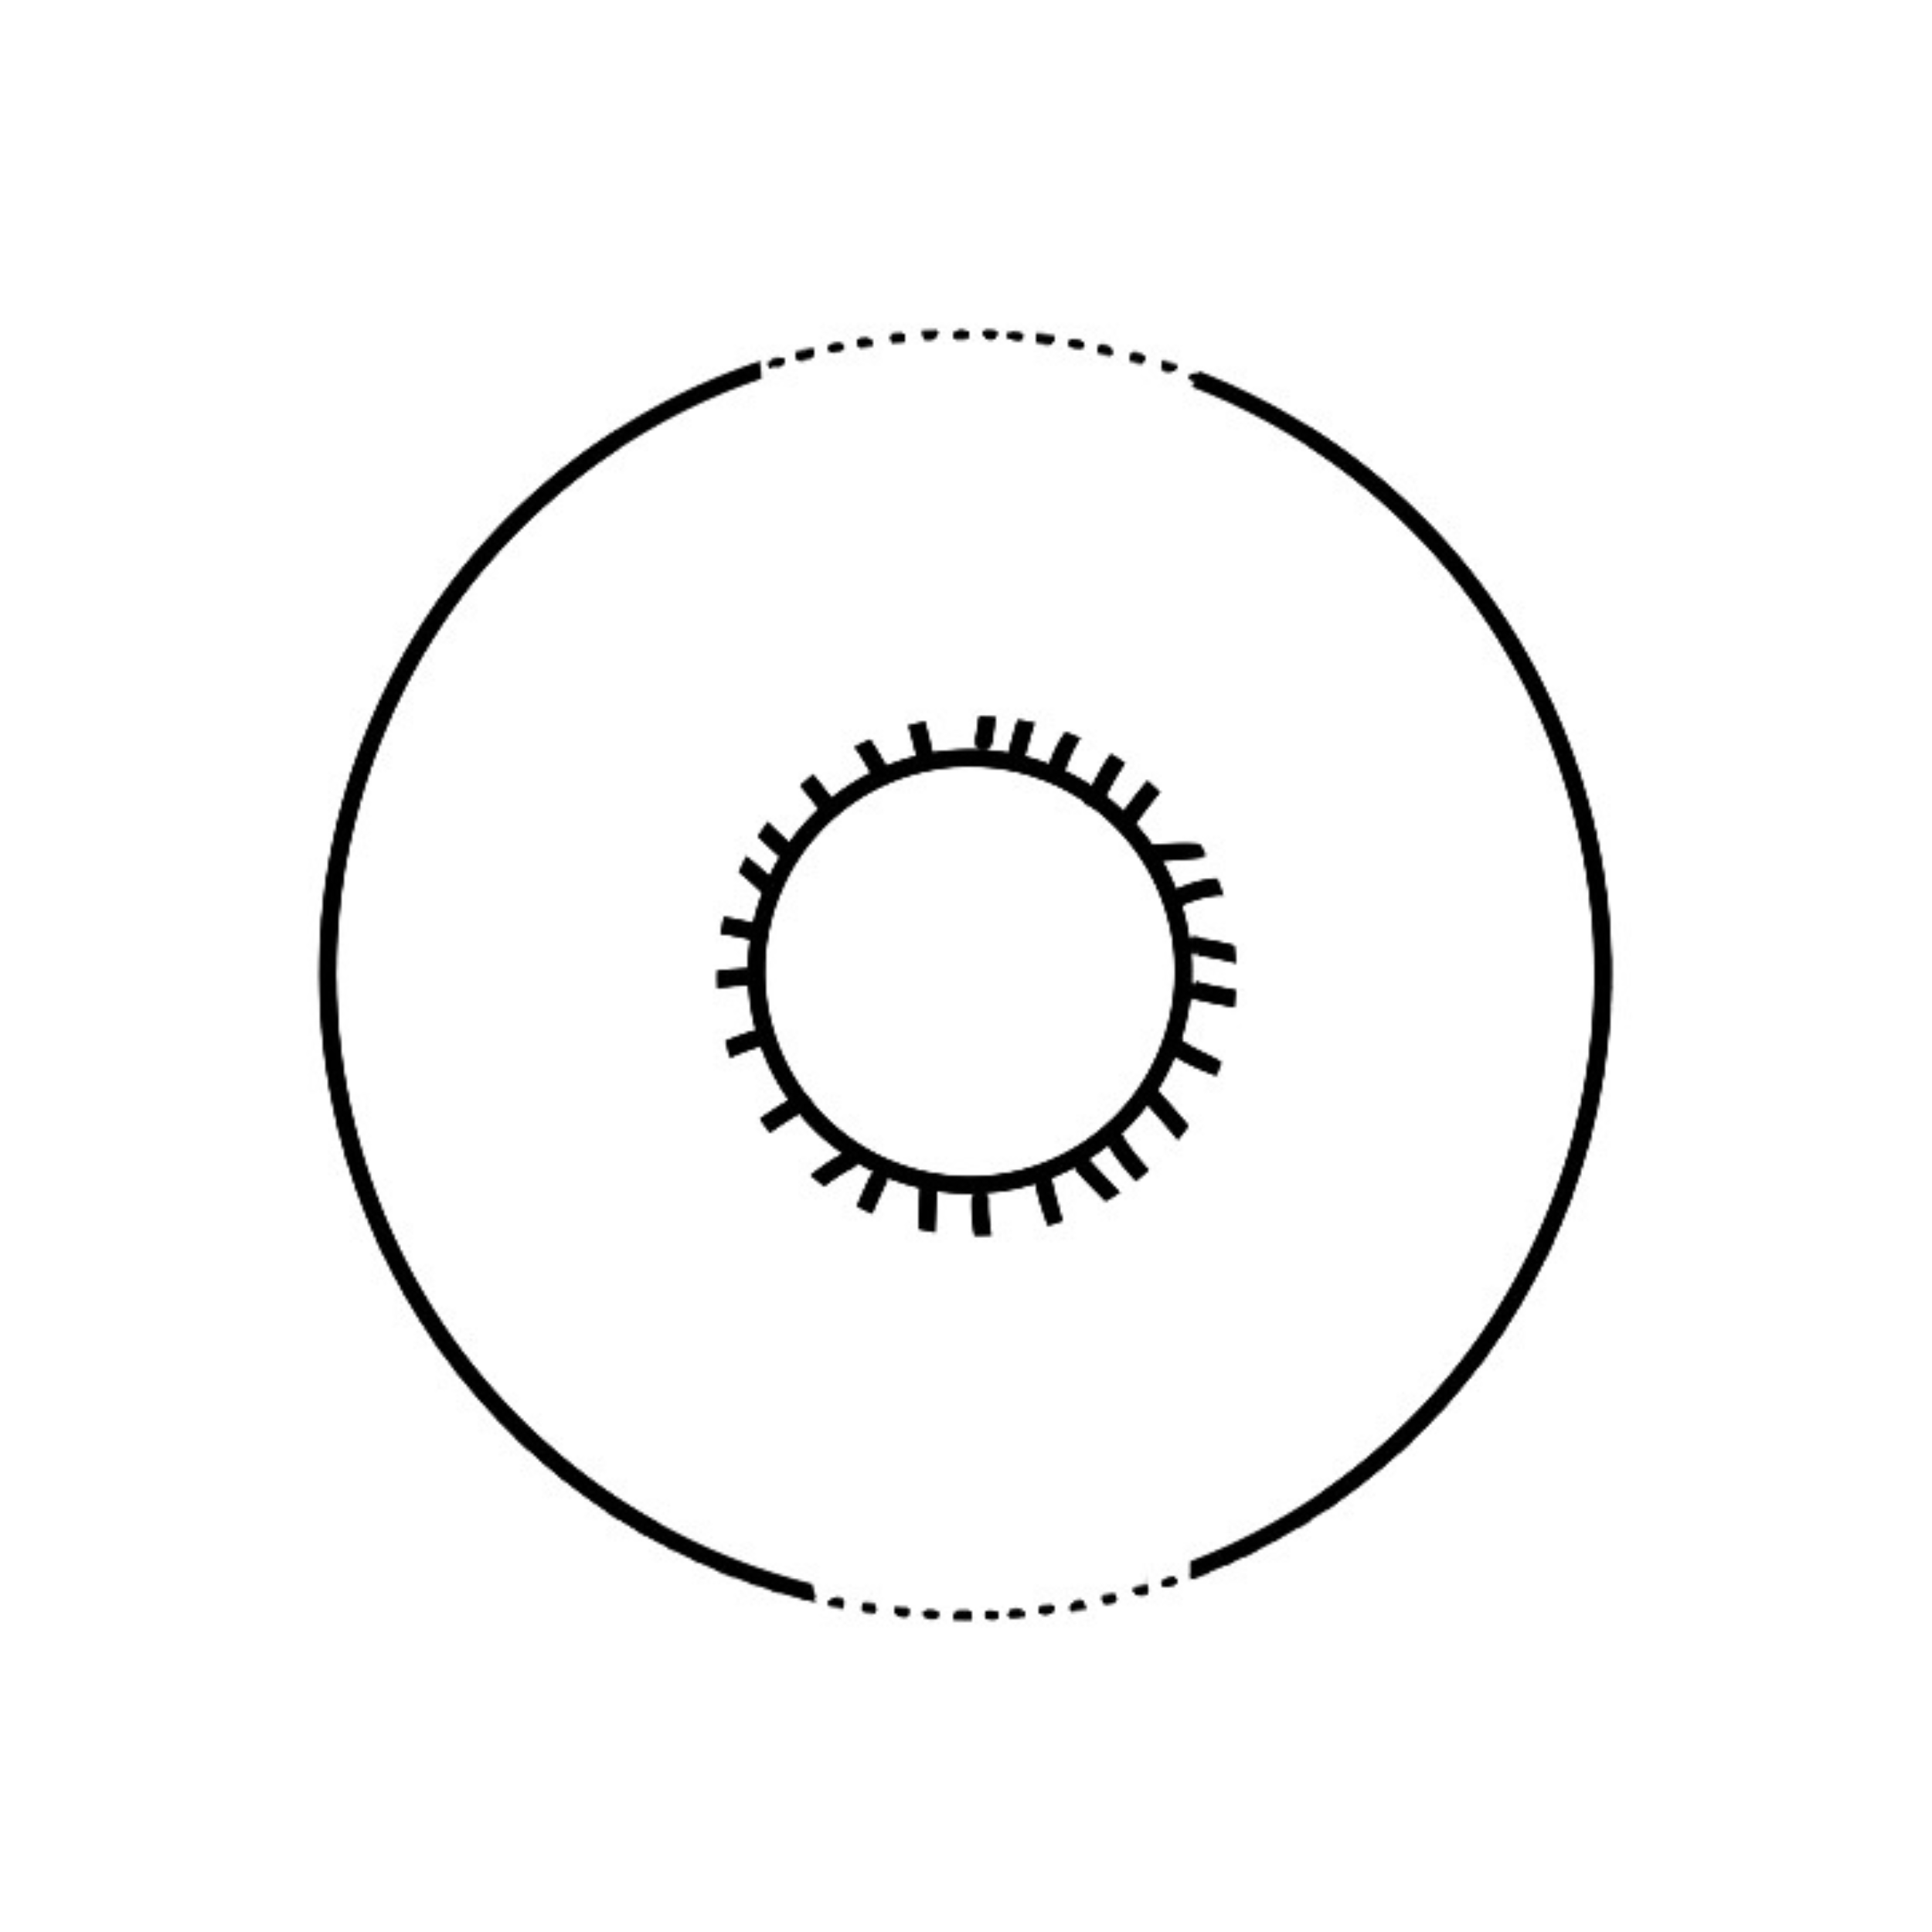
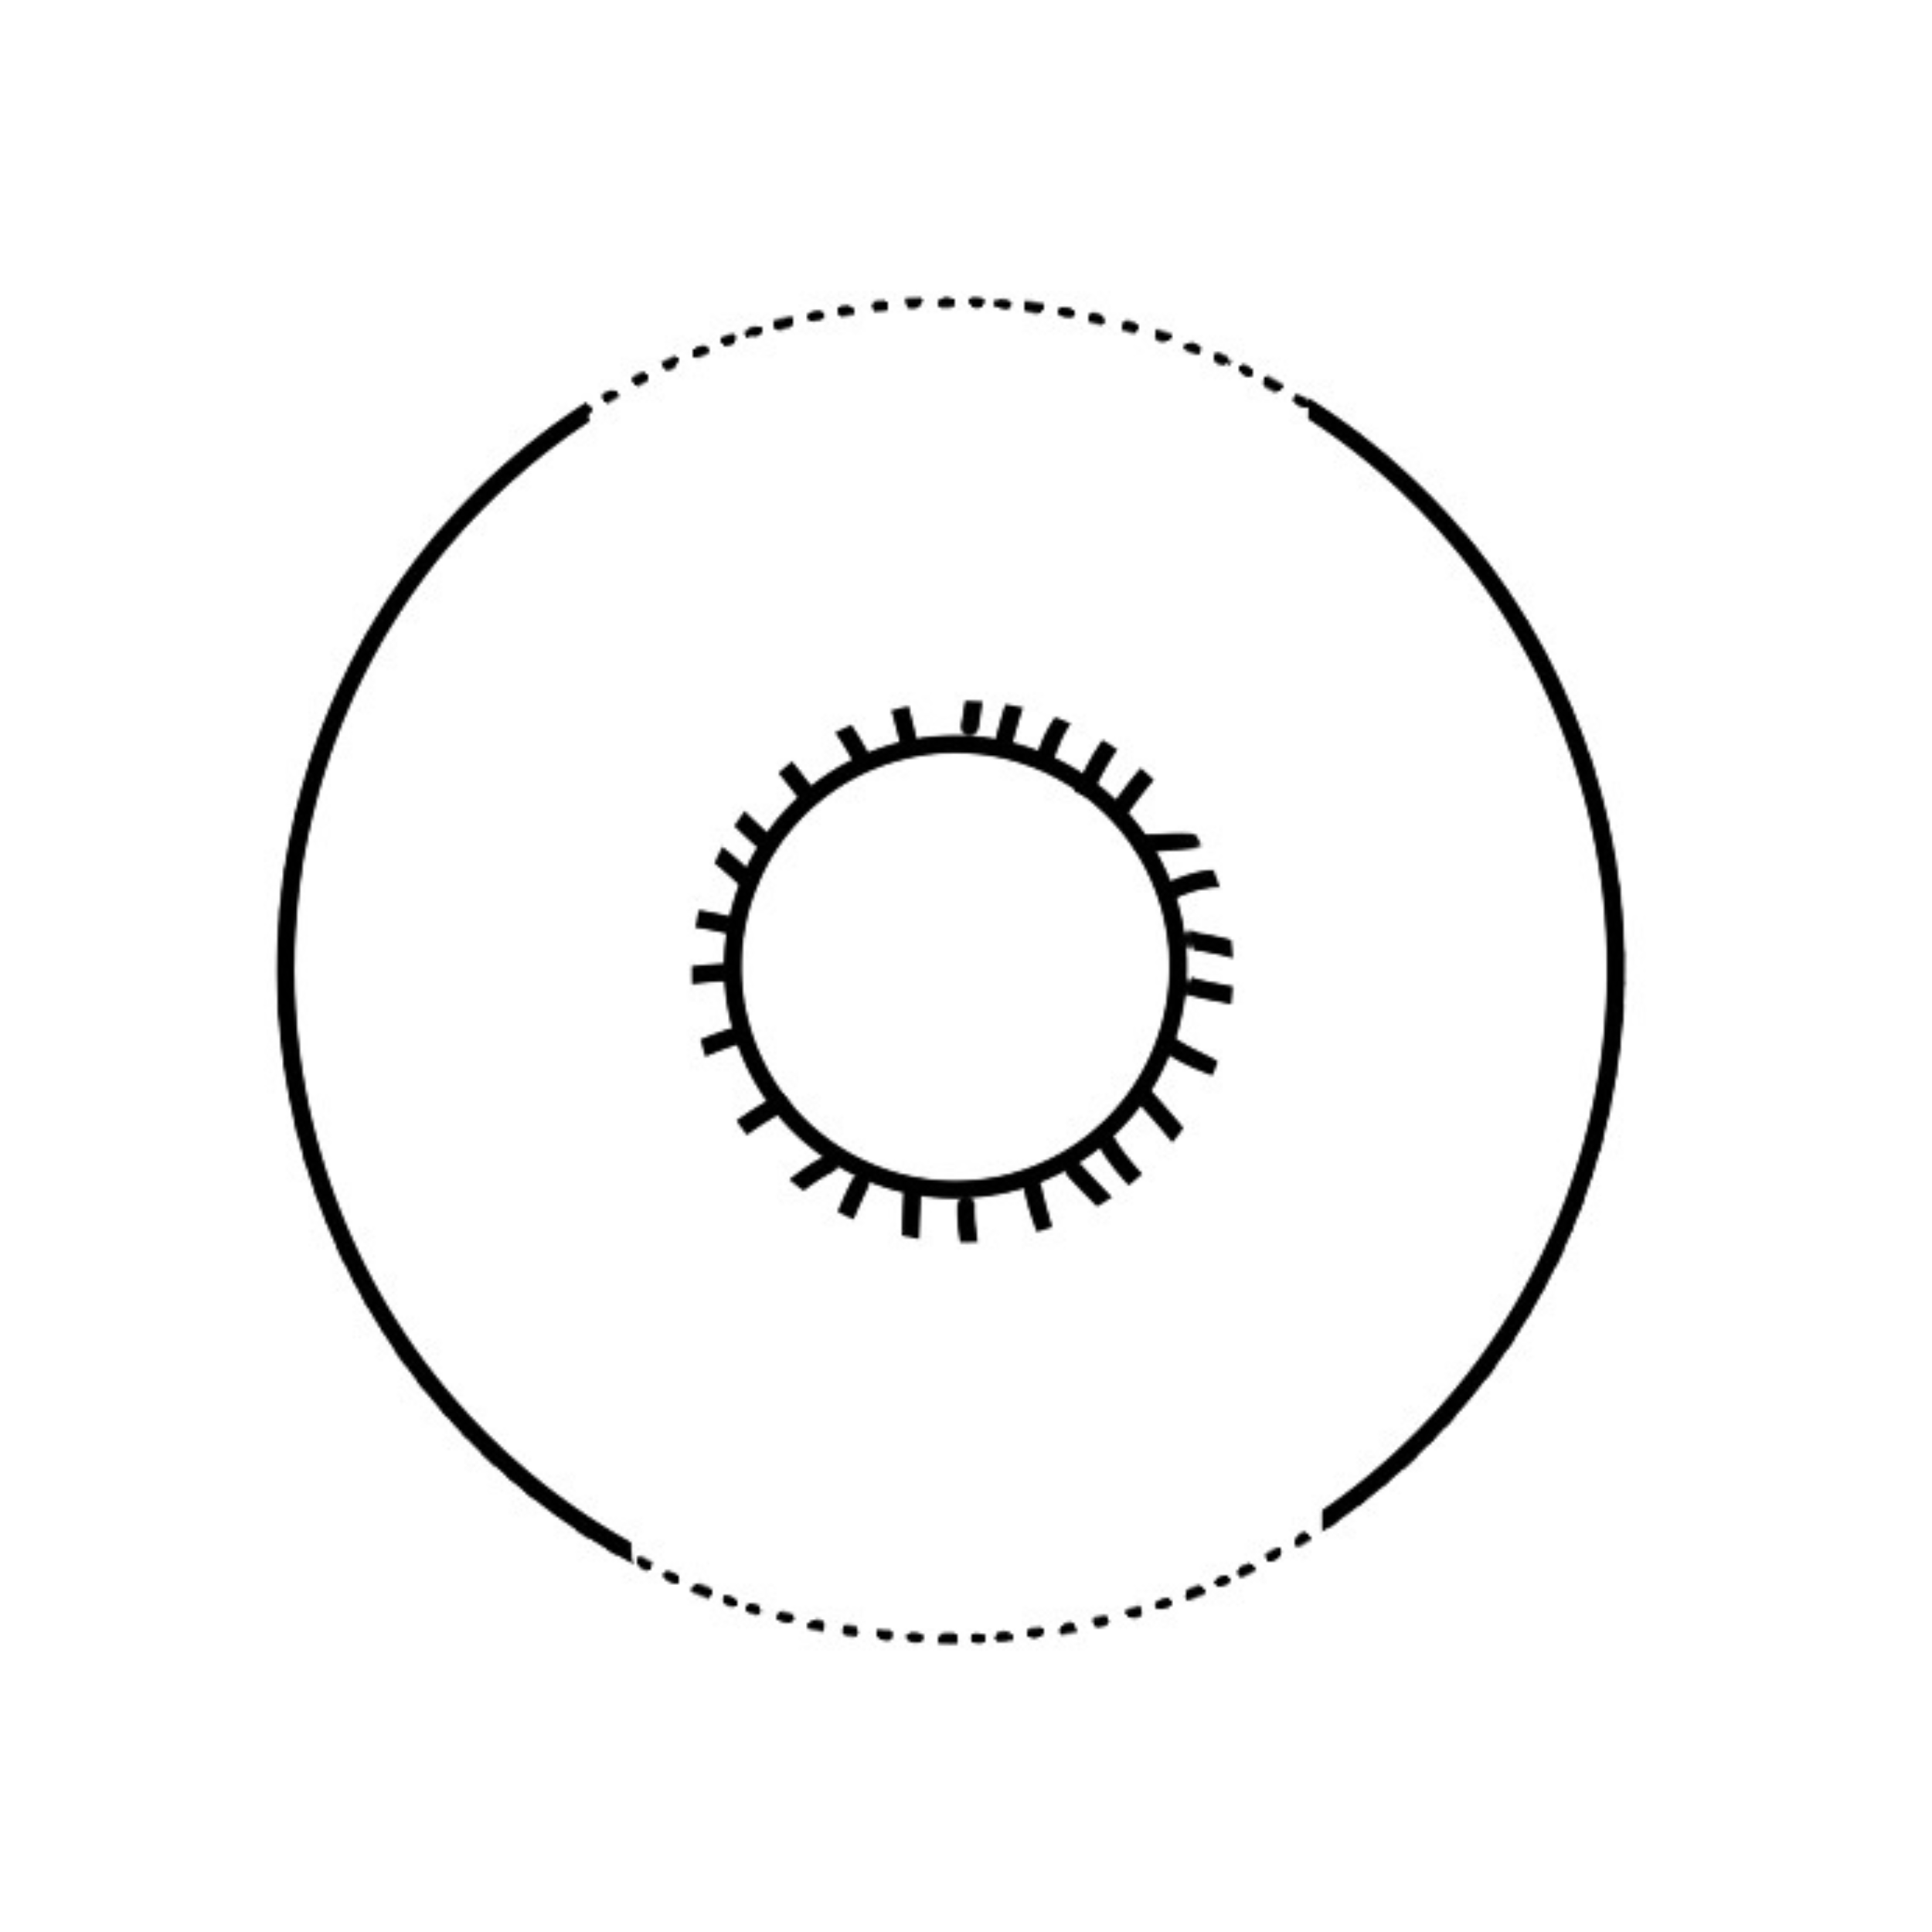
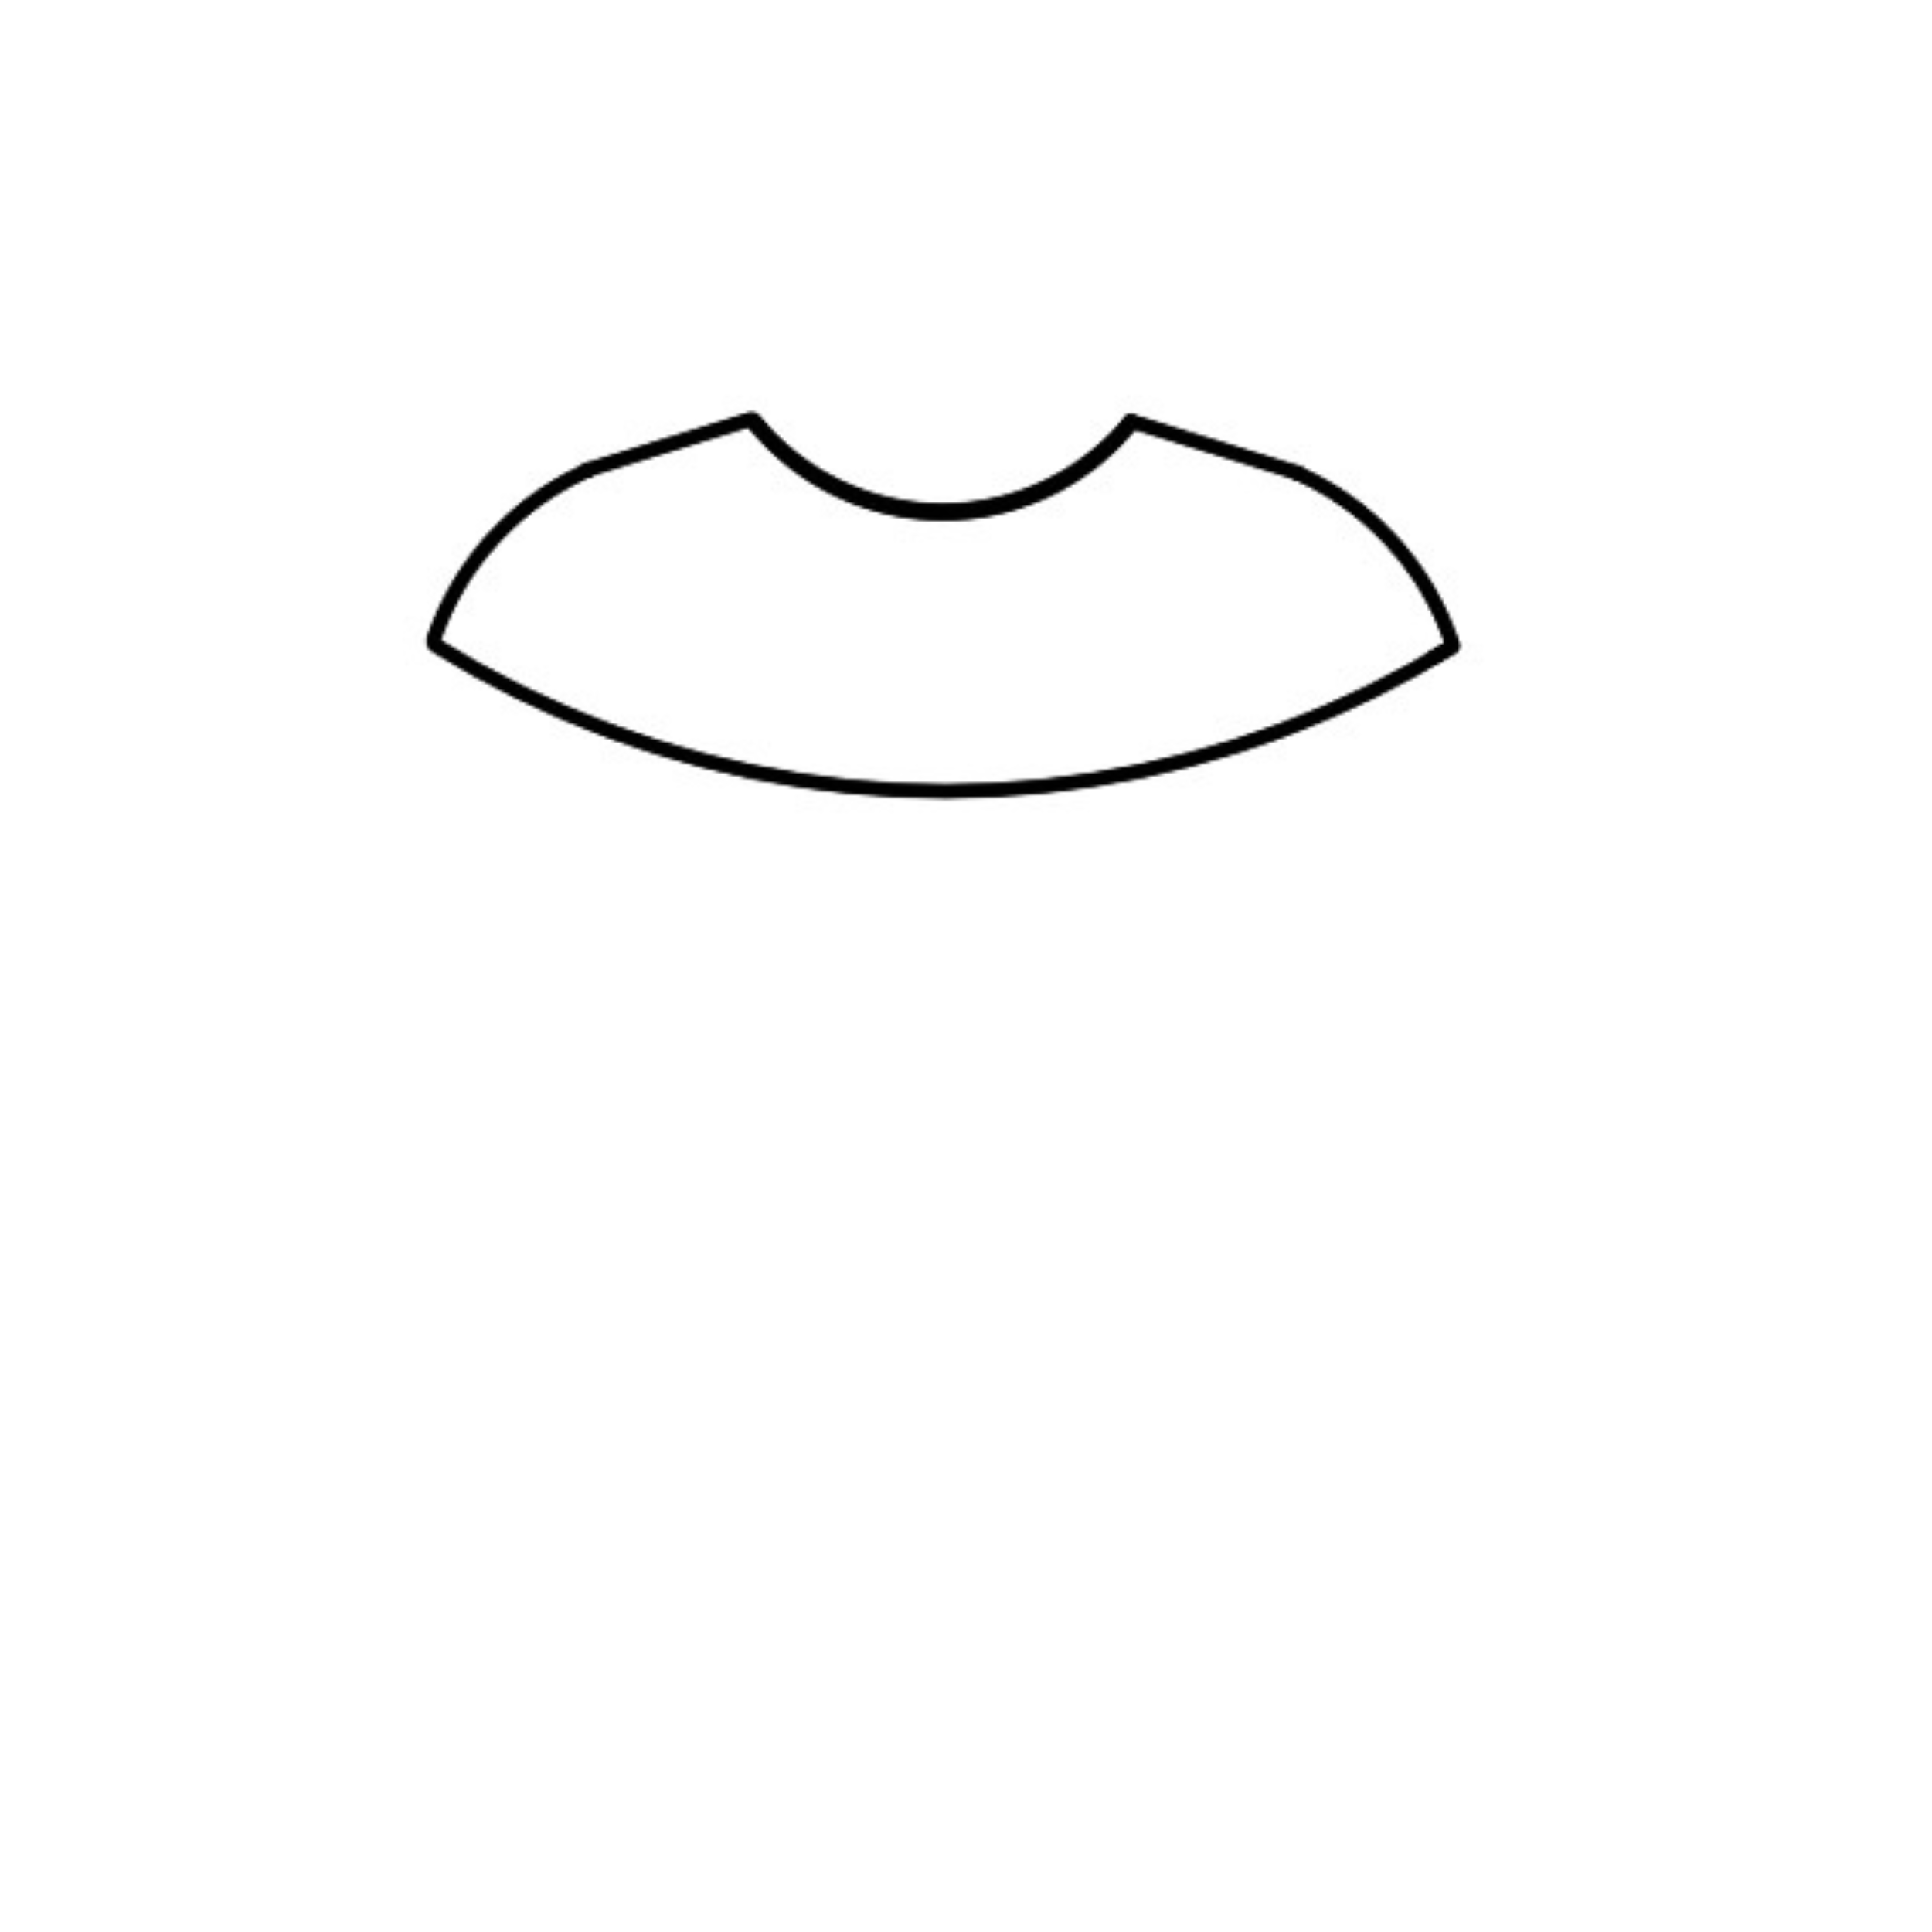
The three images below show a circular yoke knit, in progress, at the point where you would split for body and sleeves. On the left, you can see some ribbed neckband stitches in the centre, and the yoke itself worked around it. In the middle picture, you can see the same garment, but with some of the stitches dashed rather than a solid line. The dashed line represents the stitches that would be put on hold for sleeves at this point. On the right, you can see the same image again, but this time, the dashed sections are larger.
For the knitter, that’s about as complicated as it gets: you knit the yoke size that goes with your combined body and sleeve sizes, and when it’s time to split, the number of stitches that get assigned to “sleeve” and “body” are different for different size combinations.
For example, let’s say you have a yoke with 100 stitches. You could assign 10 stitches for each sleeve, leaving 80 stitches for your body. Or you could assign 15 for each sleeve, which leaves 70 for your body. Or 20, leaving 60. It’s not quite that simple – there’s the underarm join to consider, and the yoke depth – but that’s the general idea.
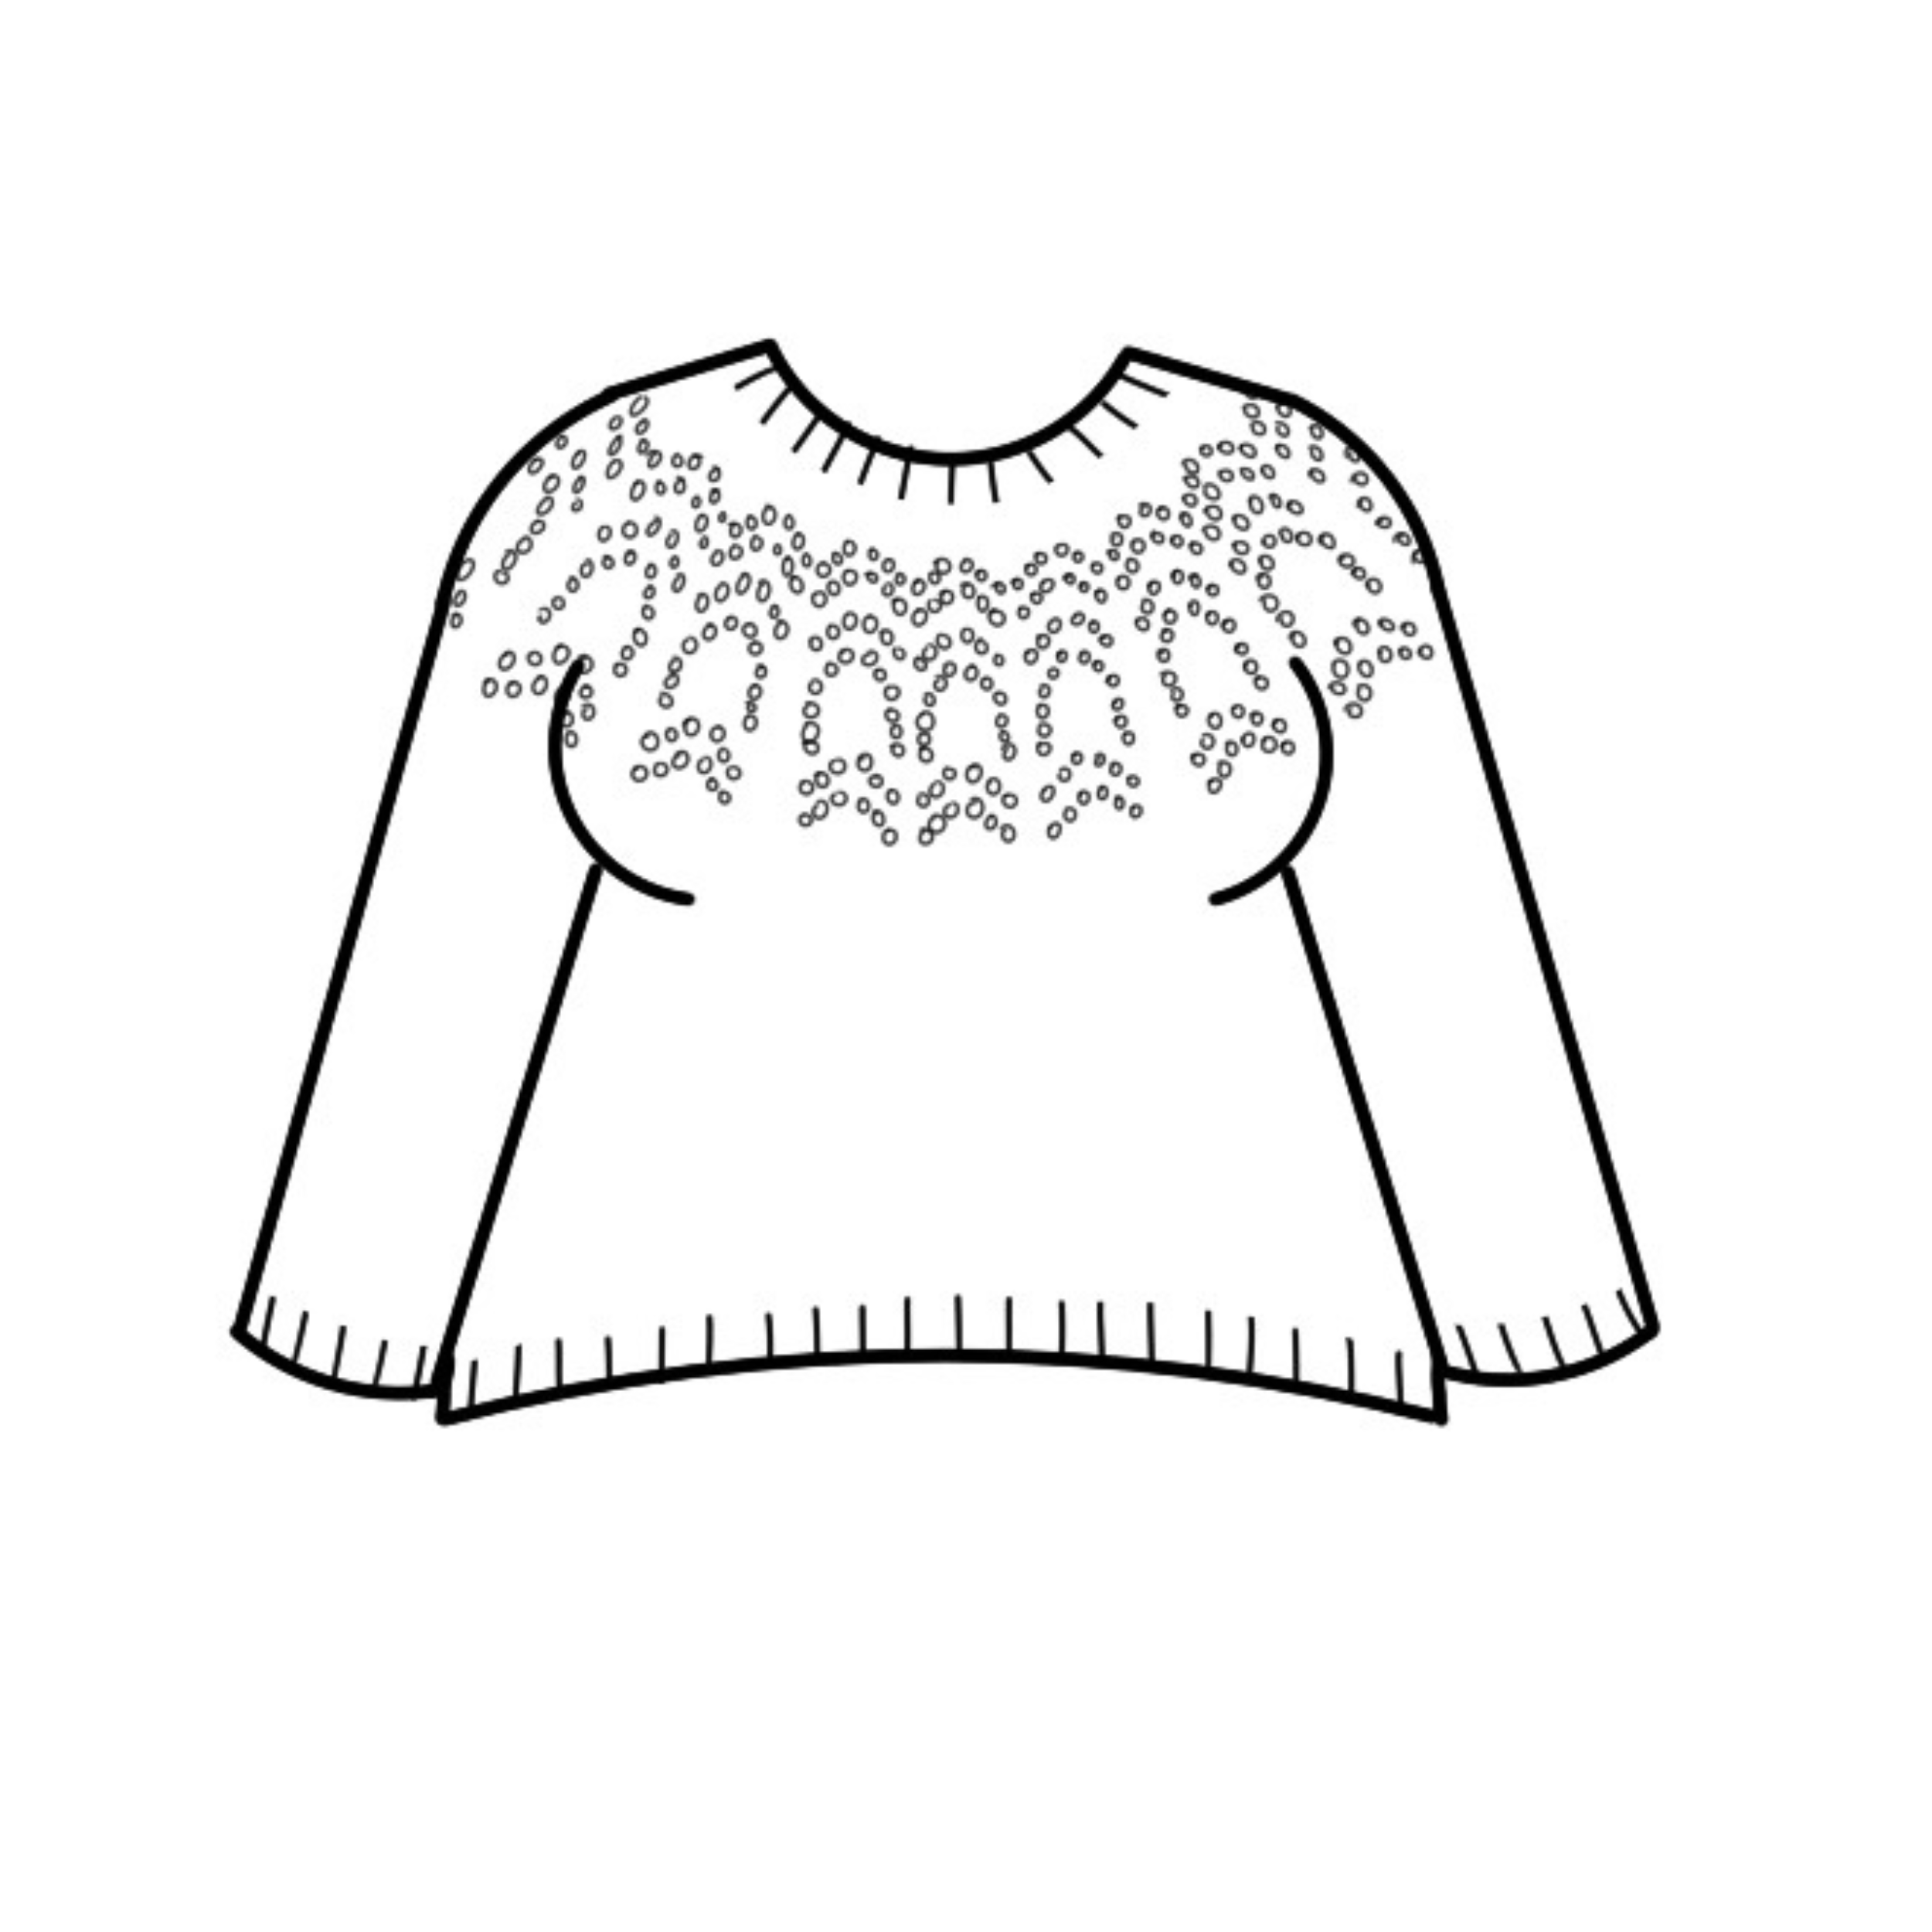
Here’s some diagrams showing the idea from the front view:
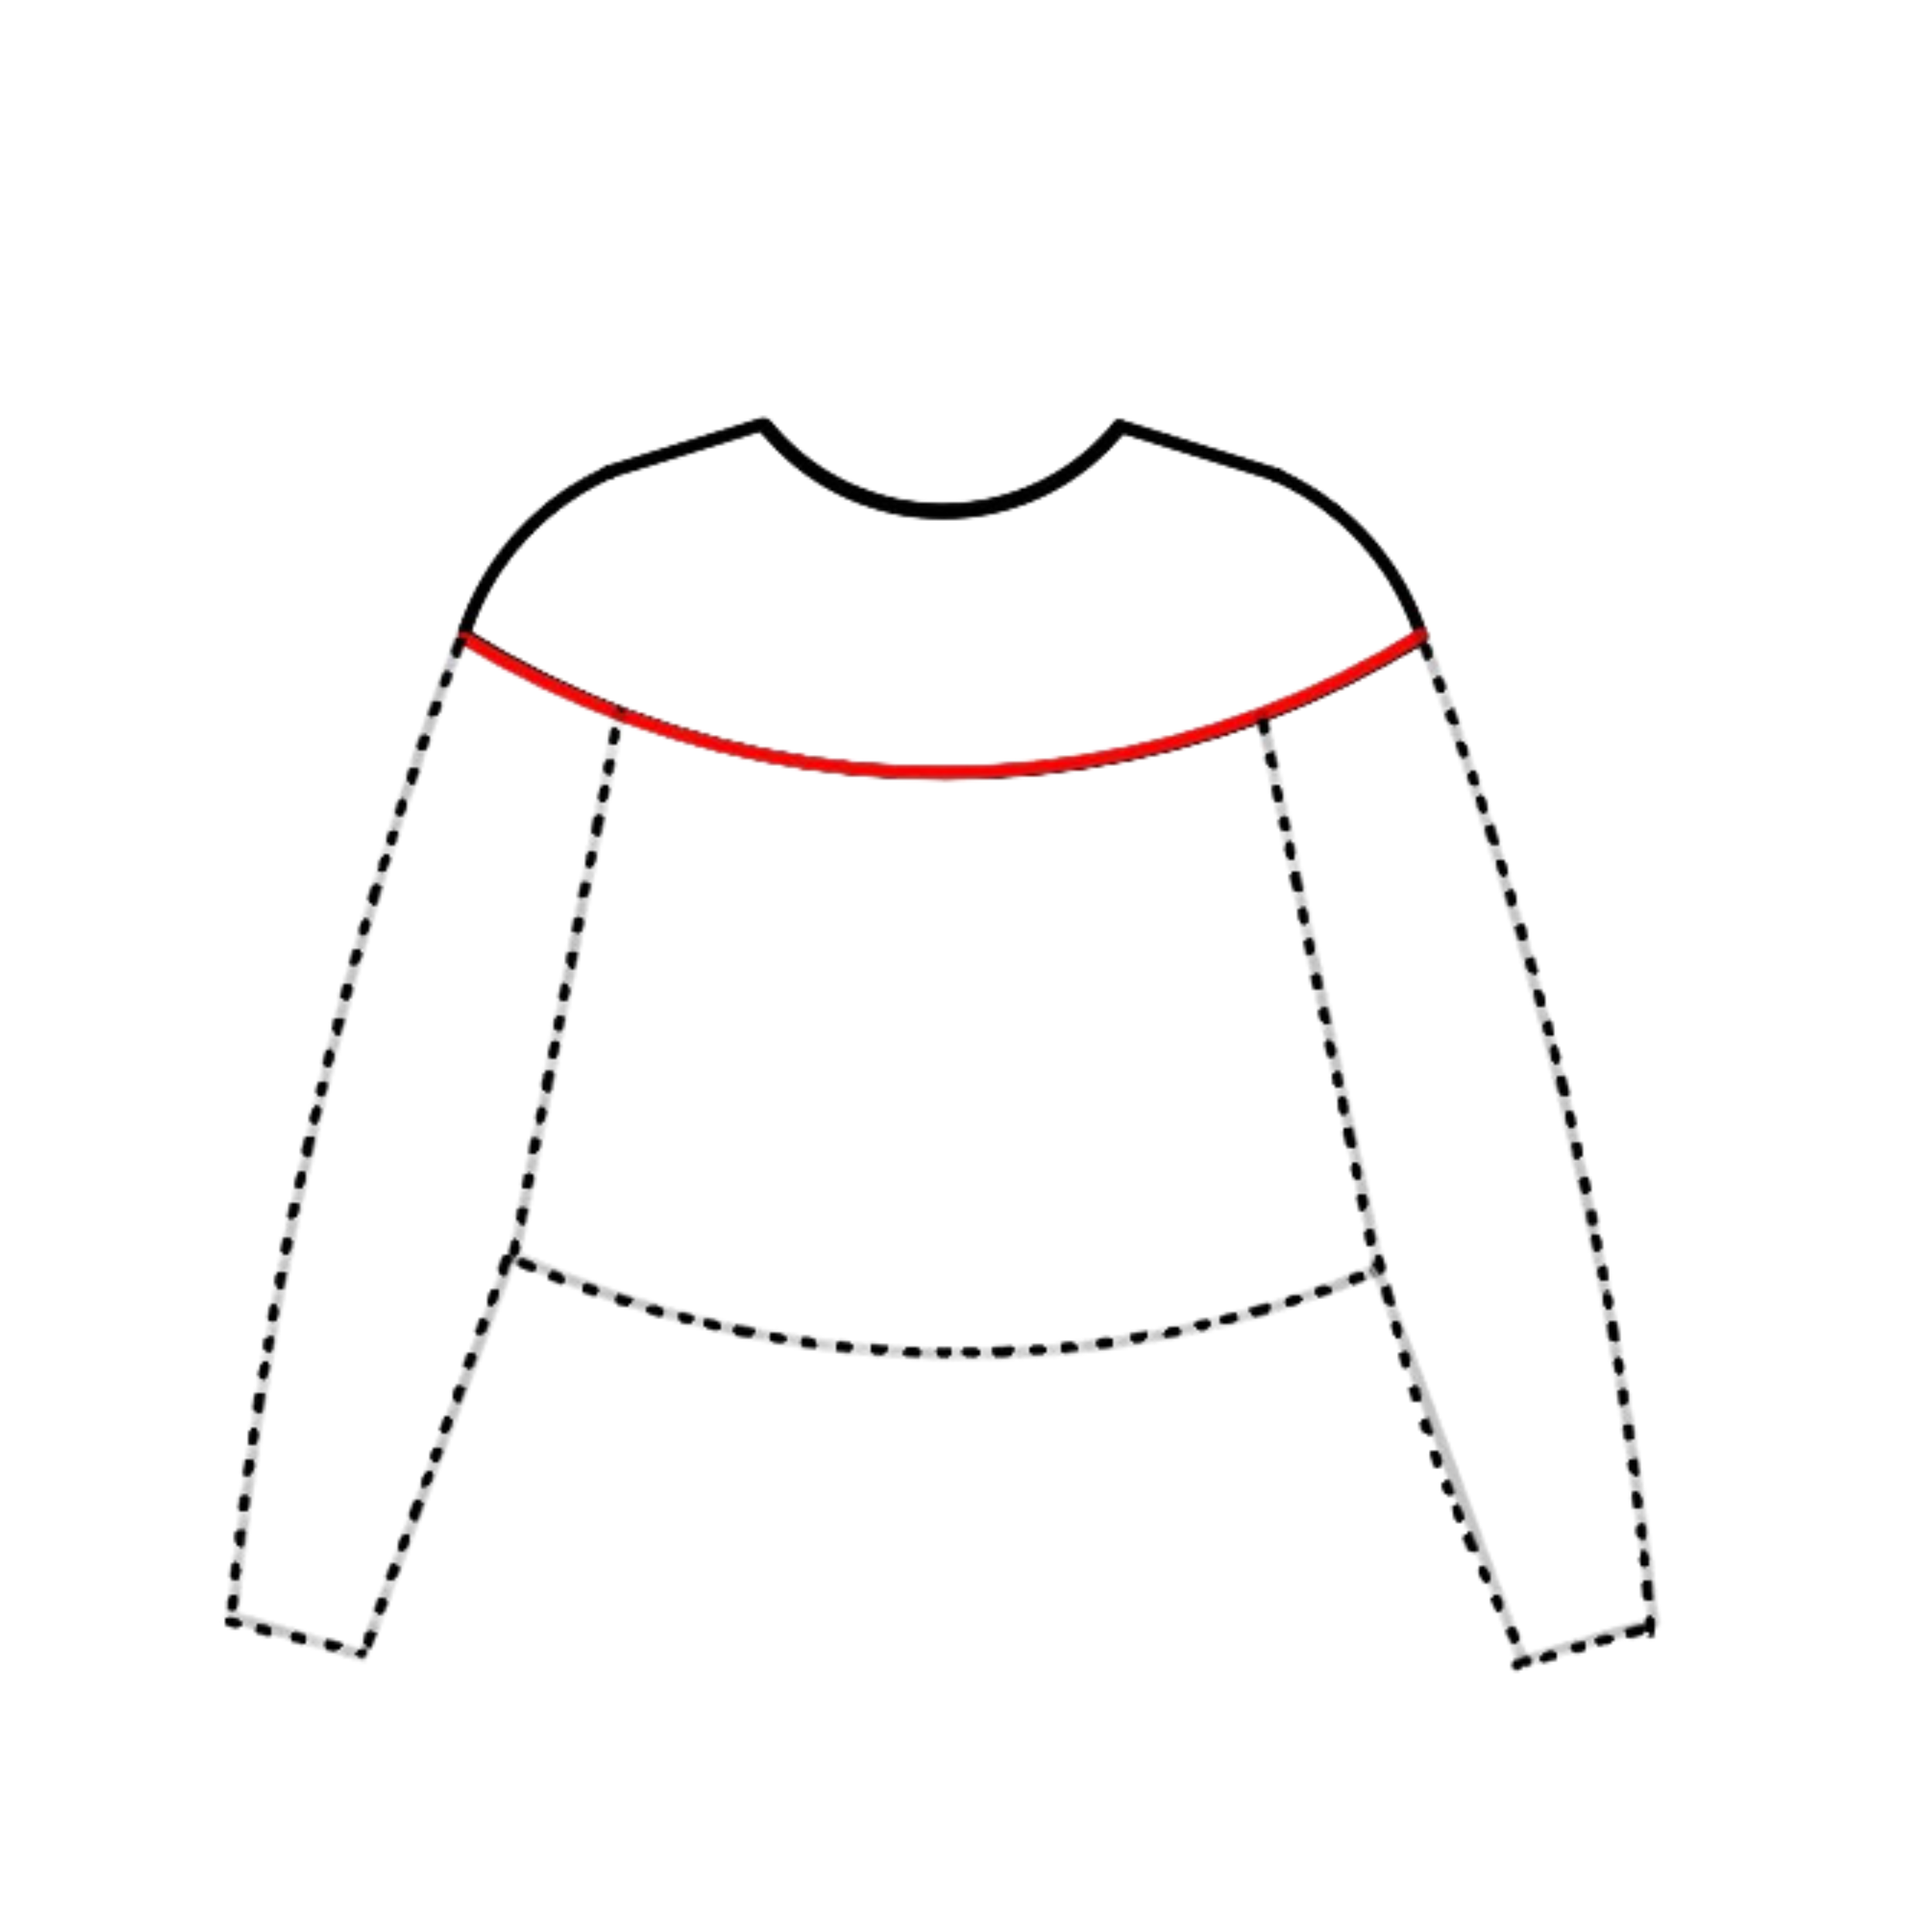
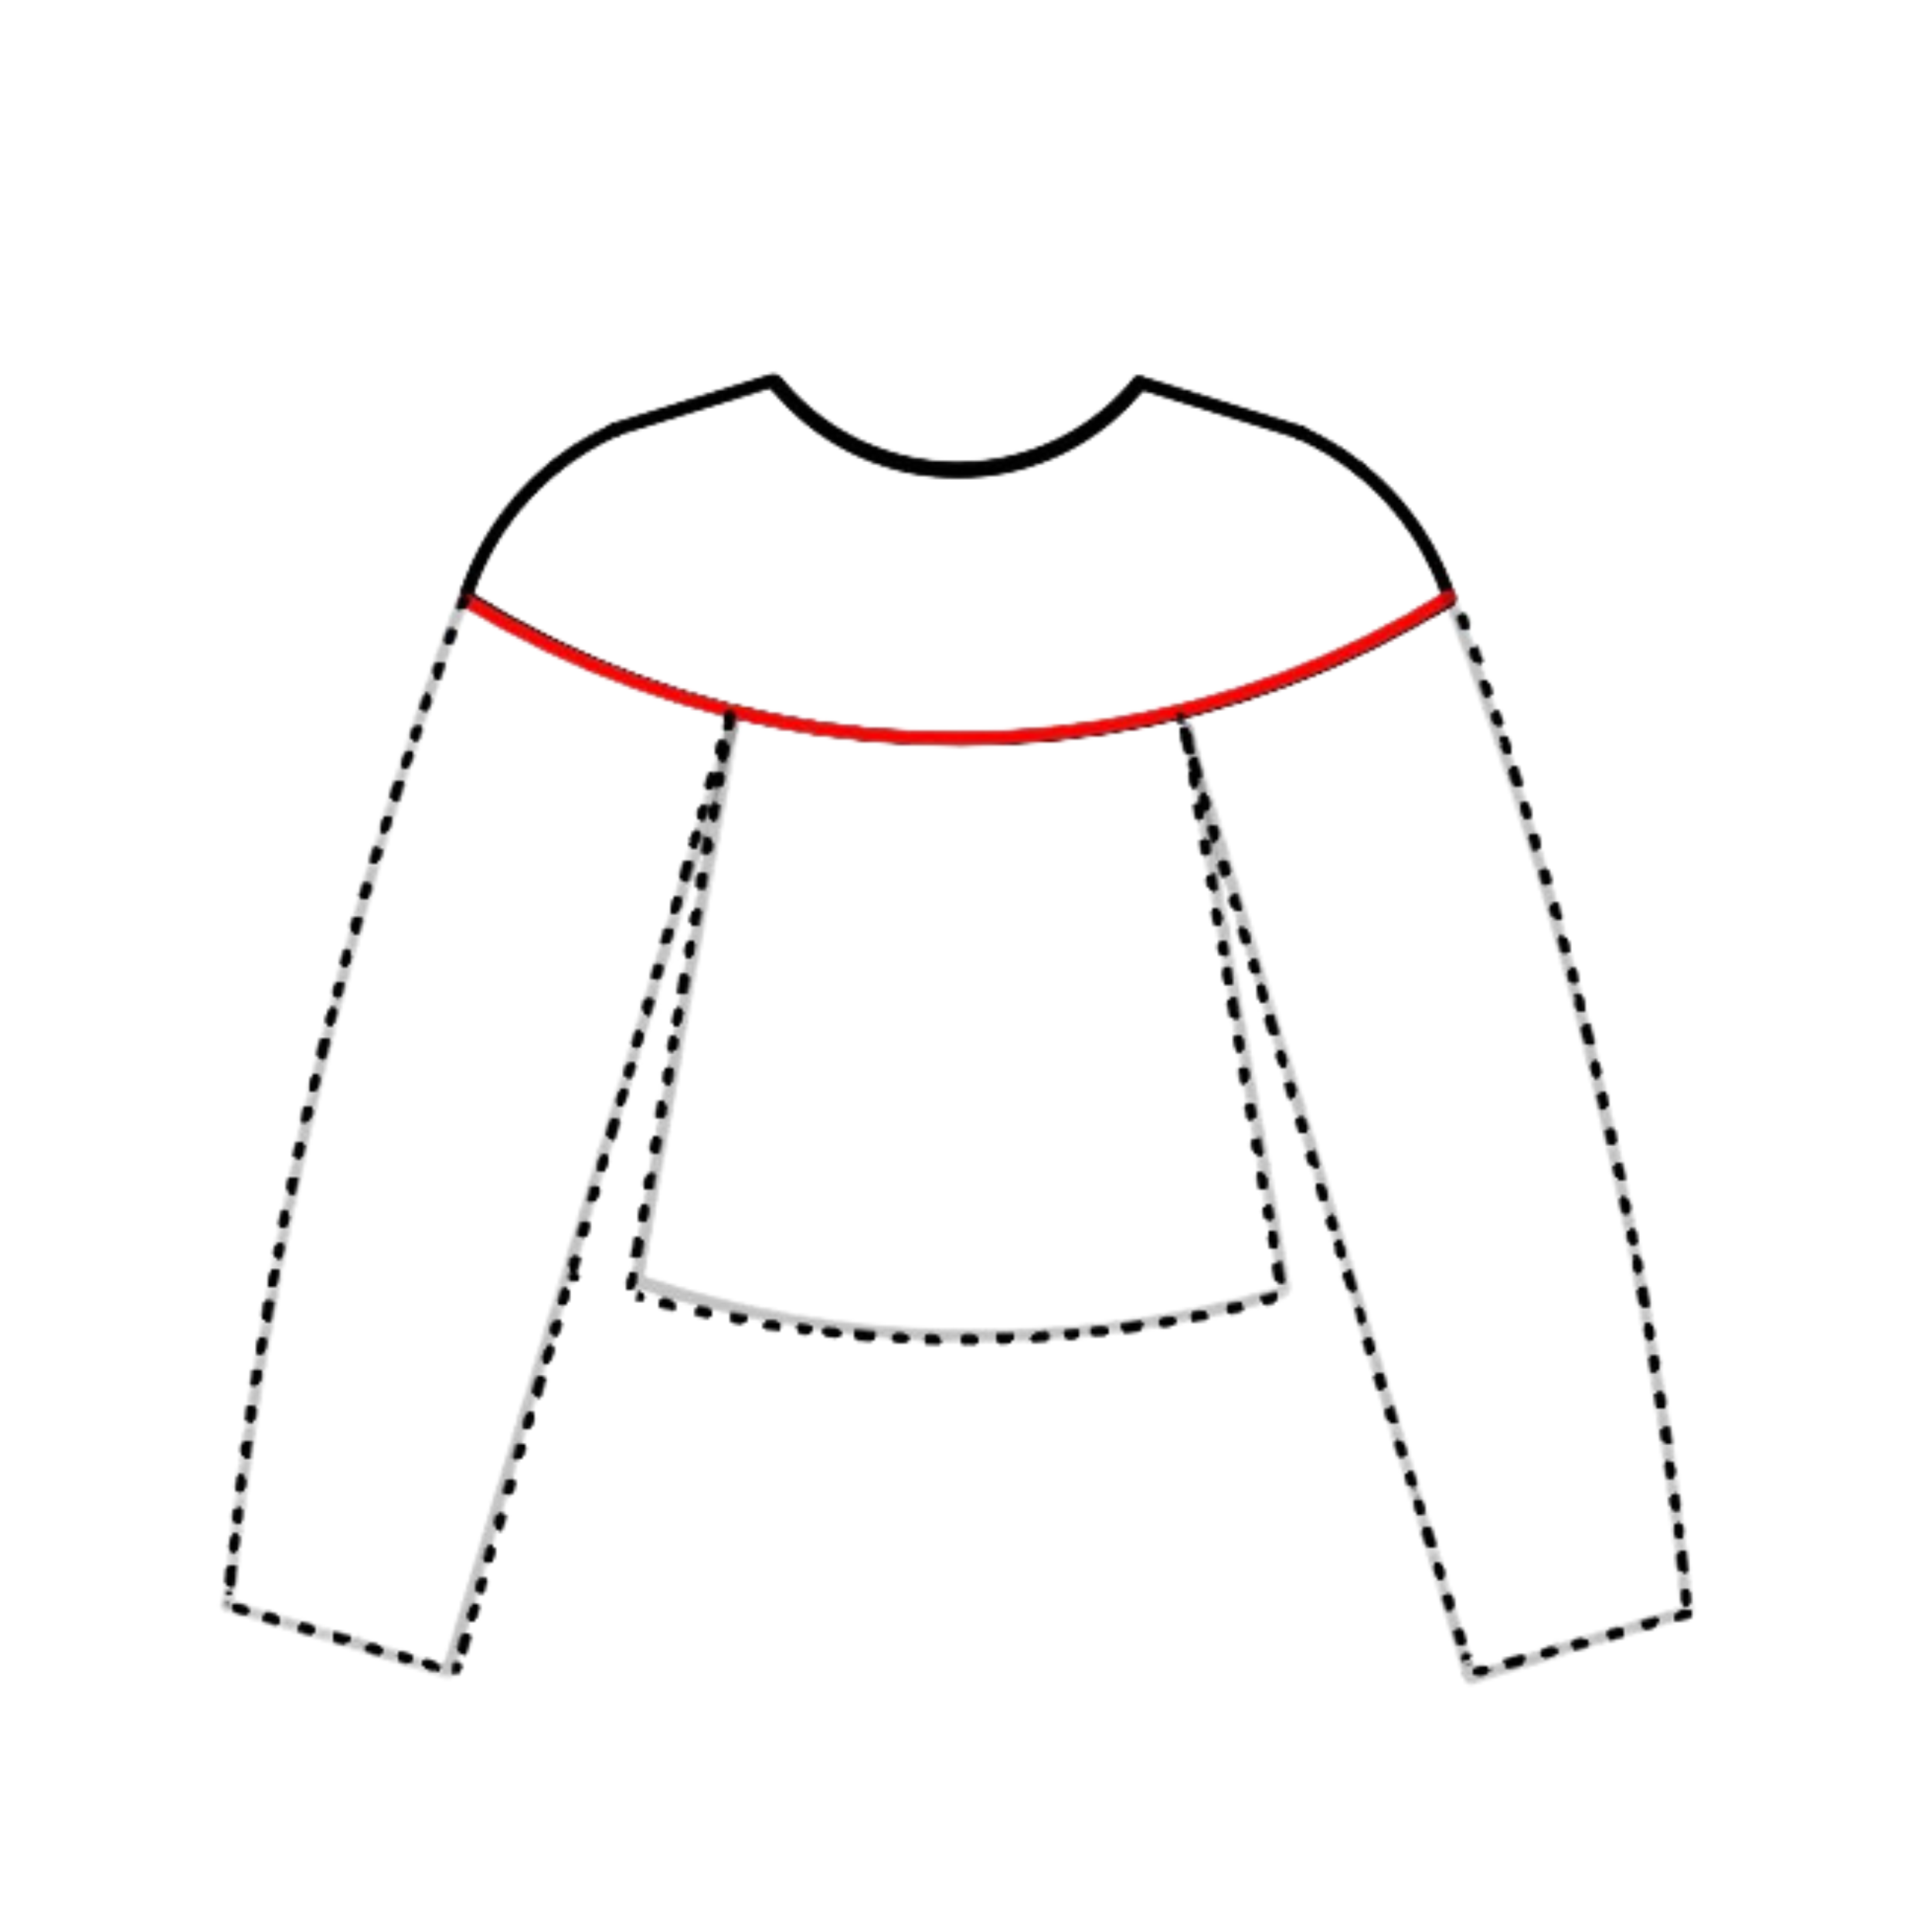
The image on the left shows the same circular yoke from the first set of pictures, but from the front. The middle image shows one way that yoke could be continued into a full garment, and the right image shows a different way. The red curved line on the middle and right images represents the live stitches at the point of the split, and it’s identical in all three images.
How I Do It
There’s one important step to remember with mix and match circular yokes, and that is that your body and sleeve size combination dictates your yoke size.
If you think about it, this makes sense: the bottom of your yoke needs to fit around your body and arms together, so in very real terms, your yoke size is directly related to the combination of your body and sleeve size.
So in terms of choosing your size, you would choose your body size based on your full chest and your sleeve size based on your bicep / upper arm as usual. The pattern than has a table showing which yoke size applies to each combination.
It’s very important to follow the right size type in each section of the pattern – but don’t worry, there are nice clear reminders throughout! They look like this:


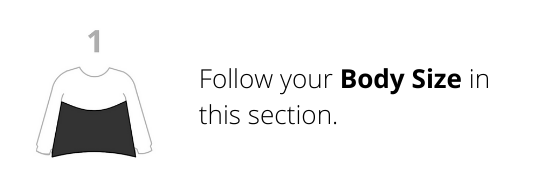
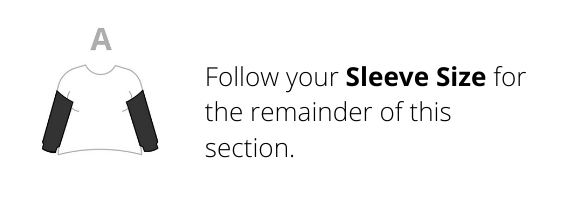
The construction is exactly the same as any other circular yoke garment. The only difference is switching between sizes in different sections – all the maths is done for you, and works seamlessly in the background.
How Designers Can Do This
If you’re a designer looking to try mix and match sizing on a circular yoke and need more guidance than is offered in this post, the best thing to do is to get in touch with me. There’s a few mathematical considerations to consider when grading these garments, so it’s best for us to block off some time so I can walk you through it.
Other Construction Shapes
I’ve worked out Drop Shoulder construction and Circular Yoke construction, and I have to admit that the next two – Set-in Sleeves, and Raglans – are more complicated! While I’m working on those, I’ll continue to design patterns using these two methods.