


What is a drop sleeve?
A drop sleeve garment is any garment where the shoulder seam is exaggerated and “drops” off the wearer’s shoulder (like Roseability, shown left). Imagine wearing a jumper five sizes too big: that shoulder seam is going to be too wide and drop down, hitting you somewhere on the upper arm. Garments where the shoulder is designed to hit at this point are known as drop sleeve.
Typically drop sleeve garments are designed to be worn with positive ease for a loose, relaxed fit. A boxy jumper is usually a drop sleeve shape with plenty of ease. Shirts, tees, and dresses can be drop sleeve, too; you don’t have to have a long sleeve, it can be “sleeveless” in construction, which typically sits more like a short sleeve, depending on how far it drops down your arm.
How far down the sleeve drops is a difficult thing to predict exactly, because it depends on a couple of factors working together. The amount of ease in the body will determine how long the “sleeve” part of the shoulder is, and how slender your shoulder are in relation to your full bust measurement will determine how far that shoulder fabric falls down your arm. This is one of the times when knowing your own body shape and measurements, and paying attention to the schematic, will help you get an answer for your own body.
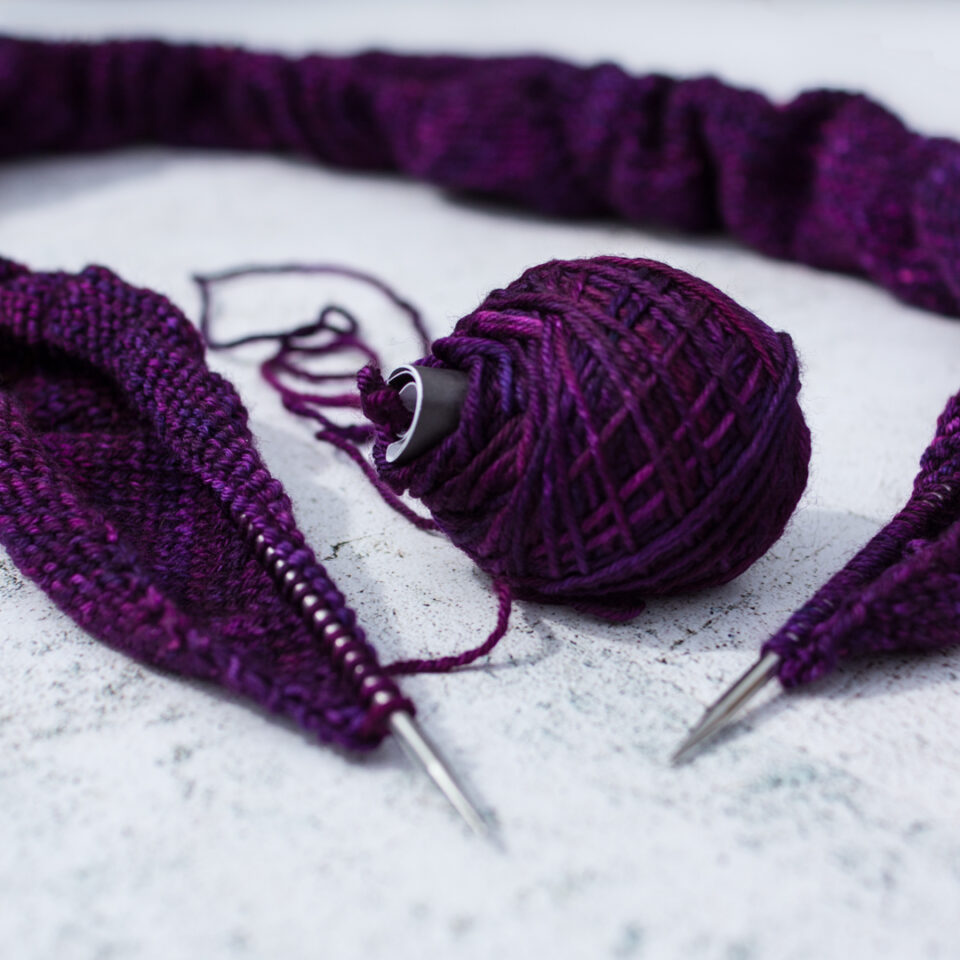
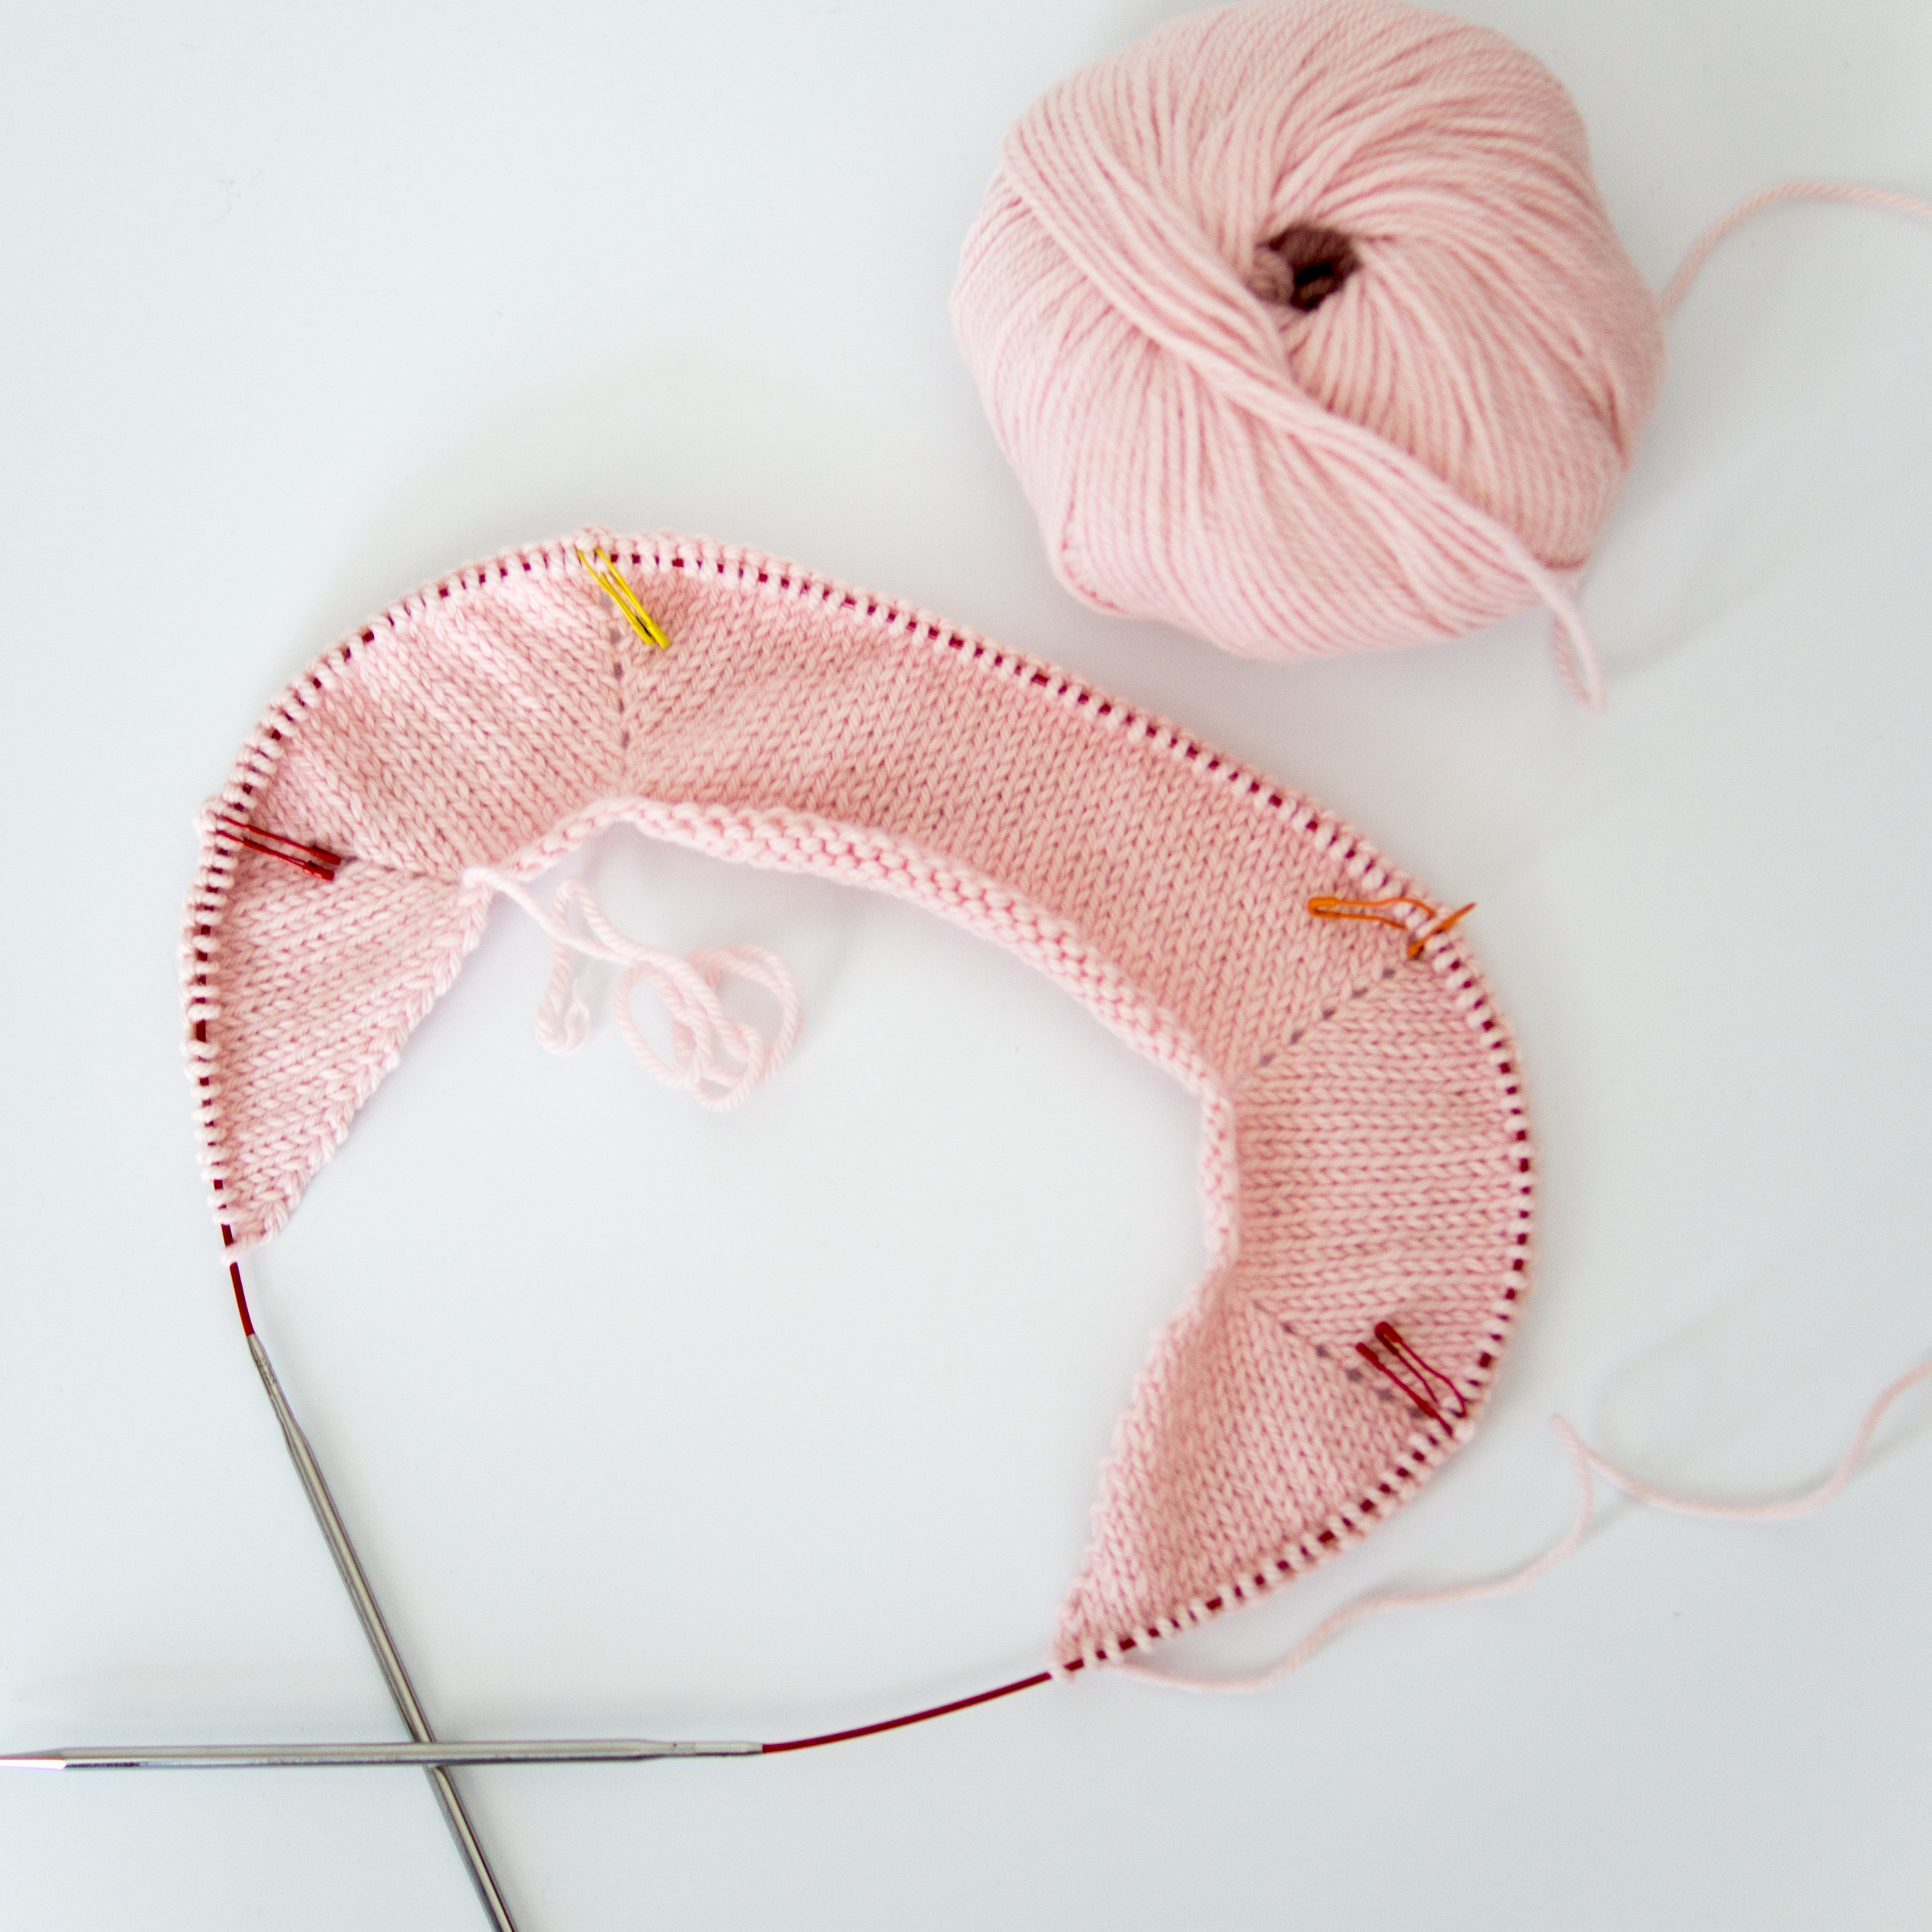
Knitting (or sewing) drop sleeve tops is a great beginner project as the shapes required to put them together are basically rectangles: one for the front, one for the back, and two tubes for sleeves. The front and back rectangles usually have some kind of shaping to create an attractive neck hole, but the point where the sleeve meets the body is a straight line.
This means it’s a great place to start, both as a knitter and as a designer.
The Idea
I have a bit of a love-hate relationship with drop sleeve garments. They’re having something of a moment right now, both in ready-to-wear and in handknit fashions, and I can see why.
The problem is, they never fit me. They’re too tight at the bicep, leaving me at best uncomfortable, and at worst in pain from the too-tight seam that cuts right at my arm’s largest part.
When I first started thinking about designing garments, of course I thought of the drop sleeve shape. And I sighed a big sigh and put the half-formed idea for a delicious lacy jumper to the back of my mind, knowing it wouldn’t fit me.
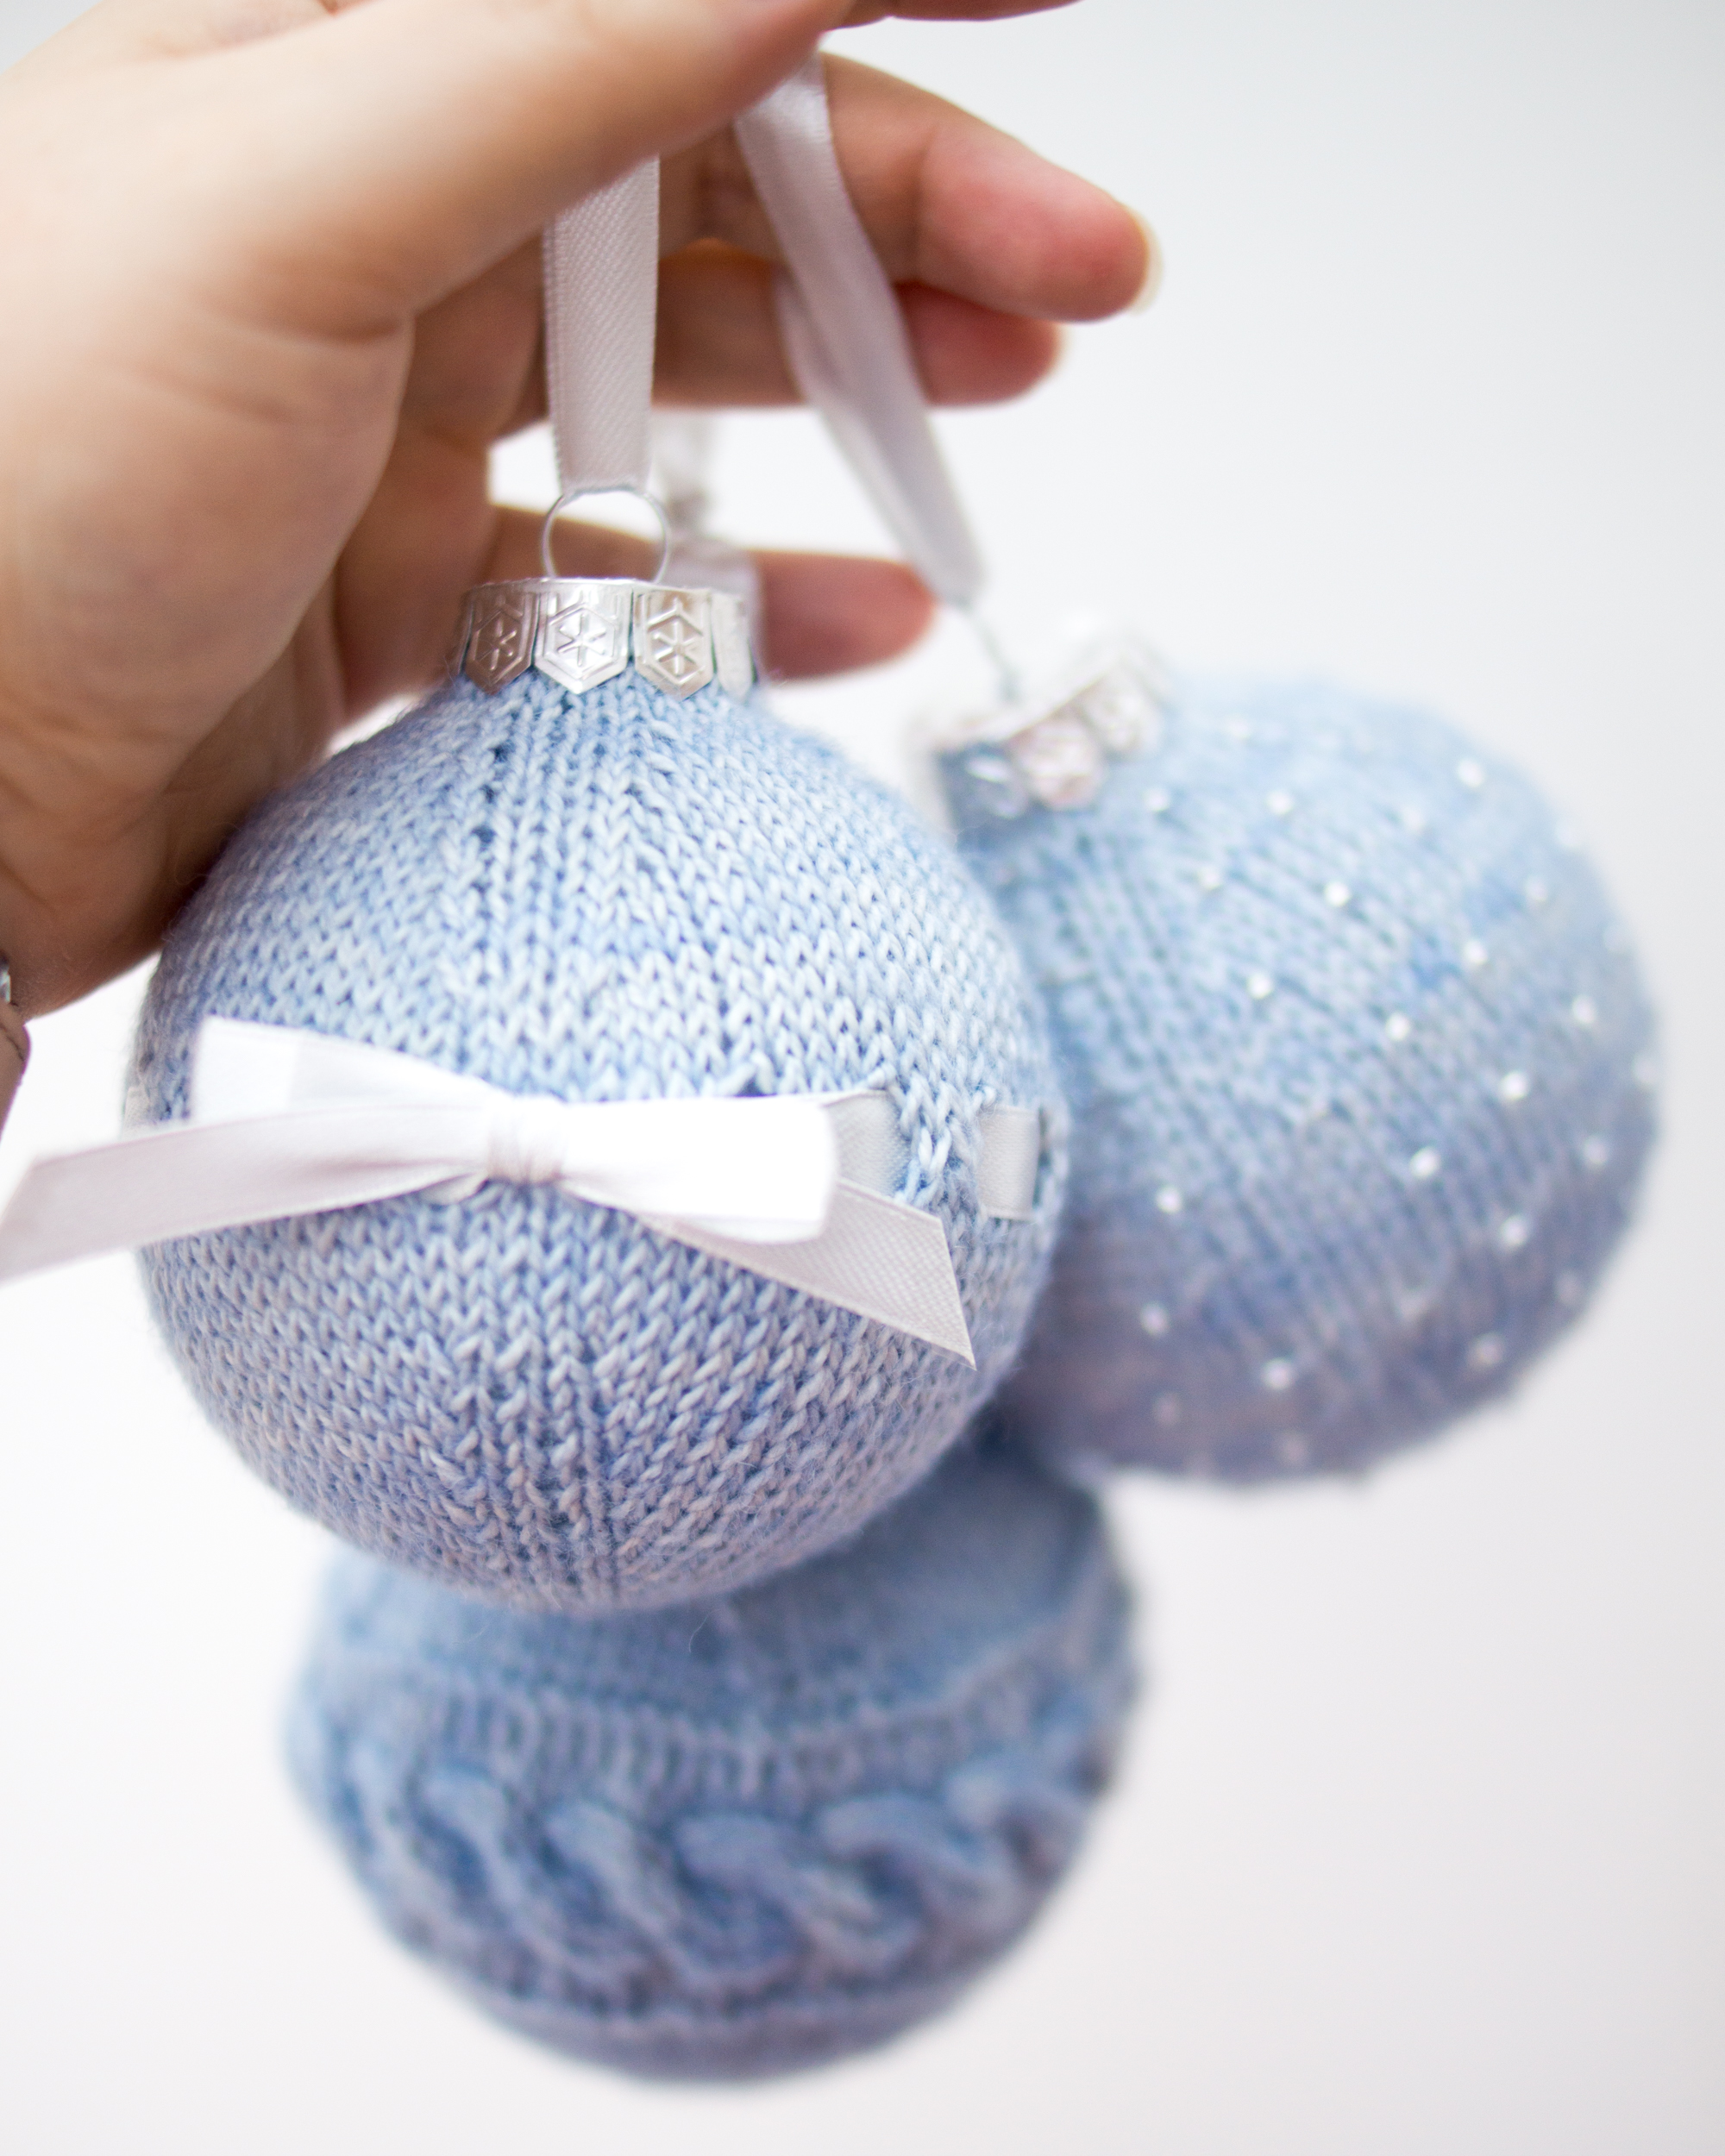
Then I designed some Christmas baubles and, as I was mattress stitching up the last one, I thought of the jumper again, and how I could hack any drop sleeve garment to fit me by splitting that side seam, mattress stitching it up a bit less leaving a bigger gap at the top for the arm, and adding on whatever size sleeve I wanted.
It wasn’t until a few days later, lying in bed in that place between asleep and awake, that I suddenly realised: if I can do that for me, I can write the pattern so everyone can do it that way.
And that’s how mix and match body and sleeve sizing for drop shoulder garments came into being. It’s so simple once you see it, I can’t believe it isn’t The Way It’s Done already. (But we can make that happen, right?)
How It Works
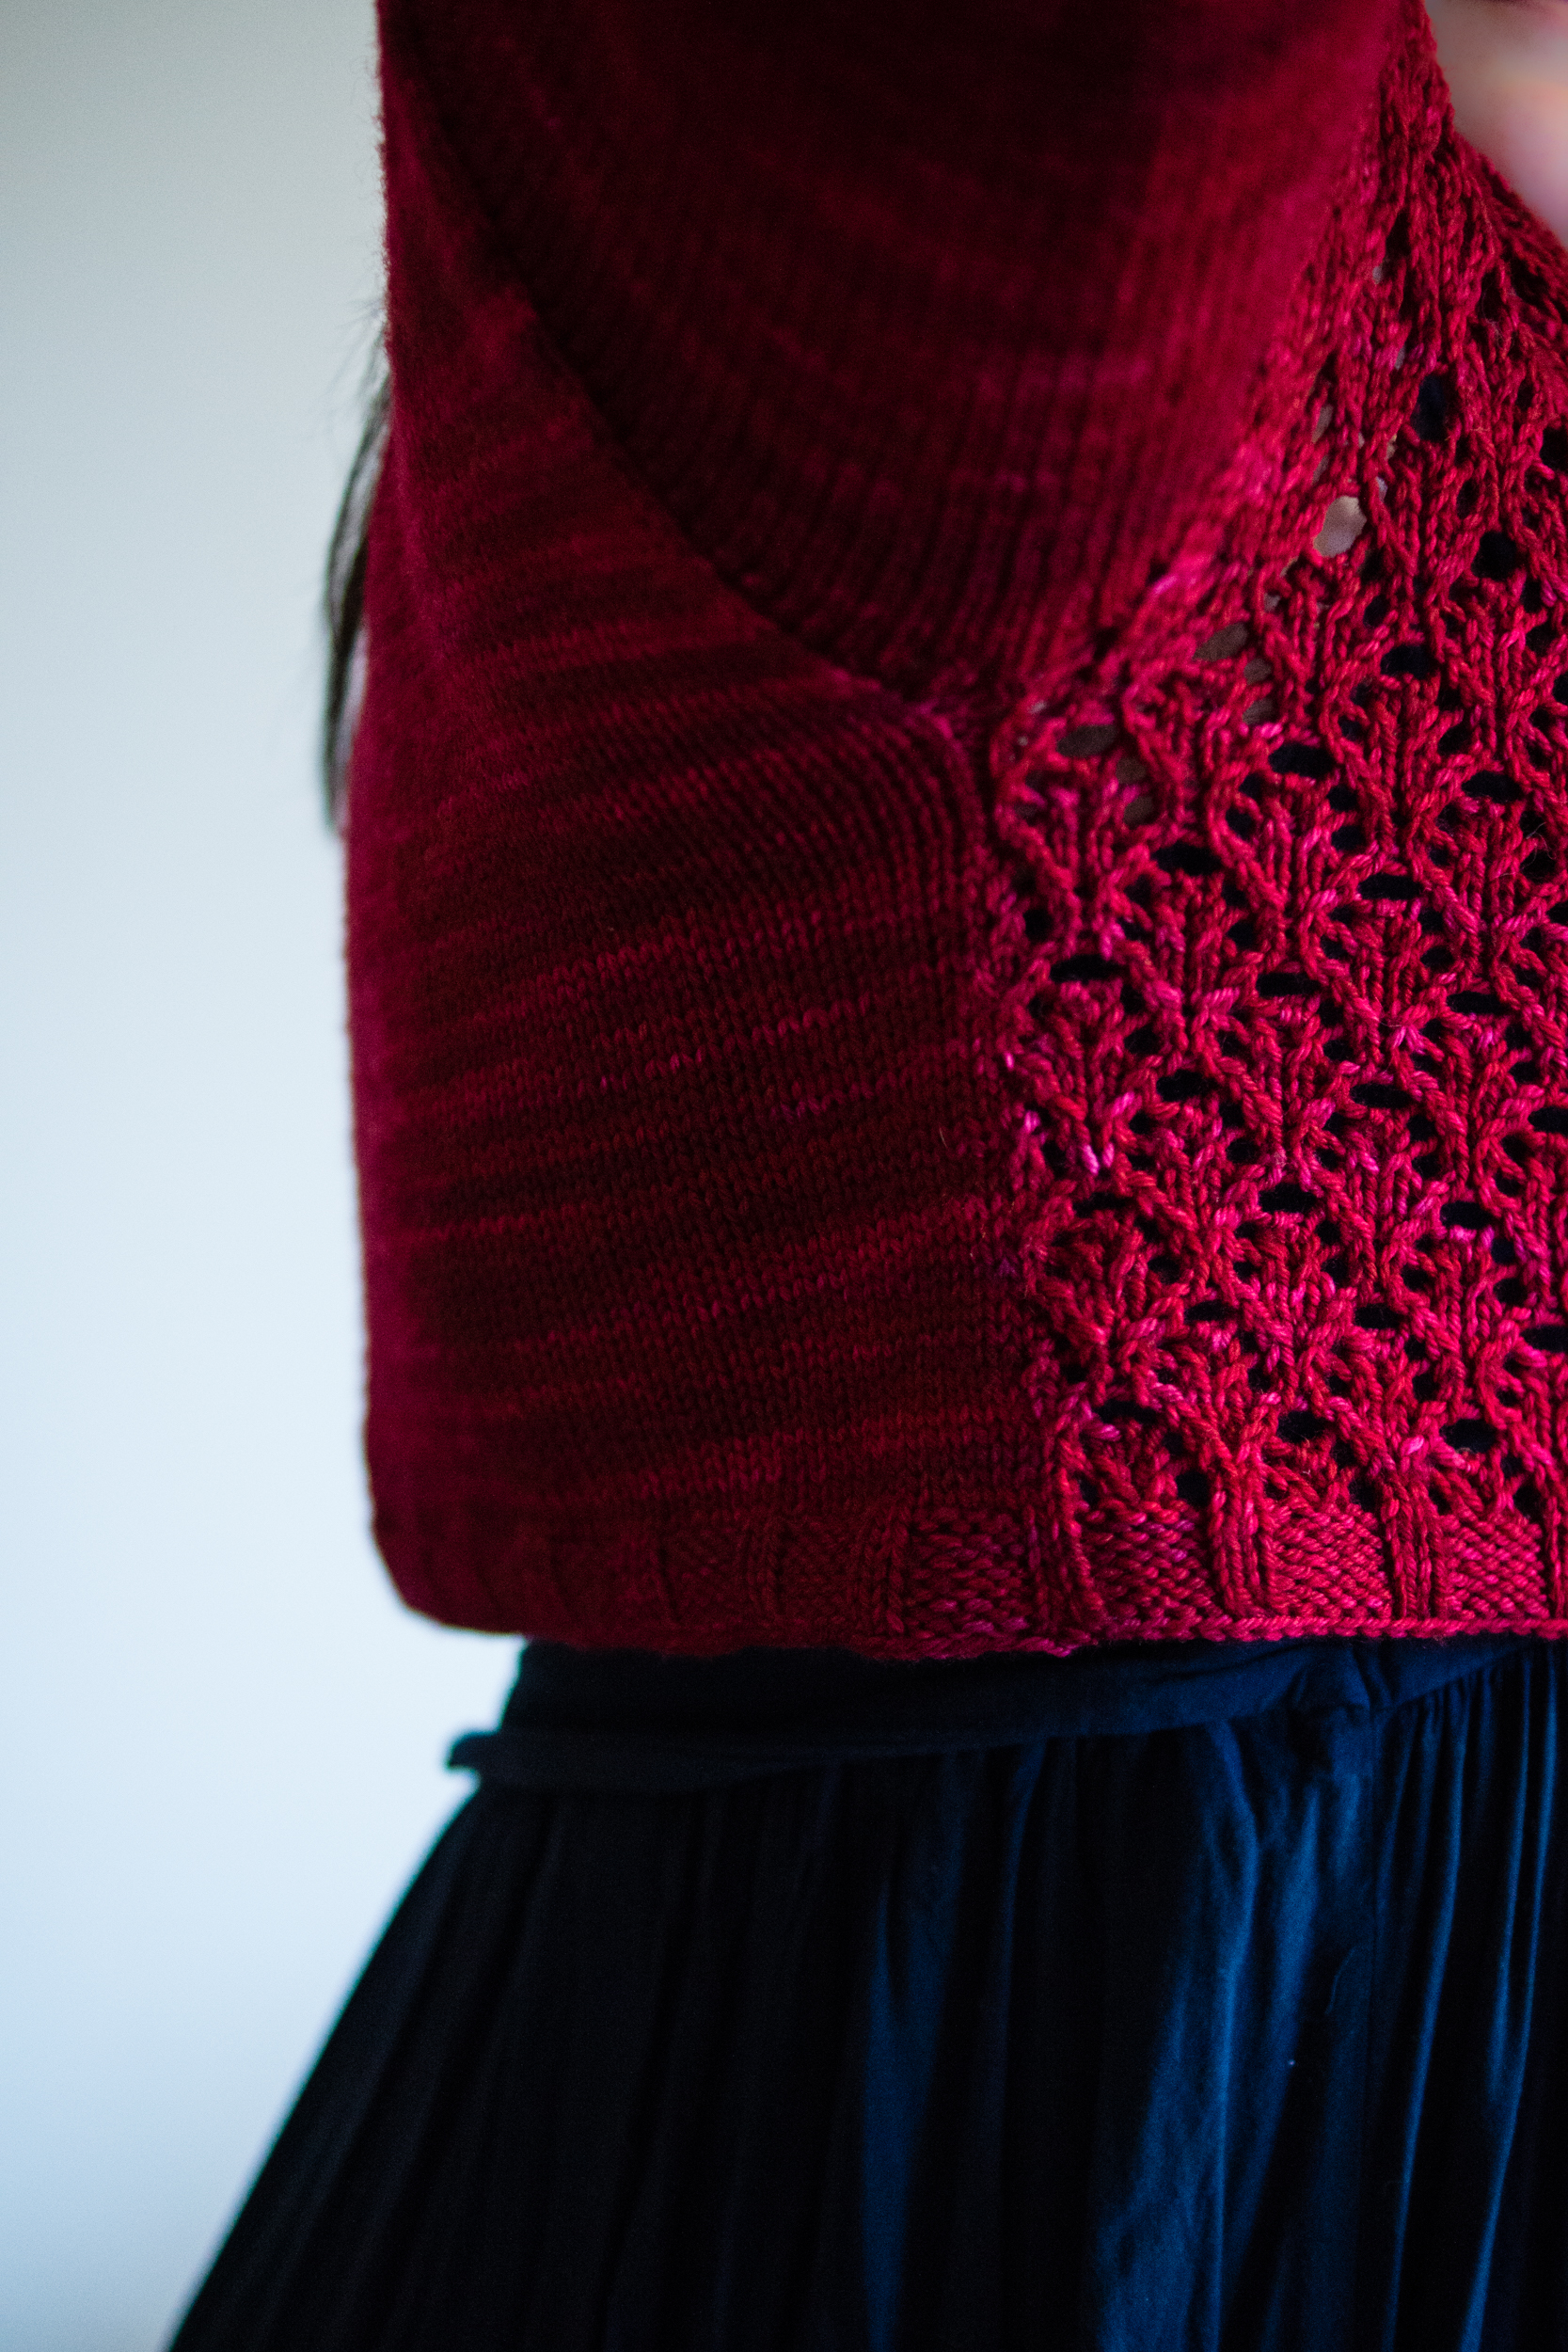
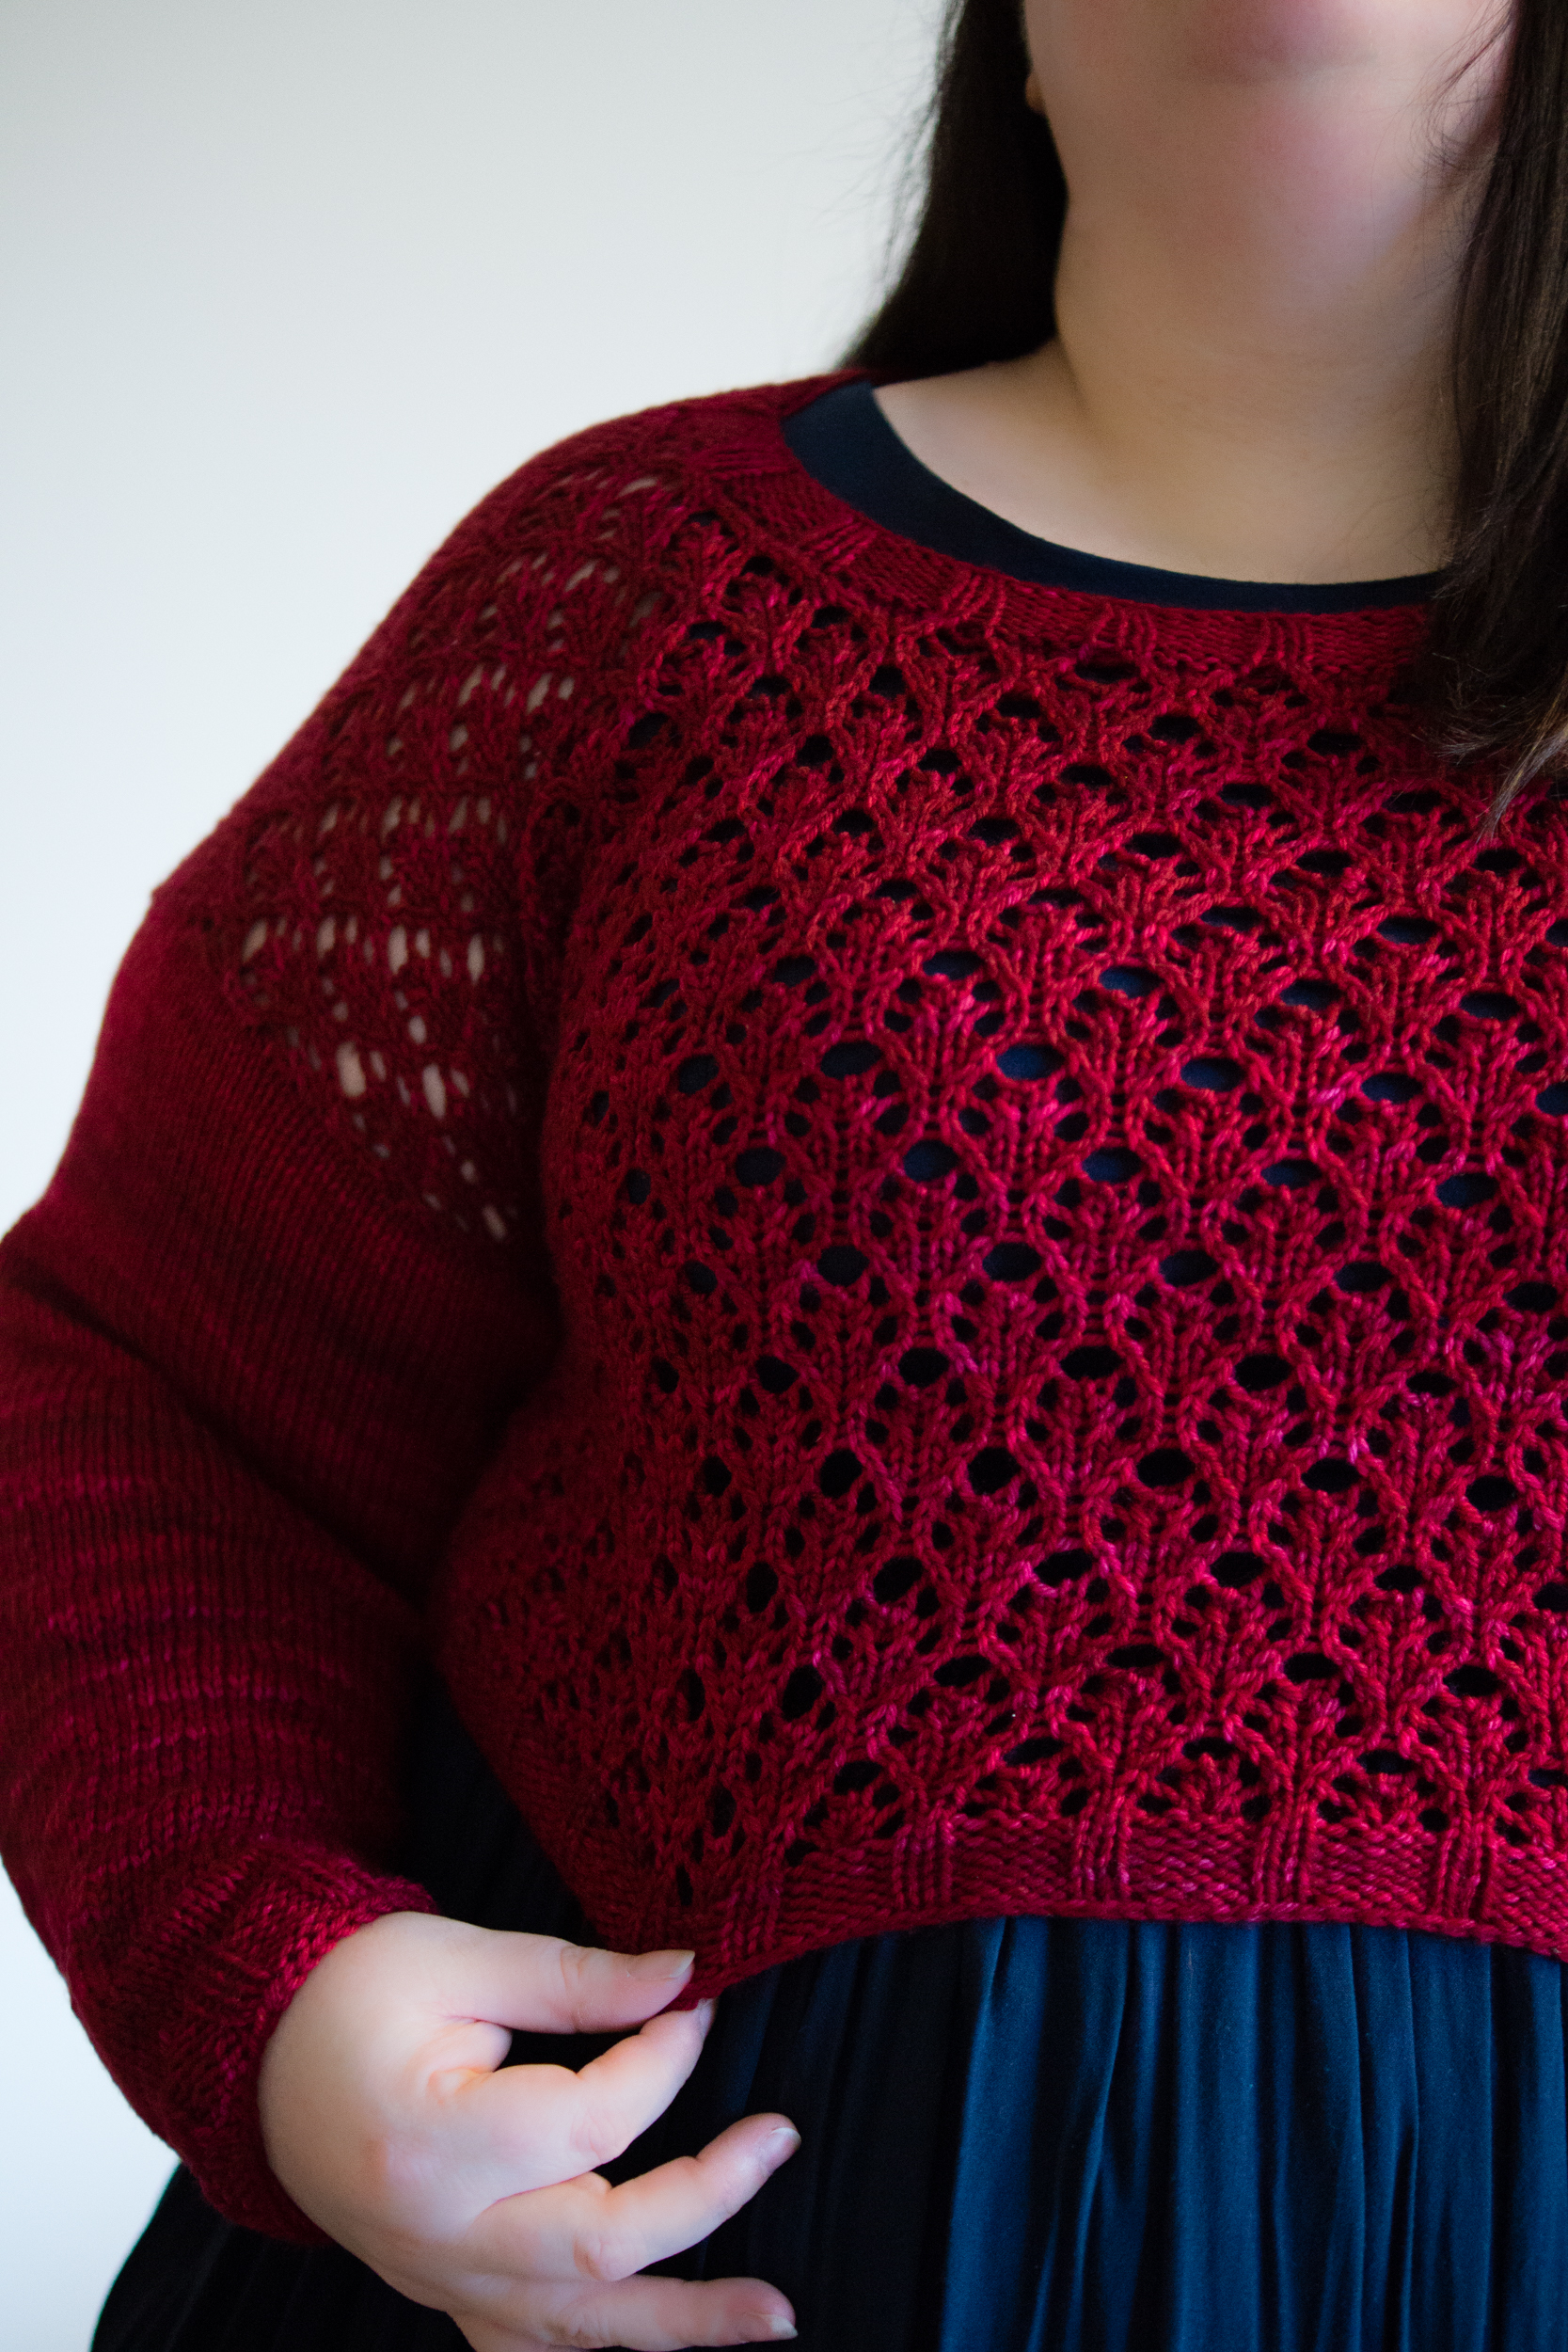
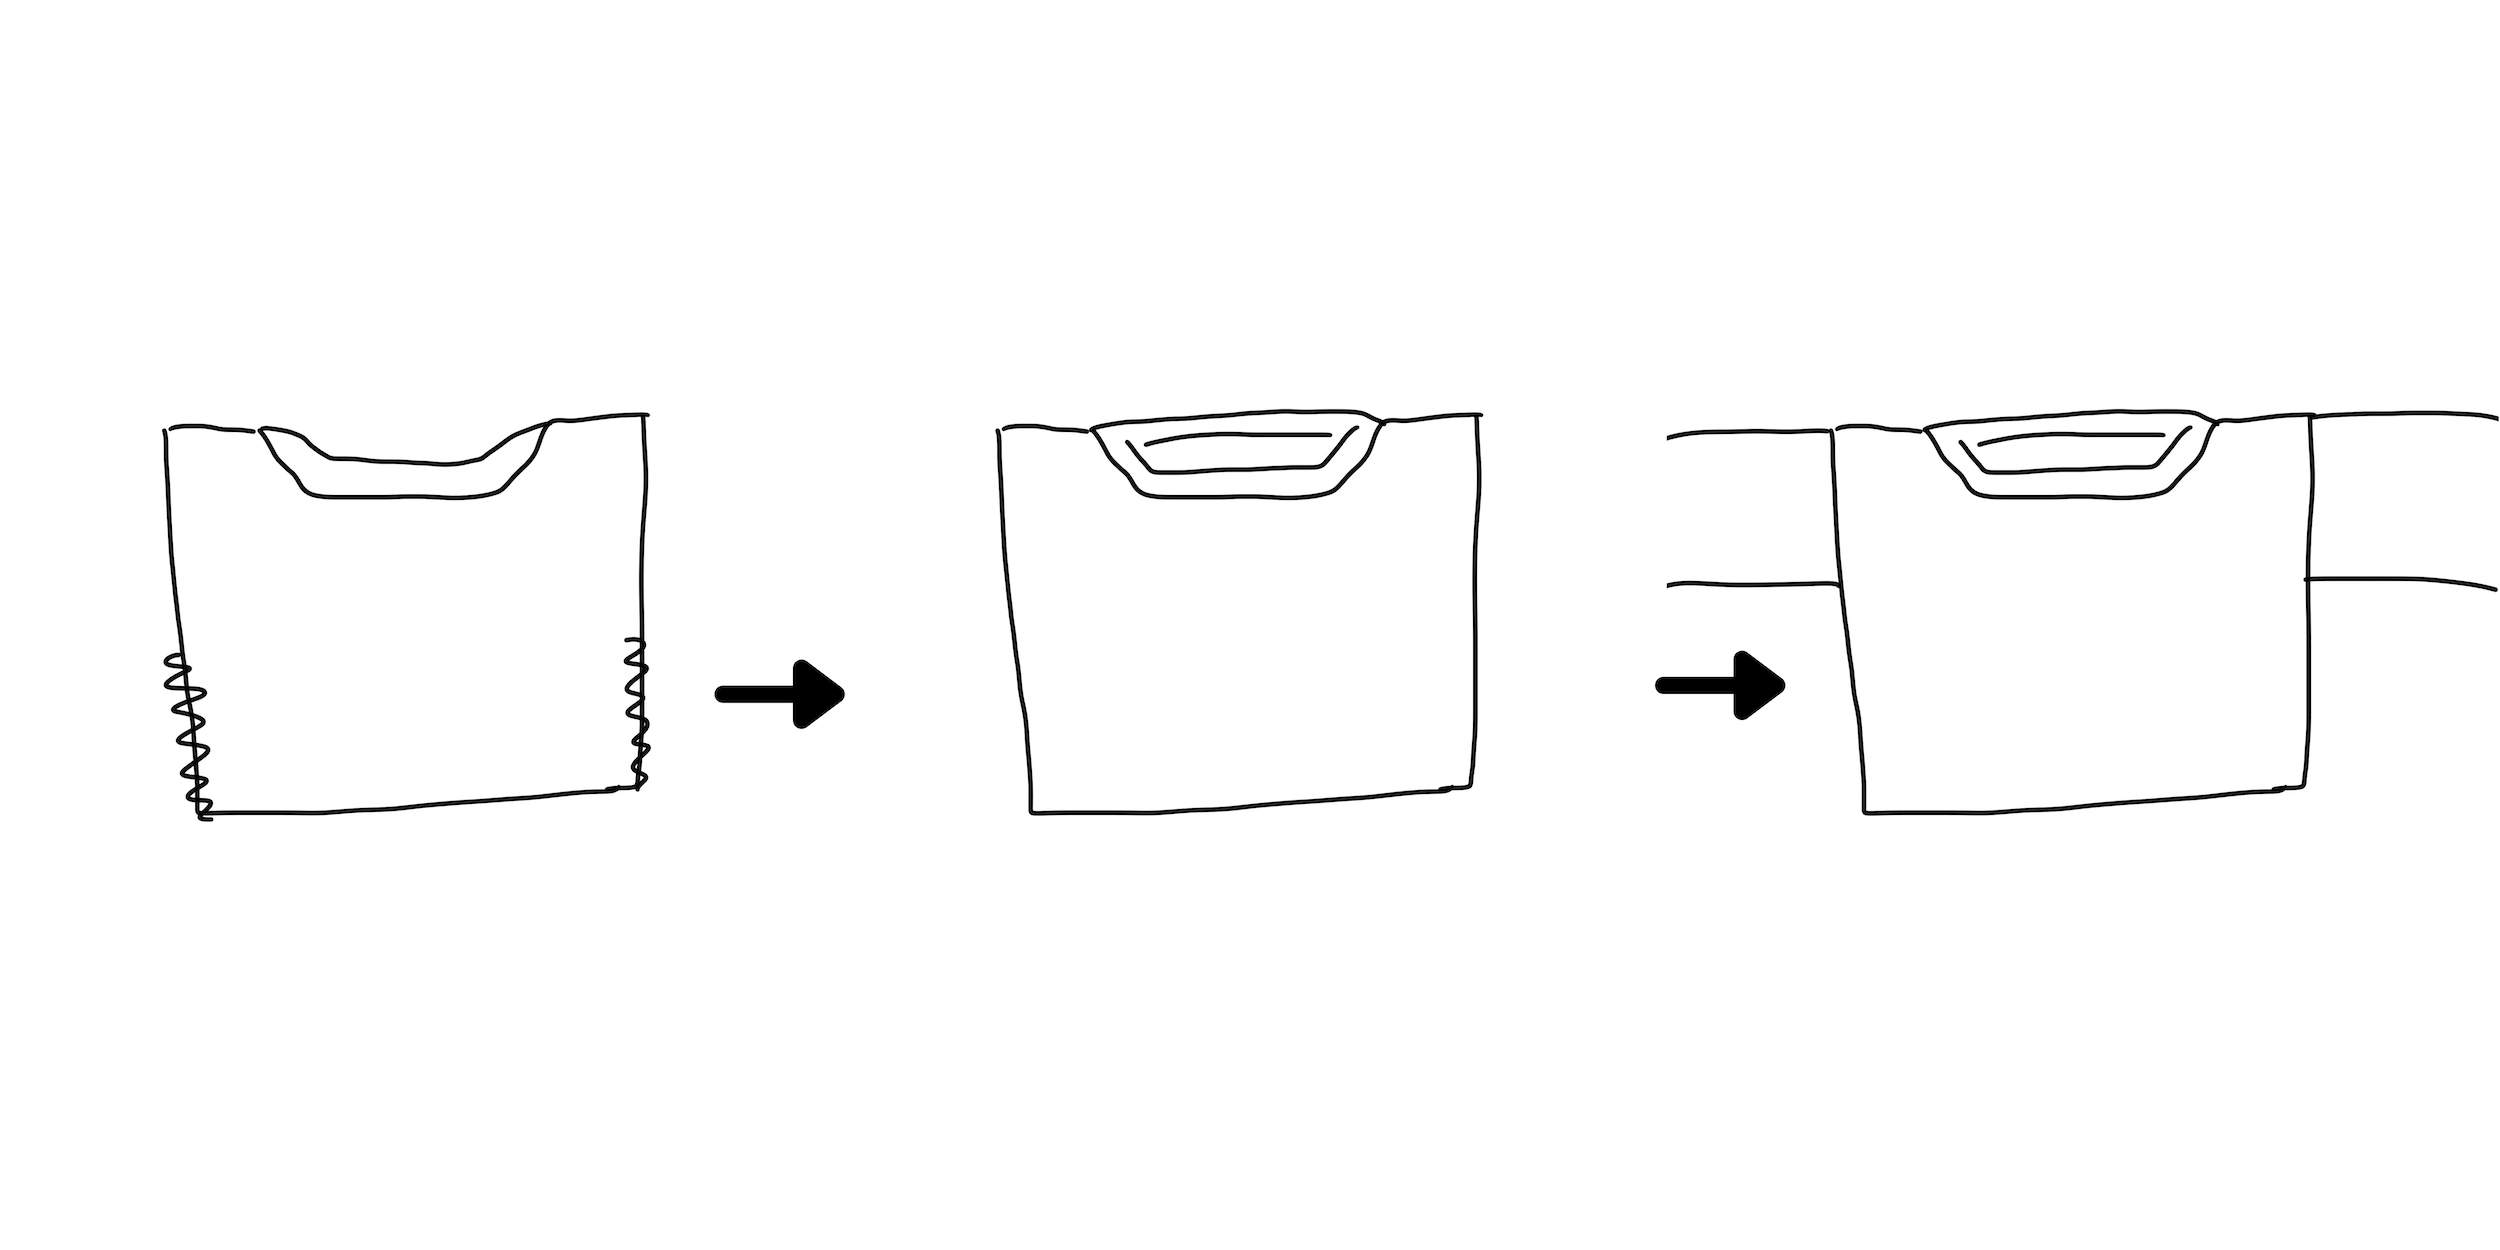
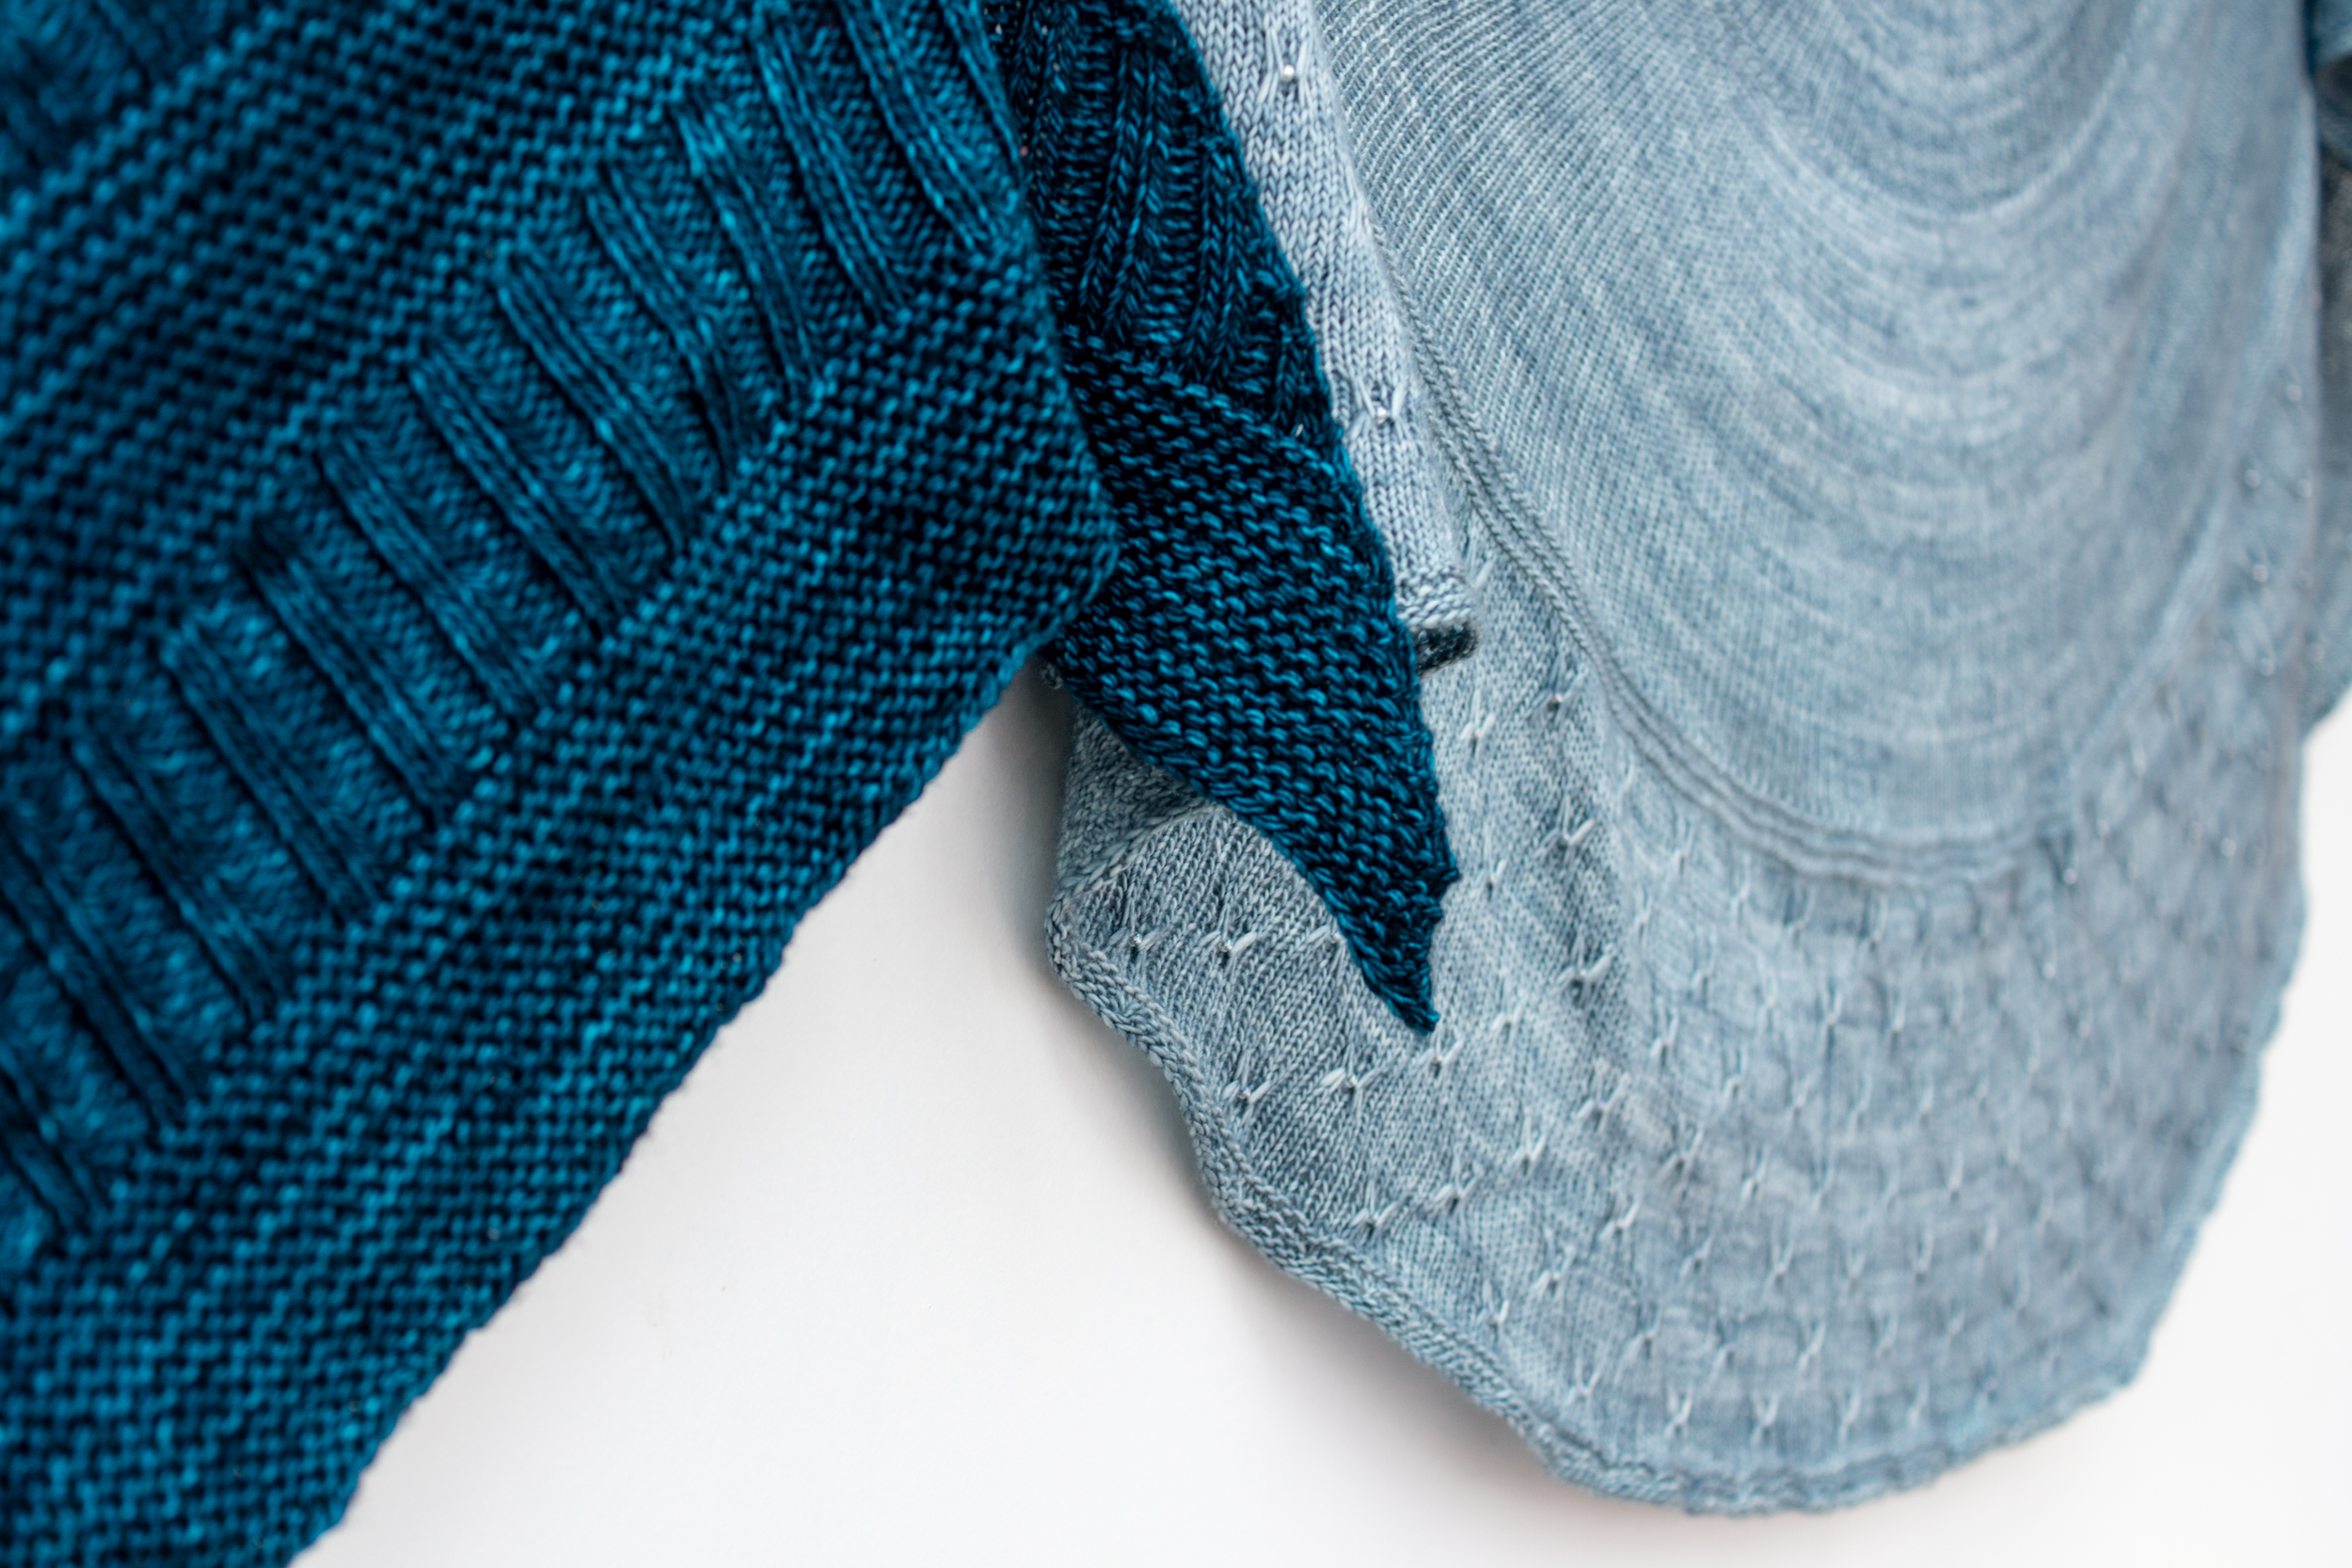
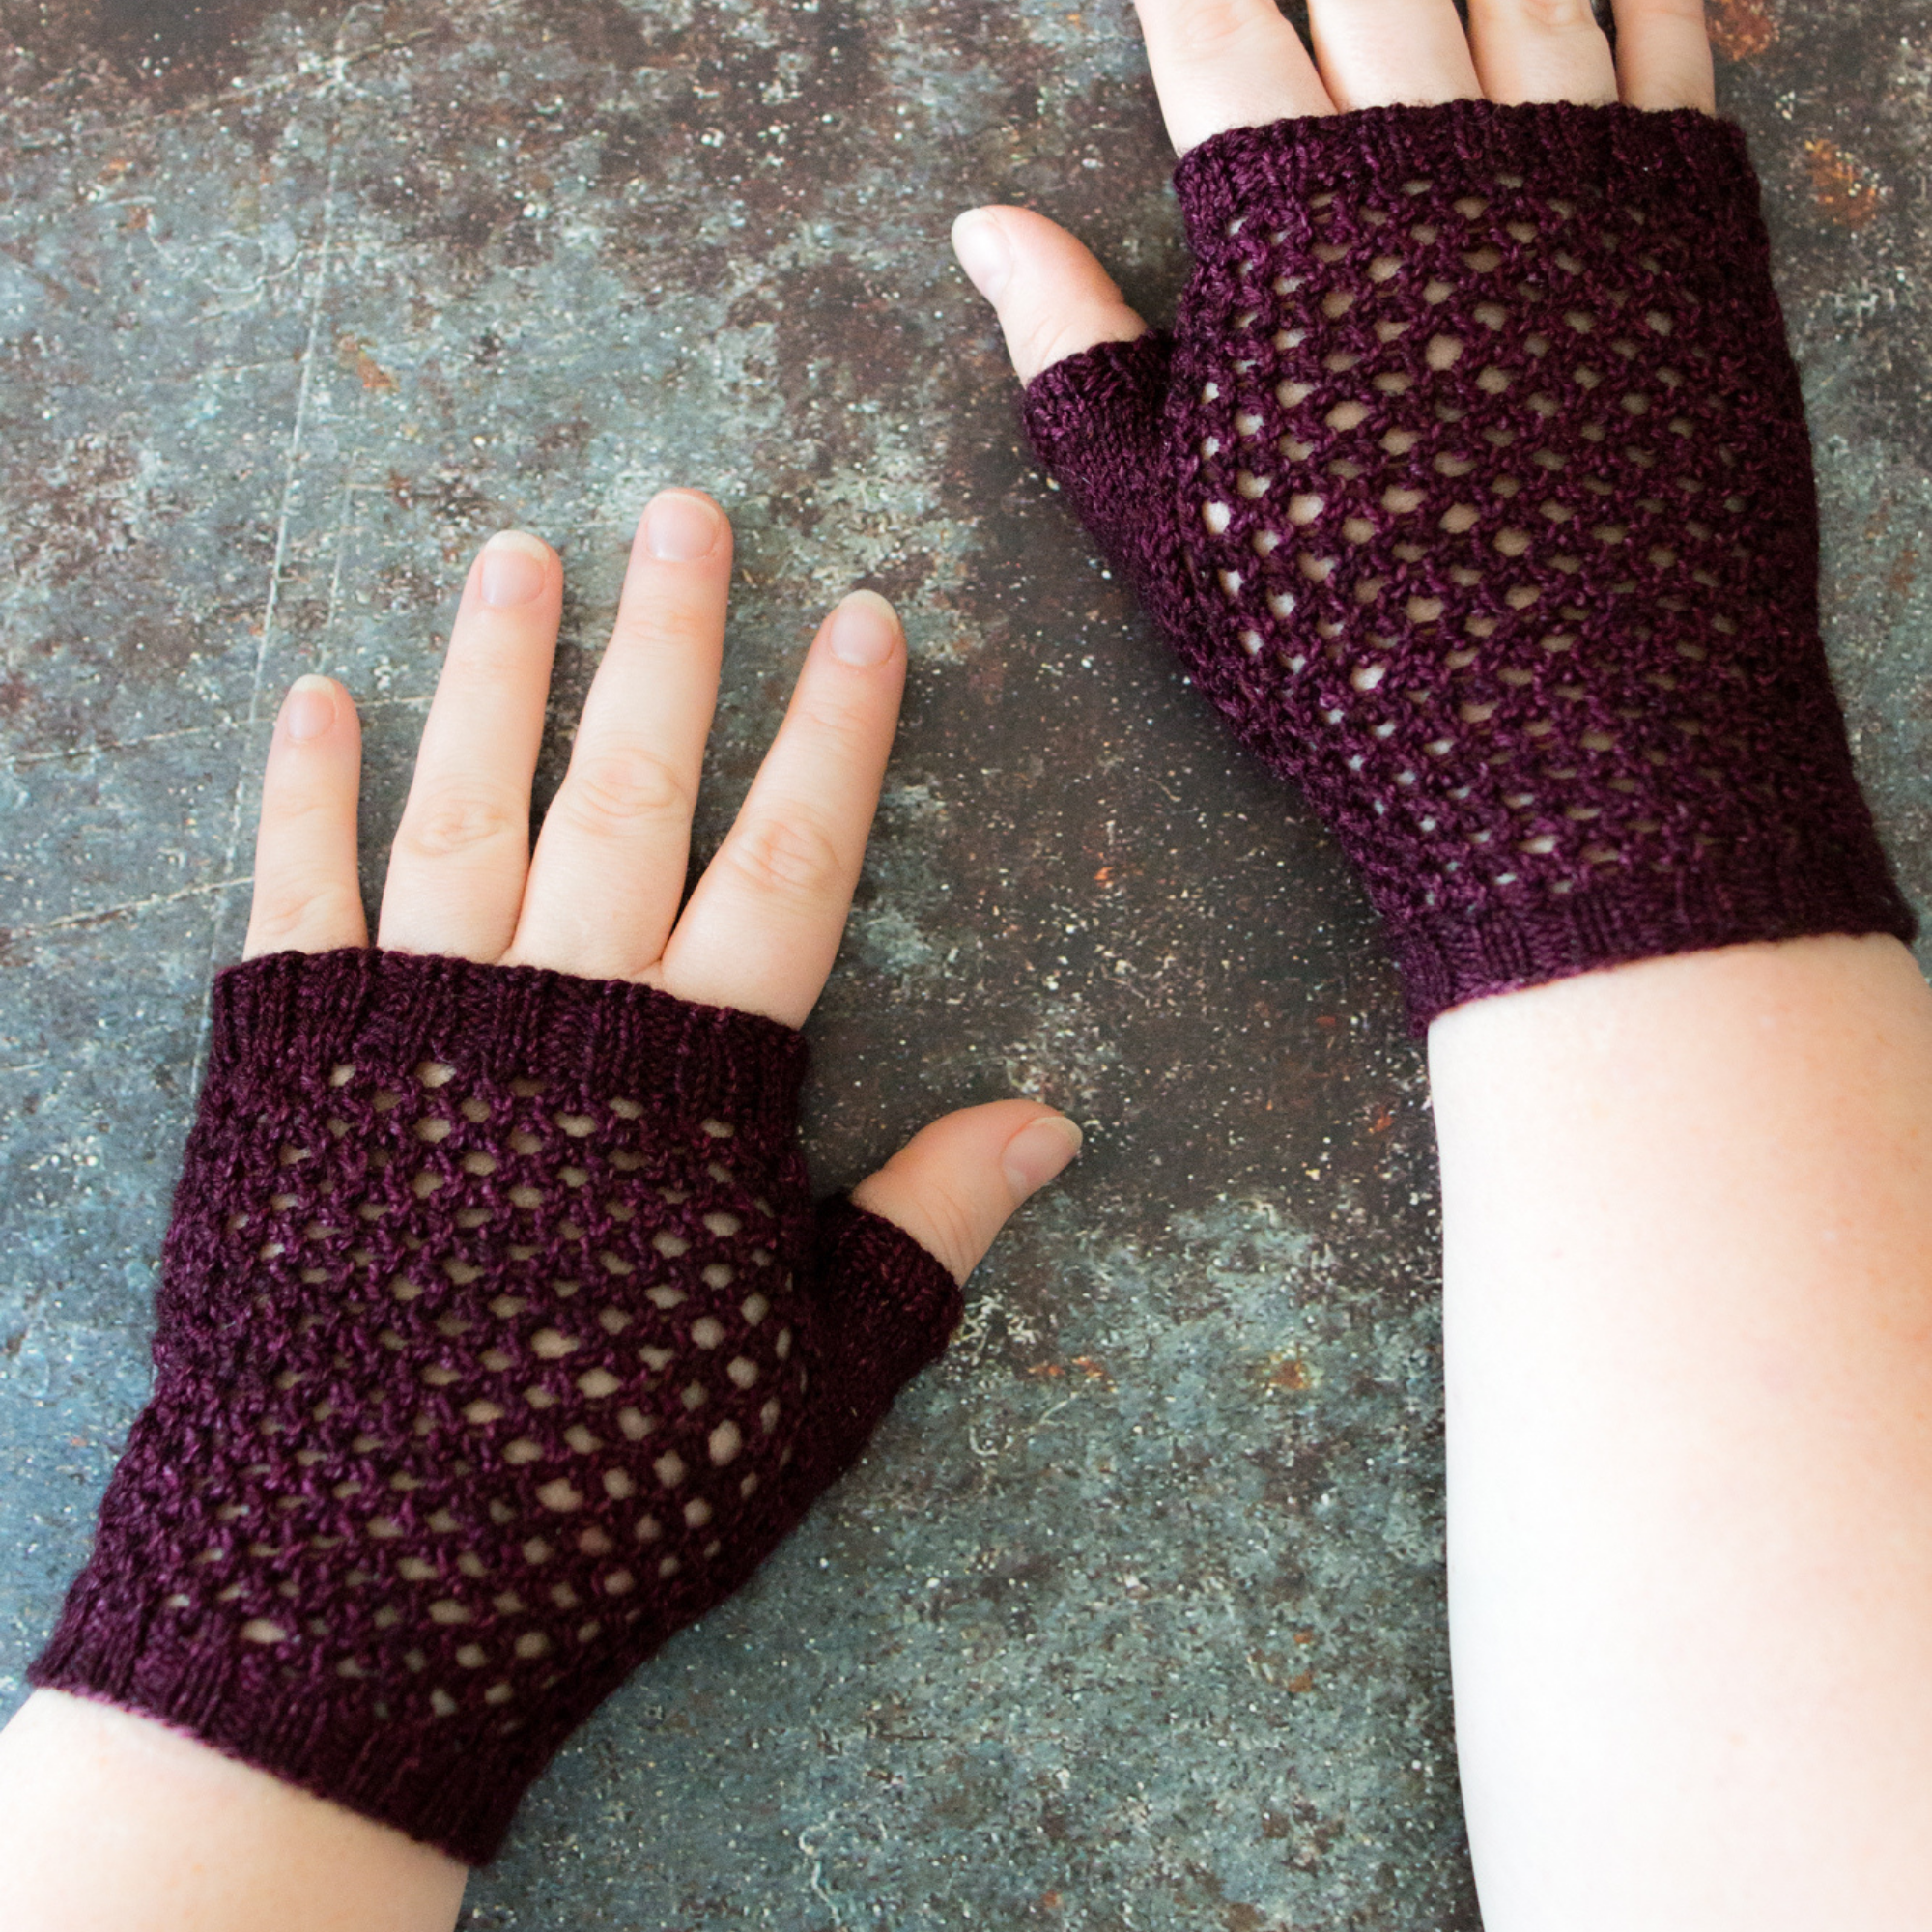
The basic idea is this: if you knit the front and back pieces of the garment, you can choose to seam under the arms (on the image to the left, this is the seam where the lace front meets the stockinette back) as much or as little as you like. Seaming more will leave a shorter armscye, which means a thinner sleeve. Seaming less will leave a longer armscye, which means a wider sleeve.
If you’re knitting a seamed garment, it’s really easy: just knit the body size you want and sleeve size you want, and seam as much as you need under the arms to leave the right sized hole.
If you’re knitting a seamless garment, you can use this method too: join to work in the round (if top down) or split to work sleeves (if bottom up) at the right point for your desired sleeve size, finish the body, then follow the instructions for your sleeve size.
How I Do It
I like a hybrid approach to garment knitting: I really only want to seam under the arms, so that I can easily adjust the armscye depth if my initial choice doesn’t feel right when I try it on. I also prefer top-down knitting, just because it’s easier to try on as you go.
So I do this:
1. Knit the back
Because of the back neck shaping, this usually means knitting the back right shoulder, putting it on hold, knitting the back left shoulder, joining it to the back right shoulder, then continuing to work the back.
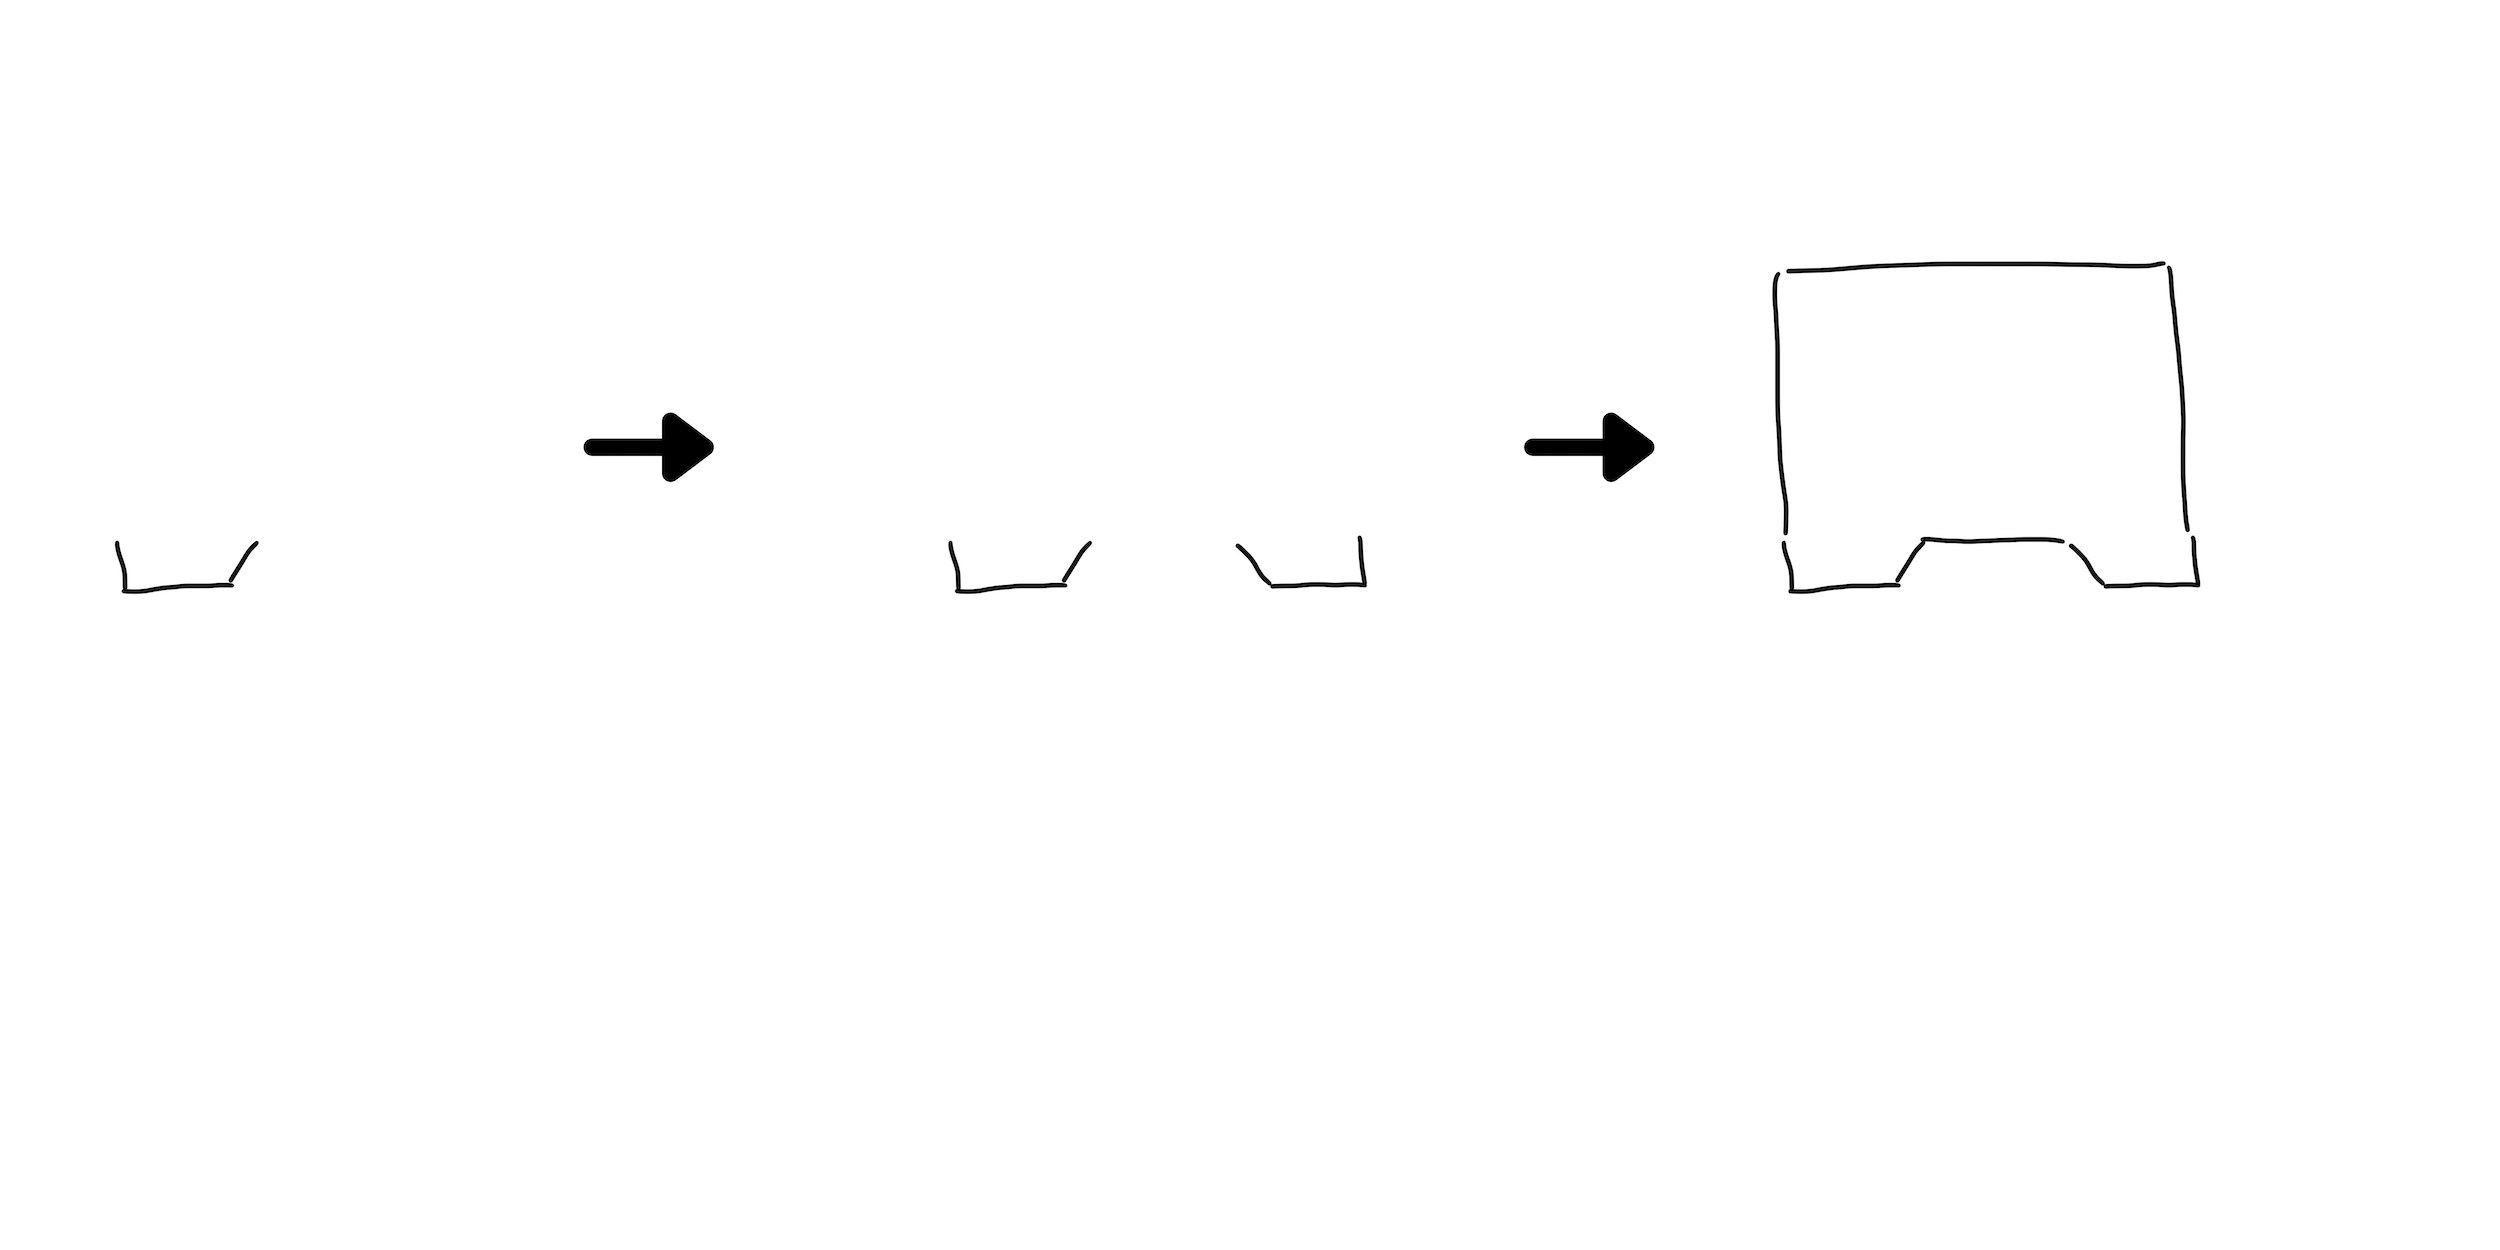
2. Knit the front
Next I’ll pick up and knit the front. Again, because of the neck shaping, this is done in two pieces and then joined.
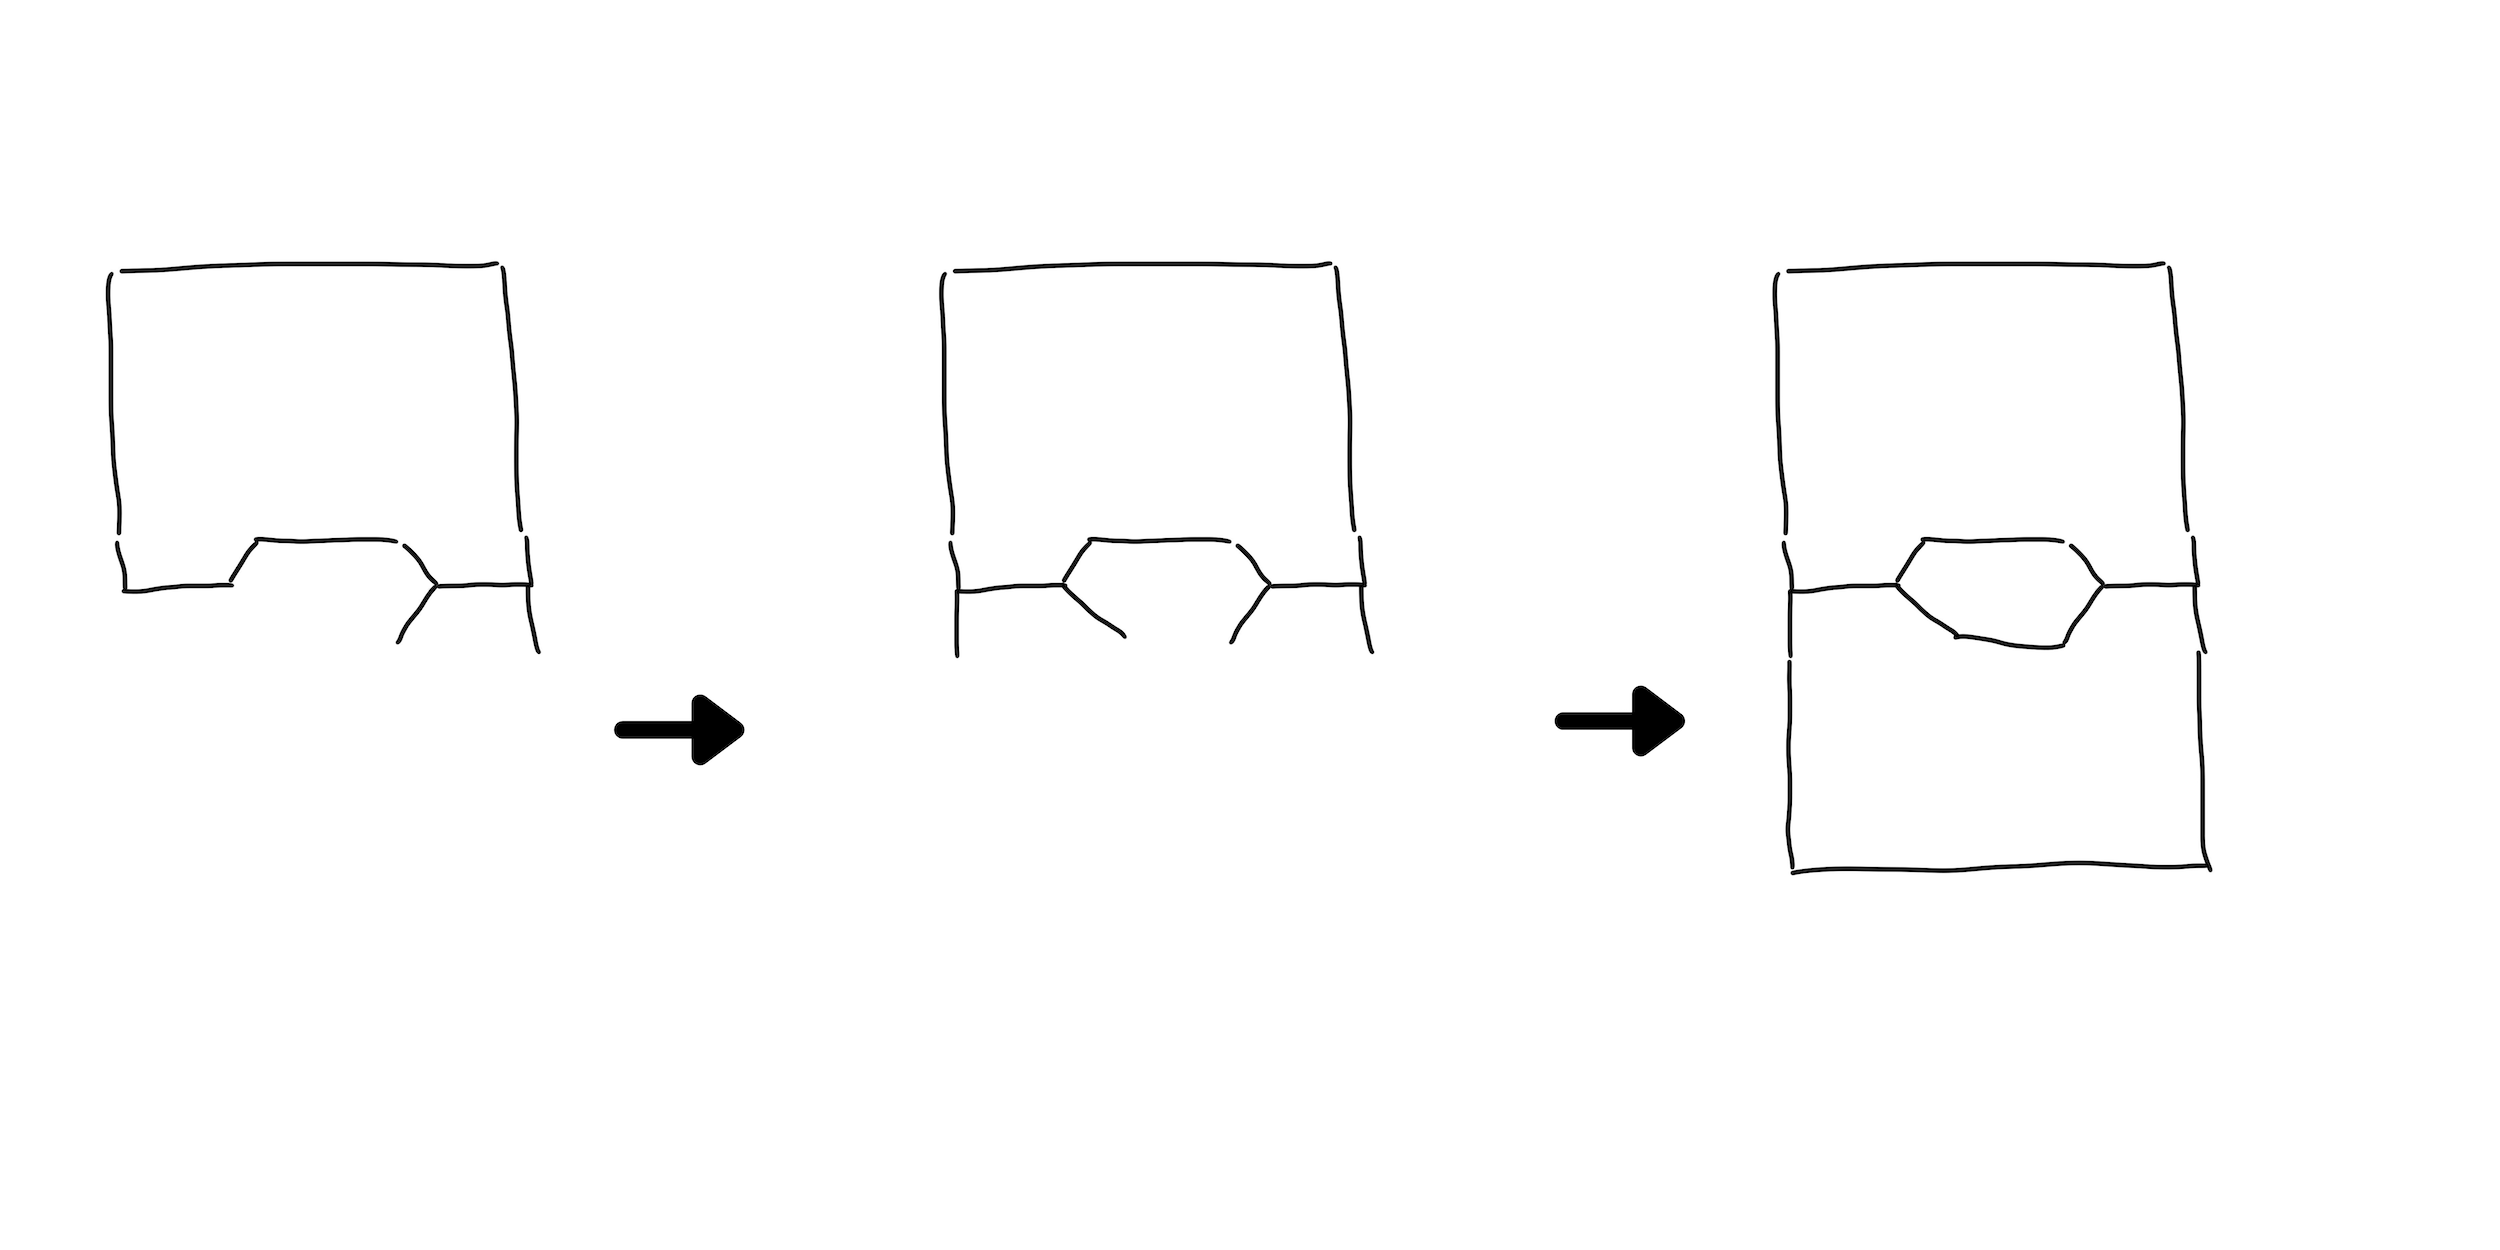
3. Seam the sides
I’ll usually block the garment and try it on at this point, making sure that I can get it on and off okay with the armscye depth I’m planning on leaving. Once I’m happy, I’ll mark off the right depth and seam under the arms.
4. Work Neckband
I like to work the neckband before the sleeves, because it affects how the body sits on me and lets me perfect the sleeve length.
5. Work Sleeves
I’ll usually pick up and knit sleeves rather than knit them separately and seam them later.
You can watch an animation of this construction method here.
How Designers Can Support Knitters
The wonderful thing about this customisation is that it’s already right there in the garment construction – there’s not a huge chunk of extra work for designers here. What designers can do to support knitters who want to do this is to give us the information we need so we don’t need to work it out for ourselves. The more designers who do this, the more knitters will understand how to do it, and the more it will normalise needing to!
- Give separate yardage requirements for bodies and sleeves
- This lets the knitter work out exactly how much yarn they’ll need rather than having to guess – really important, especially for larger sizes where the yarn requirement is already a lot
- Give separate size tables for bodies and sleeves
- This normalises needing to mix & match the sizes, and helps knitters to feel included and supported
- I like to number my body sizes and use letters for sleeve sizes, just to help signpost that the different areas are sized separately, and to make it easier to identify sizes
- Write the pattern assuming the knitter will be mixing & matching sizes, and remind them which area’s instructions (i.e. body size or sleeve size) they should be following at each point
- Your pattern might be the first time they encounter this idea, so a reminder never hurts!
- This also helps to normalise needing to mix & match
- Include guidance on modifying the length of the body (including yardage per size!) and the sleeve length
- This is something that I think should always be included anyway, but if the knitter needs to mix and match their body and sleeve size, there’s more chance they will also need to adjust lengths
- Again, this normalises bodies that don’t fit into the “standard” size chart
Other Construction Shapes
Other construction methods don’t lend themselves to mix and match sizing quite so neatly as drop shoulder garments do, so I’m taking some time to think about how it might be done and, hopefully, come up with something that’s relatively easy both for designers to incorporate and for knitters to understand. Any further bright ideas will get written up like this one was, so find the “Mix and Match Sizing” tag and click on it to see what else I’ve come up with!
Thanks for this – your blog posts are so informative, and I’ve been really enjoying reading them recently! I’m a designer and tech editor, and am really committed to understanding better how to fit larger bodies. One thing I think about with a lot of drop sleeve patterns is that they often leave the sleeve the same length for all sizes, which for larger sizes has to make the sleeve much too long. I think it makes more sense to use the center back neck to wrist measurement to determine the sleeve length for drop sleeves. Do you agree? Thanks!
Thank you so much Alison, what a wonderful compliment!
Sleeve length is a tricky thing to get right, simply because arm length is related more to height than body size. (Yet another reason why mixing and matching is a good idea!)
I agree that it makes more sense to work from centre back to wrist for drop sleeves rather than the underarm to wrist measurement (assuming you’re measuring from the seam and not doing something more complex), but it’s also important to accept that whichever way you do it, there are plenty of people who are going to need to modify it.
With that in mind I would focus on clearly communicating the sleeve length and all other measurements pre-purchase, and including guidance about where and how to lengthen or shorten the sleeves. That way not only do you insure against choosing the option that suits the least number of people, but you also include the people for whom neither choice would have been right, and empower everyone to not only end up with a garment that fits, but to better understand garment construction and be able to make similar mods in future.