


If you read my previous post on wet blocking, then you’ll know that it’s my preferred method of blocking, and the one I use most often. The reason for this is simple: the entire piece gets fully soaked in water, right to its core, meaning every last atom in the piece is affected and nudged neatly into place.
But. Once that’s been done, the yarn is going to remember where it’s been put. Not perfectly, and certainly not if I’ve dropped some ketchup on it and it needs a proper wash, but if it just needs a freshen up after being away for the summer, a lighter spray block could be just the thing.
Spray blocking is the gentlest way to block your item, so it’s also well suited to delicate fibres like cashmere or silk.
With wet blocking, the process was to get it wet, shape it, and then let it dry. Spray blocking differs in that you first shape it, then get it wet, then wait for it to dry.
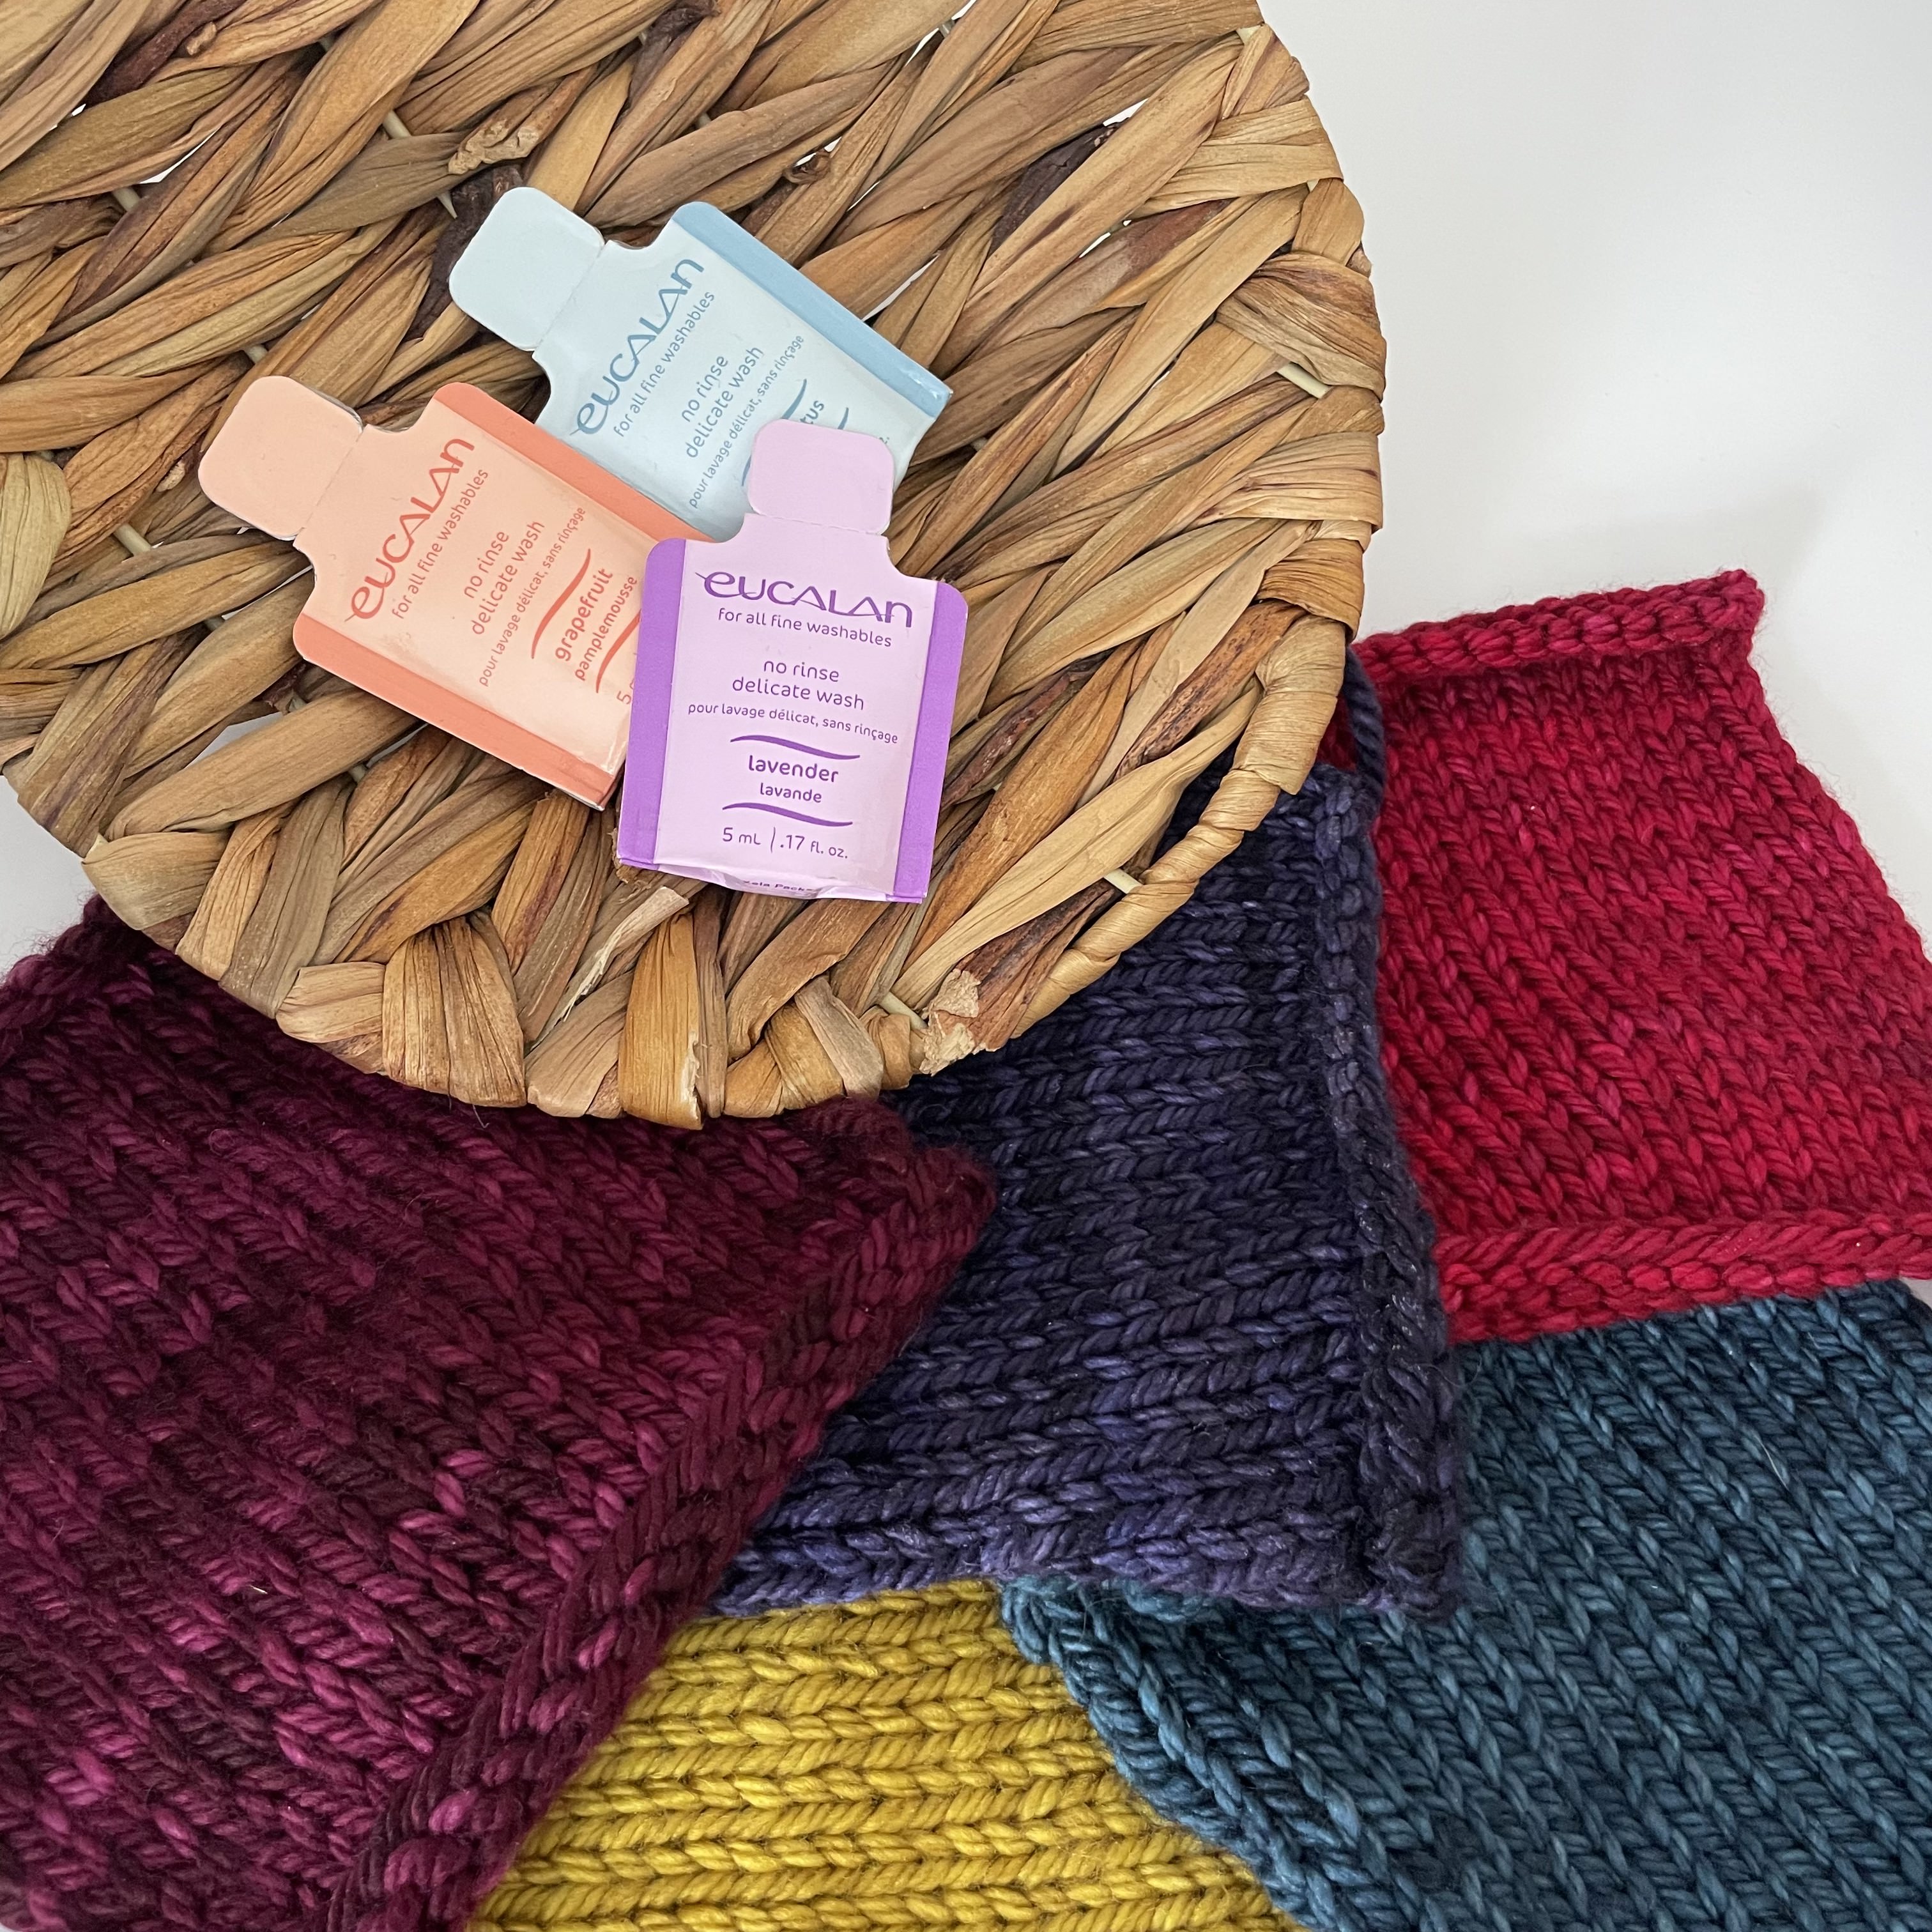
For more information on the tools and materials described in this post, refer back to Blocking, Part 2.
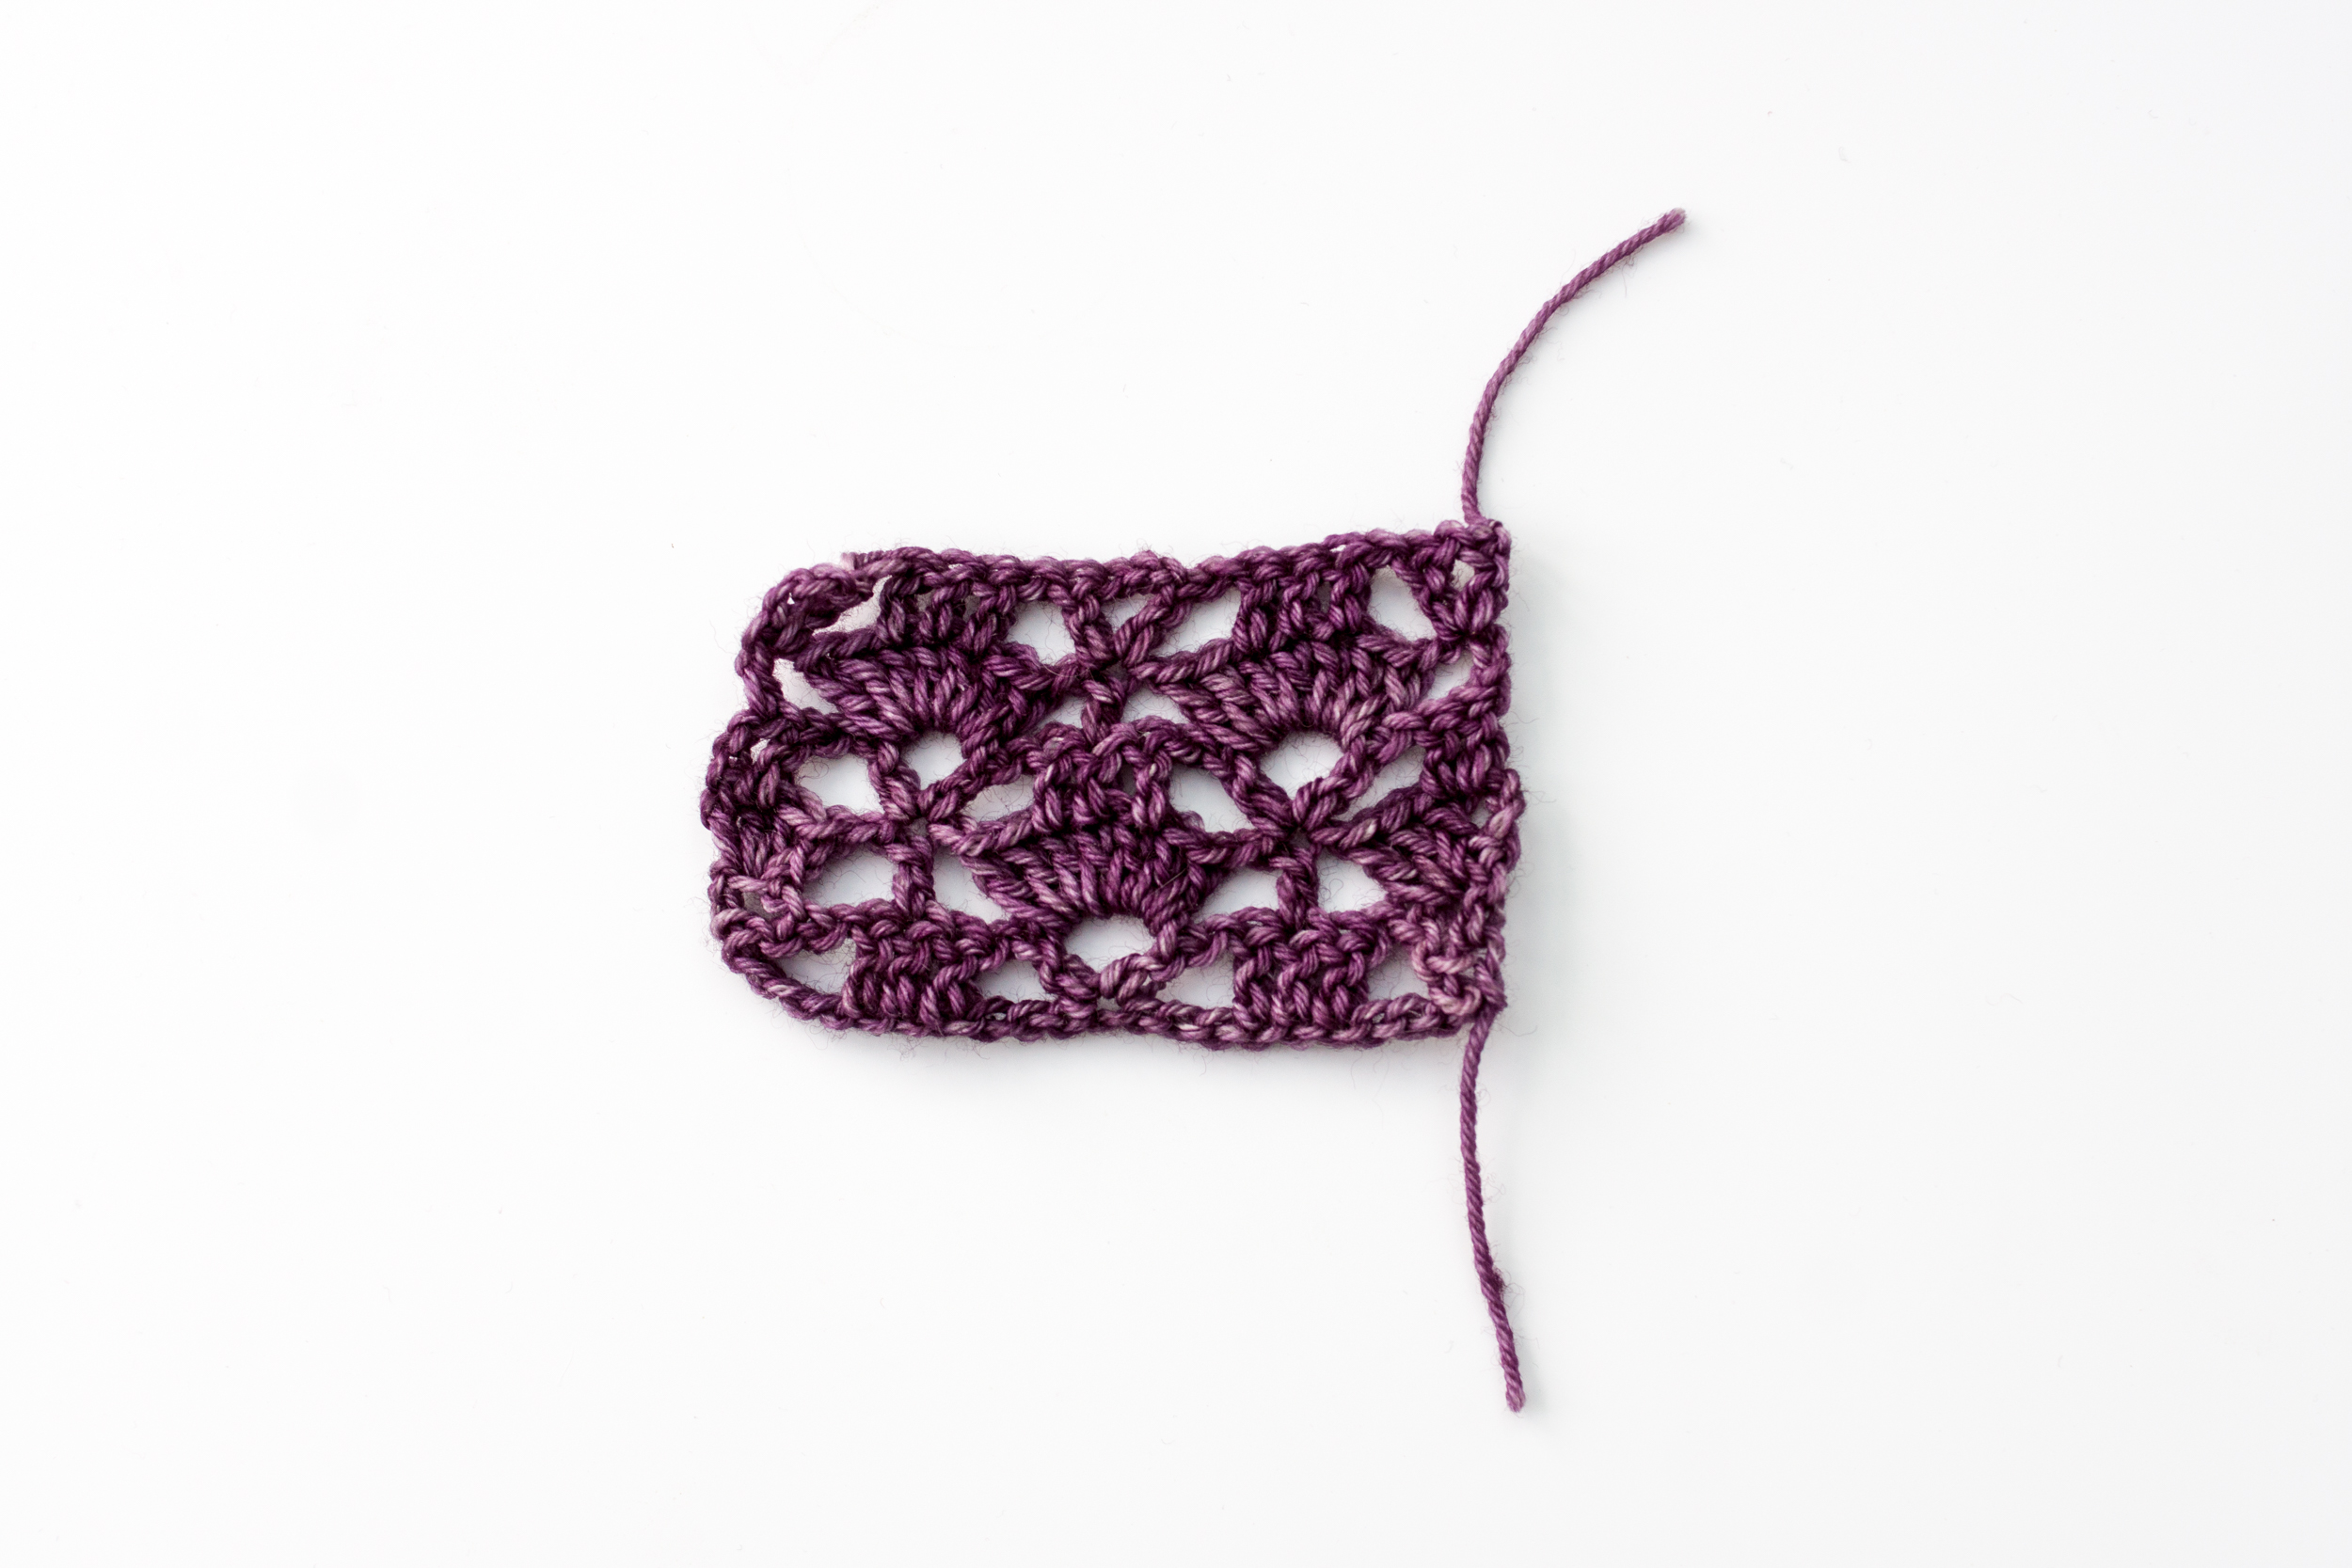
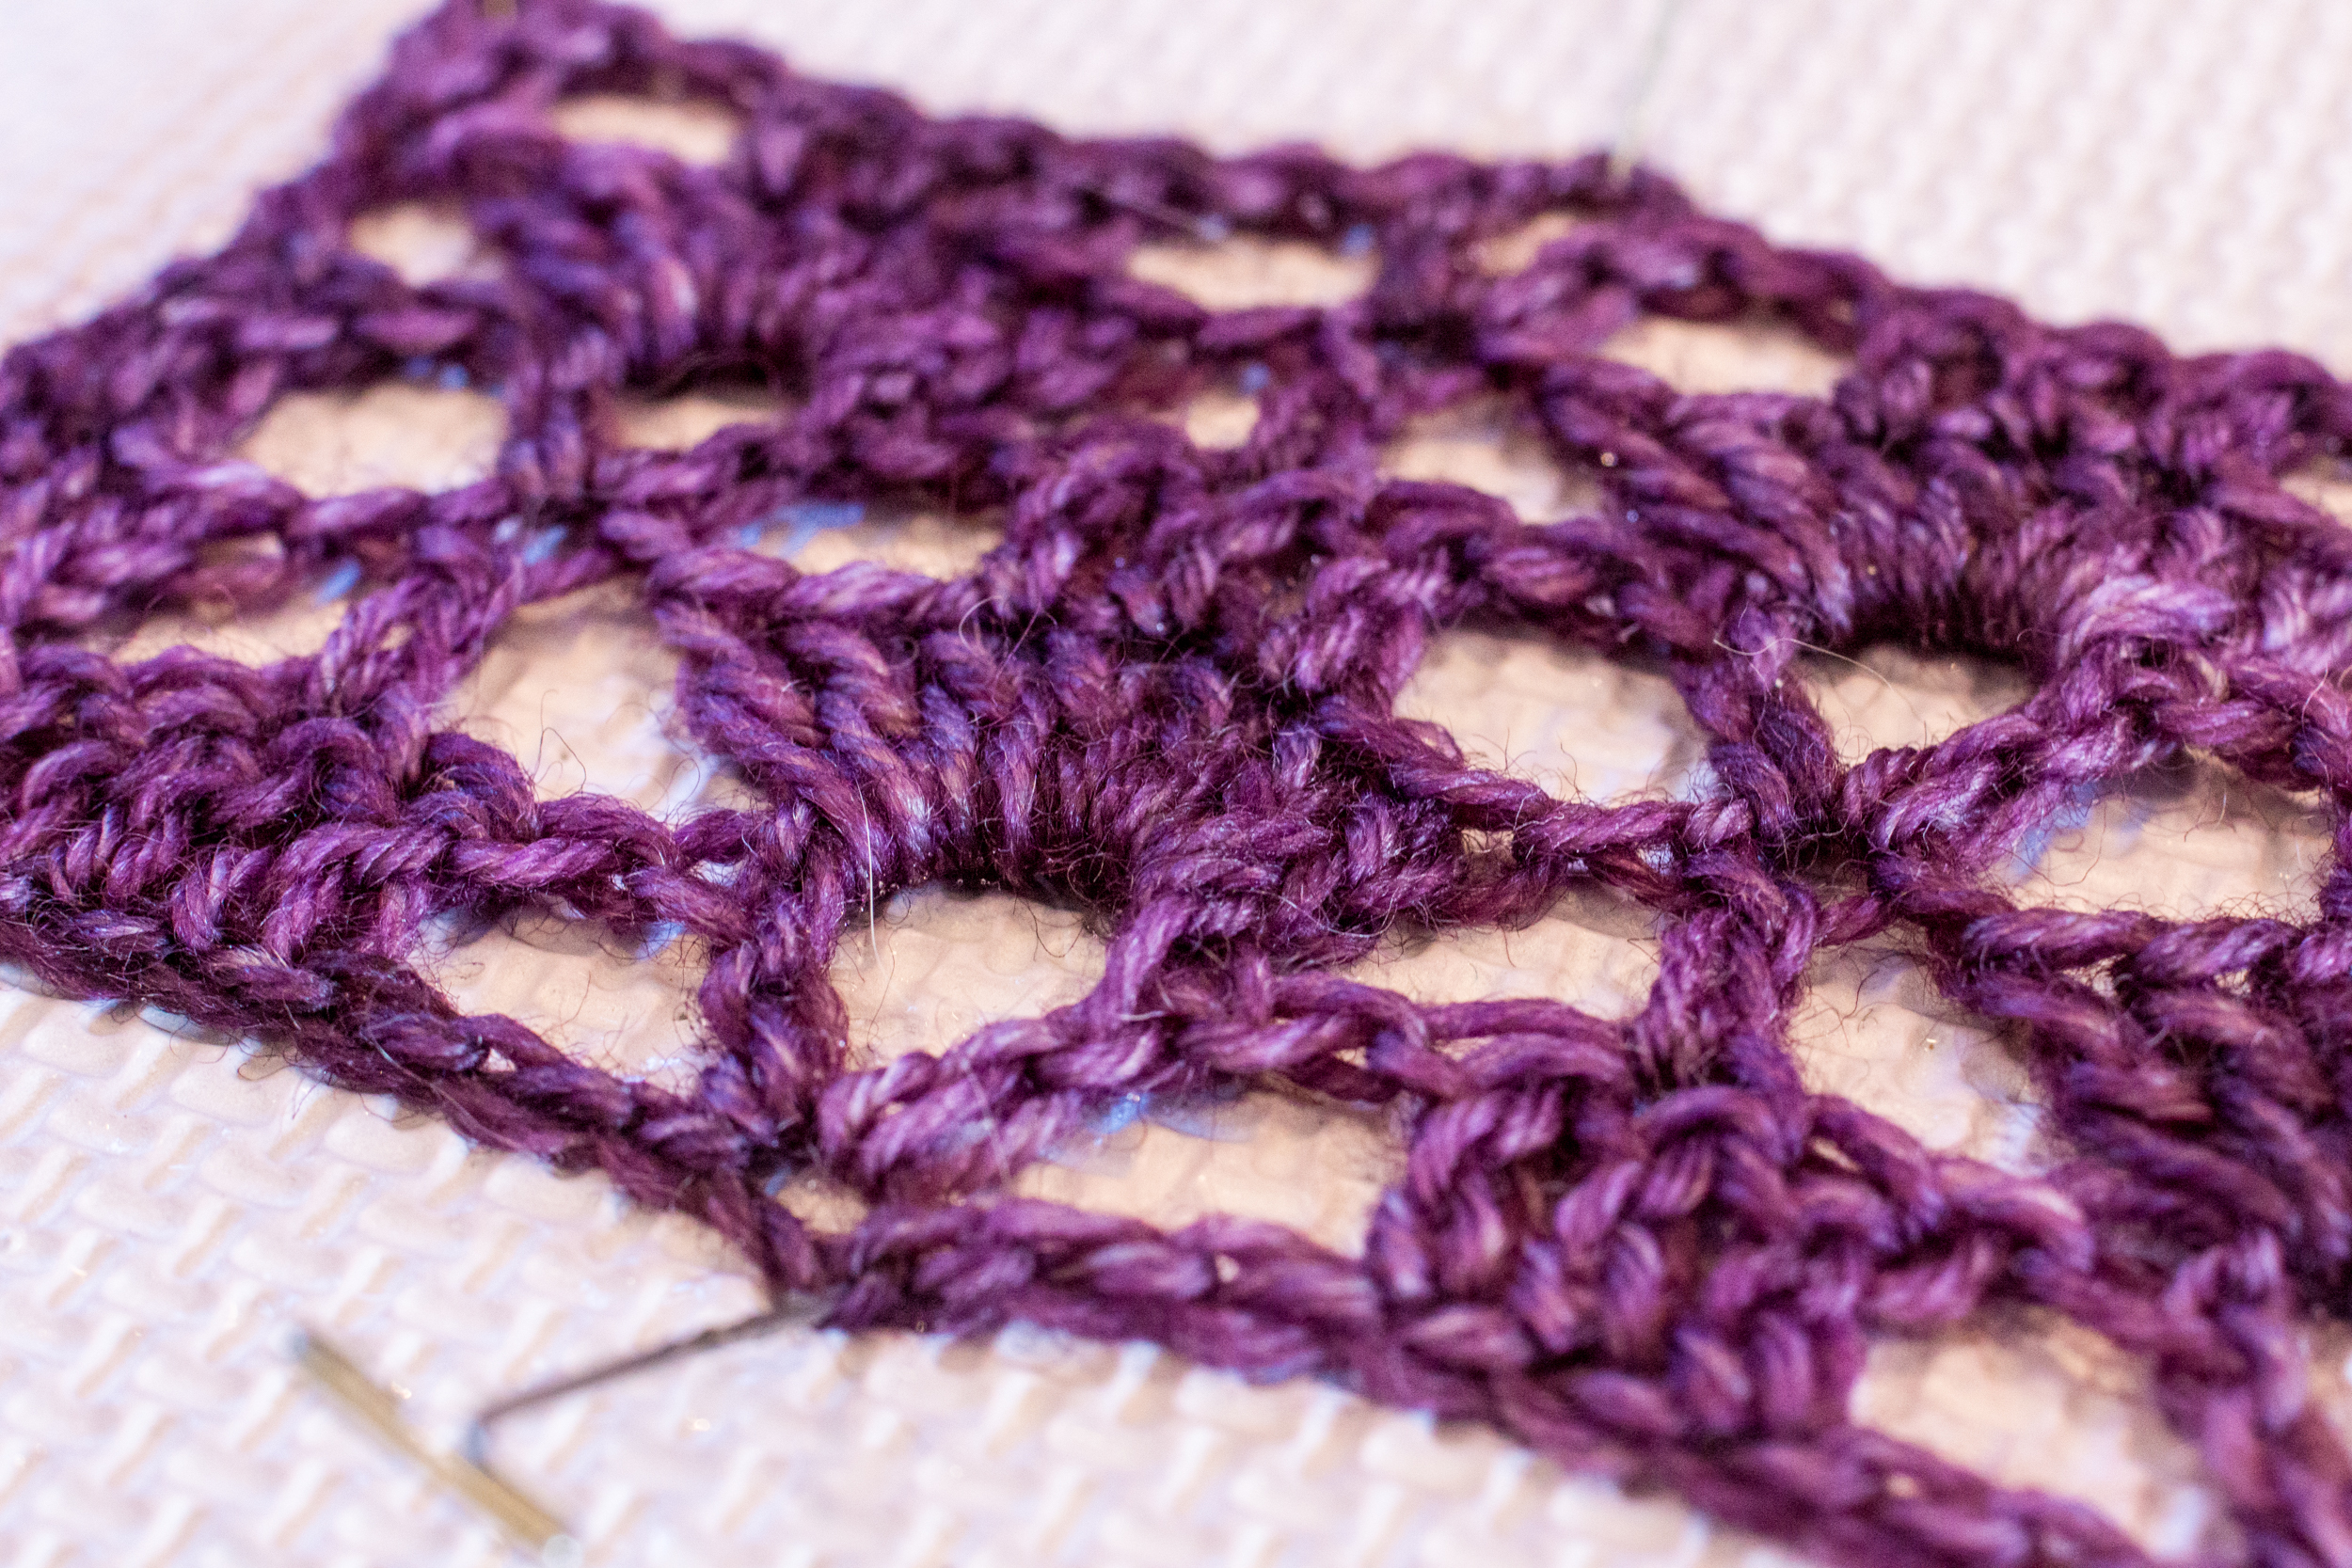
For this example, I’m going to block a little crochet swatch I made.
Arranging it in the Desired Shape
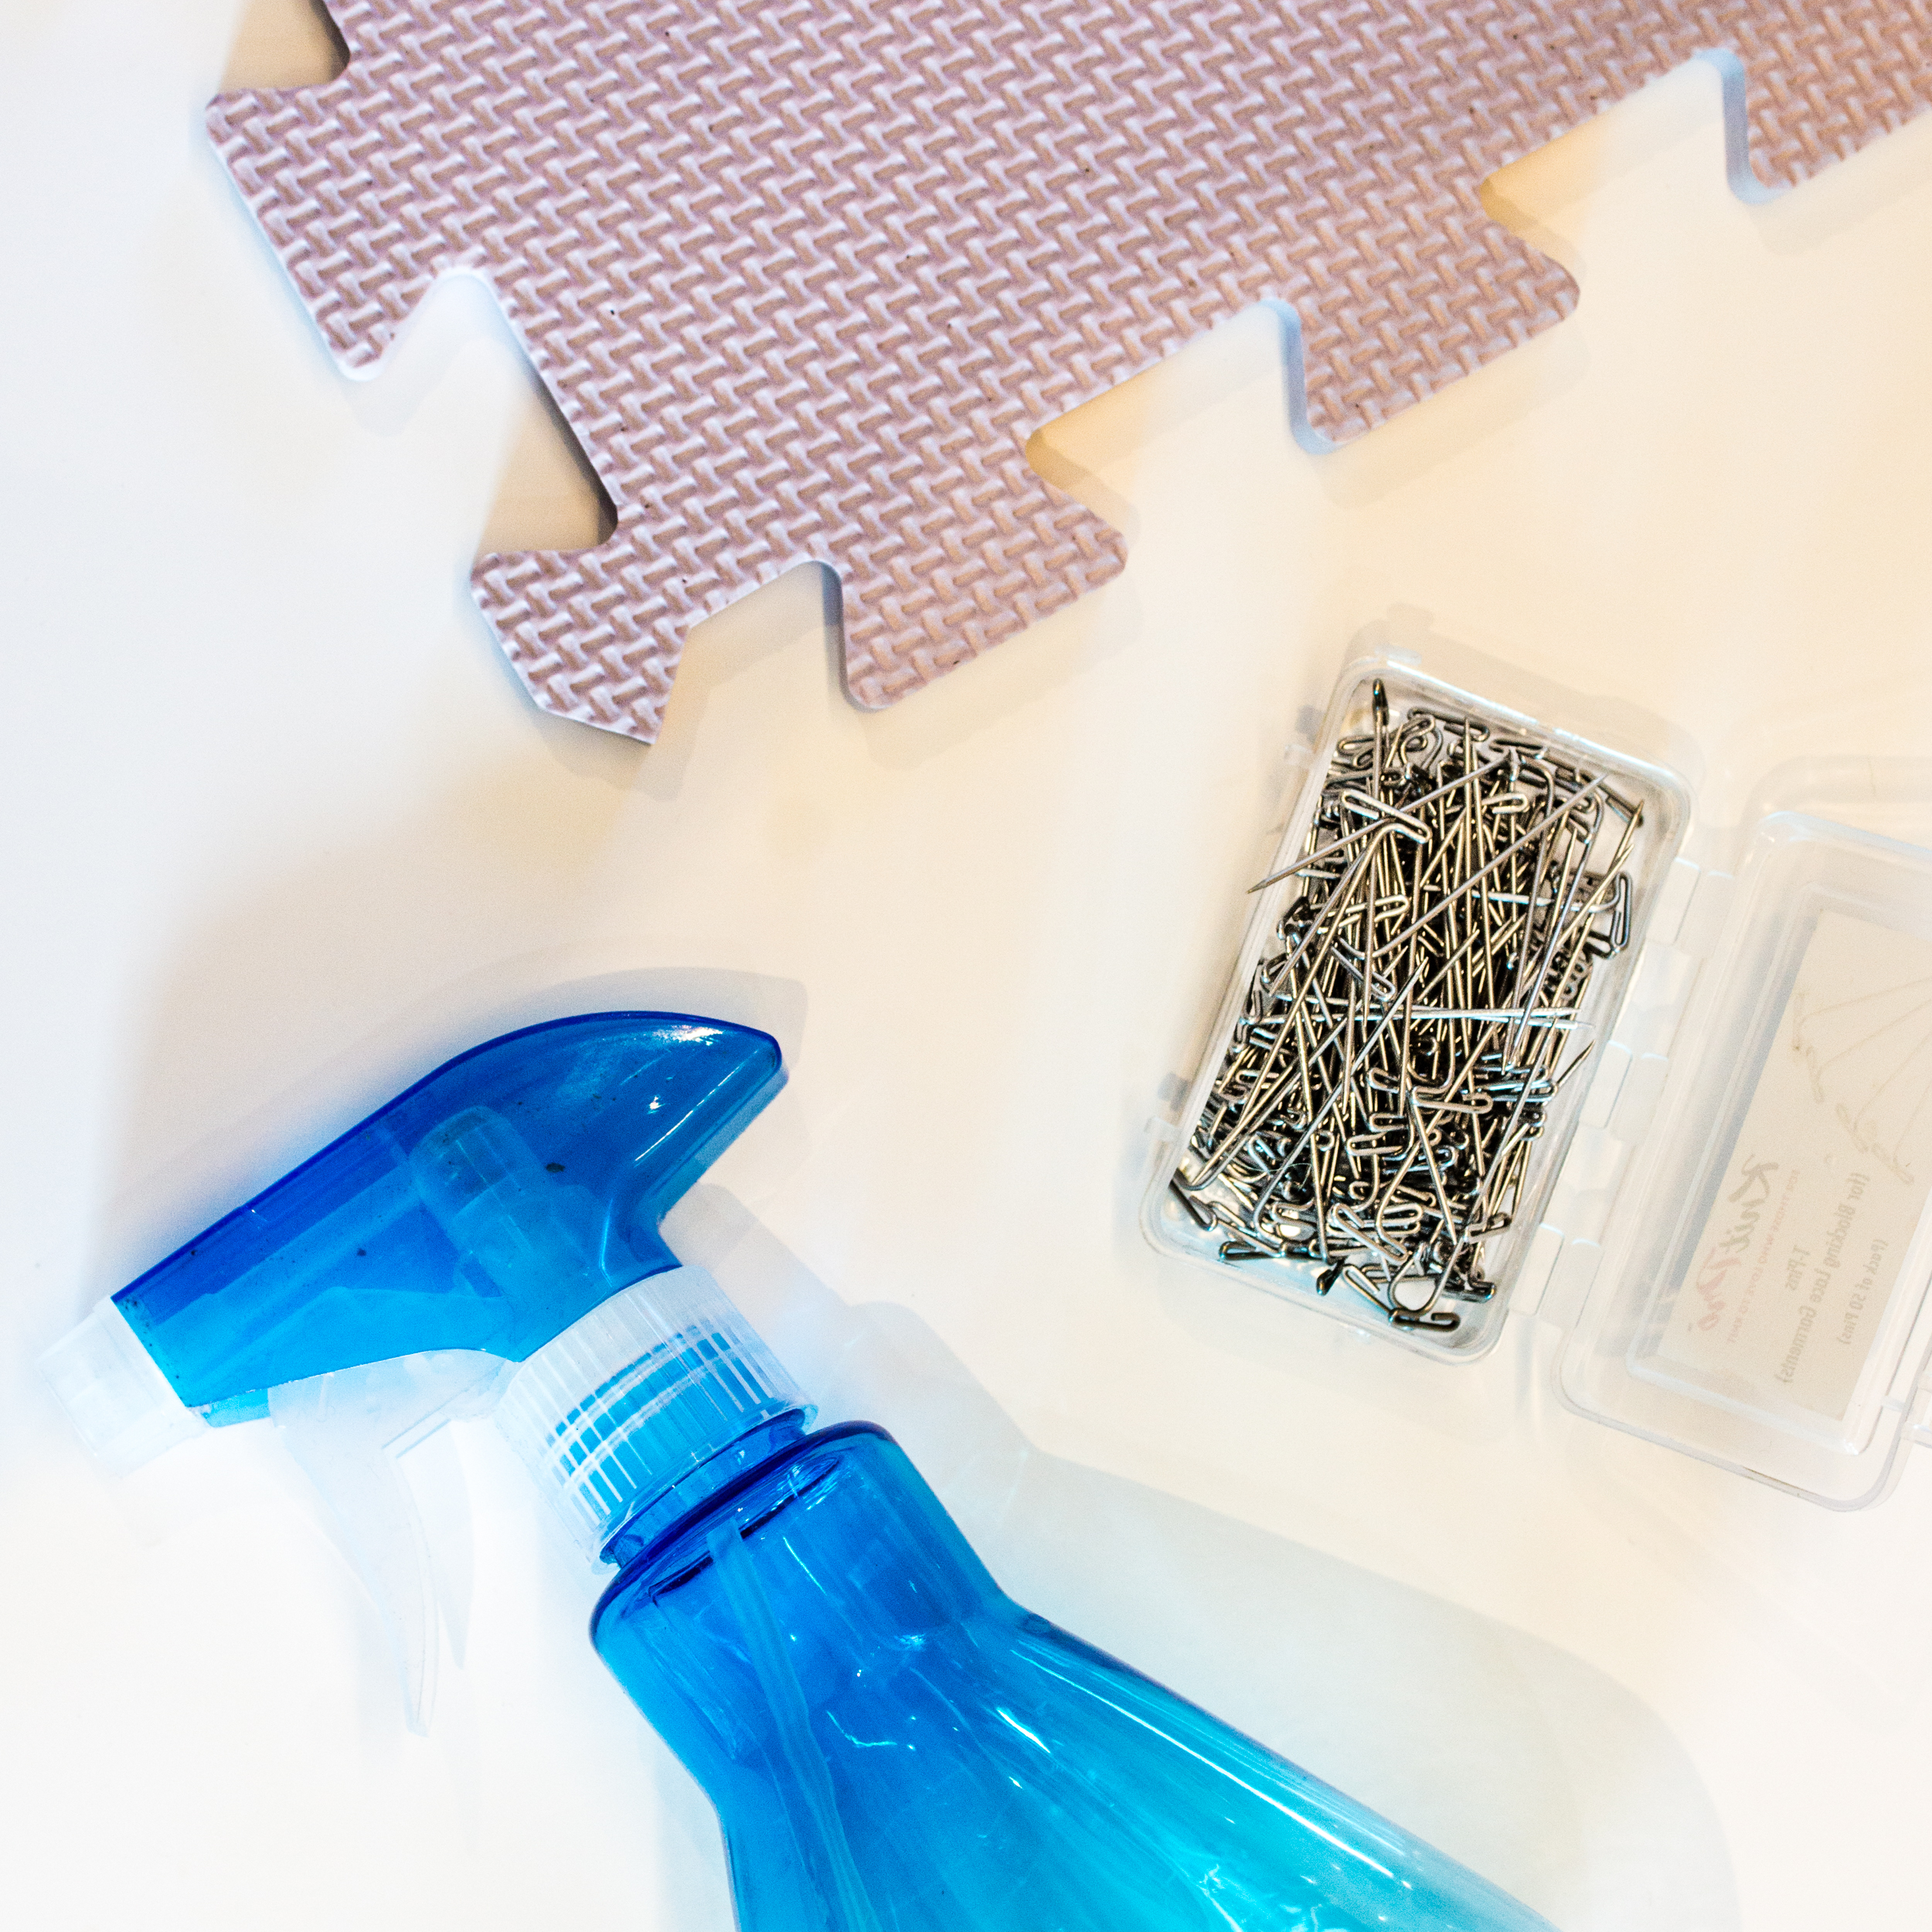
1. Set up your surface
This is a little swatch, so I just need one blocking mat to stick some pins into. Easy peasy!
If you’re blocking something larger, make sure that your blocking surface is larger than the item being blocked.
Consider where you’re setting up your surface. If you have pets or children in the house, you want it to be away from them for safety reasons. If possible, you want to put it somewhere warm with good airflow. In a sunny spot near an open window is ideal, if you can swing it.
I do not recommend pinning out a very large shawl right in front of your wardrobe doors and then being unable to get into them the next morning. Whoops.
2. Lay out your item
All I need to do here is put the swatch on the mat. Blocking little swatches is so much easier than big things. I think I’m on to something, here.
For larger items, you just need to lay it out in roughly the right shape. It doesn’t need to be perfect at this stage.
3. Provide Shape
Blockers will be a bit big for this little swatch, so I’m just going to help it stay still and open up a bit with some pins.

For larger items you might find blockers easier, or wires beneficial – I use both of these in the wet blocking example.
Getting it Wet
4. Spray it!
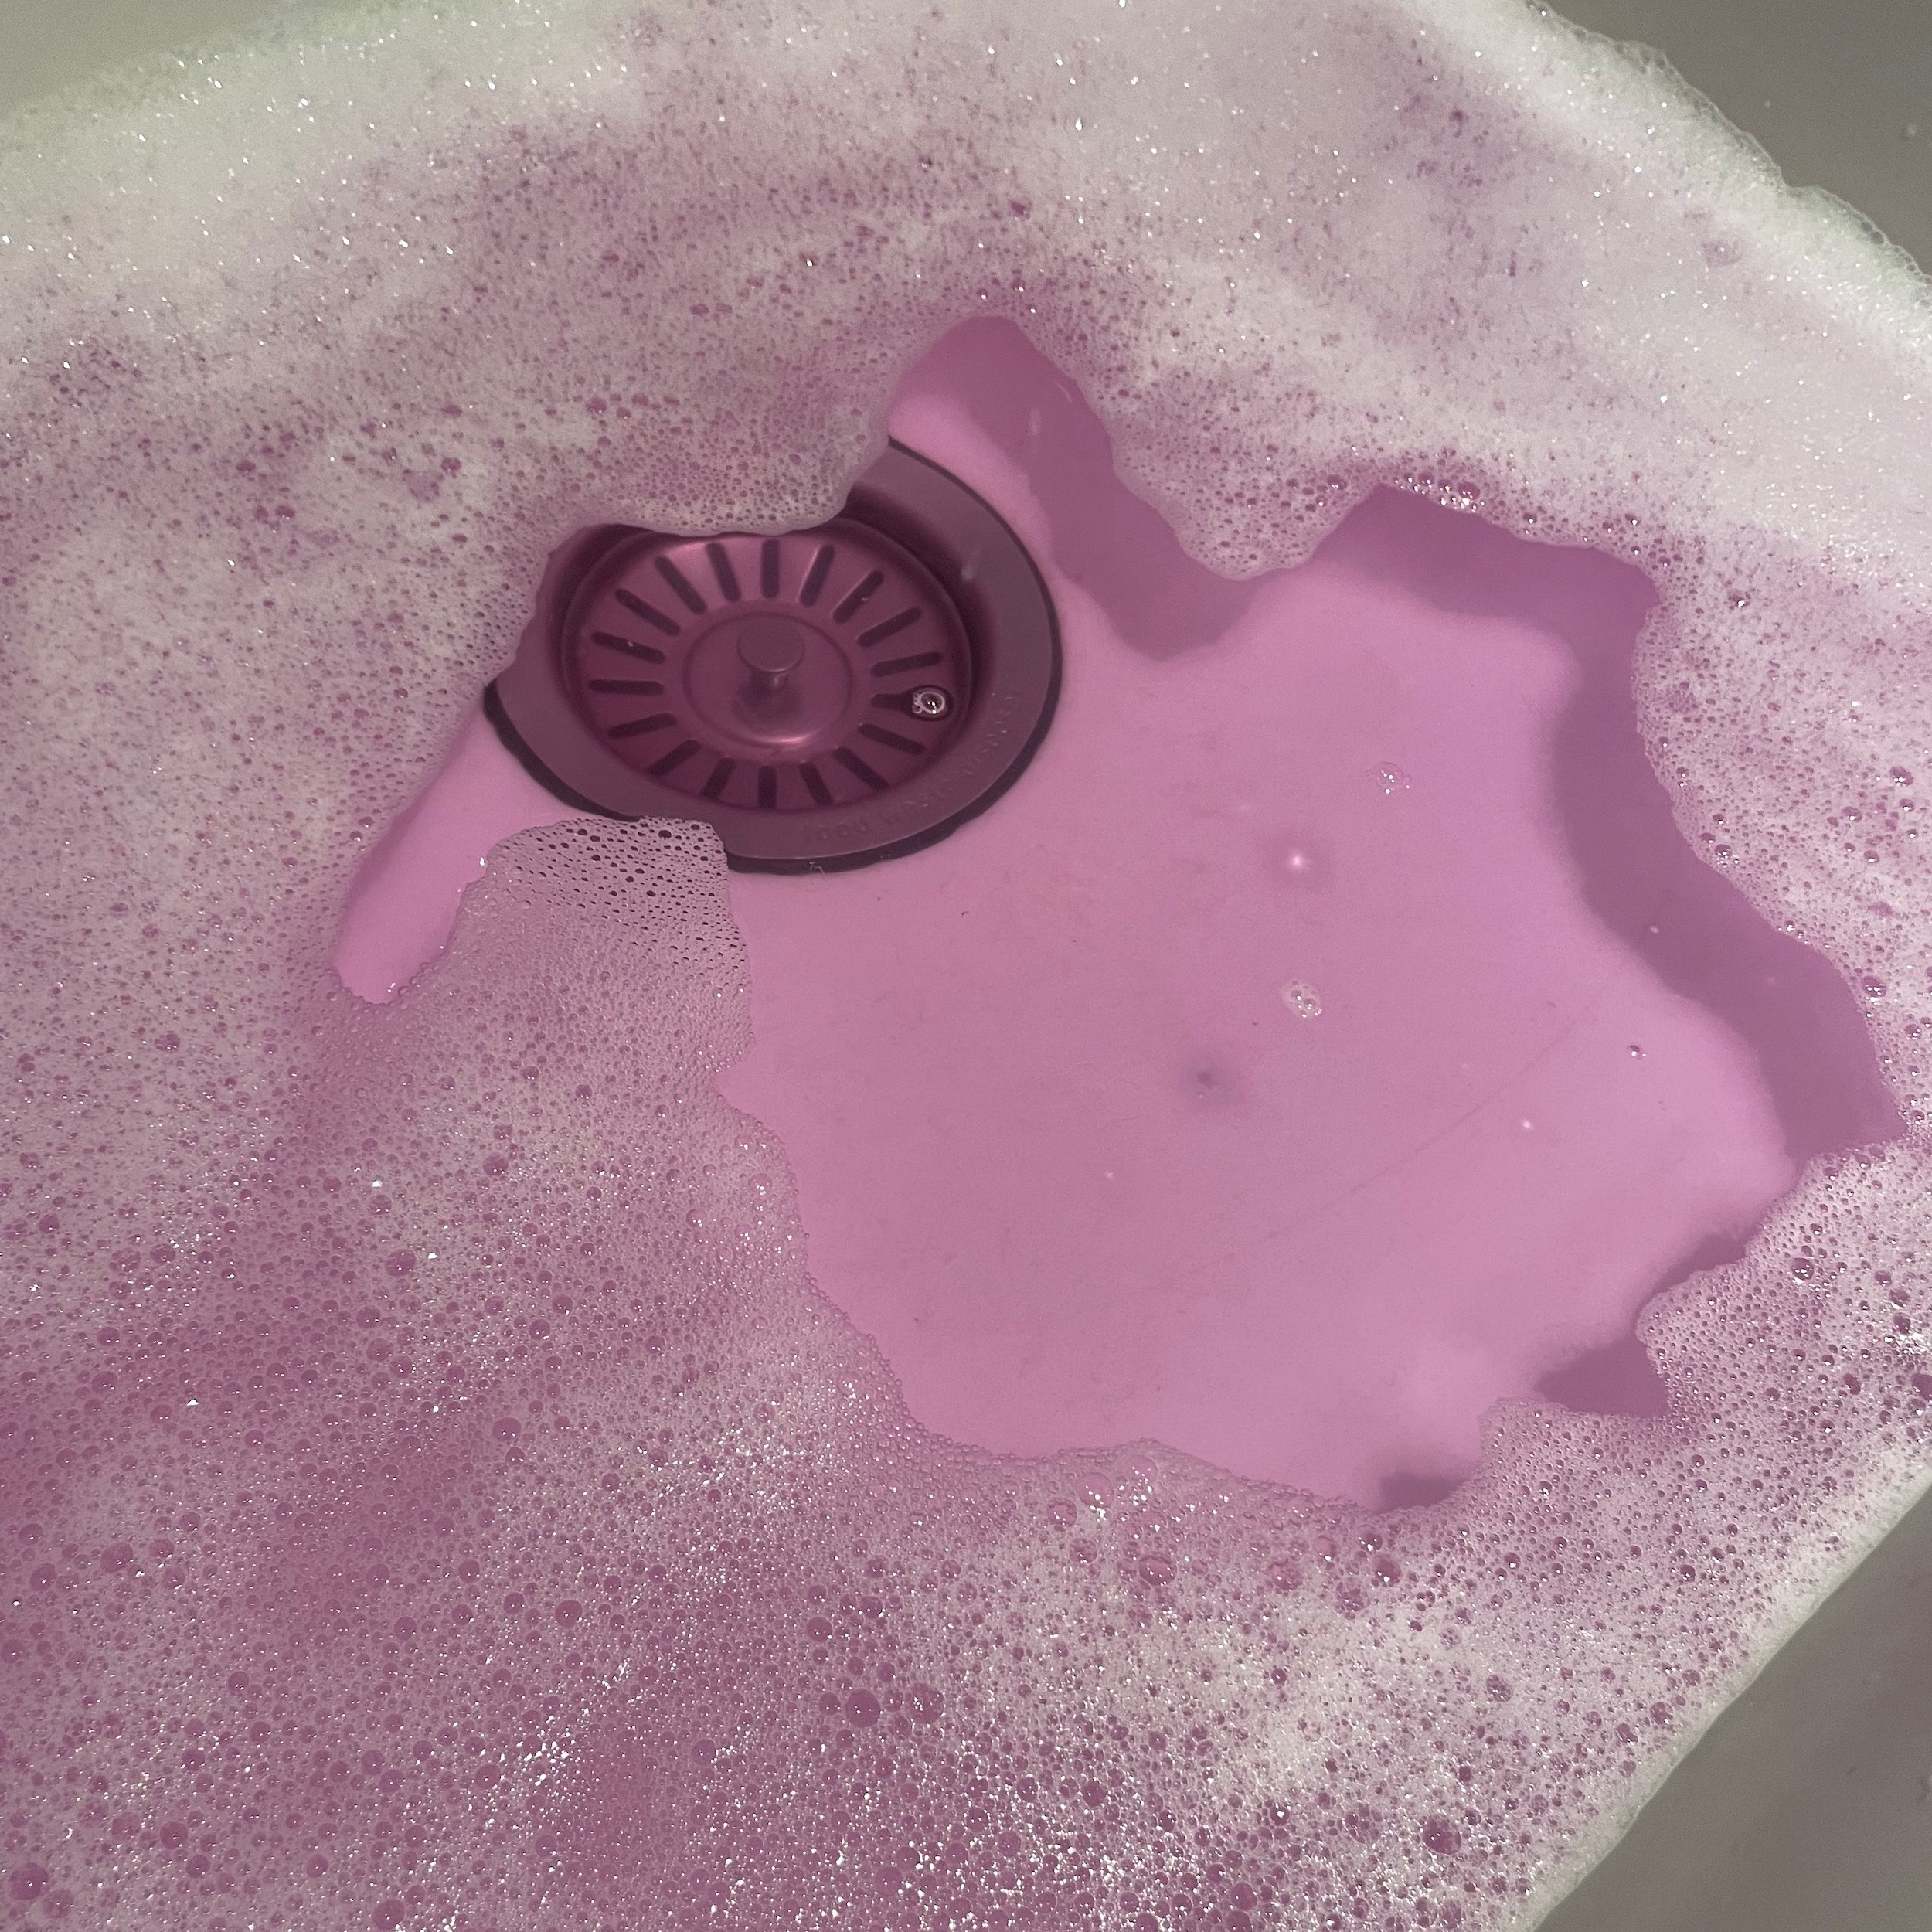
I filled my spray bottle with warm, but not hot, water. It just about feels warm to my hands, and is cooler than a baby’s bath.

I’m going to give it a good spray so it’s well saturated. It won’t be as fully wet as it would be if I were wet blocking, but I still need it to be wet enough to behave.
My spray bottle has two modes – spray, and stream. I used spray.

After giving it a spray I was a little concerned about the puddles on my blocking mat, so I grabbed a tea towel and patted it dry a bit. Just to help it get started.
Much better.
Let it Dry
5. Walk away and wait
The hard part again! Leave it somewhere safe and let it dry. Depending on how large and how wet it is, it could take anything from a few hours to a few days.
You’ll know it’s dry when it no longer feels cool to the touch.

6. Take it up
When it’s ready, remove any blockers / pins / wires and lift it up off the mats. You’re done! Time to take some photos and brag on social media.
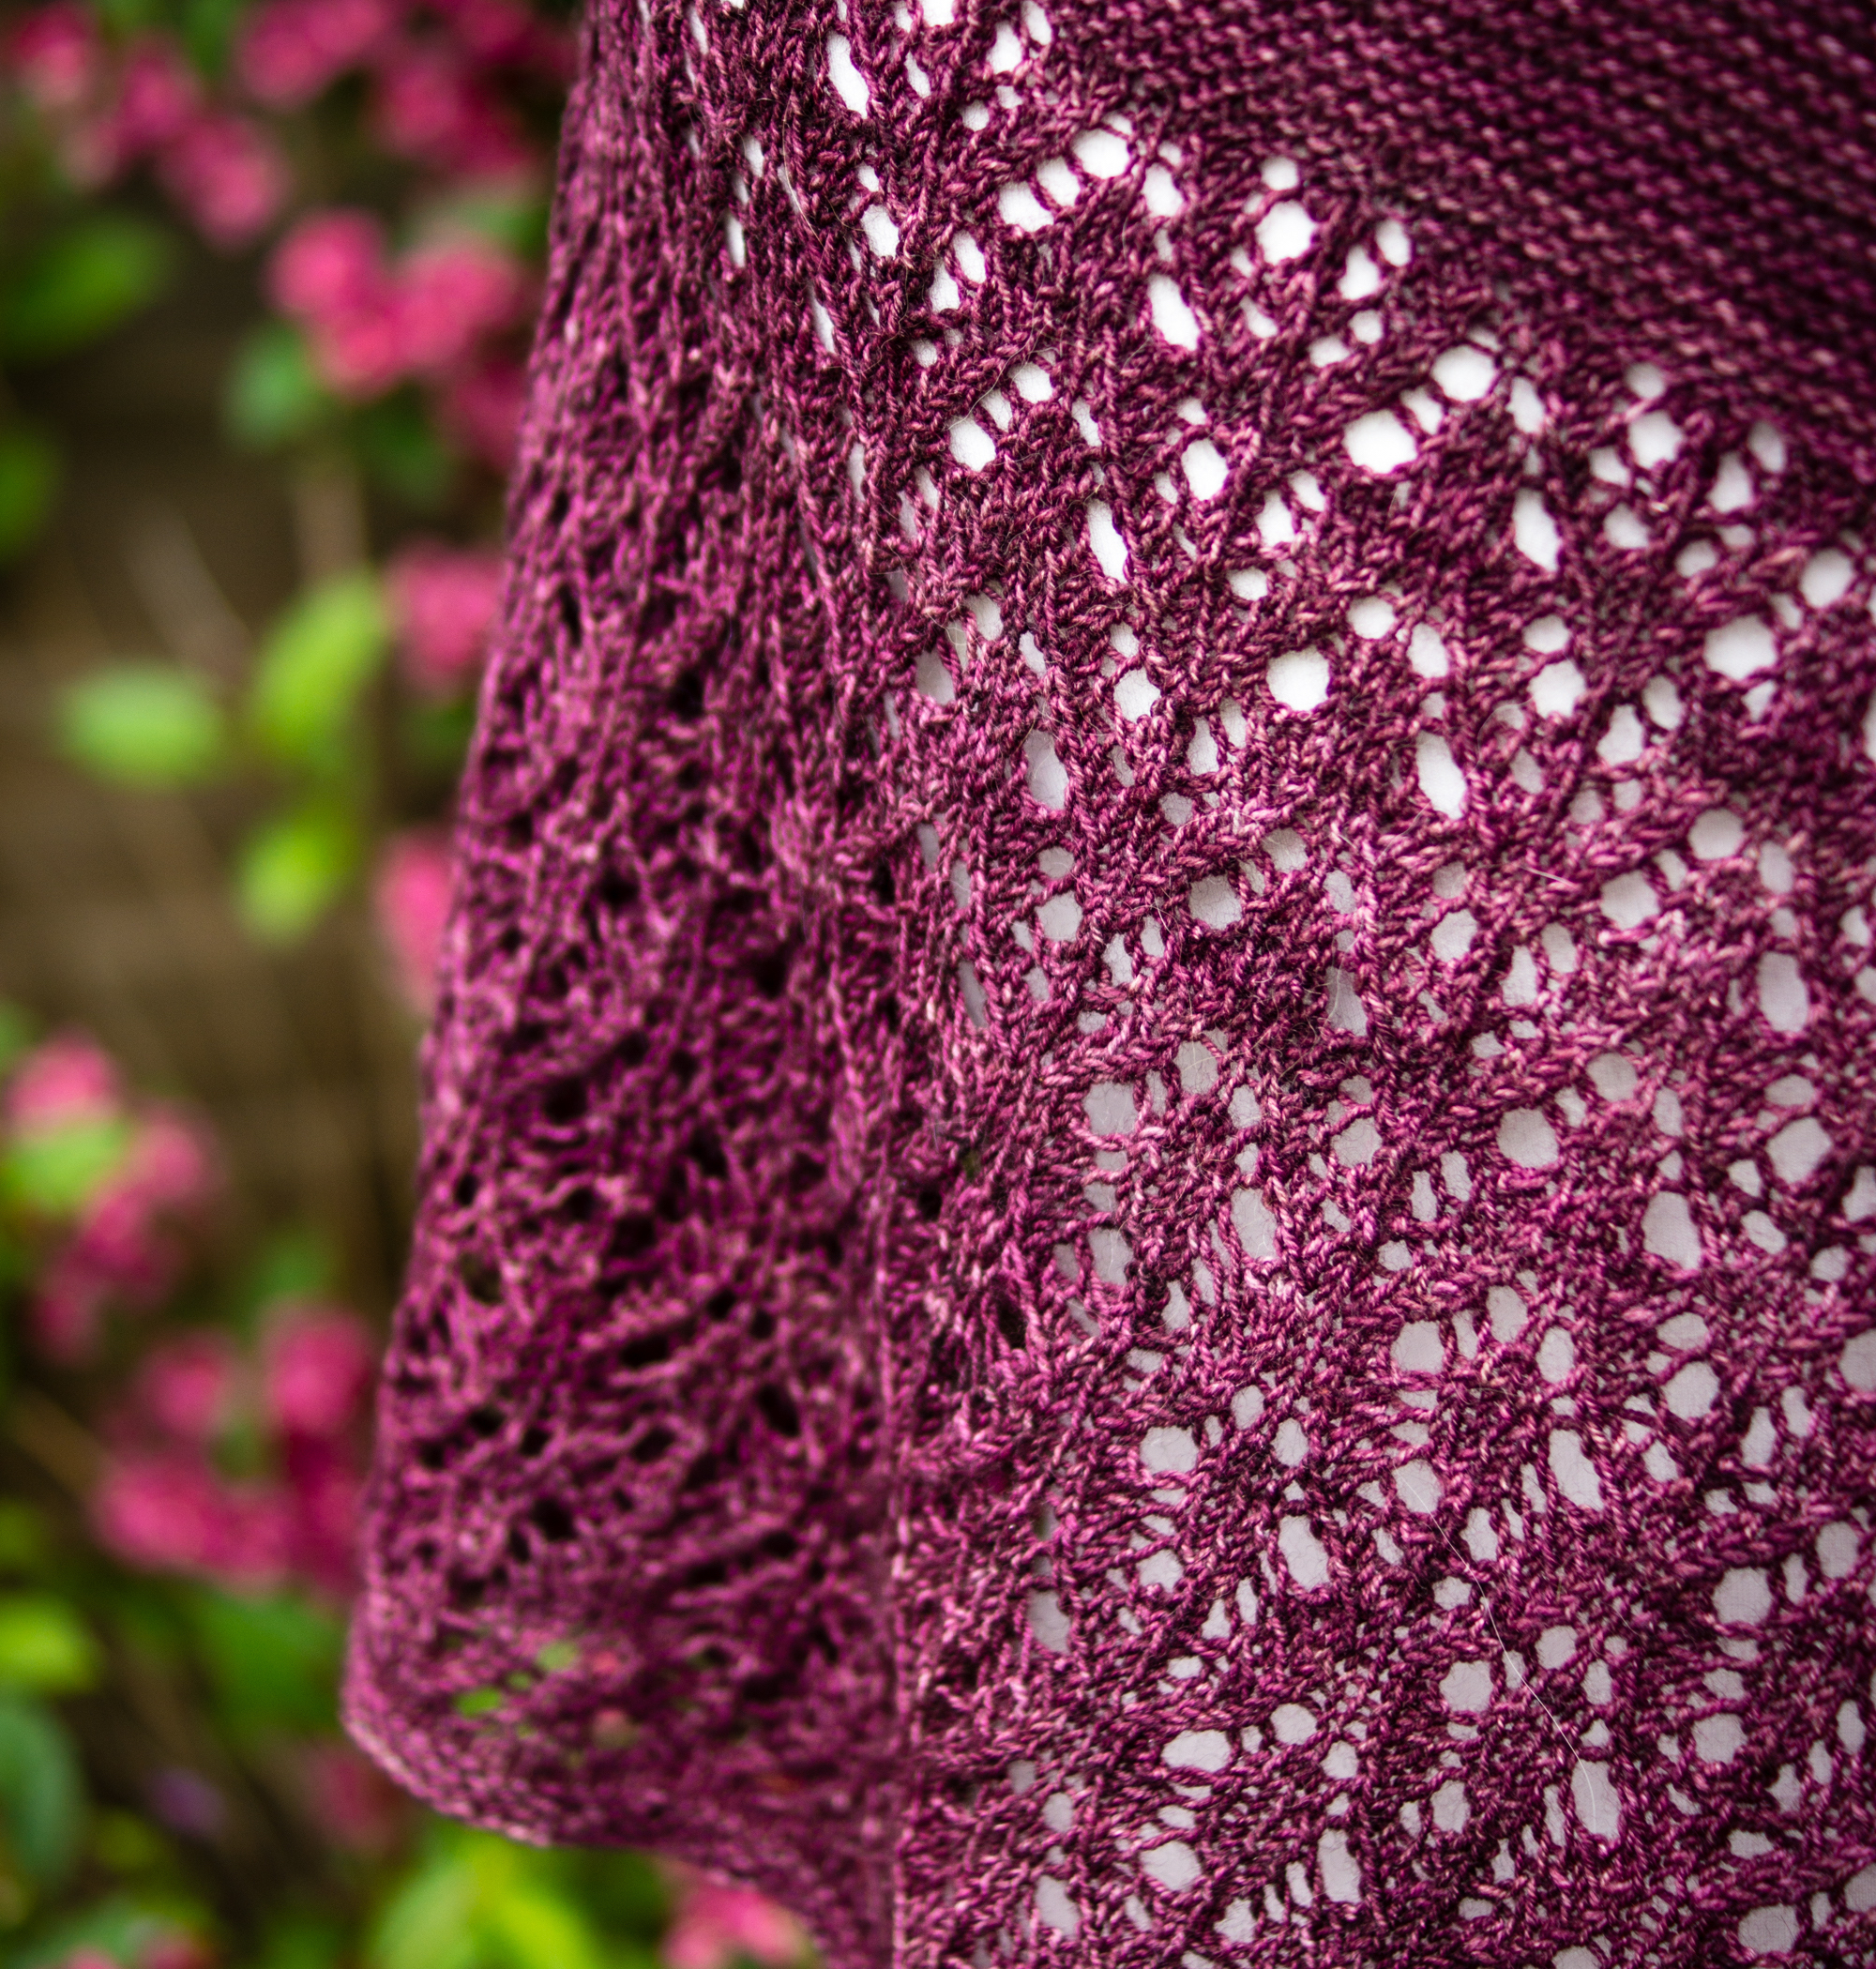
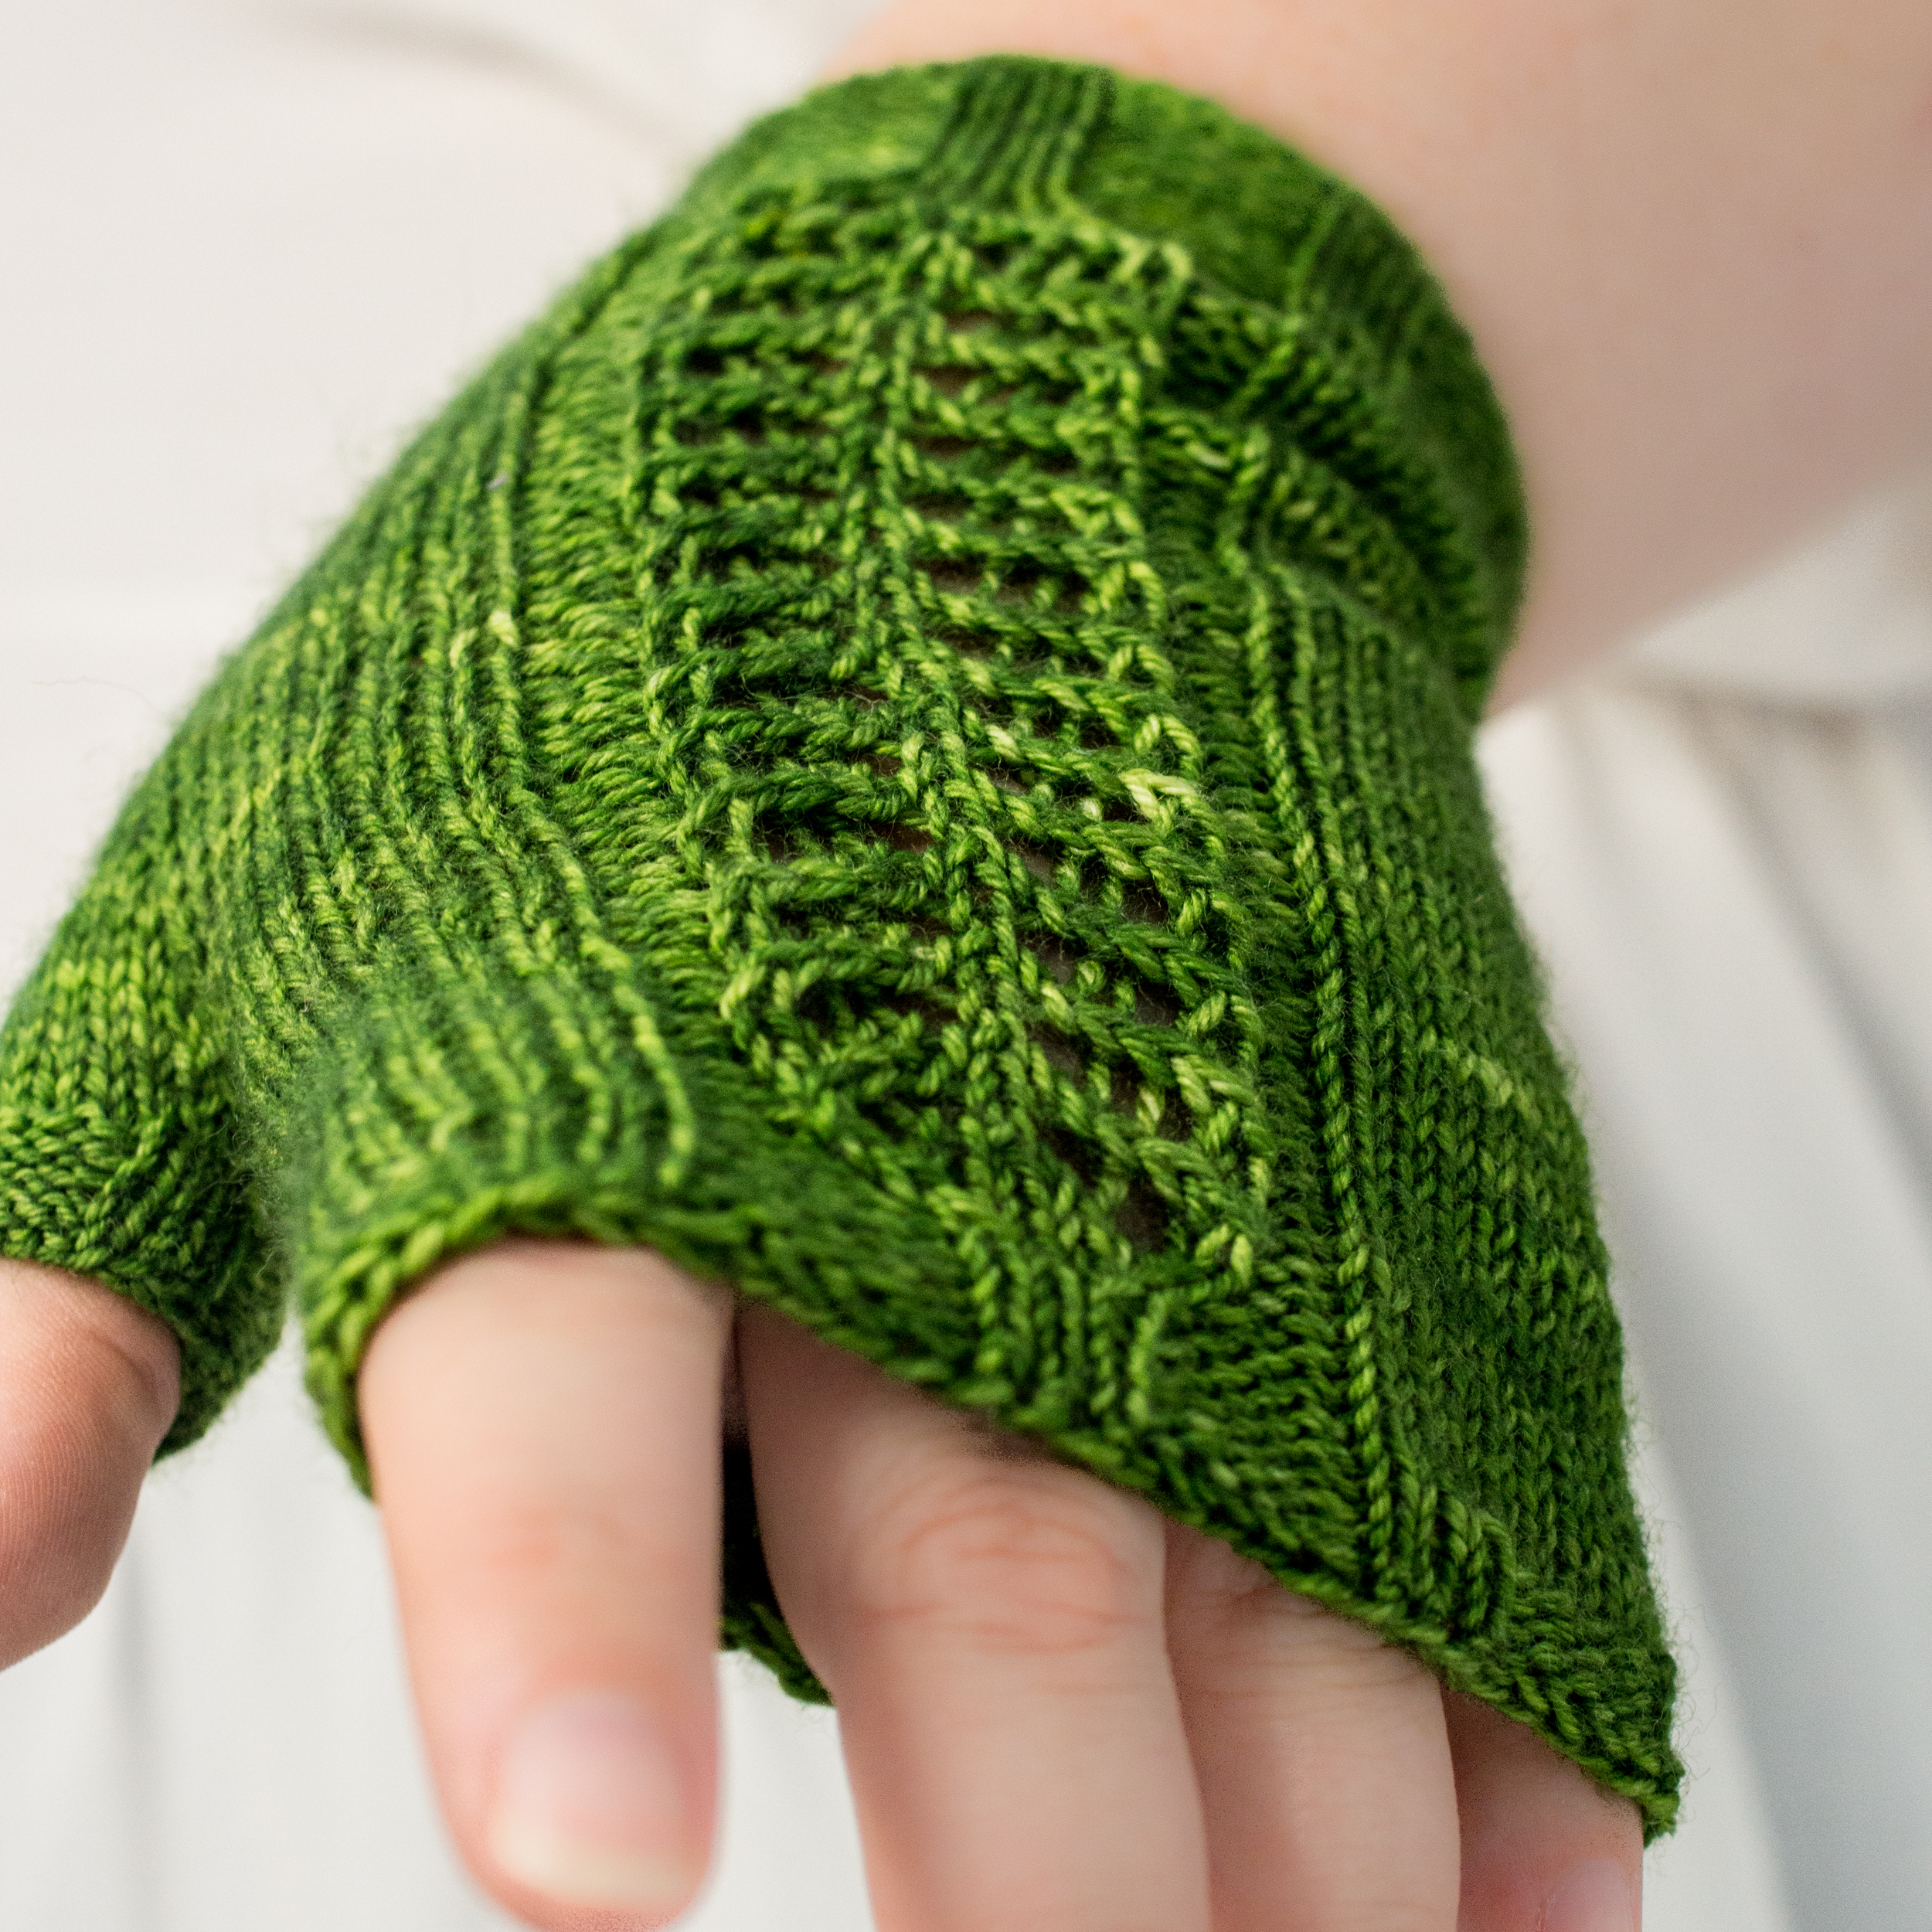
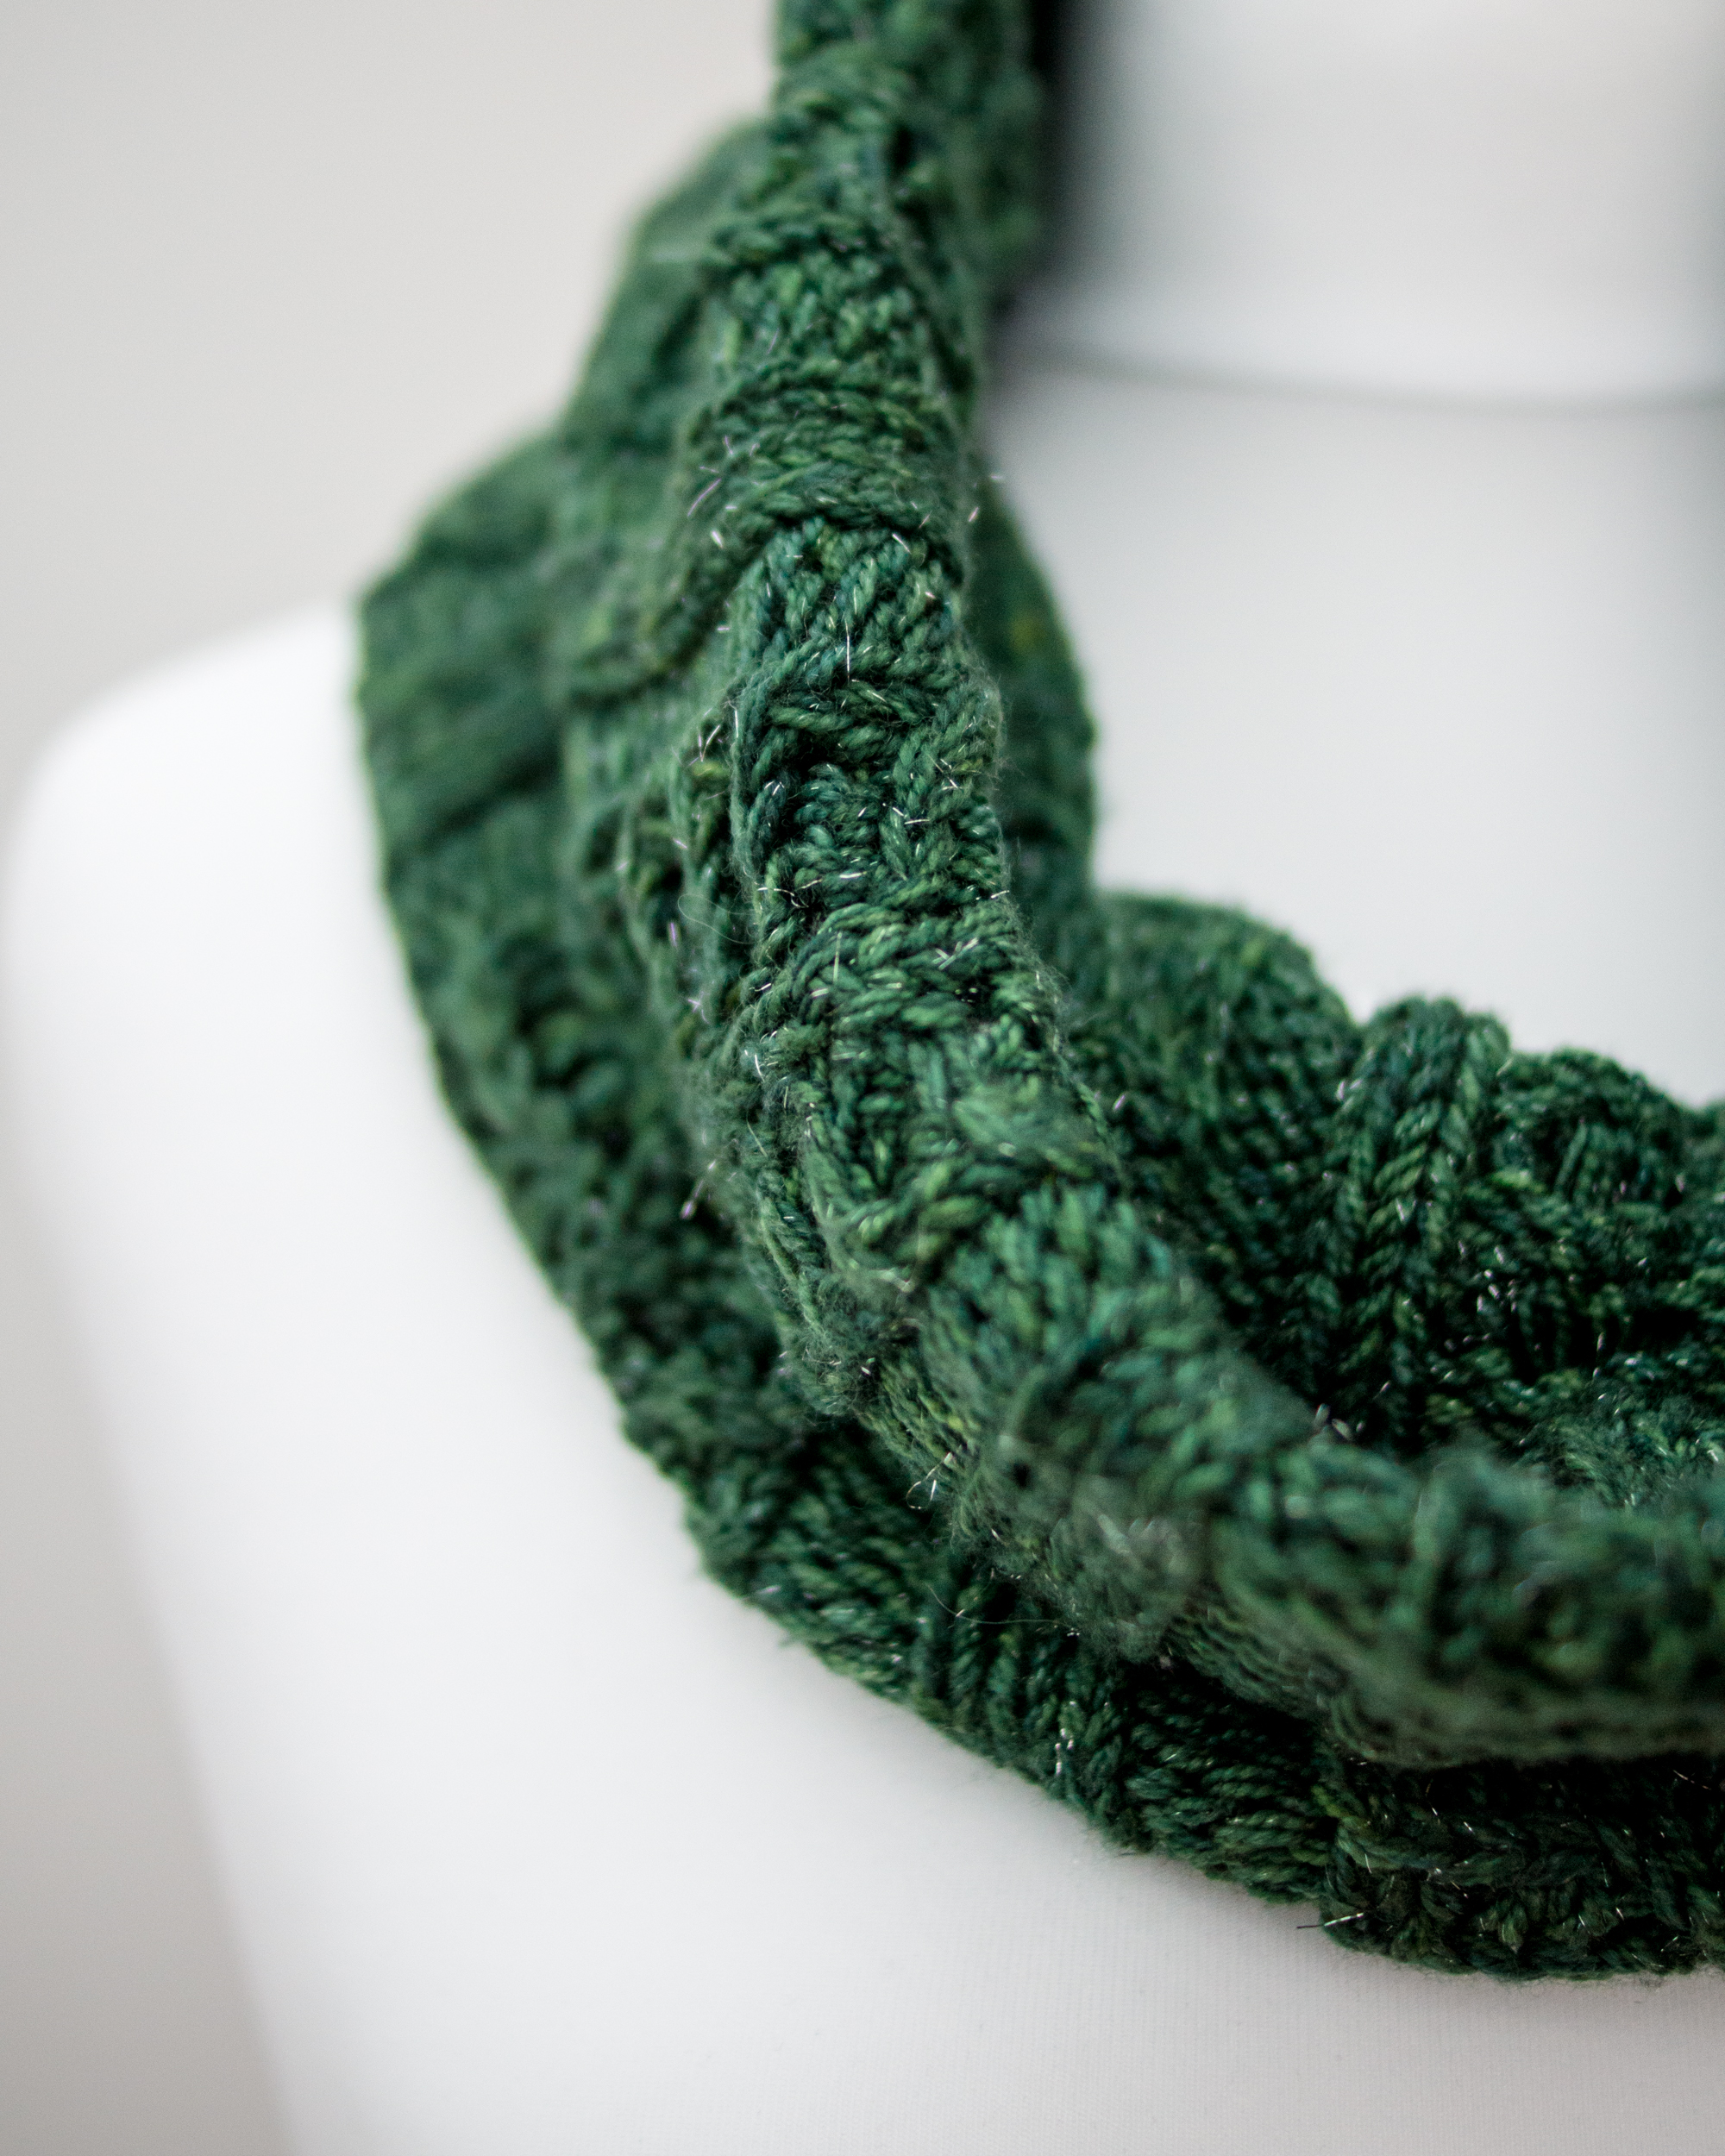
Lace Patterns
Lace is transformed by blocking! Take a look at some of my lace patterns below.


If this free guide helped you, please consider buying me a coffee.