


The Experiment
This week in part 2 of the Yarn Bleeding Experiment, I’m going to explain the experiment itself.
If you haven’t already, you can head back and read Part 1 using the links below.
Jump Links
Part 1: Introduction
Part 2: The Experiment
Part 3: Round One – Temperature
Part 4: Round Two – Wool Wash (Soak)
Part 5: Round Two – Wool Wash (Eucalan)
Part 6: Round Two – White Vinegar
Part 7: Round Two – Washing Up Liquid
Part 8: Round Three – Colour Catcher
Part 9: Results & Conclusion
When we want an answer to a question, it’s important both that the question is well-formed, and that the method we use to test it is consistent, logical, and robust.
So, when I ask the question “how do I stop my yarns from bleeding”, I need to find some specific things that I can control – called variables – and work out how to test them.
That’s what I’ve done in preparation for this blog series. I’ve isolated the three key things that can be controlled during blocking, and worked out how to test each one and compare it fairly to the other tests in order to see which things reduce or increase bleeding.
Once I have tested the different variables, I can look at all the results and tell you which combination of things is least likely to cause bleeding.
You’ll also be able to look at all the results and work out what the best option is *for you*. This is important; I know that the best case scenario isn’t always an option for everyone, for a whole host of reasons, so I want you to be able to choose your best realistic option.
For example, I find handling cold, wet things to be really uncomfortable. So if it turns out that the best way to avoid bleeding is to wash at 10C, but 30C is almost as good, I’m likely to stick with 30C rather than make myself uncomfortable for most knits and only go down to 10C for colourwork or high-risk projects.
I consulted with a selection of professional scientists when putting this together. Of course I don’t expect this to be robust enough to be of a professional standard, but I did want this experiment to be rigorous enough to be useful. I also want everyone to be able to follow it, which is why I’ve written it up twice: once in a technical document using Proper Science Terms, and once here on the blog.
My Theories
Formally known as a hypothesis, each of these theories is something I’ll be testing.
1: Hotter water in the blocking bath means the yarn bleeds more
2: Using wool wash, white vinegar, or washing up liquid to the dye bath means the yarn bleeds less
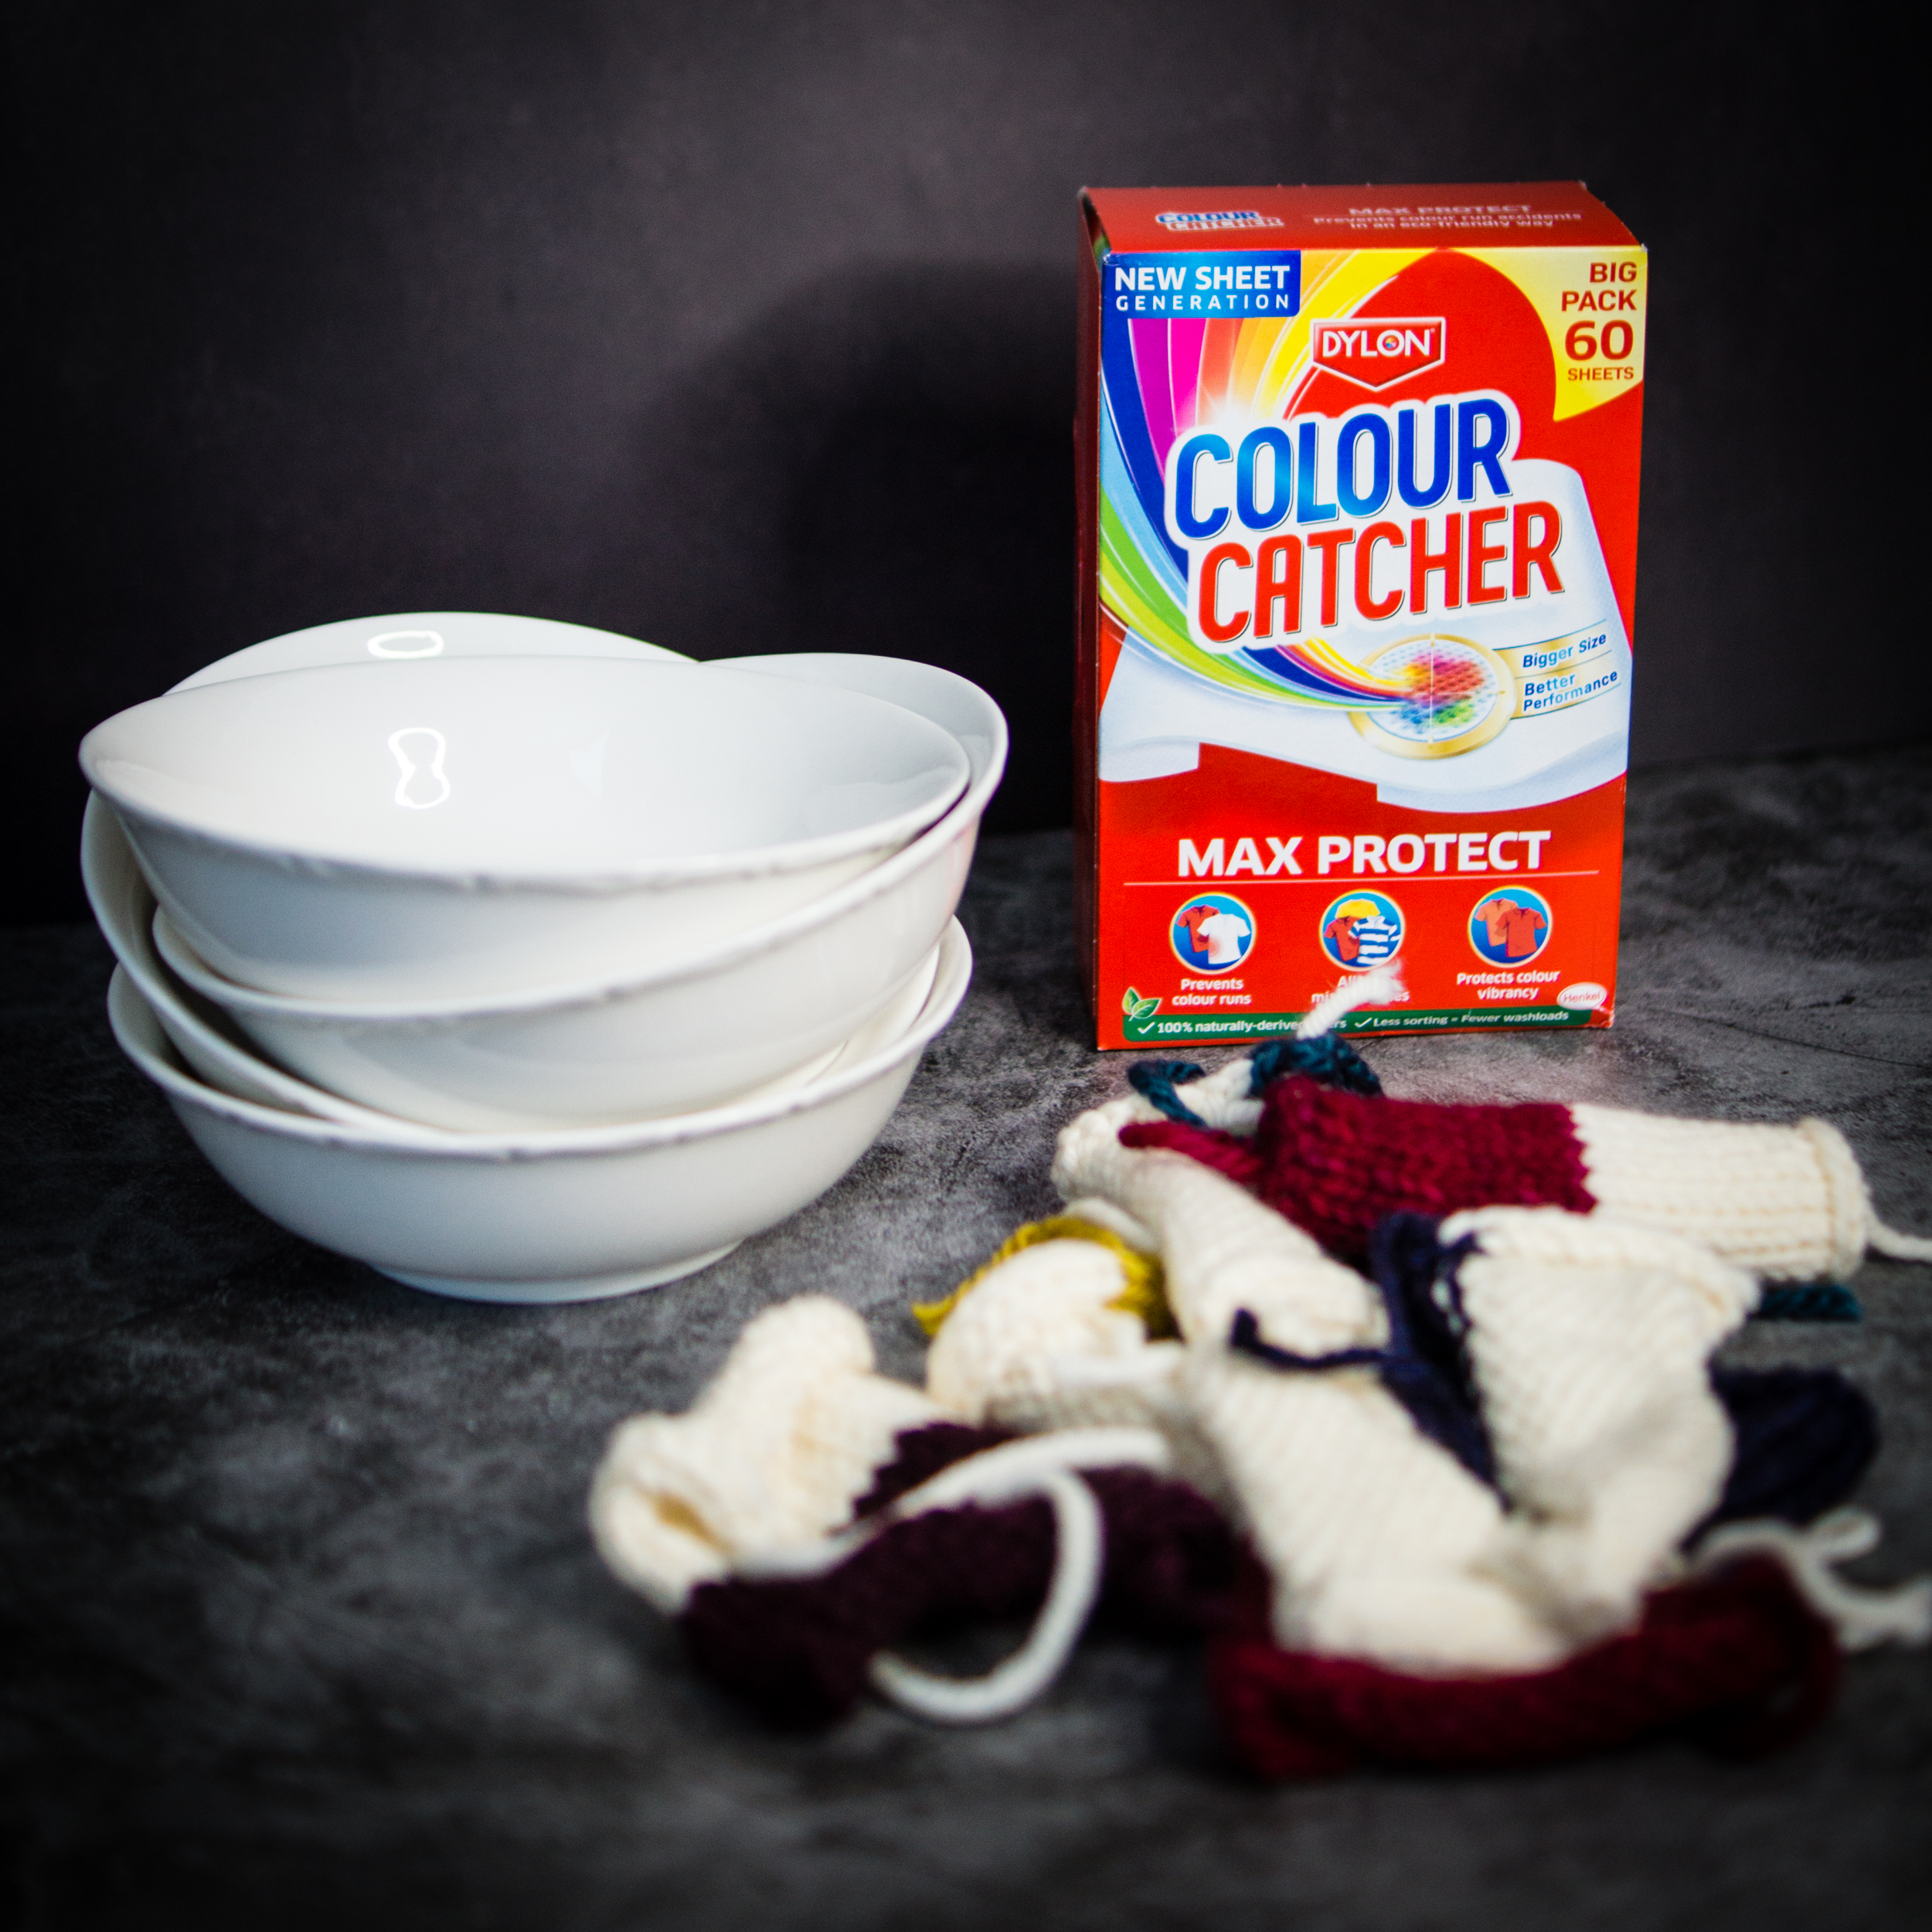
3: Adding a colour catcher to the blocking bath will soak up any dye in the water
I’ve split the experiment up into three rounds, one testing each of these hypotheses.
I’m also going to test each hypothesis on five different colours of yarn. This is because some colours seem to bleed more readily than others, and while that’s not something you can change once you’ve knit your project, it is useful to know.
When testing a hypothesis, it’s important to have something to compare it to. This is called the control.
It’s also important to make sure the only thing different between your test and the control is the thing you want to test. This means that in Round Two and Three, the temperature must be the same. I’ll choose whichever temperature from Round One gives me the most bleeding; this will give the wool wash / vinegar / washing up liquid the most opportunity to prevent bleeding in Round Two, and the colour catcher the most opportunity to absorb dye in Round Three, which should lead to clearer results. (If I used the temperature that created the least bleeding, there might not be any bleeding in Round Two or Round Three, and we wouldn’t learn anything!)
Let’s take a closer look at each round’s setup.
Round One: Water Temperature
For Round One, I’ll be changing the temperature of the water – 10C, 30C, and 50C. Everything else must stay the same:
- the amount of water each swatch soaks in
- the length of time the swatch soaks for
- the container that the swatch soaks in
- the colour of dye on the swatch
- the size of the swatch
- what’s in the water
I’ll do this by:
- using 500ml water per swatch
- soaking each swatch for 30 minutes
- using identical cereal bowls to soak each swatch
- using the same yarn from the same dyer in the same 5 colours
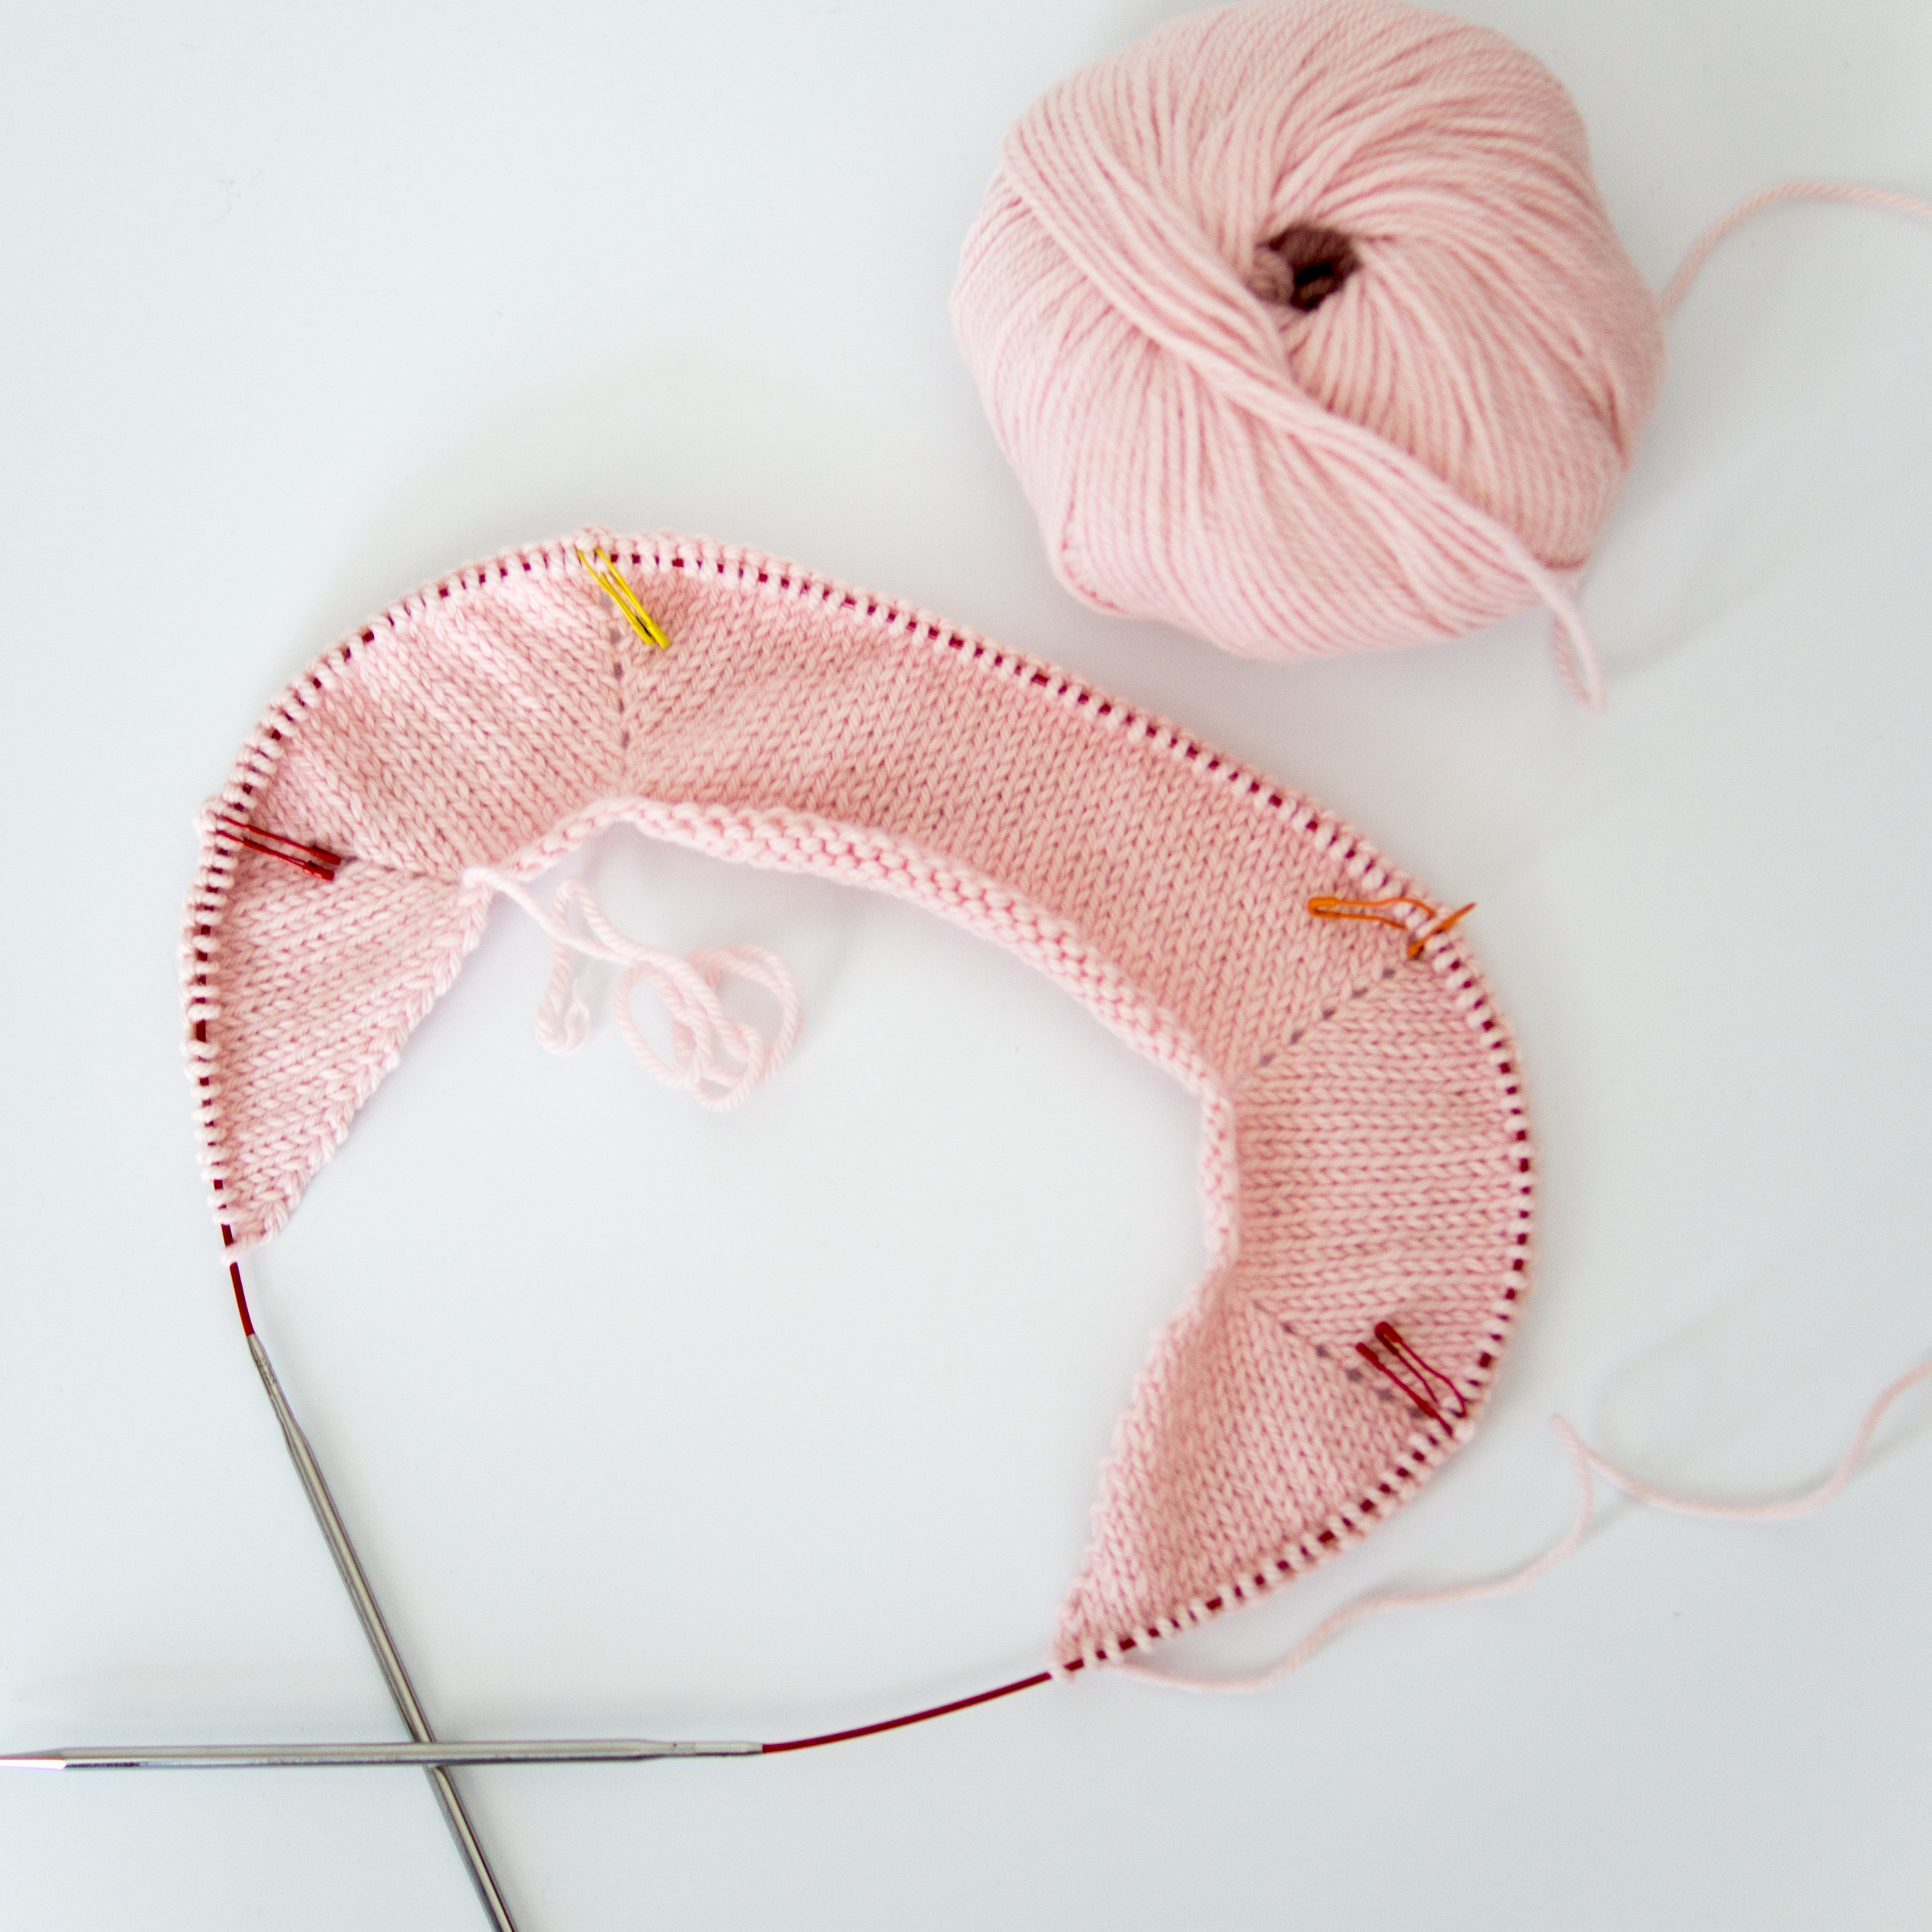
- knitting identical swatches
- adding nothing to the water
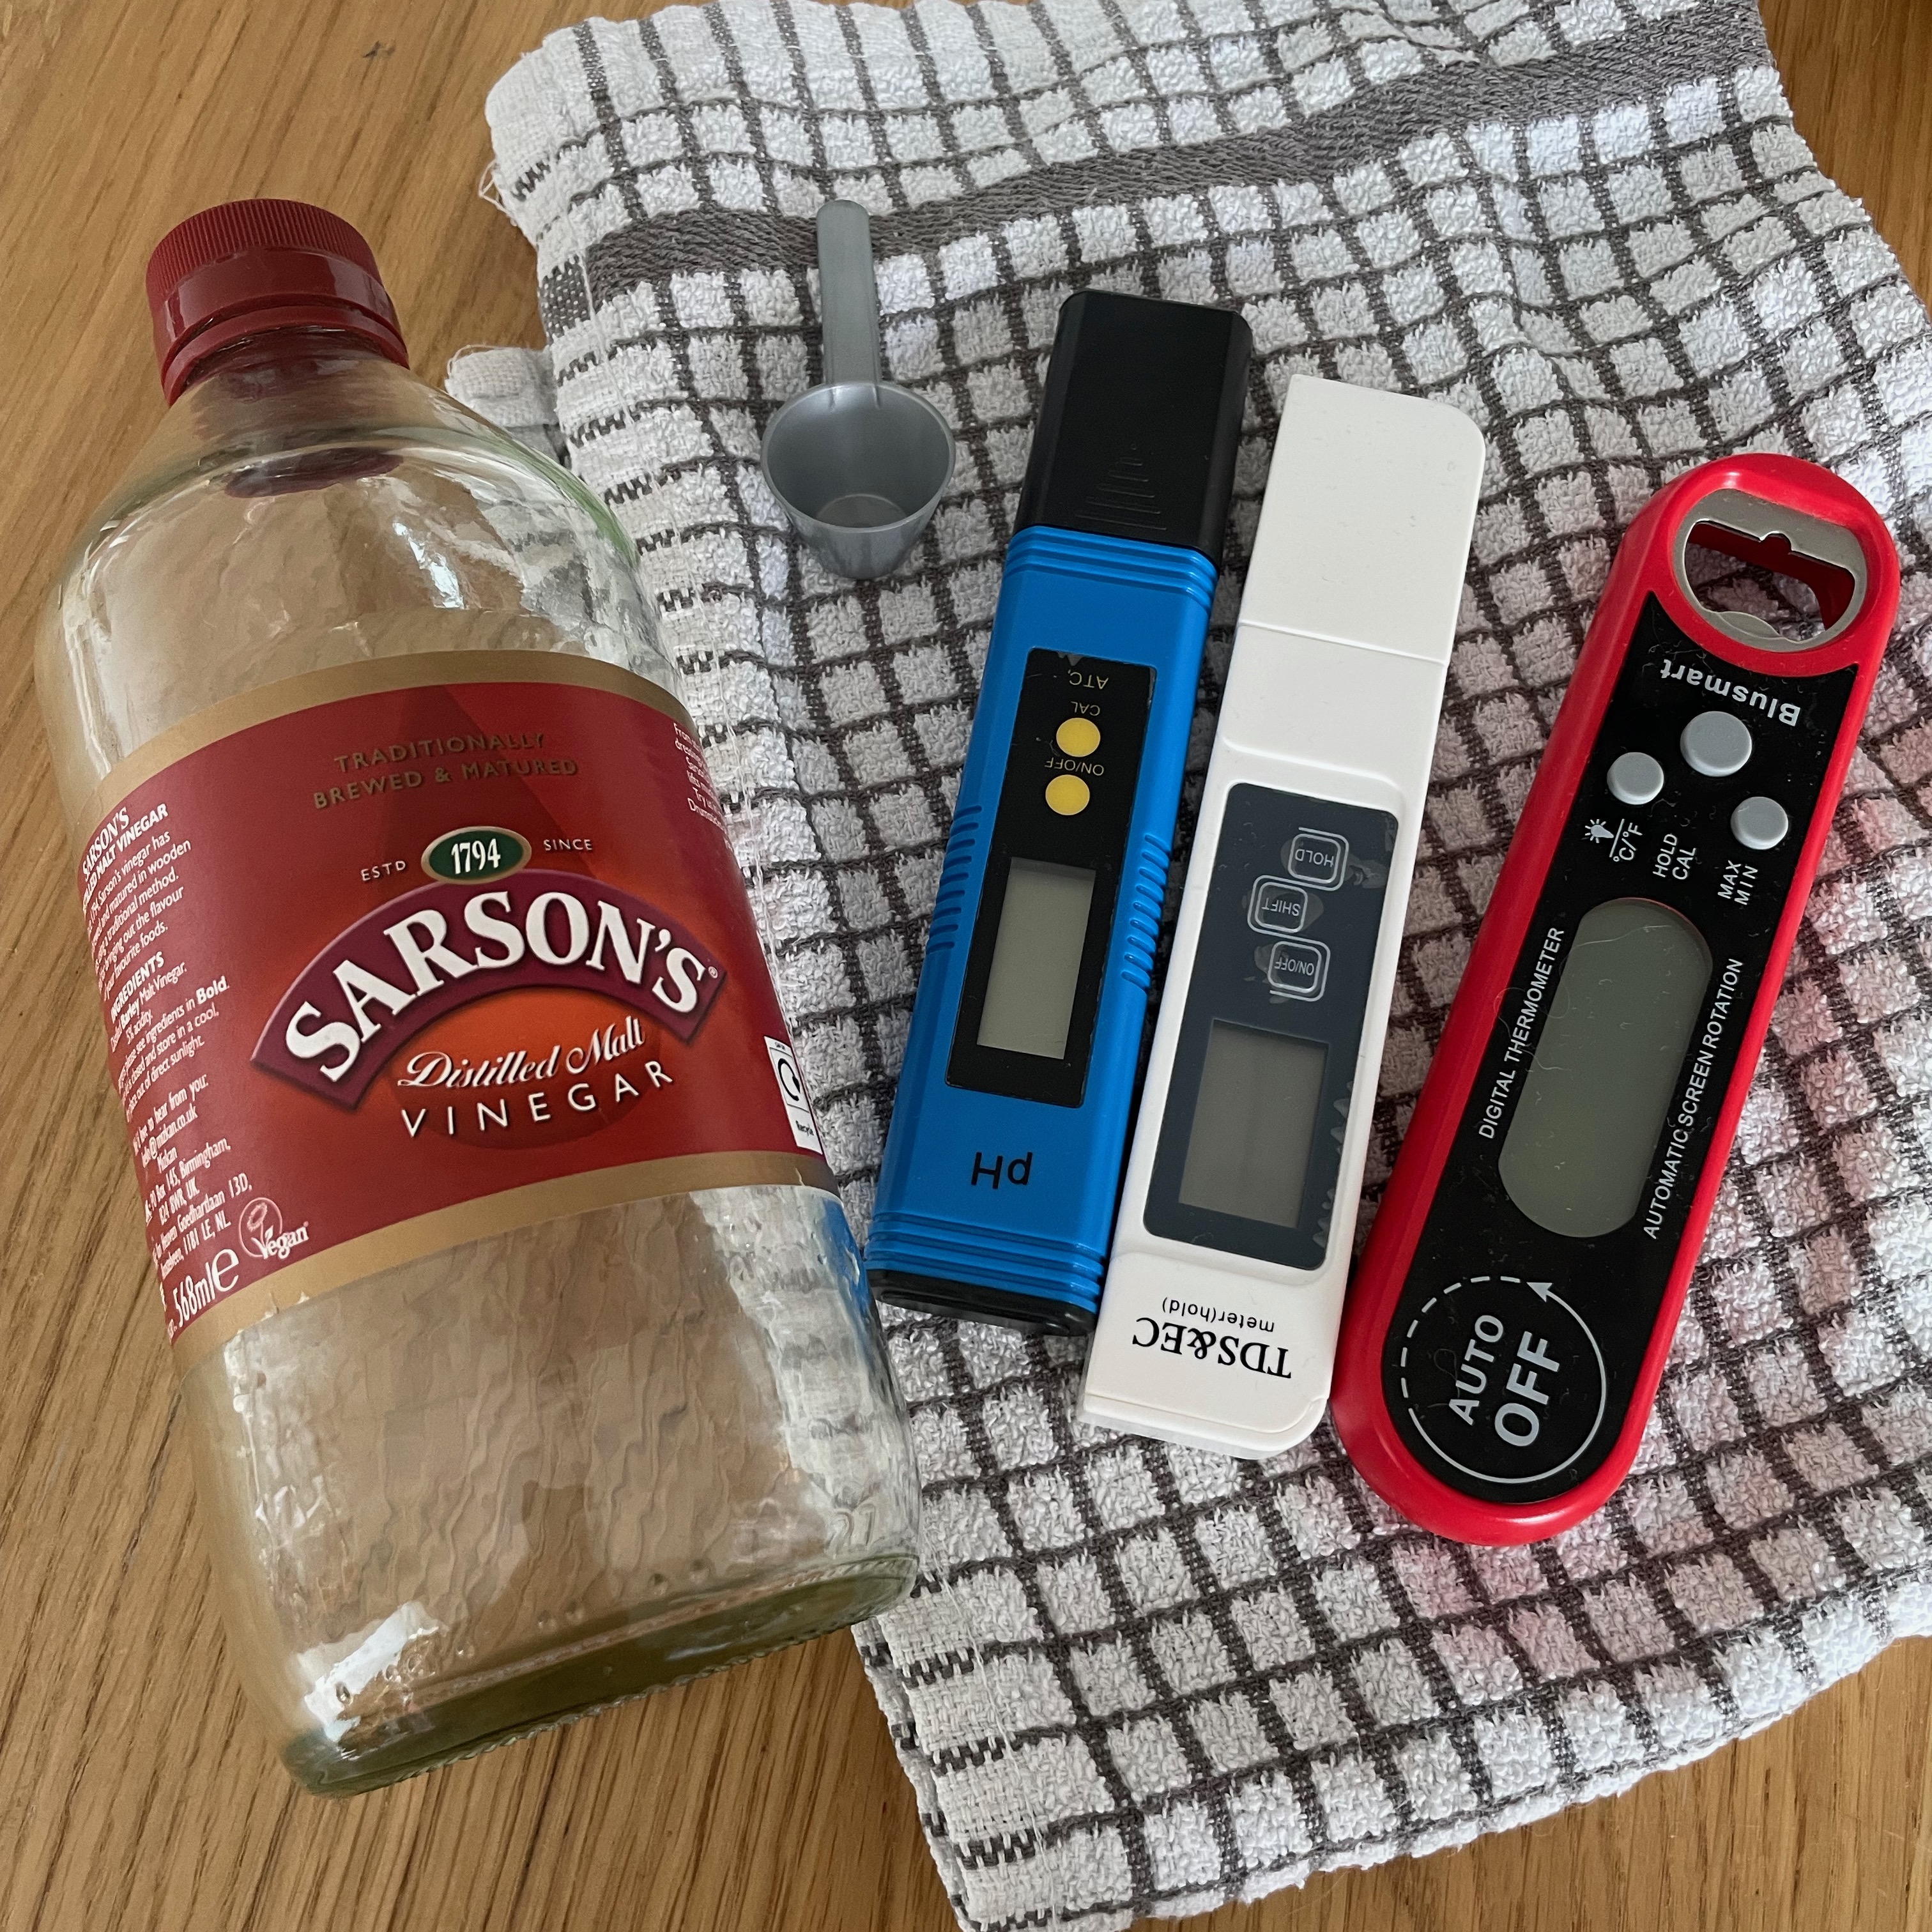
I’ll also be measuring some things that I can’t control, but which might affect the results:
- the water’s hardness
- the water’s pH
It’s also important that each swatch bath’s temperature is the same. To make sure that happens, I’ll mix 300ml water in a jug to the correct temperature, then portion it out between each of the 5 swatches.
Round Two: Adding Things to the Water
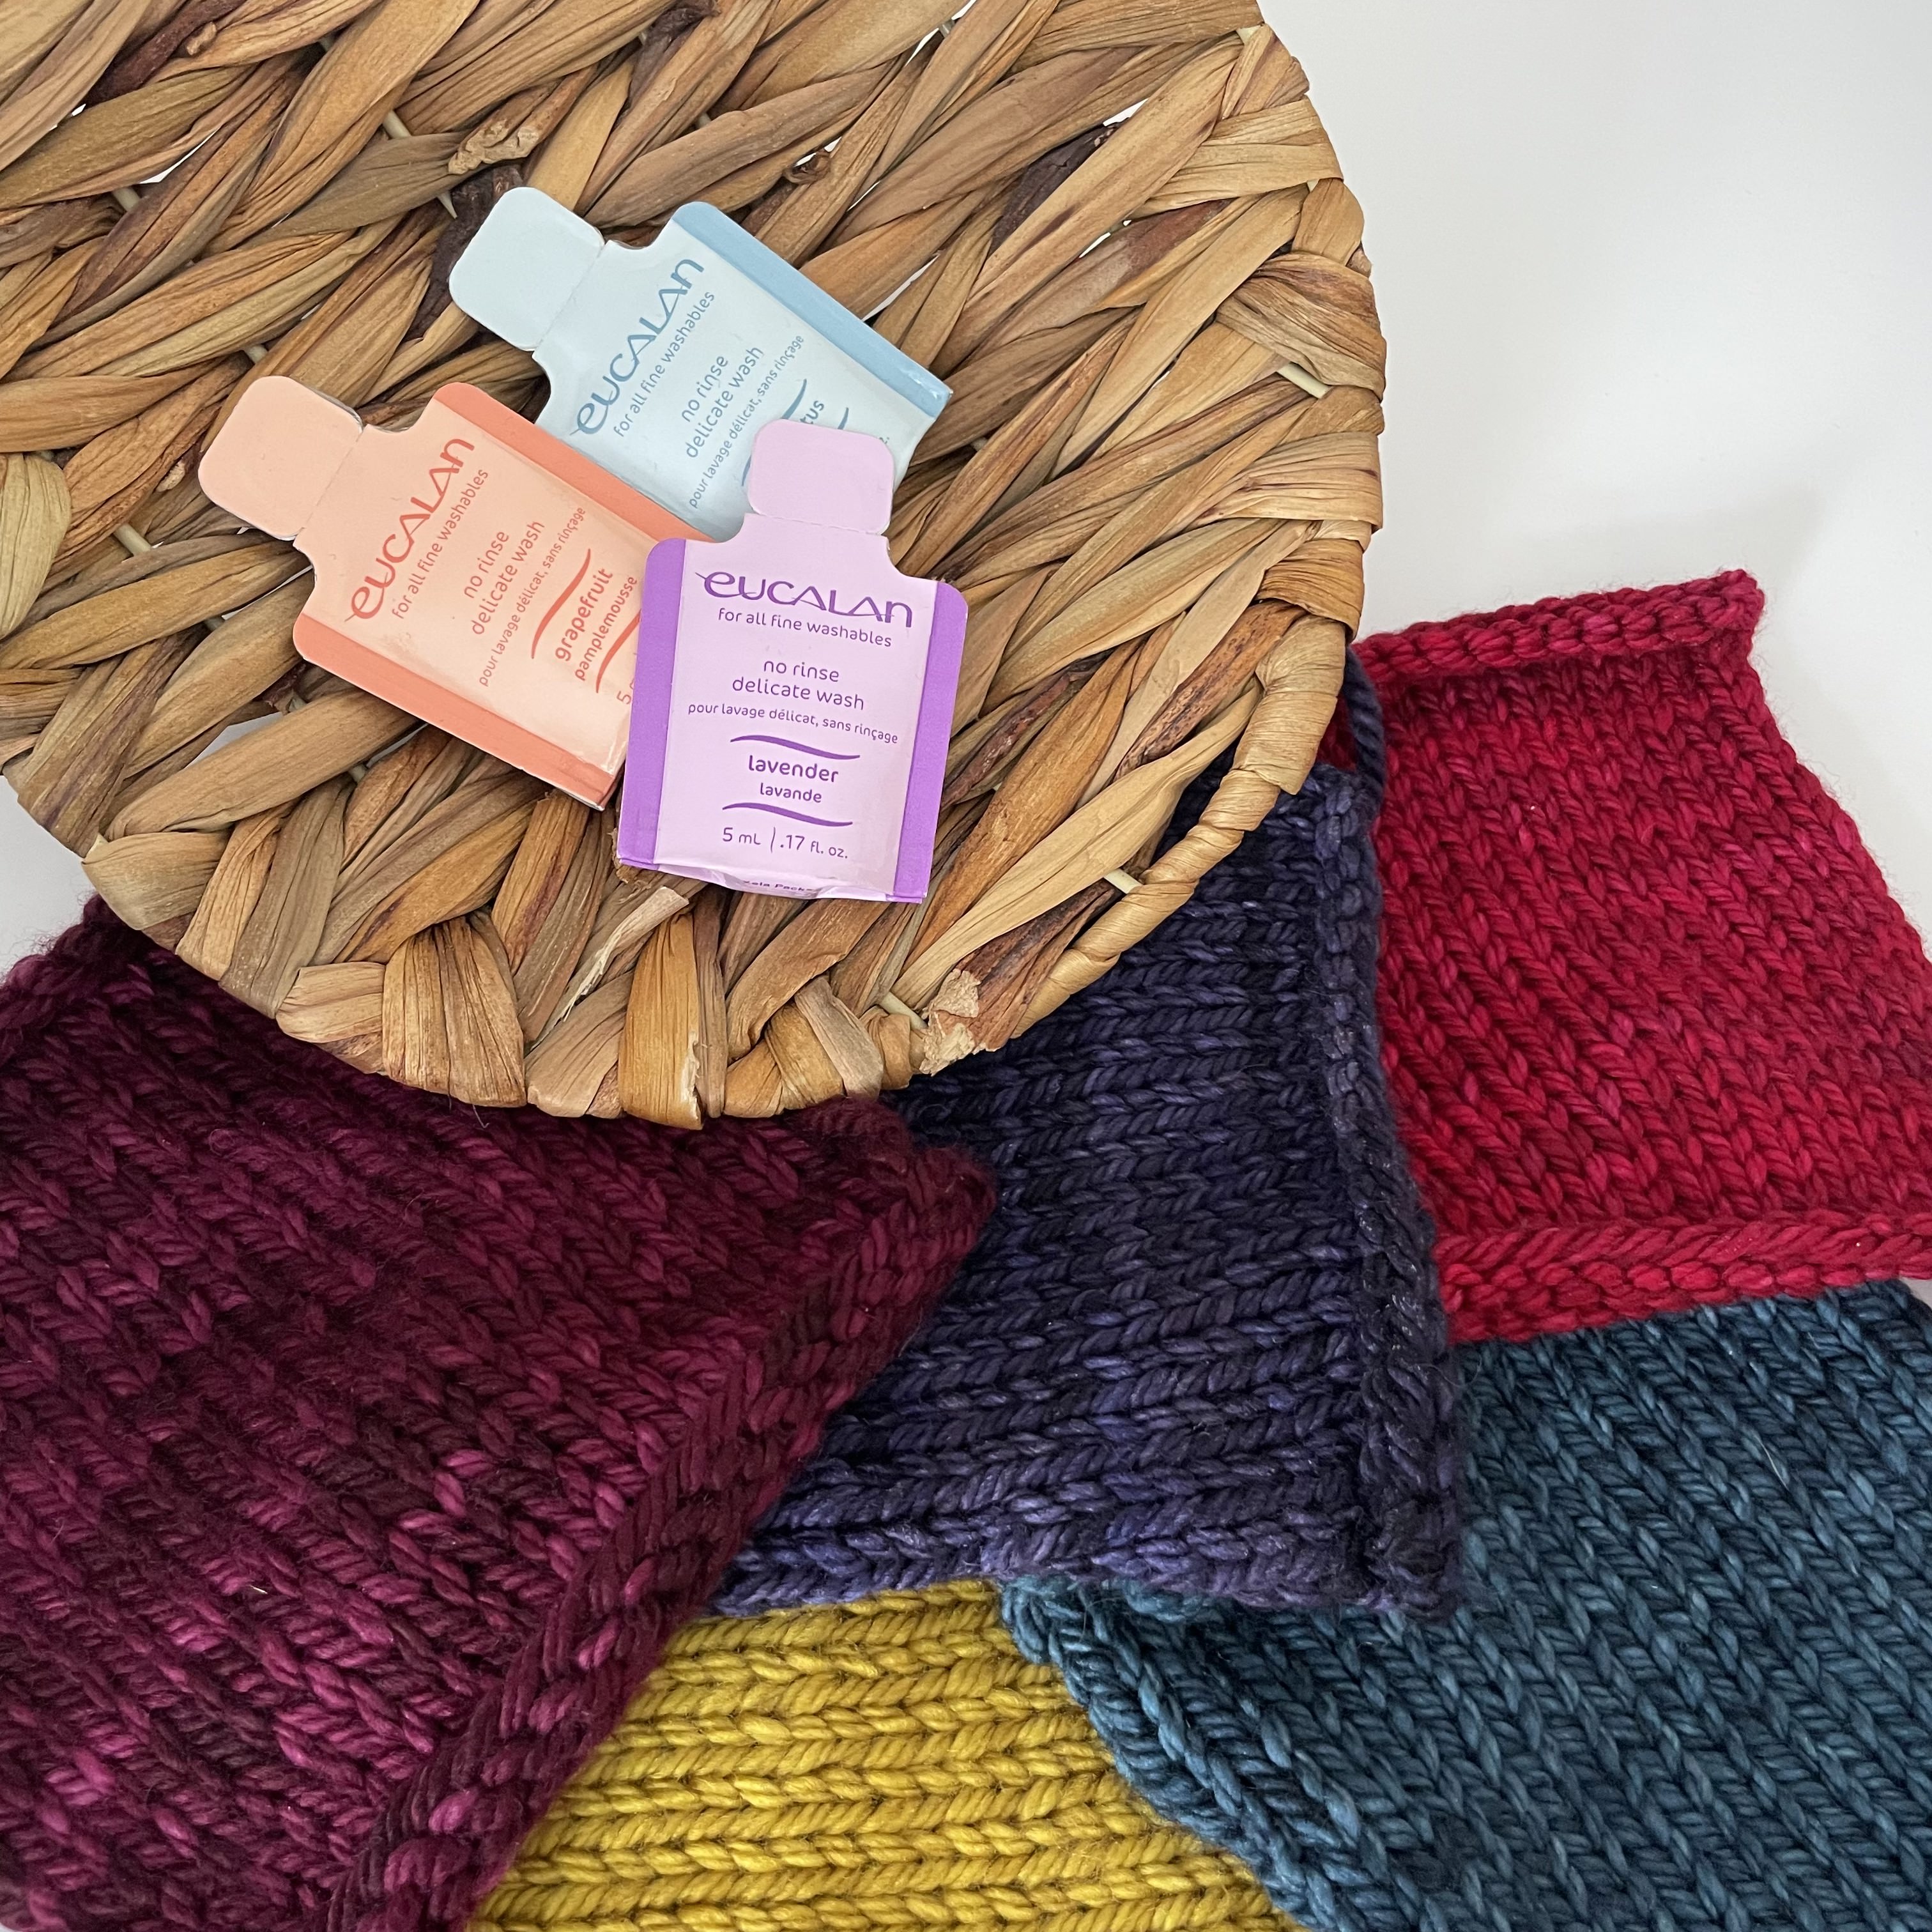
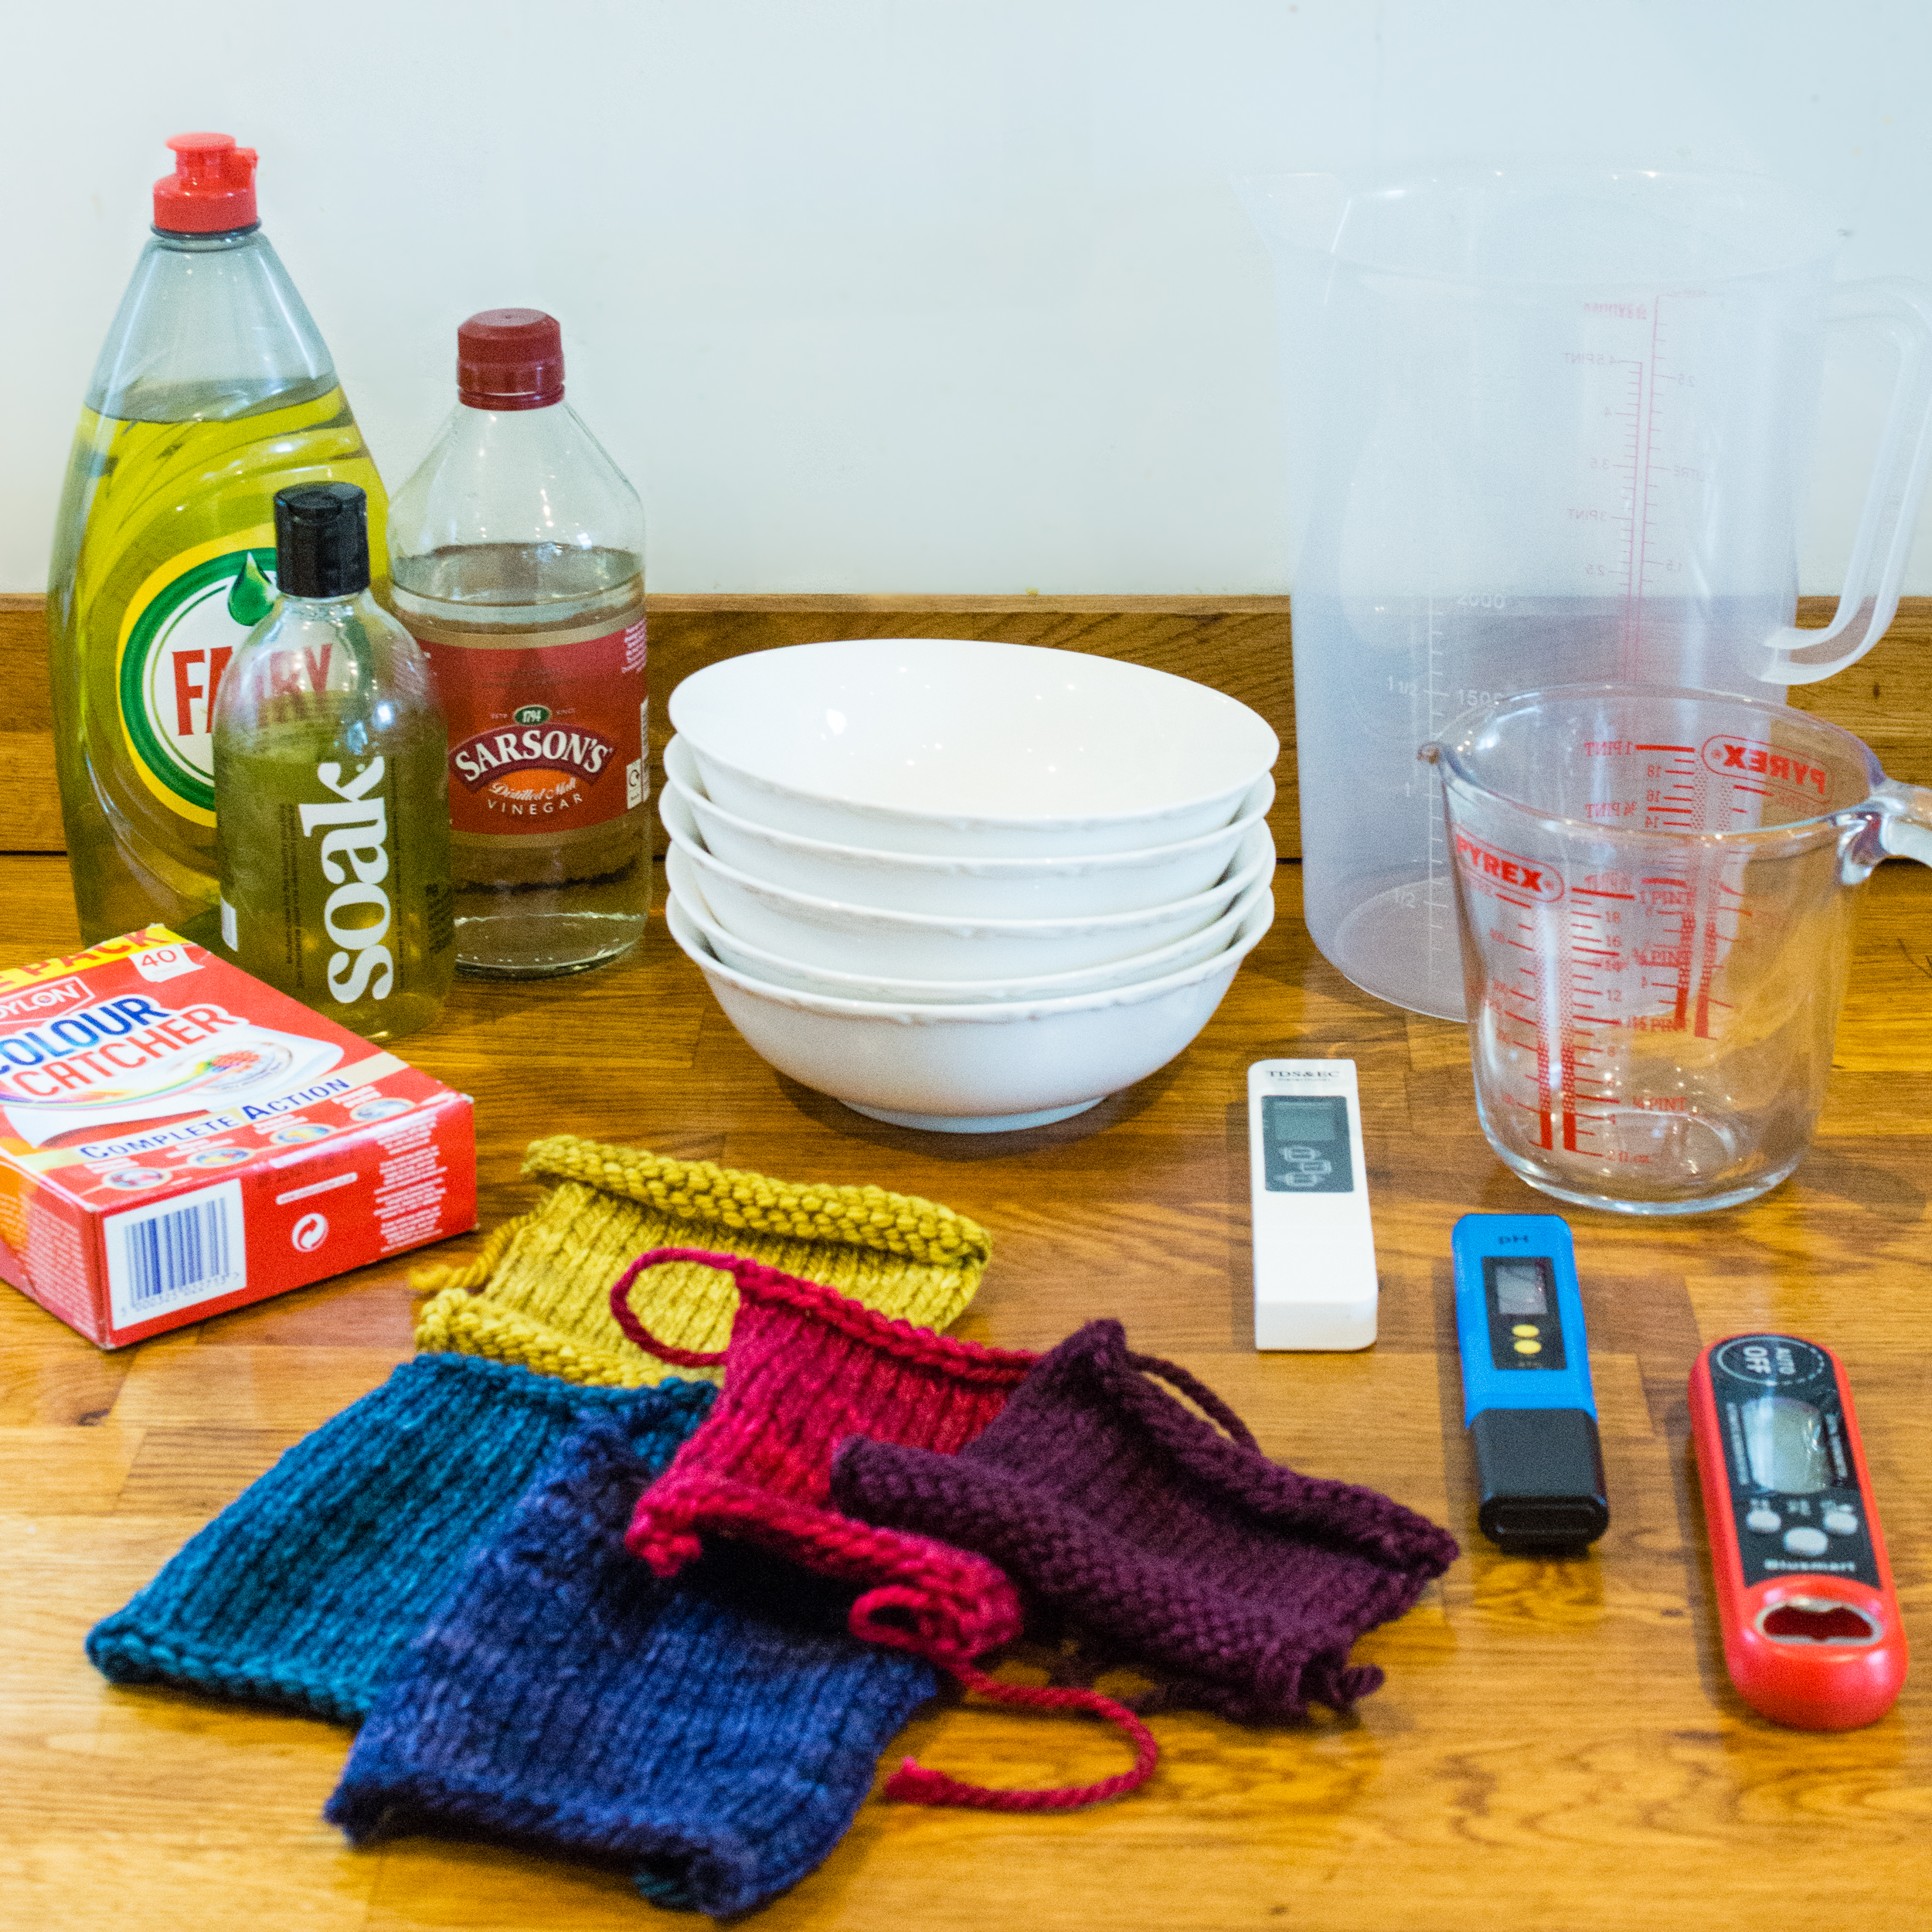
For Round Two, I’ll be changing what’s in the water – wool wash (Soak and Eucalan), white vinegar, and washing up liquid. Everything else must stay the same:
- the amount of water each swatch soaks in
- the length of time the swatch soaks for
- the container that the swatch soaks in
- the colour of the dye on the swatch
- the size of the swatch
- the temperature of the water
I’ll do this by:
- using 500ml water per swatch
- soaking each swatch for 30 minutes
- using identical cereal bowls to soak each swatch
- using the same yarn from the same dyer in the same 5 colours
- knitting identical swatches
- mixing water from the cold and hot tap to the temperature from Round One that caused the most bleeding
I’ll also be measuring some things that I can’t control, but which might affect the results:
- the water’s hardness
- the water’s pH
It’s also important that the same amount of wool wash / vinegar / washing up liquid is added to each swatch bath. To make sure that’s done equally, I’ll mix 5ml of the additive being tested into a jug of 300ml water at the correct temperature, then portion it out between each of the 5 swatches.
Round Three: Colour Catcher
For Round Three, I’ll be using plain water, but adding a colour catcher to the bowl. Again, everything else must stay the same:
- the amount of water each swatch soaks in
- the length of time the swatch soaks for
- the container that the swatch soaks in
- the colour of the dye on the swatch
- the size of the swatch
- the temperature of the water
- what’s in the water
I’ll do this by:
- using 500ml water per swatch
- soaking each swatch for 30 minutes
- using identical cereal bowls to soak each swatch
- using the same yarn from the same dyer in the same 5 colours
- knitting identical swatches
- mixing water from the cold and hot tap to the temperature from Round One that caused the most bleeding
- adding nothing to the water
It’s important that each swatch bath gets the same amount of colour catcher, so I’ll cut one colour catcher into 5 equal pieces and place 1 piece in each bath.
In this round, the objective isn’t to prevent bleeding, but to prevent any bled dye from adhering where it shouldn’t. For that reason, the swatches will be slightly different: instead of using one coloured swatch, I will use a swatch of the same size that is part colour, part undyed yarn. This will help to show whether the colour catcher has caught all the dye, or only some of it.
I won’t be repeating all 7 conditions from Round One and Round Two here, simply because I don’t have enough swatches for that! Instead, I’ll choose the options from each of Round One and Round Two that created the most and the least bleeding, and test those 4 conditions. That should give us an idea of how effective colour catchers are.
The Conclusion
After all these experiments have been done, I’ll look over the results and work out what the best overall conditions are to prevent yarns from bleeding, and confirm whether or not colour catchers are helpful for soaking up any bleeding that does occur. I should also be able to comment on whether some colours are more likely to bleed than others.
Phew – that’s a lot of work! Enough talking about it – I’ve got some blocking to do.
Next Time
In Part 3, I’ll be performing the experiments for Round One, testing the effect of temperature on dye bleeds. Once it’s been published, you can use the jump links at the top of the page to go straight there.