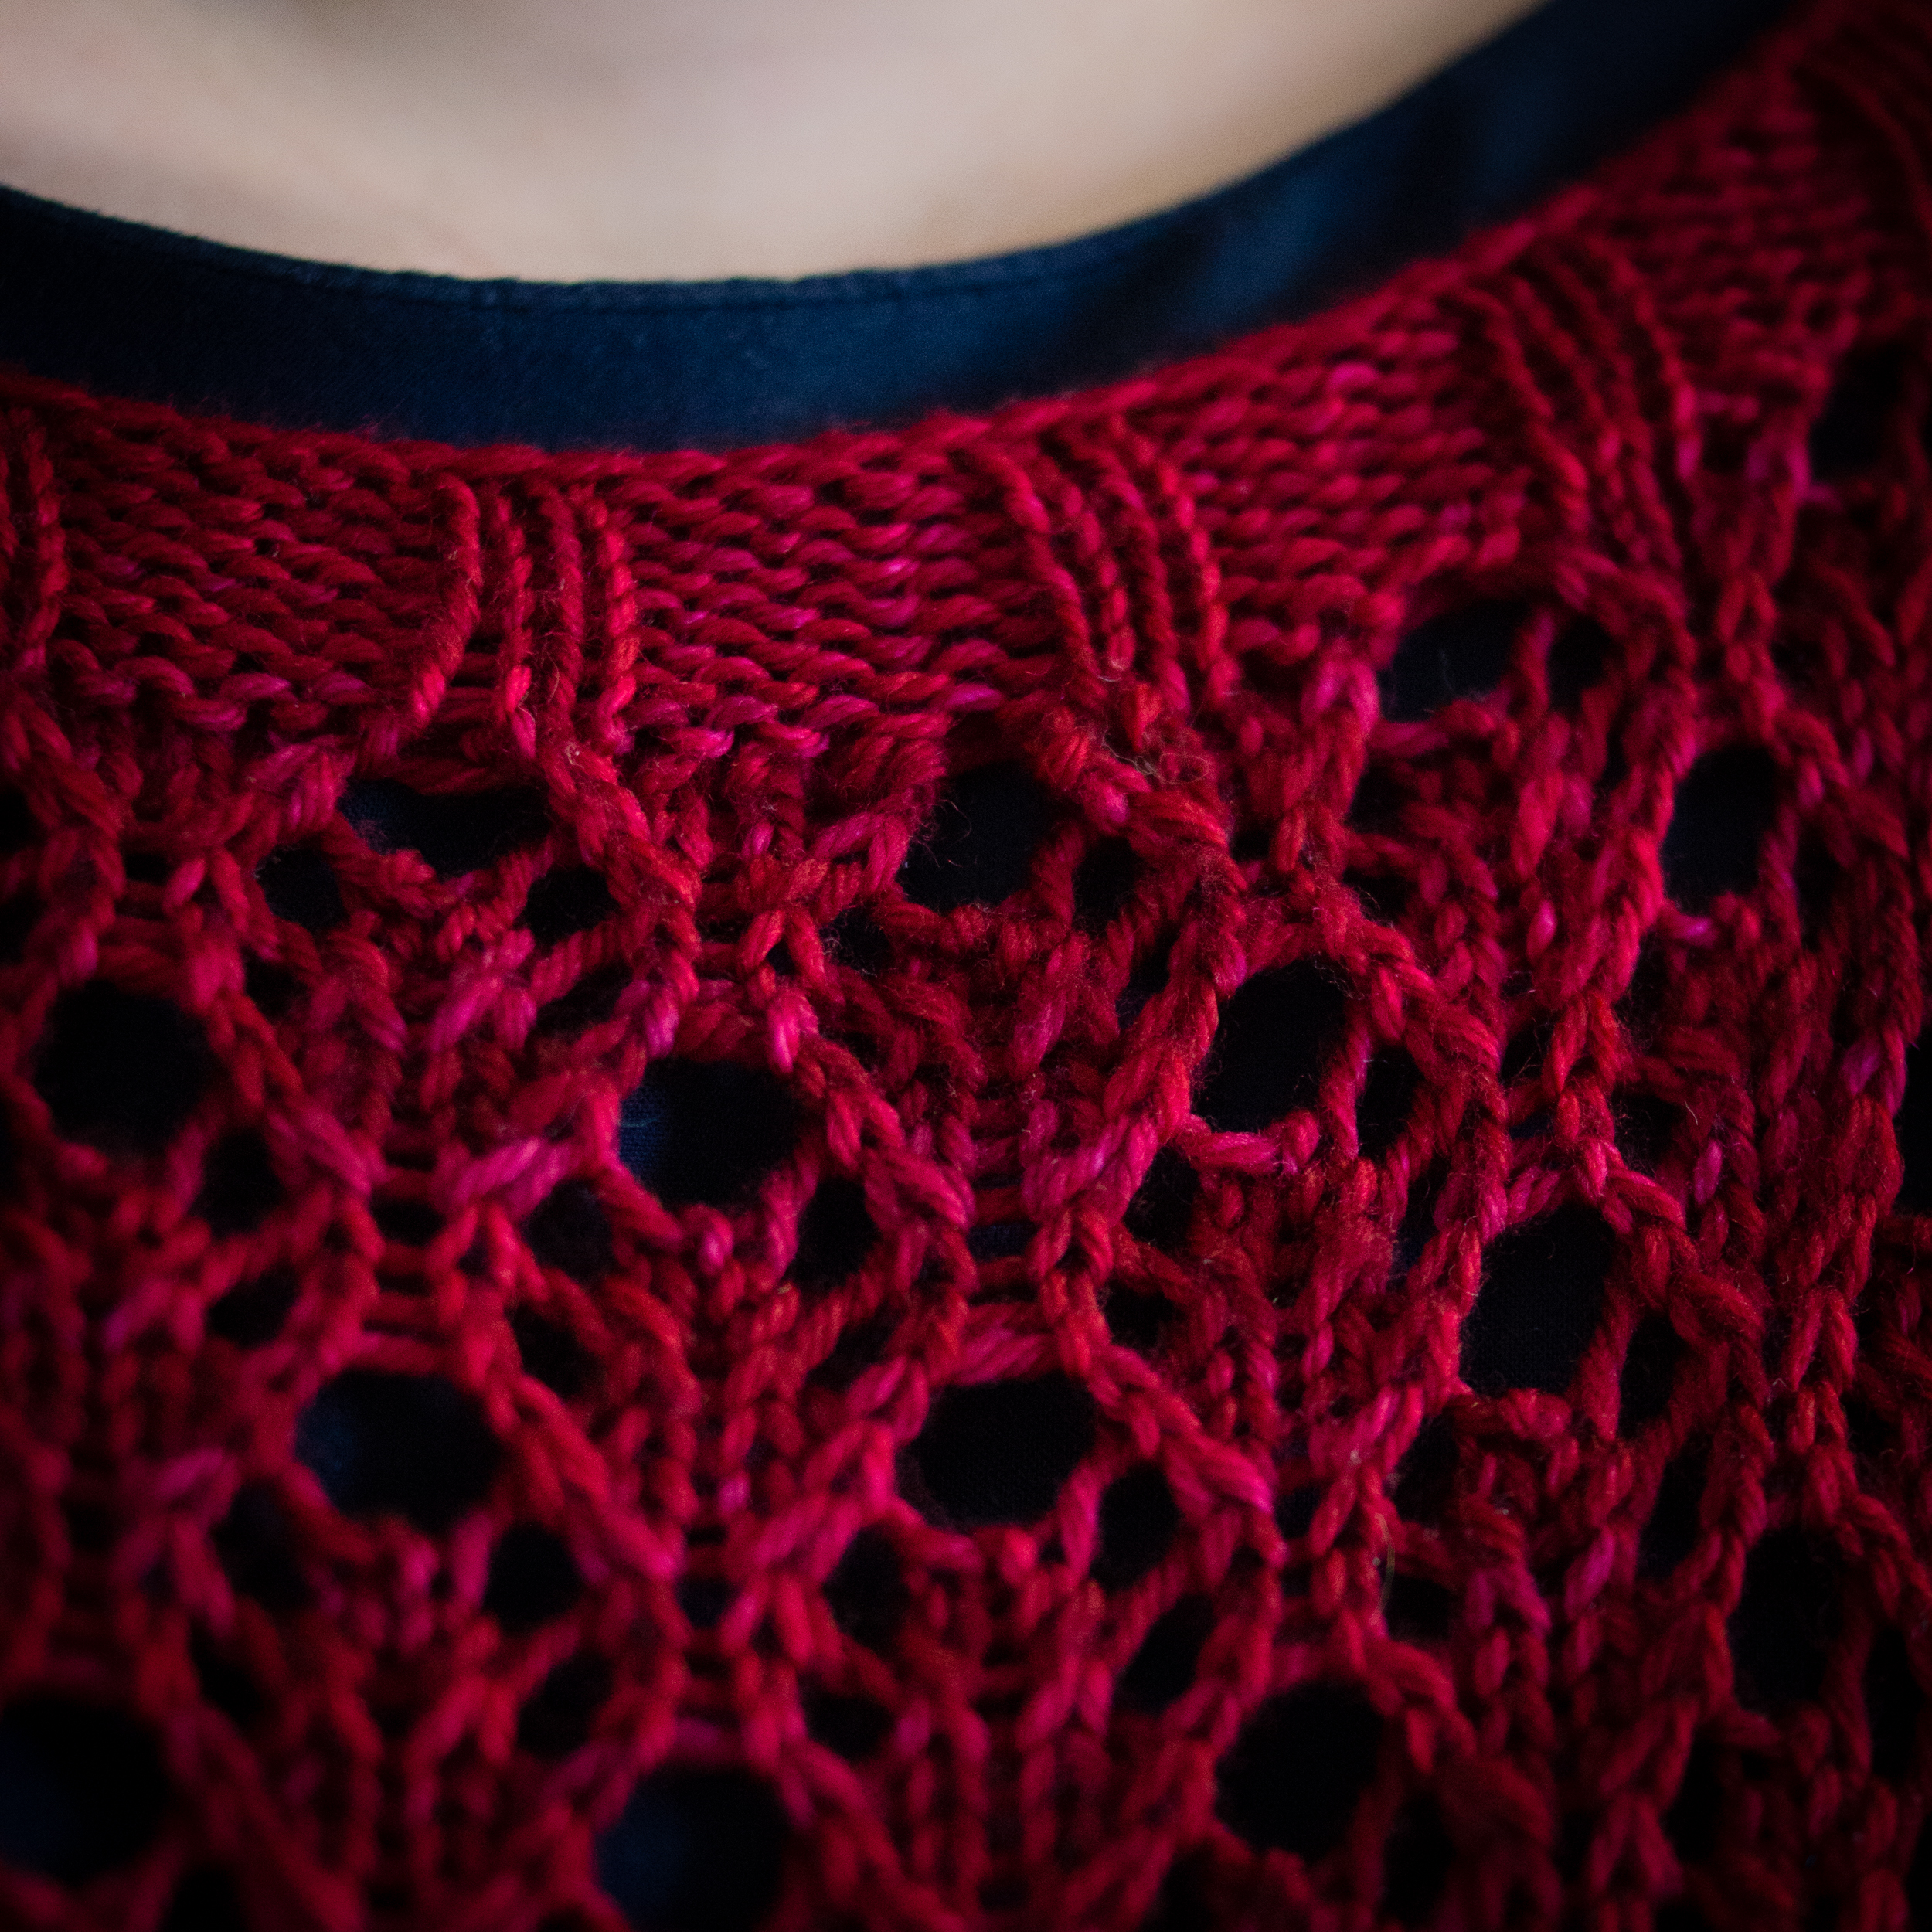
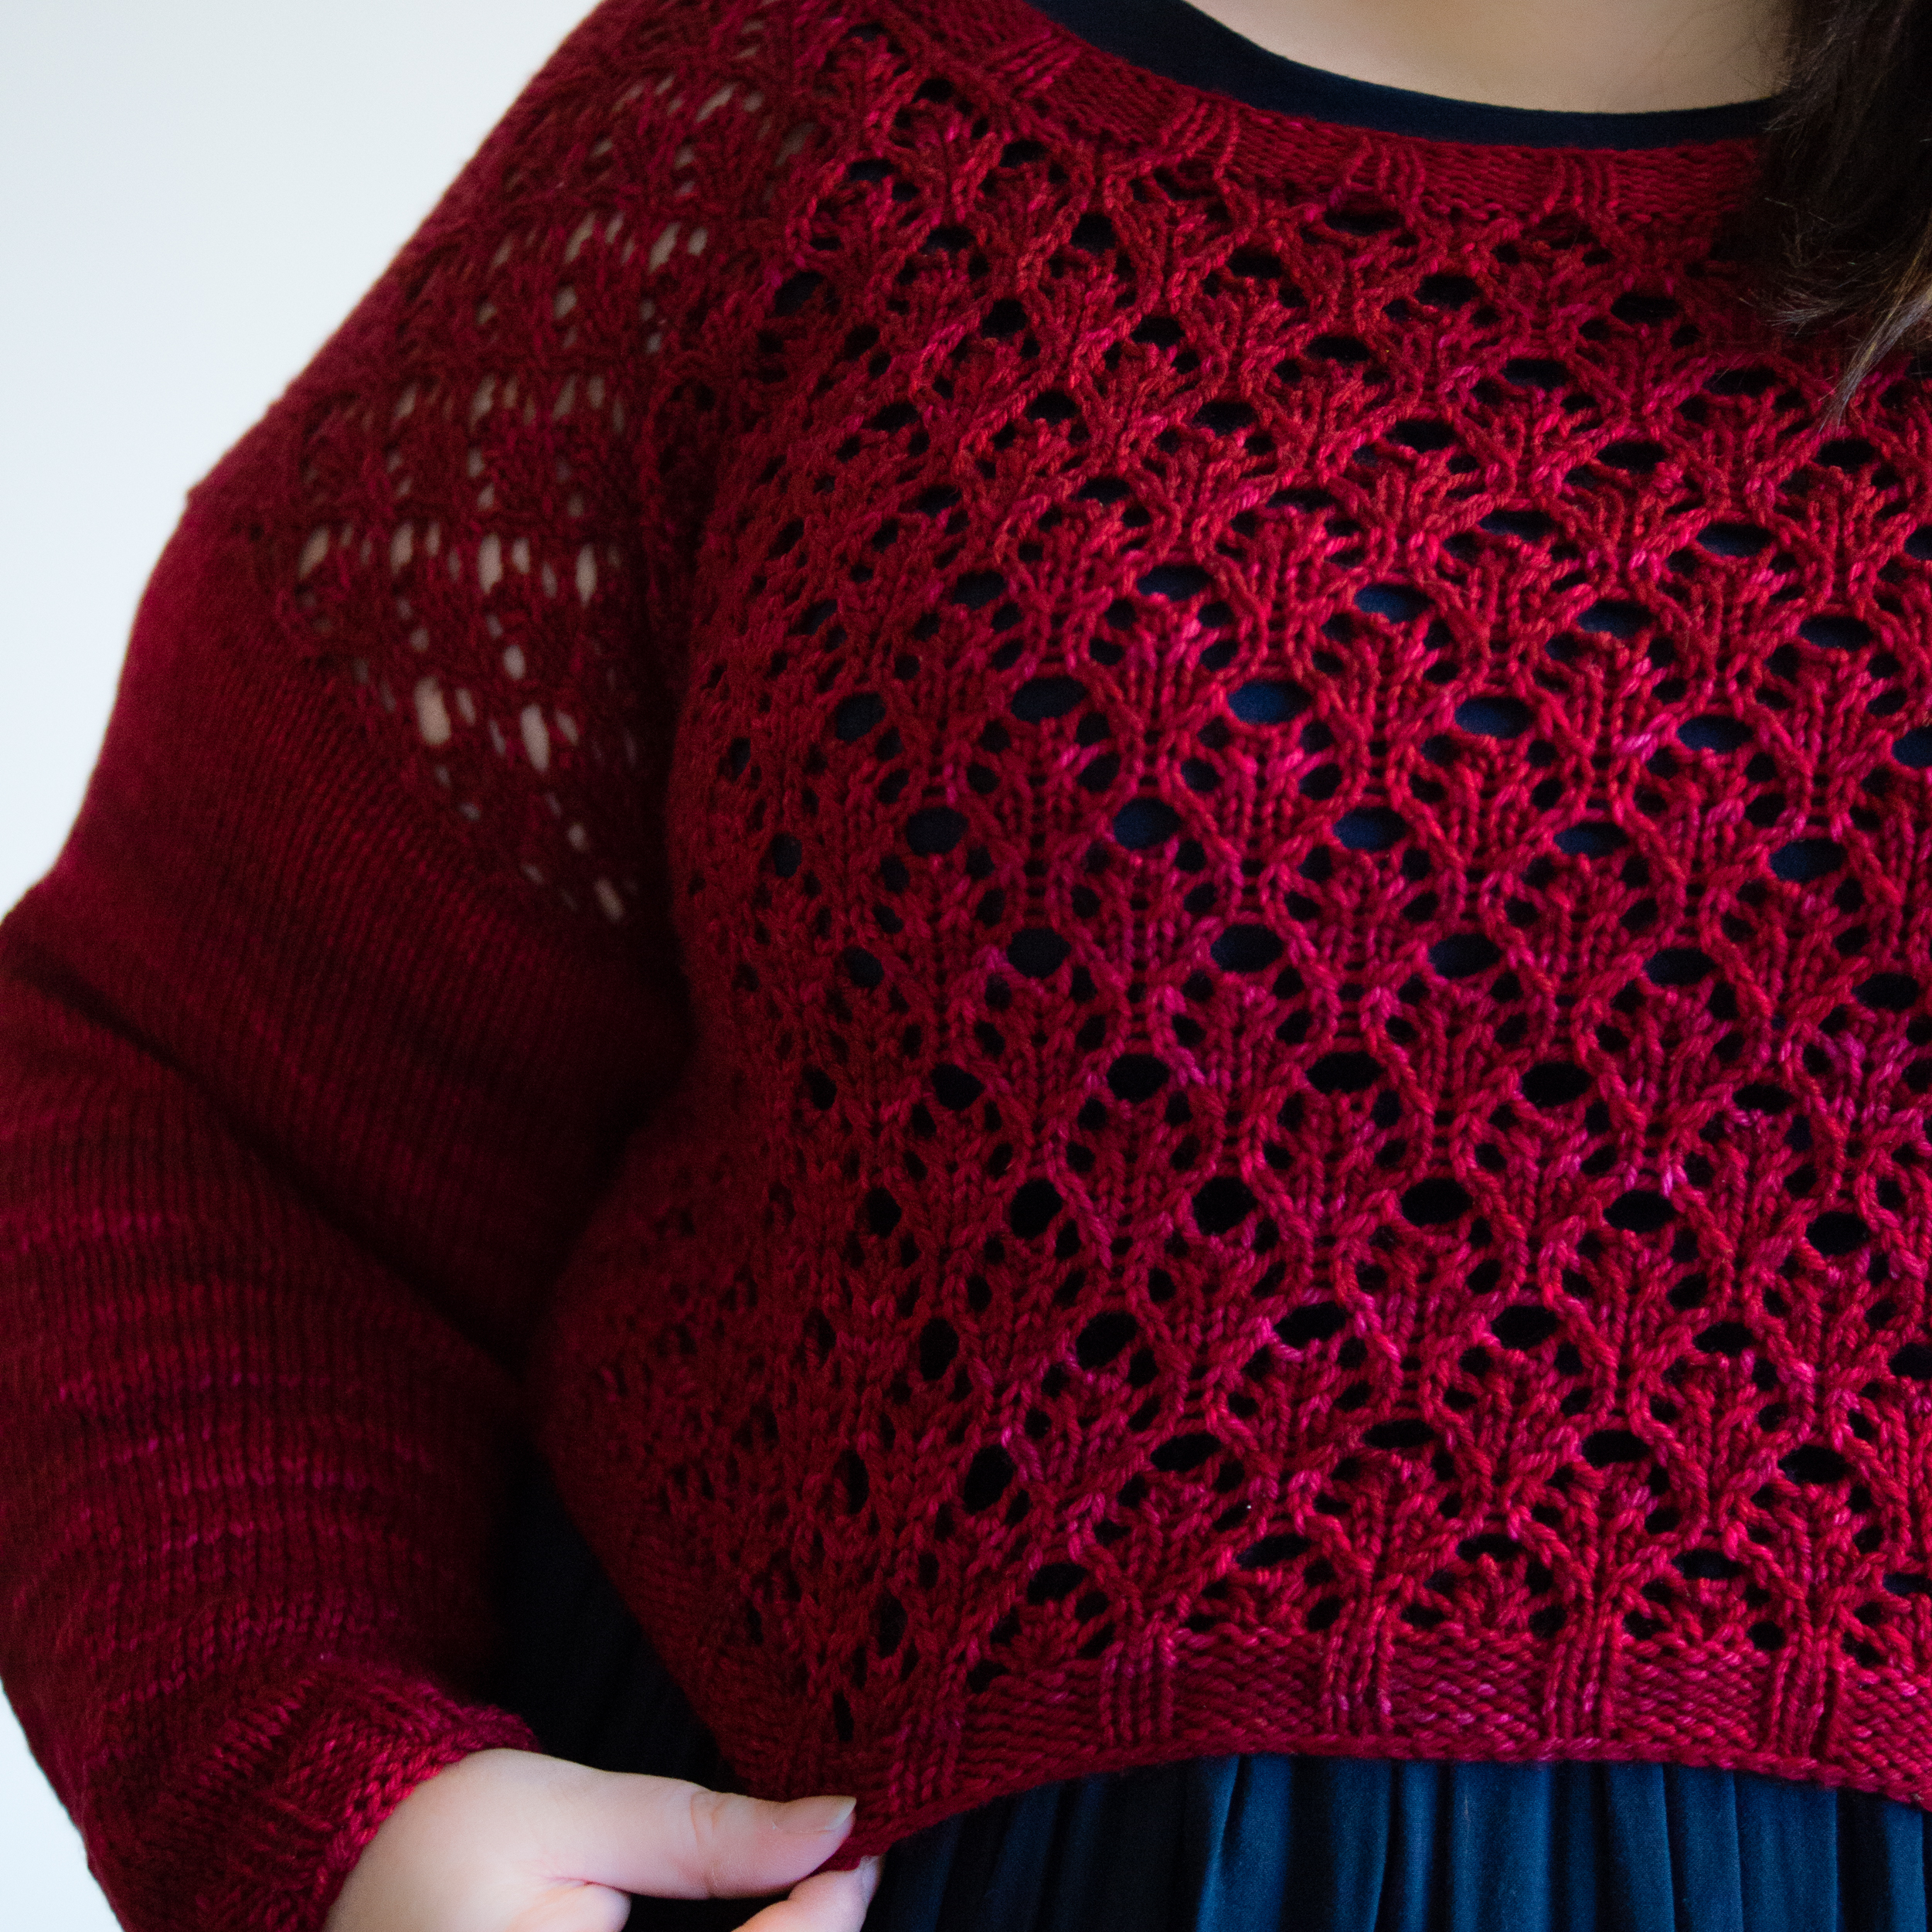


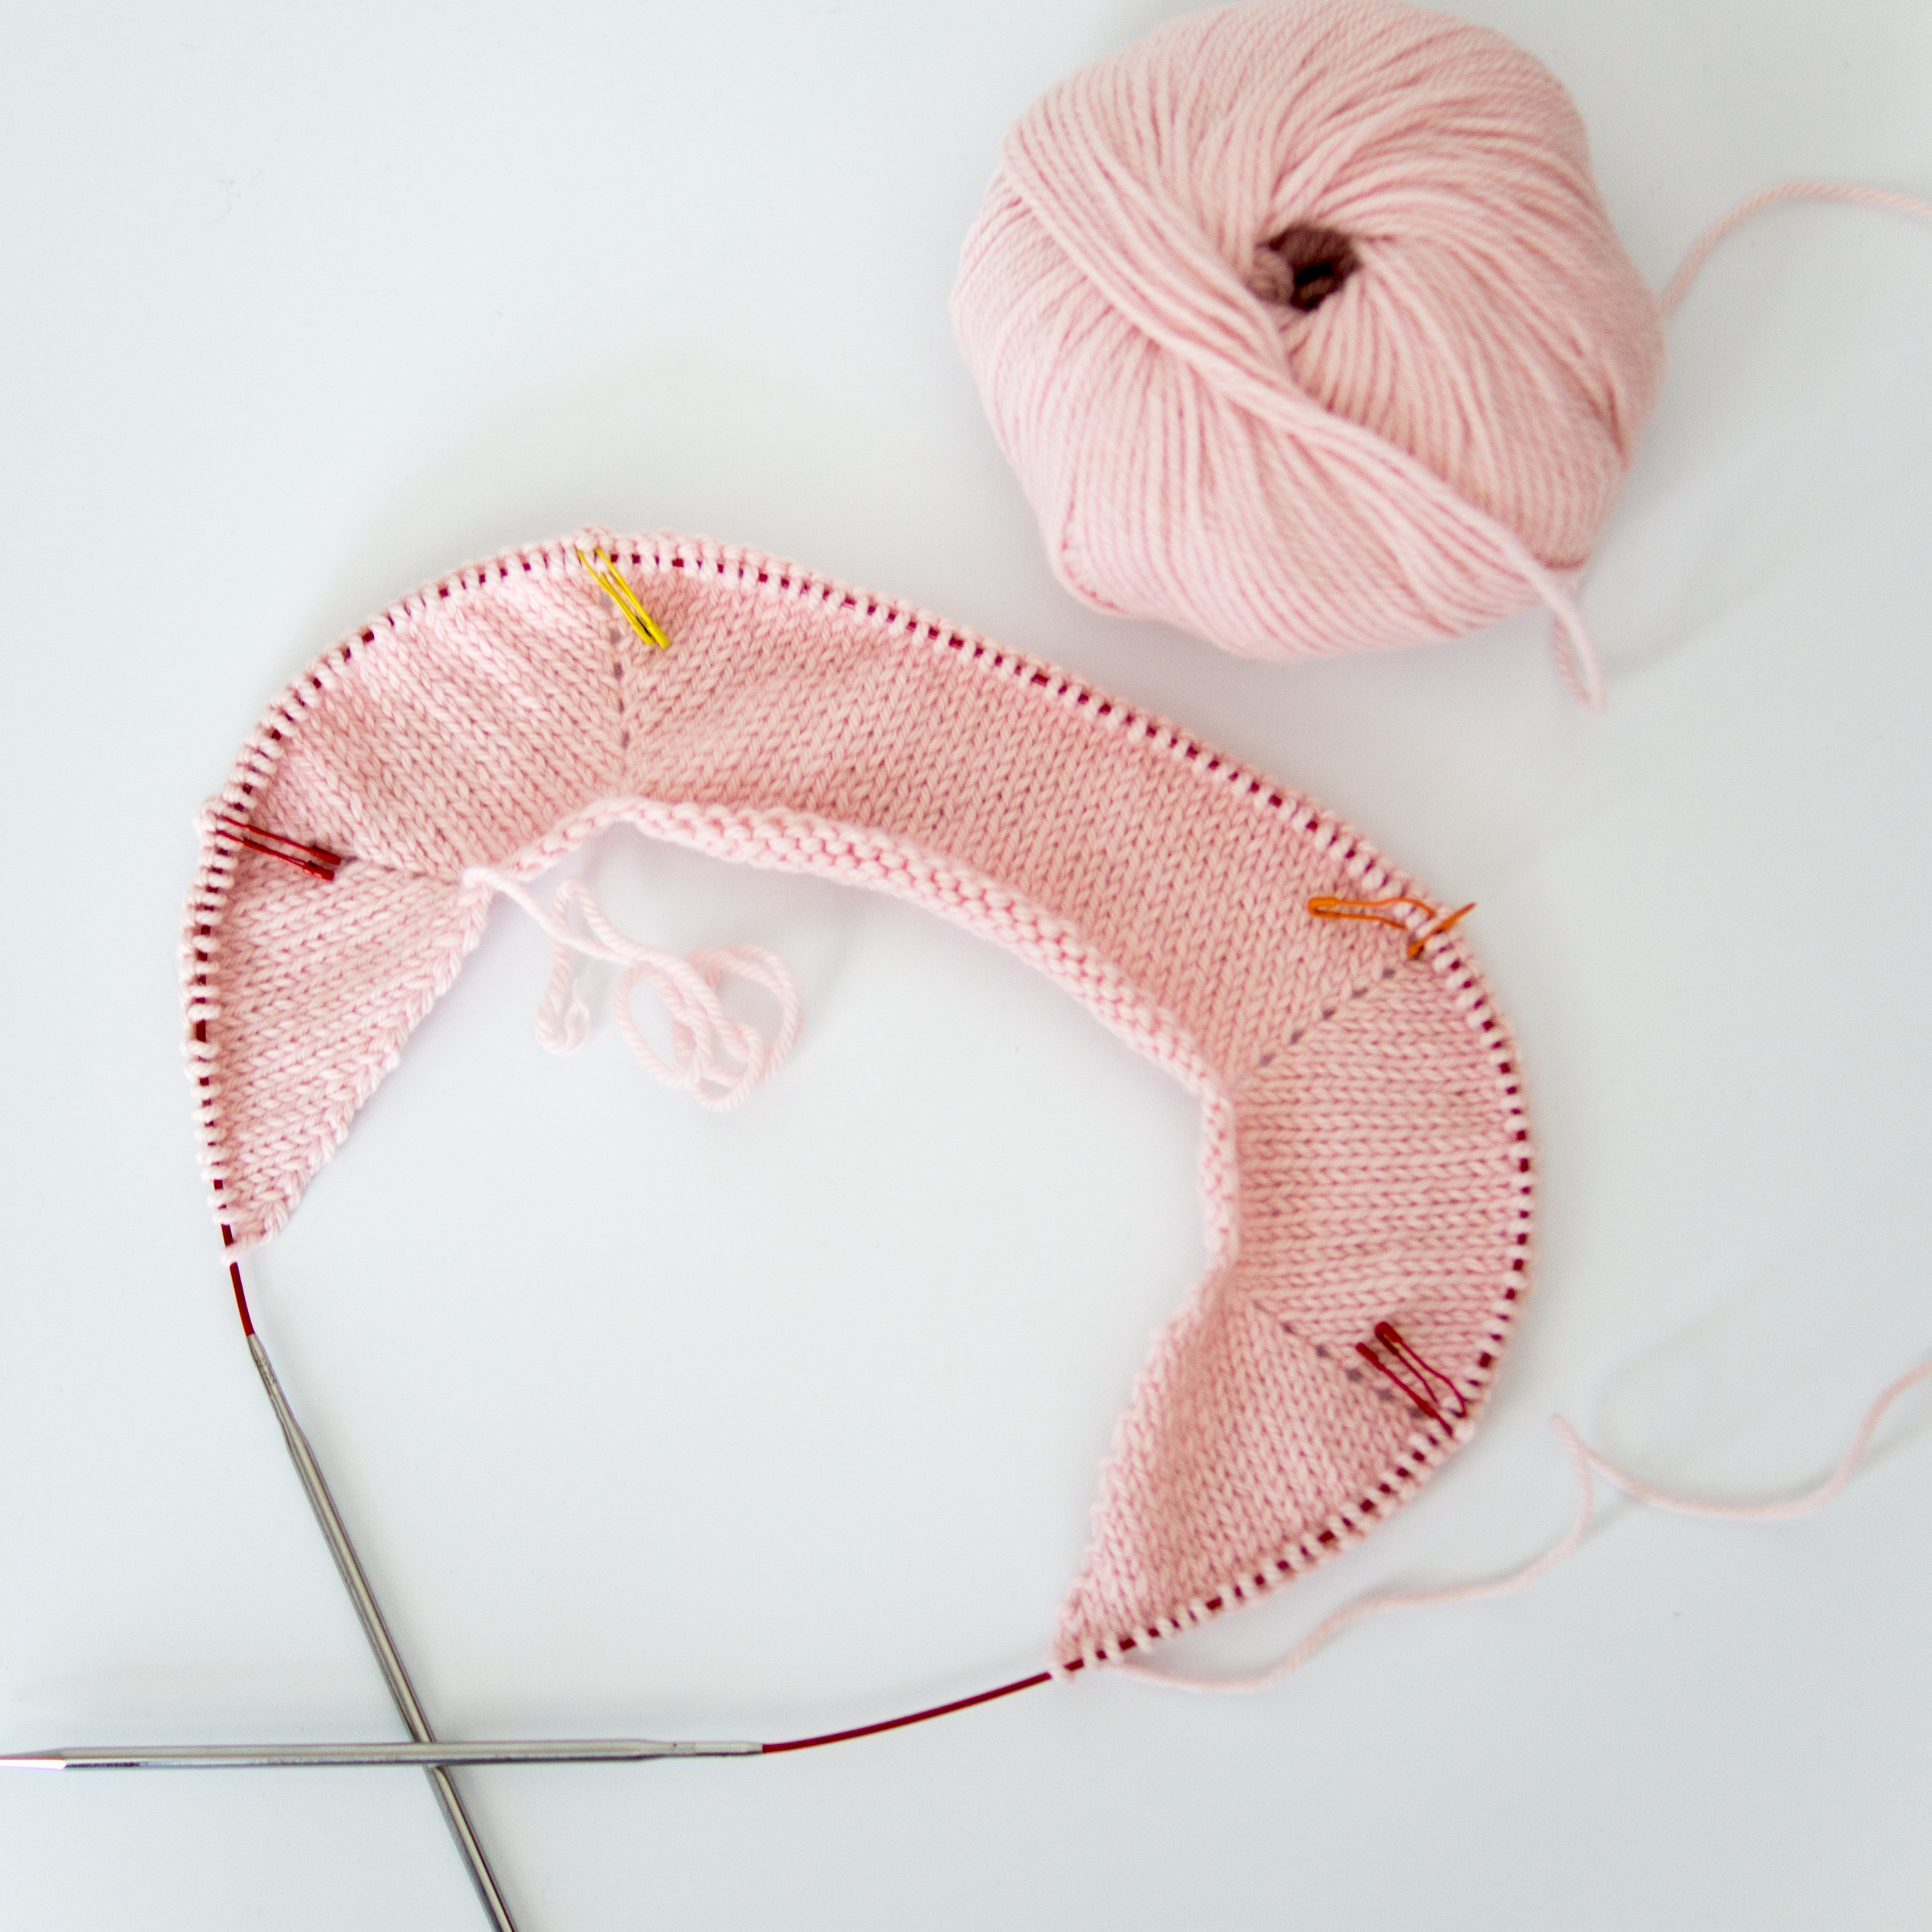
“Starting at <point>, pick up x stitches evenly around the neckline.”
A pretty standard instruction on a garment pattern, every garment knitter has seen this, or something like it. But have you ever wondered how us designers know what that magic number is, and why we choose to start where we do?
Understanding how necklines are designed can help you to knit a beautifully neat one – or to change one that doesn’t work for you to one that does. This blog post demystifies and focuses on the humble neckline.
The Maths
Knowing how many stitches to pick up is the first step to working a neckline. To understand how this is worked out, first we need to take a look at the edges of the garment.
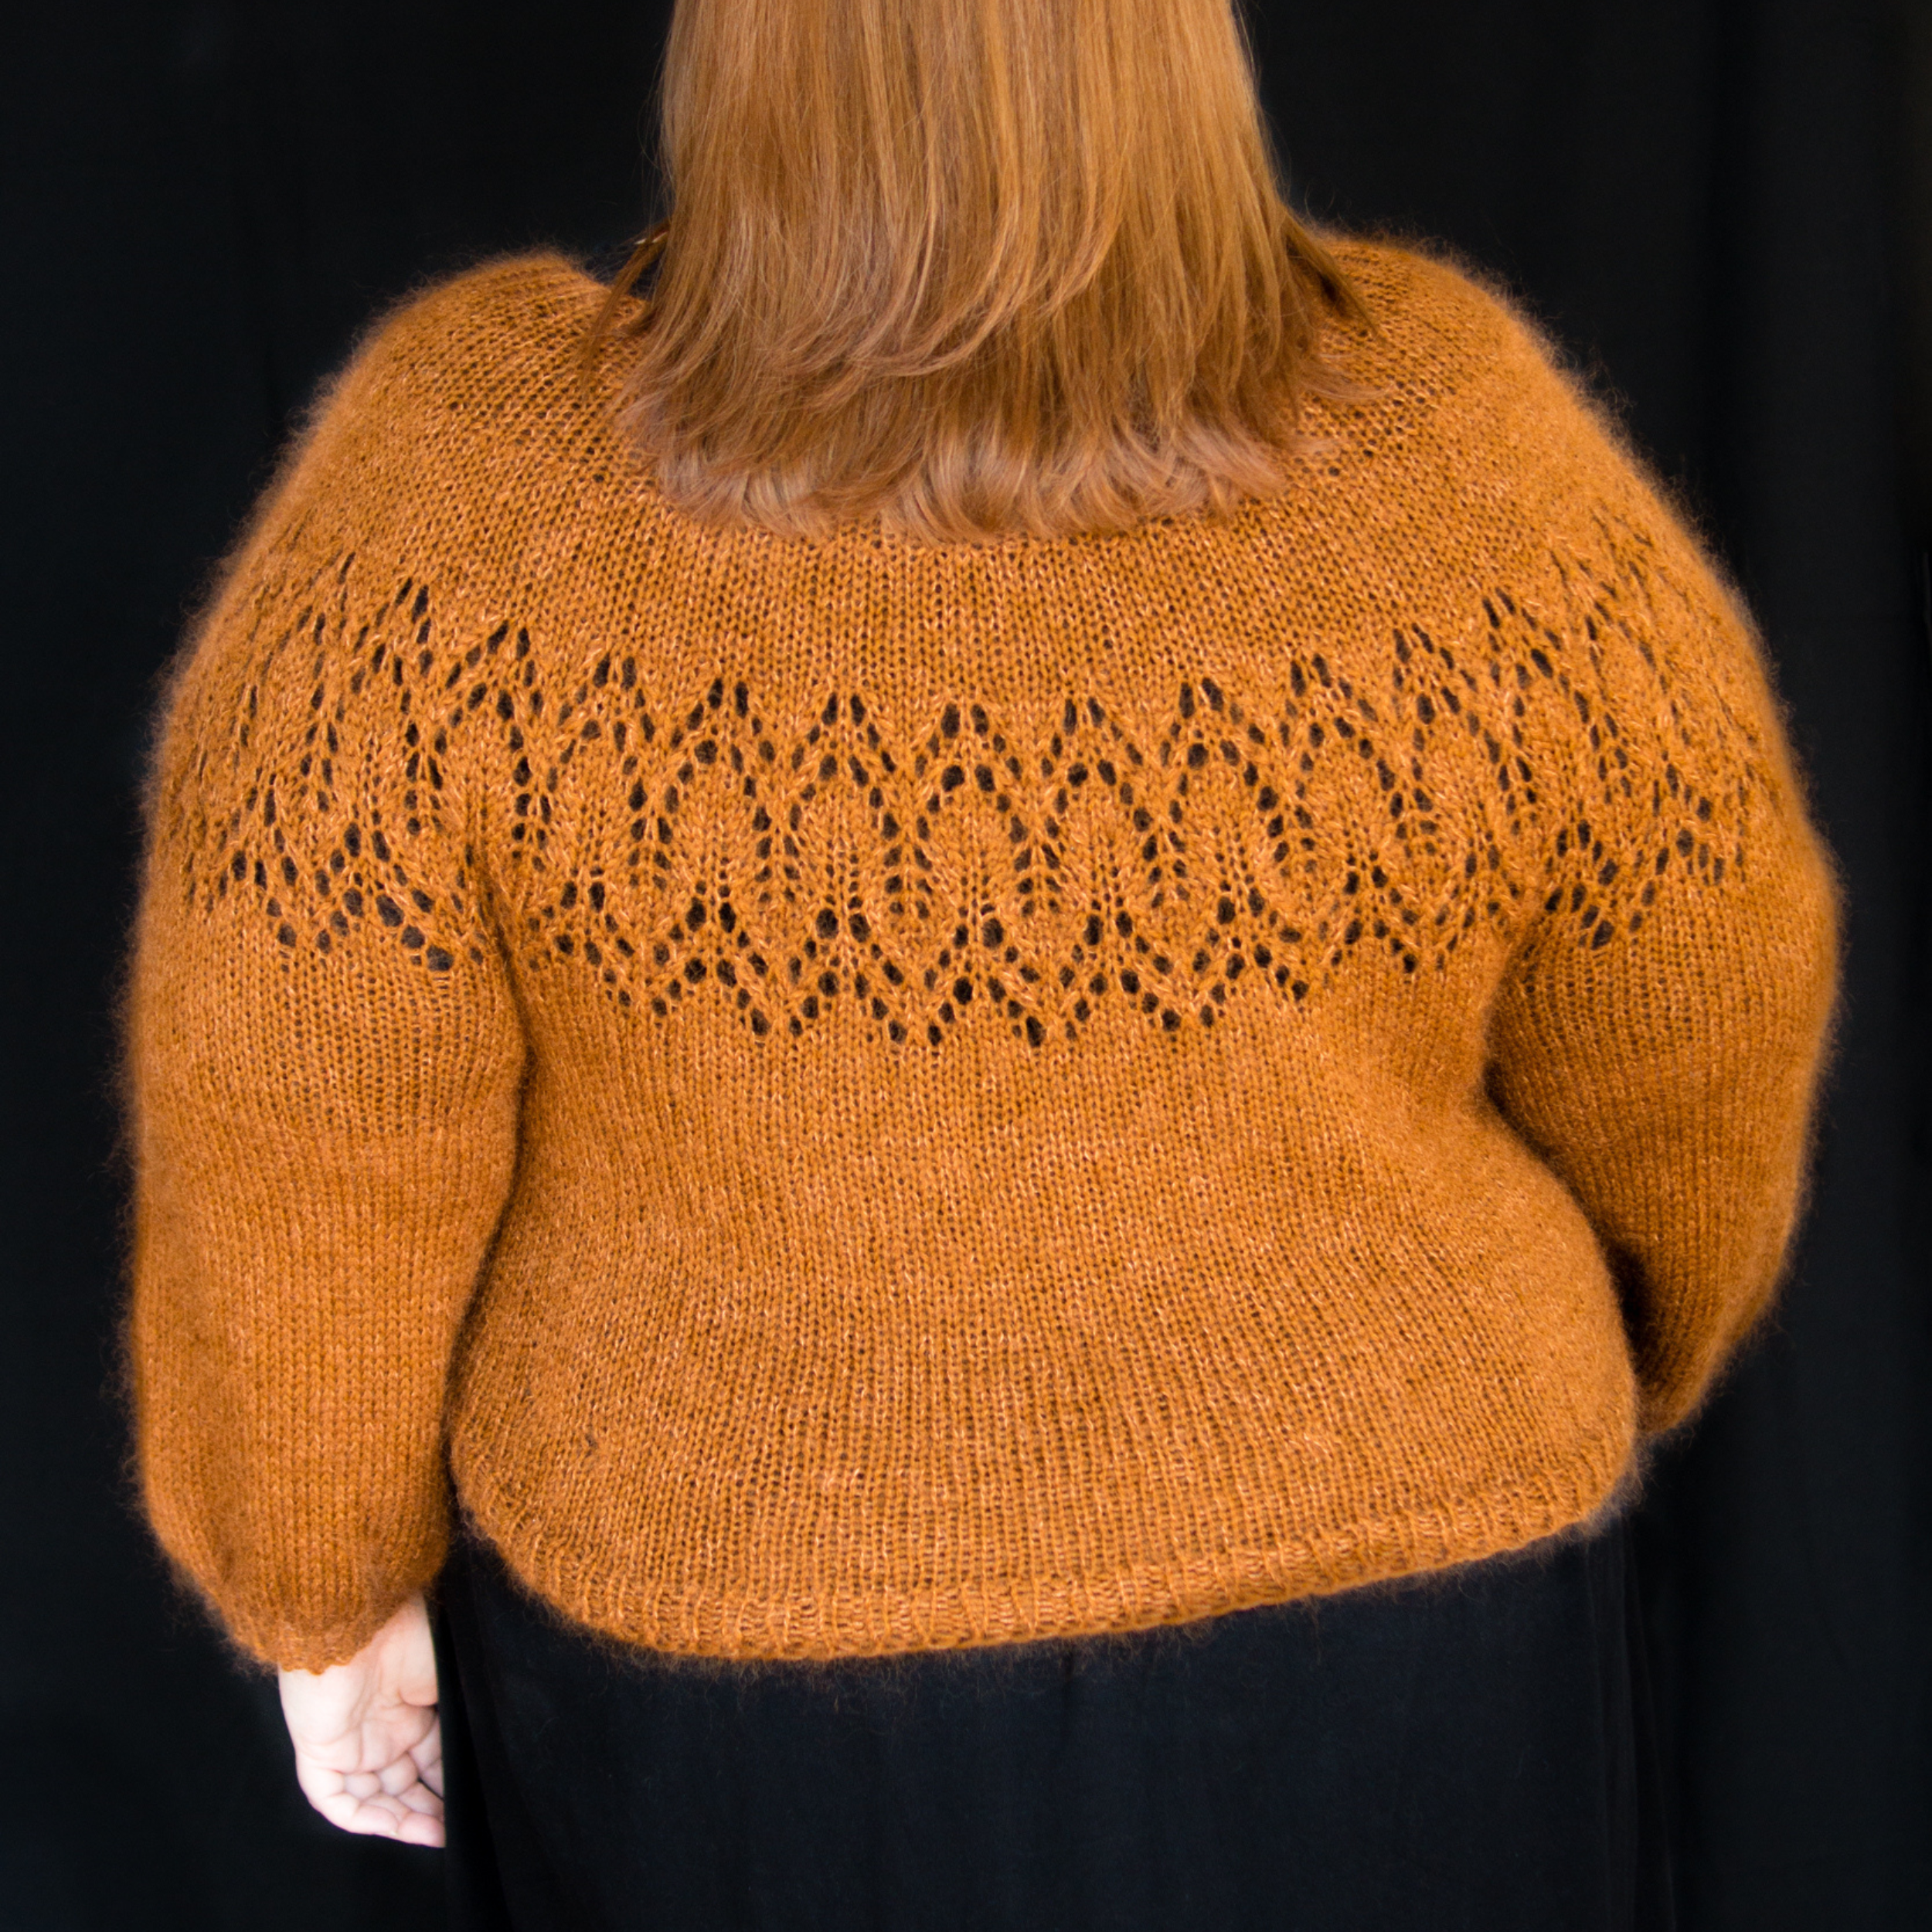
If it’s a top-down garment, you’ll probably have a mix of vertical selvedge edges, diagonal selvedge edges, and cast on stitches. (The exception is a circular yoke jumper, which is a different thing entirely and much, much easier!)
If it’s bottom up, you’ll have bind off edges instead of cast on, and some of these edges may be stepped (i.e. where you have bound off a few stitches on each row and the edge looks like a step shape).
The number of stitches to pick up on the horizontal (i.e. cast on and bind off) edges is nice and easy to calculate. Here, you’re carrying on a piece of knitting in the same direction, so you want to pick up 1 loop in each stitch. That’s a 1:1 ratio. Easy!
Vertical and diagonal selvedges are a little different, because your row gauge isn’t the same as your knit gauge. A knit stitch is wider than it is high, so you’ll have more rows per inch than you do stitches. That means that if you picked up 1 stitch in every row, your neckline would be longer than the knitting it’s attached to, and that wouldn’t look neat. So we need to skip a row here and there to even it out. You can do the maths and work out the exact ratio of your stitches per inch to rows per inch, but generally speaking, a 2:3 ratio will work well. That means you pick up a stitch in each of 2 rows, then skip the third – picking up 2 stitches in every 3 rows, or 2 stitches : 3 rows.
Understanding this logic is really helpful. Not only does it let you calculate how many stitches to pick up, it tells you how many to pick up in each section of your neck opening, which means you can distribute them perfectly for a really even neckband.

Top Tips
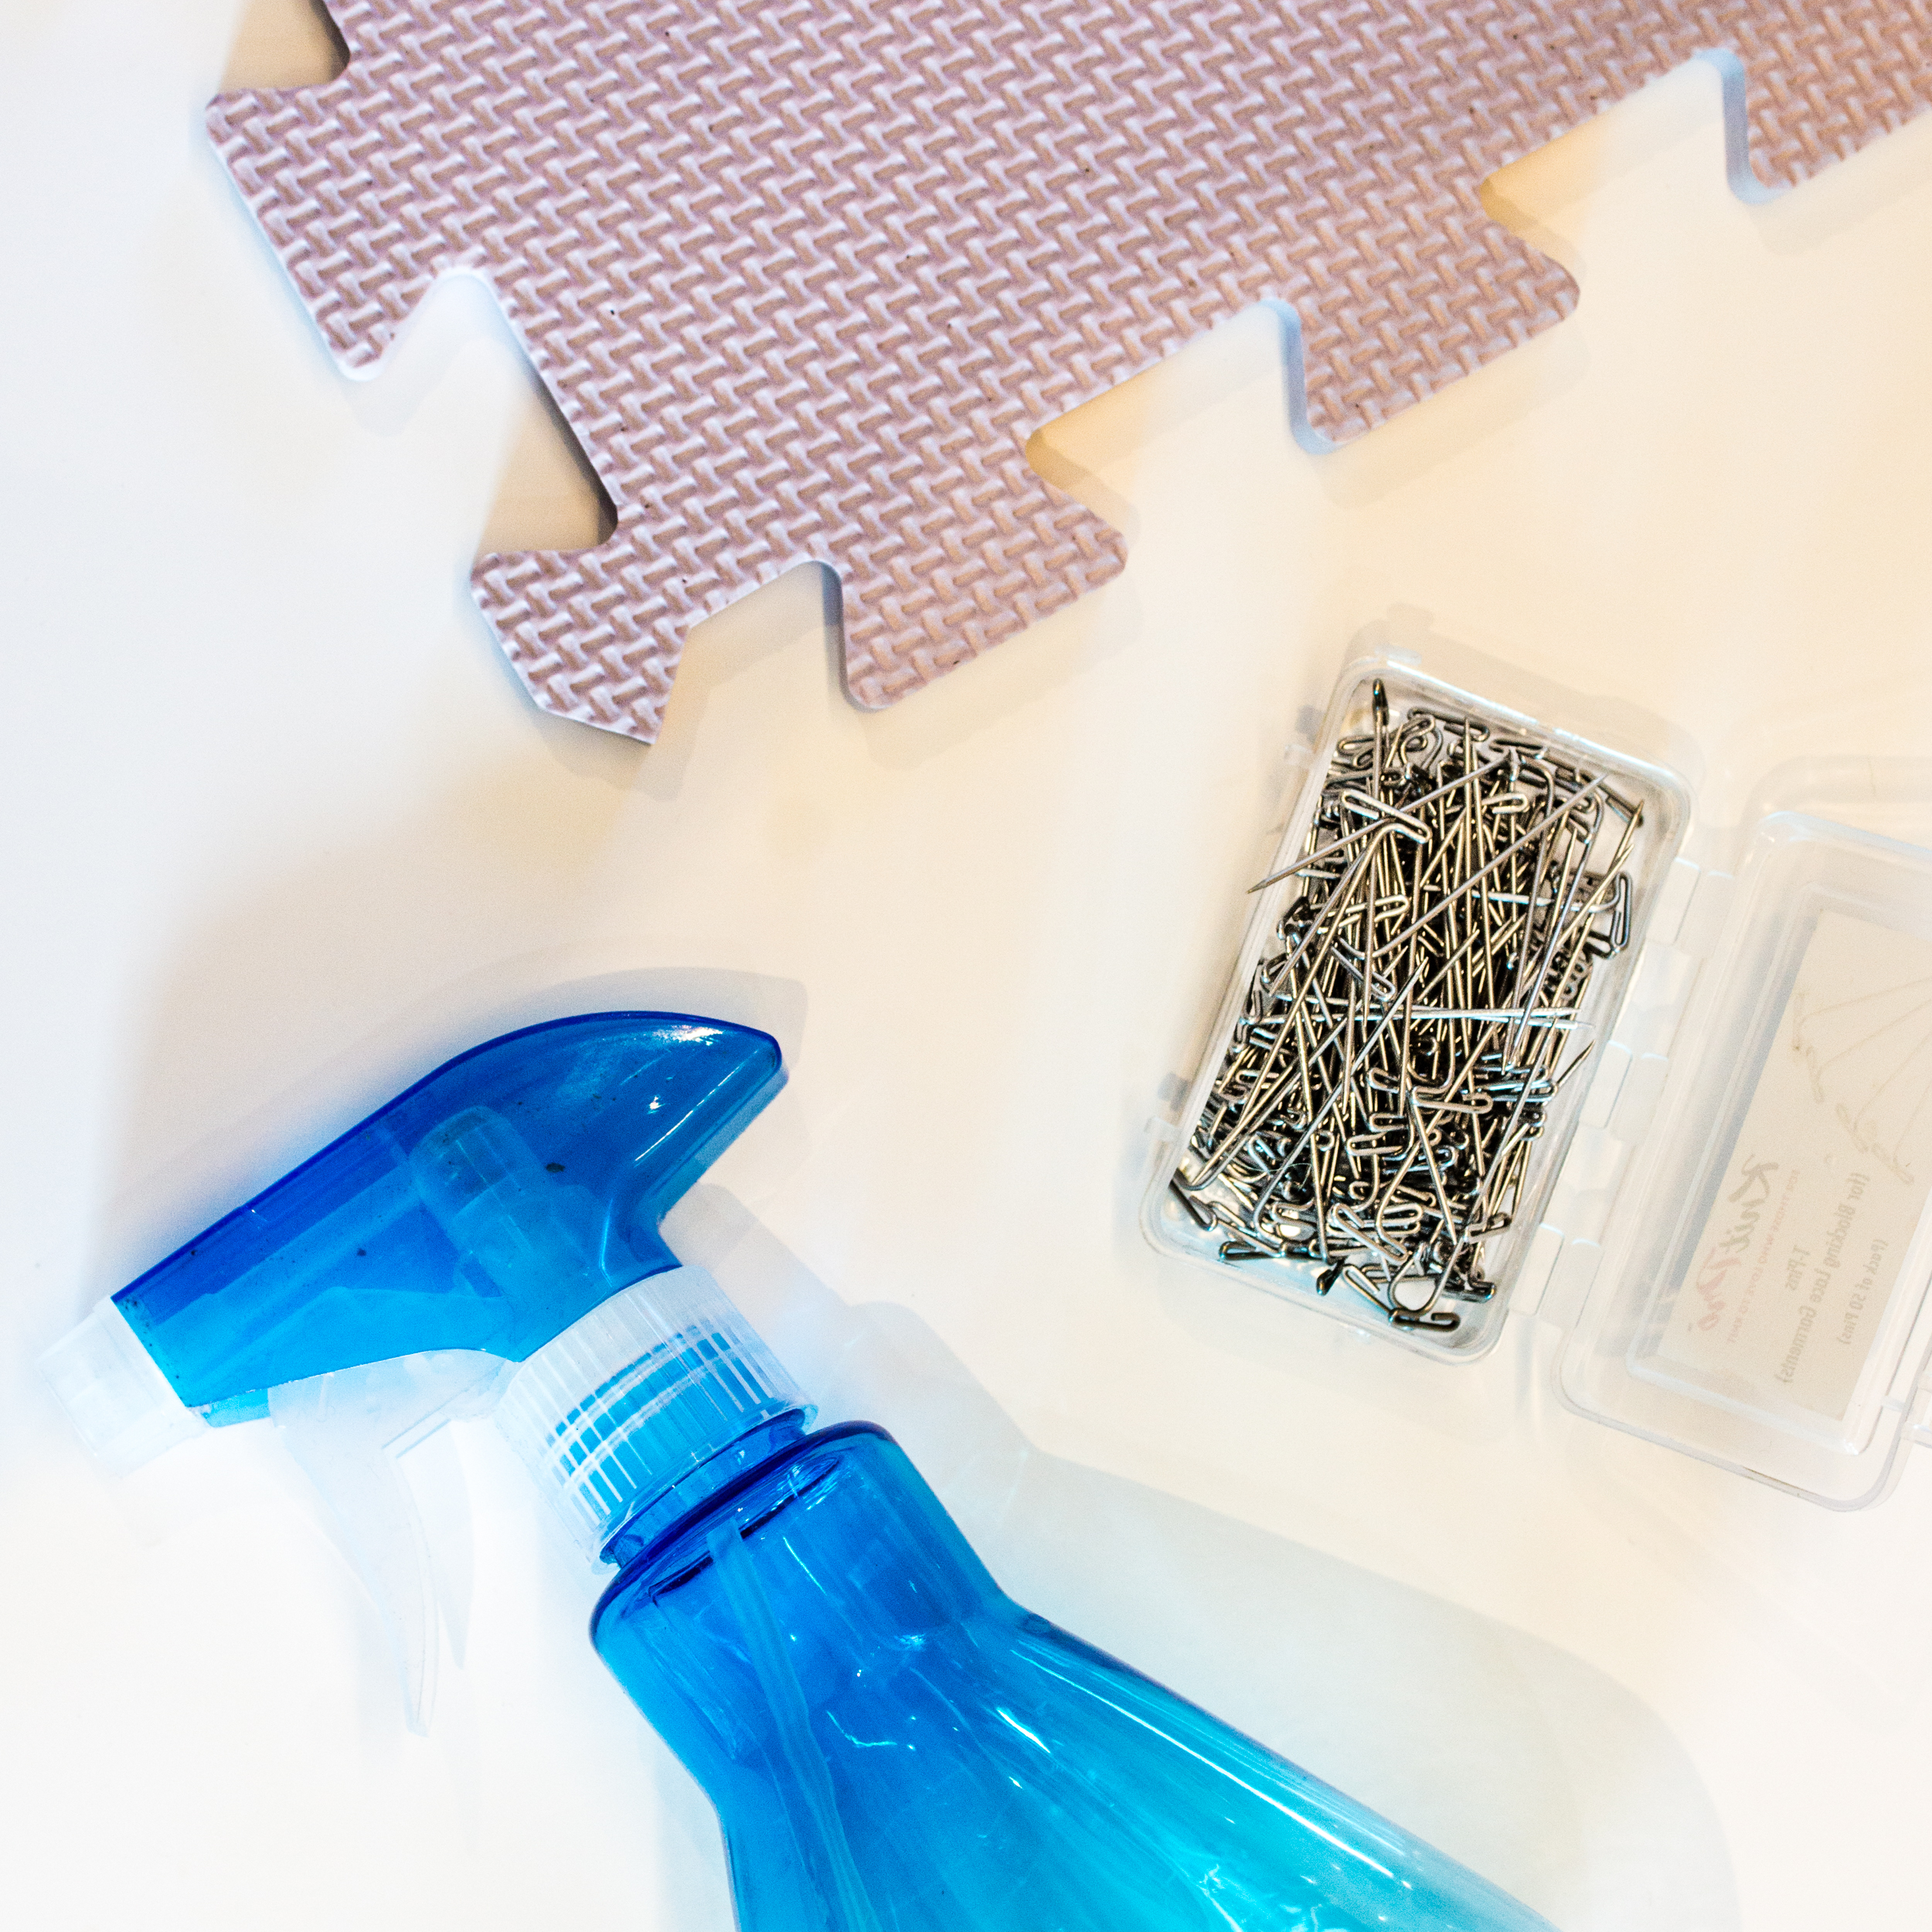
Use a crochet hook to pull a loop through if you’re struggling to do it with your needles.
Pick up the number dictated by your shaping at first, then adjust when working the first round to fit your pattern / multiple – this prevents holes at the join.
Start somewhere innocuous but easy to identify, like the top of the shoulder or the back of the neck. This helps to distribute the stitches evenly. Designers might tell you to start somewhere specific so that any shaping falls in the right place, so do follow those instructions!
Use locking stitch markers or yarn scraps to mark where verticals and diagonals turn into horizontals, and vice versa – this lets you pick up the right number evenly in each section and helps it look smooth and flat.
Pick up means “draw up a loop onto your needle”; “pick up and knit” means draw up a loop onto your needle and then knit it – different things! Double check your pattern to see precisely what the designer means (but remember that if you get it wrong, it’ll only be one row / round different, and not the end of the world).
I always seem to pick up my loops the wrong way around, so each stitch is twisted. Don’t worry if you do this too – you can easily fix this on the first round, either by working the stitches through the back loop, or by manually twisting each loop the correct way before working it as you come to it.
Round ribbed necklines a few inches wide don’t usually need any shaping, as they will naturally expand more at the bottom and less at the top when you block it.
I prefer to work my neckline before working the sleeves, as the neckline affects how the body sits on me. This lets me tailor the sleeve length to get it just how I like it. It also helps when checking the fit, especially if you’ve already blocked it.
If you’re picking up stitches to continue knitting in the opposite direction, such as when working the neckline on a top down jumper, you can get a seamless look by picking up between each stitch on the horizontal edges rather than in the middle of the stitch. This way, both sets of stitches look like they’re going in the same direction.