

Here’s a knitting confession: I don’t always swatch. If I’m knitting a shawl, for example, and I’m using yarn I’ve used before, it is almost certain that I won’t swatch and will just jump in. I’ve knit a lot of things over the years, I keep a spreadsheet of every gauge I’ve ever got, and I typically use very similar yarn bases. It’s not always necessary.
But usually, it is.
Why We Swatch
There are three main reasons why I swatch.
1. Gauge
The one time I absolutely will swatch – and might even be persuaded to swatch multiple times to get it just right – is before tackling a garment. One of the things about being a fat person is that all too often, clothes don’t fit well. (Haven’t we all tried something on only to laugh / sob at the ridiculous fit at least once in our lives?) So the idea of buying all that yarn, spending all those hours knitting it, and then it not fitting me? There would be tears. So I always, aways swatch for garments, because I need to be sure of my gauge.
Gauge and tension are two sides of the same thing.
“Gauge” just means how many stitches, and rows of stitches, there are in a 4″ or 10cm square of knitting. It’s a way of explaining how tight your knitting should be, and of calculating how big it will be when it’s finished and blocked. Patterns tell you what gauge they knit up at; for your knitting to come out the same size, you need to work at the same gauge. This might mean using a different needle size than the designer used, because everyone’s personal tension is a bit different.
Tension is how tight your stitches are, which – along with the thickness of your yarn and your needle size – dictates what your gauge comes out as. Tension also matters on its own, because knitting might not look right or behave the same way if the stitches are too tight or too loose. Tension is also about how even your stitches are, i.e. whether all of them are the same tightness or not. That comes with practice; the more you knit, the more even your tension will be. Nobody’s is perfect though, and that’s another reason why we block: it helps even up all those stitches, which makes your knitting look more polished.
A note about the gauge on a ball band: this is intended to be a guide from the manufacturer of what they recommend the yarn be knit up at. It’s not a rule that you need to adhere to, or a bit of magic that will make this yarn always knit up at that gauge. There are loads of reasons why a designer might be using a different gauge; the gauge in the pattern and the gauge you achieve are what matters.
The question I’m answering here is: will the finished thing come out the right size?
2. Appearance, Drape, and Handle
Your tension will affect not just how big your knitting comes out, but also how it looks. The same yarn and pattern knit up on different sized needles will look and behave differently, affecting the appearance, drape, and handle.
Appearance
This is just how the knitting looks. I find that if I use needles on the larger side, I often don’t like how the knitting looks; it makes the yarn look inexpensive, the work look amateur, and everything seems just a bit inelegant. This is totally my personal taste and preference, and not a rule – like what you like! The important thing here is not to work out how to knit what I think looks good, but to test out how your knitting looks and decide for yourself if you like it or not.
Drape
“Drape” means how fabric hangs on the body. Sometimes drape isn’t a factor in your knitting – for example, gloves don’t usually have drape. But shawls? Oh yes. Drape matters.
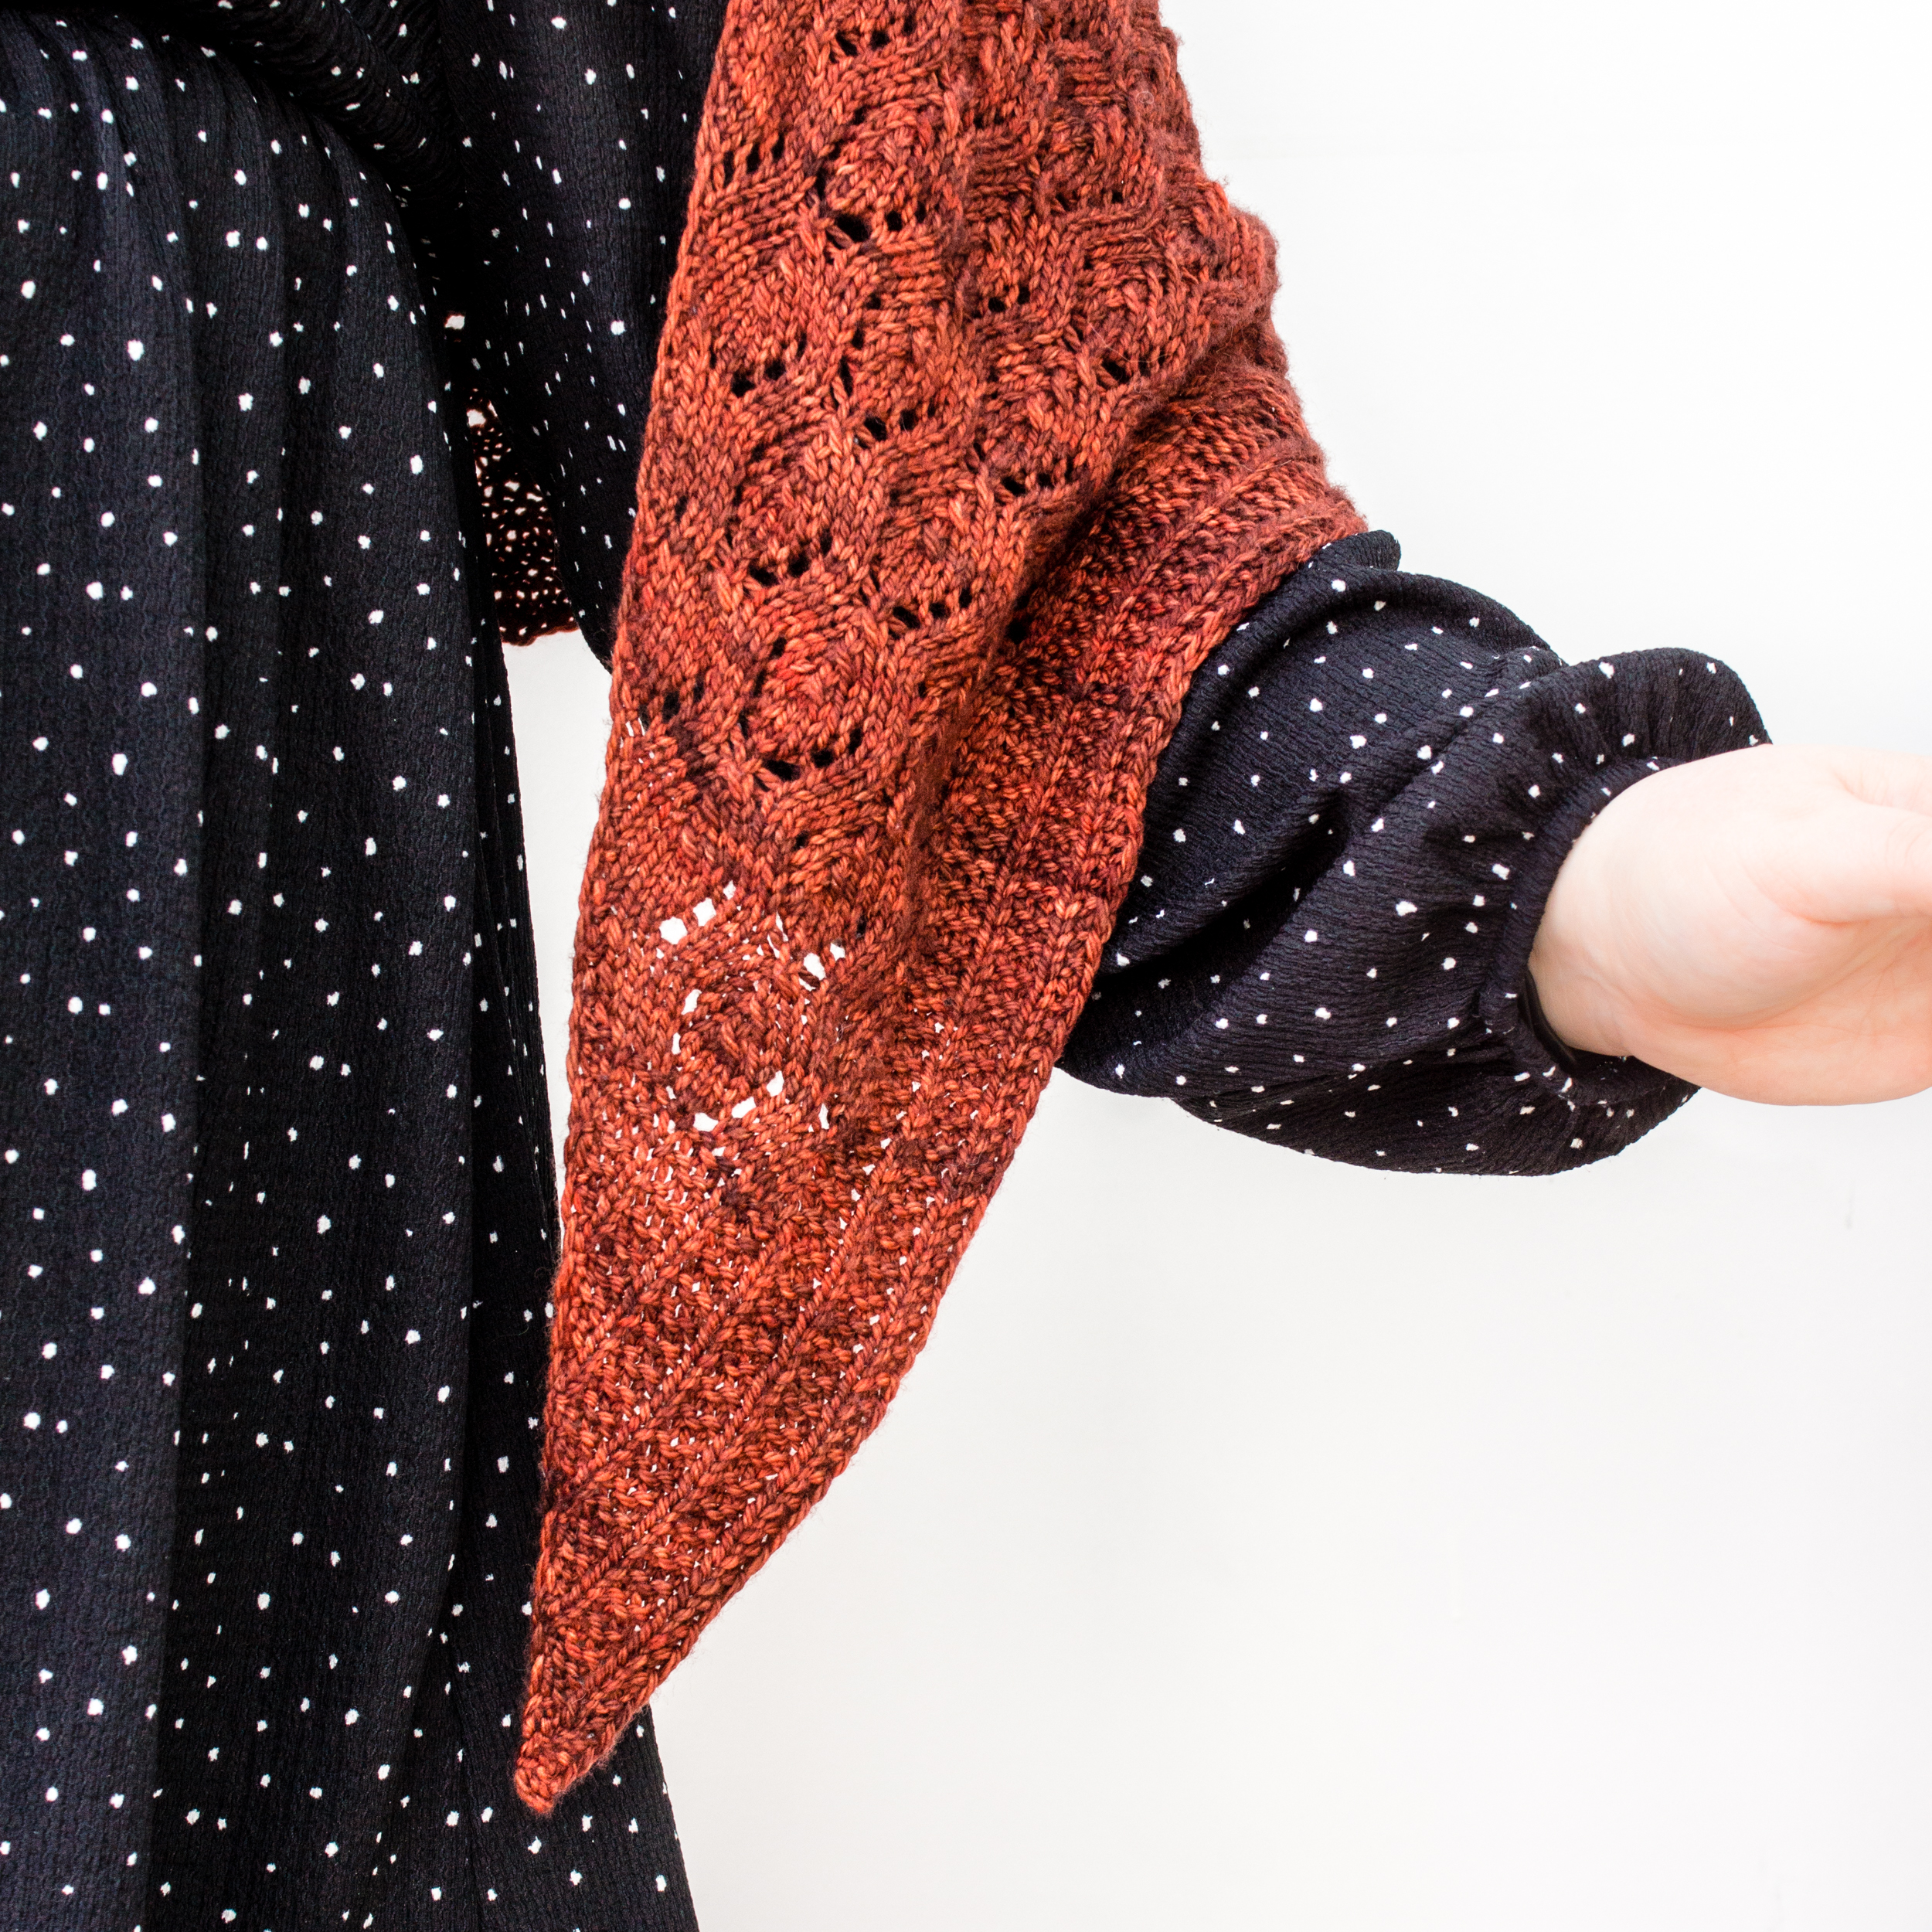
How tightly you have knit your stitches will affect how fabric drapes. As a general guide, bigger needles = looser stitches = more drape. Natural fibres also tend to drape better than synthetic ones, so the fibres you’re working with are definitely a factor. Again, the point of swatching is to test out what drape you get and decide if it works for you or not.
Handle
Handle, or “fabric hand”, is a way of describing the quality of fabric. Not “high quality” vs “low quality”, but more about how it feels. Is it silky smooth and slippery? Is it fluffy soft and cuddly? Does it prickle or irritate your skin? All these things are part of a fabric’s handle.
All these things are also entirely subjective. So again, what you’re looking for here is whether you like it or not.
The question I’m answering here is: will the finished thing feel and move the way I want it to?
3. Bleeding
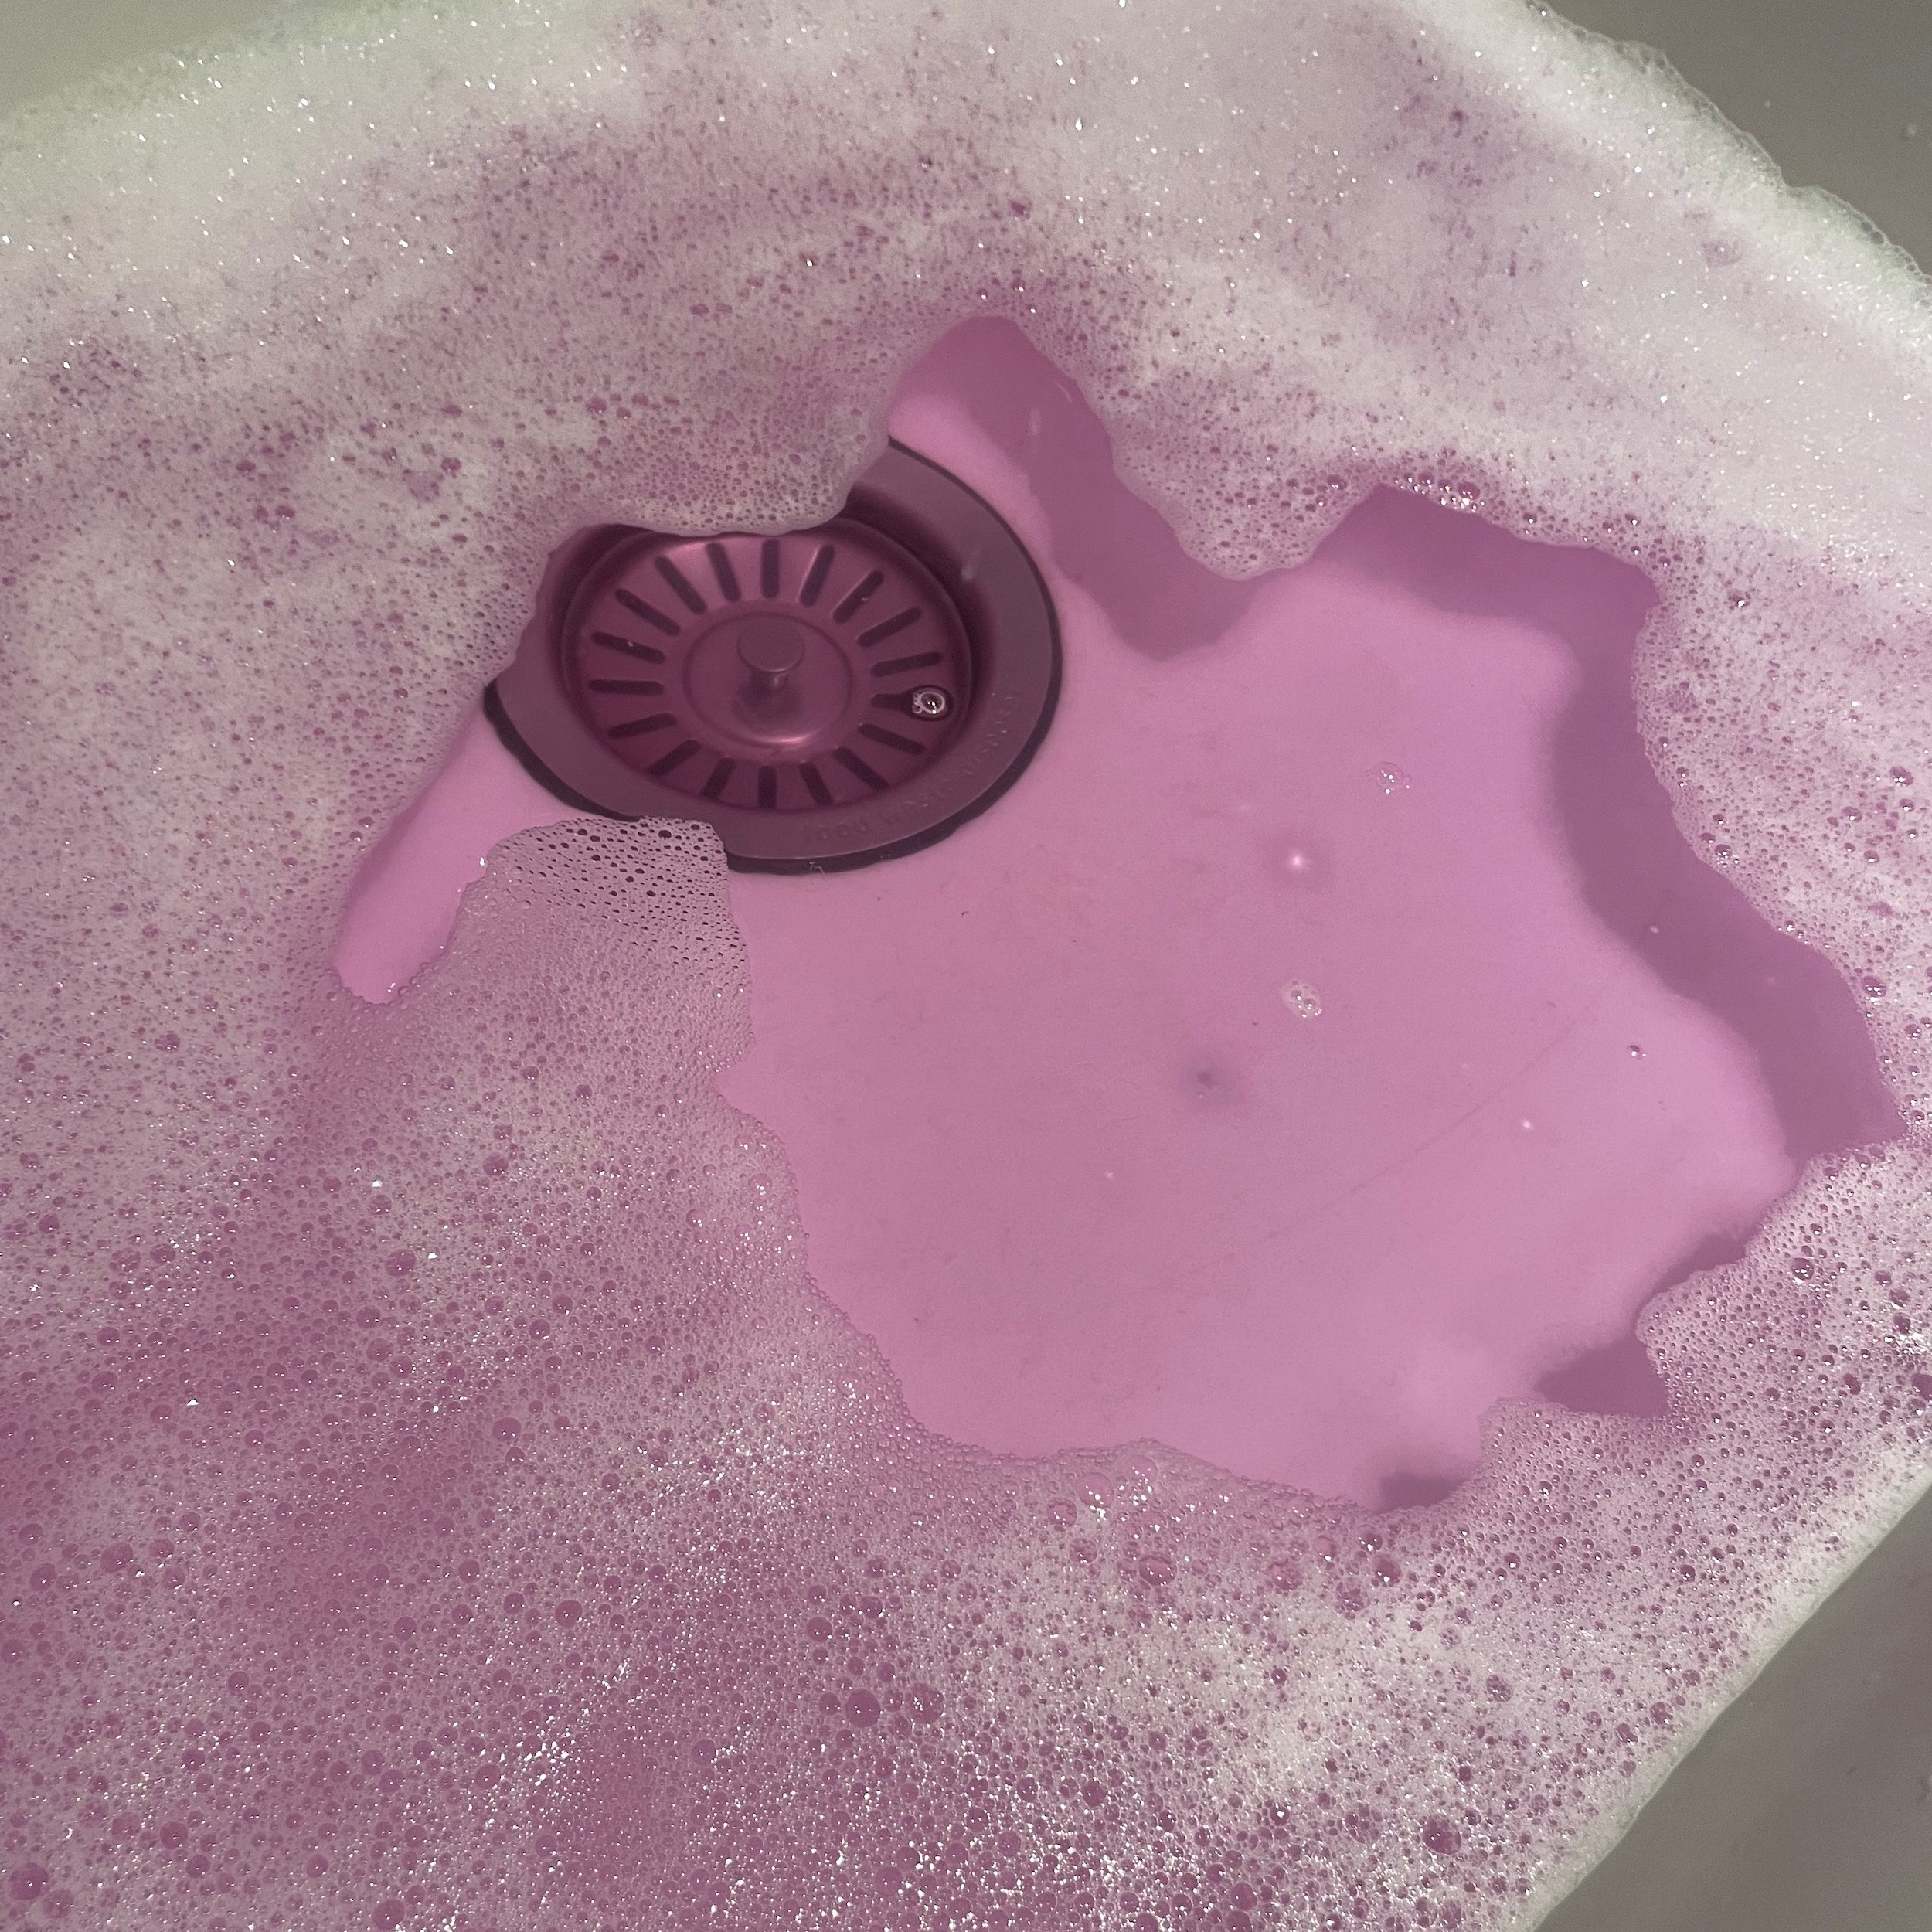
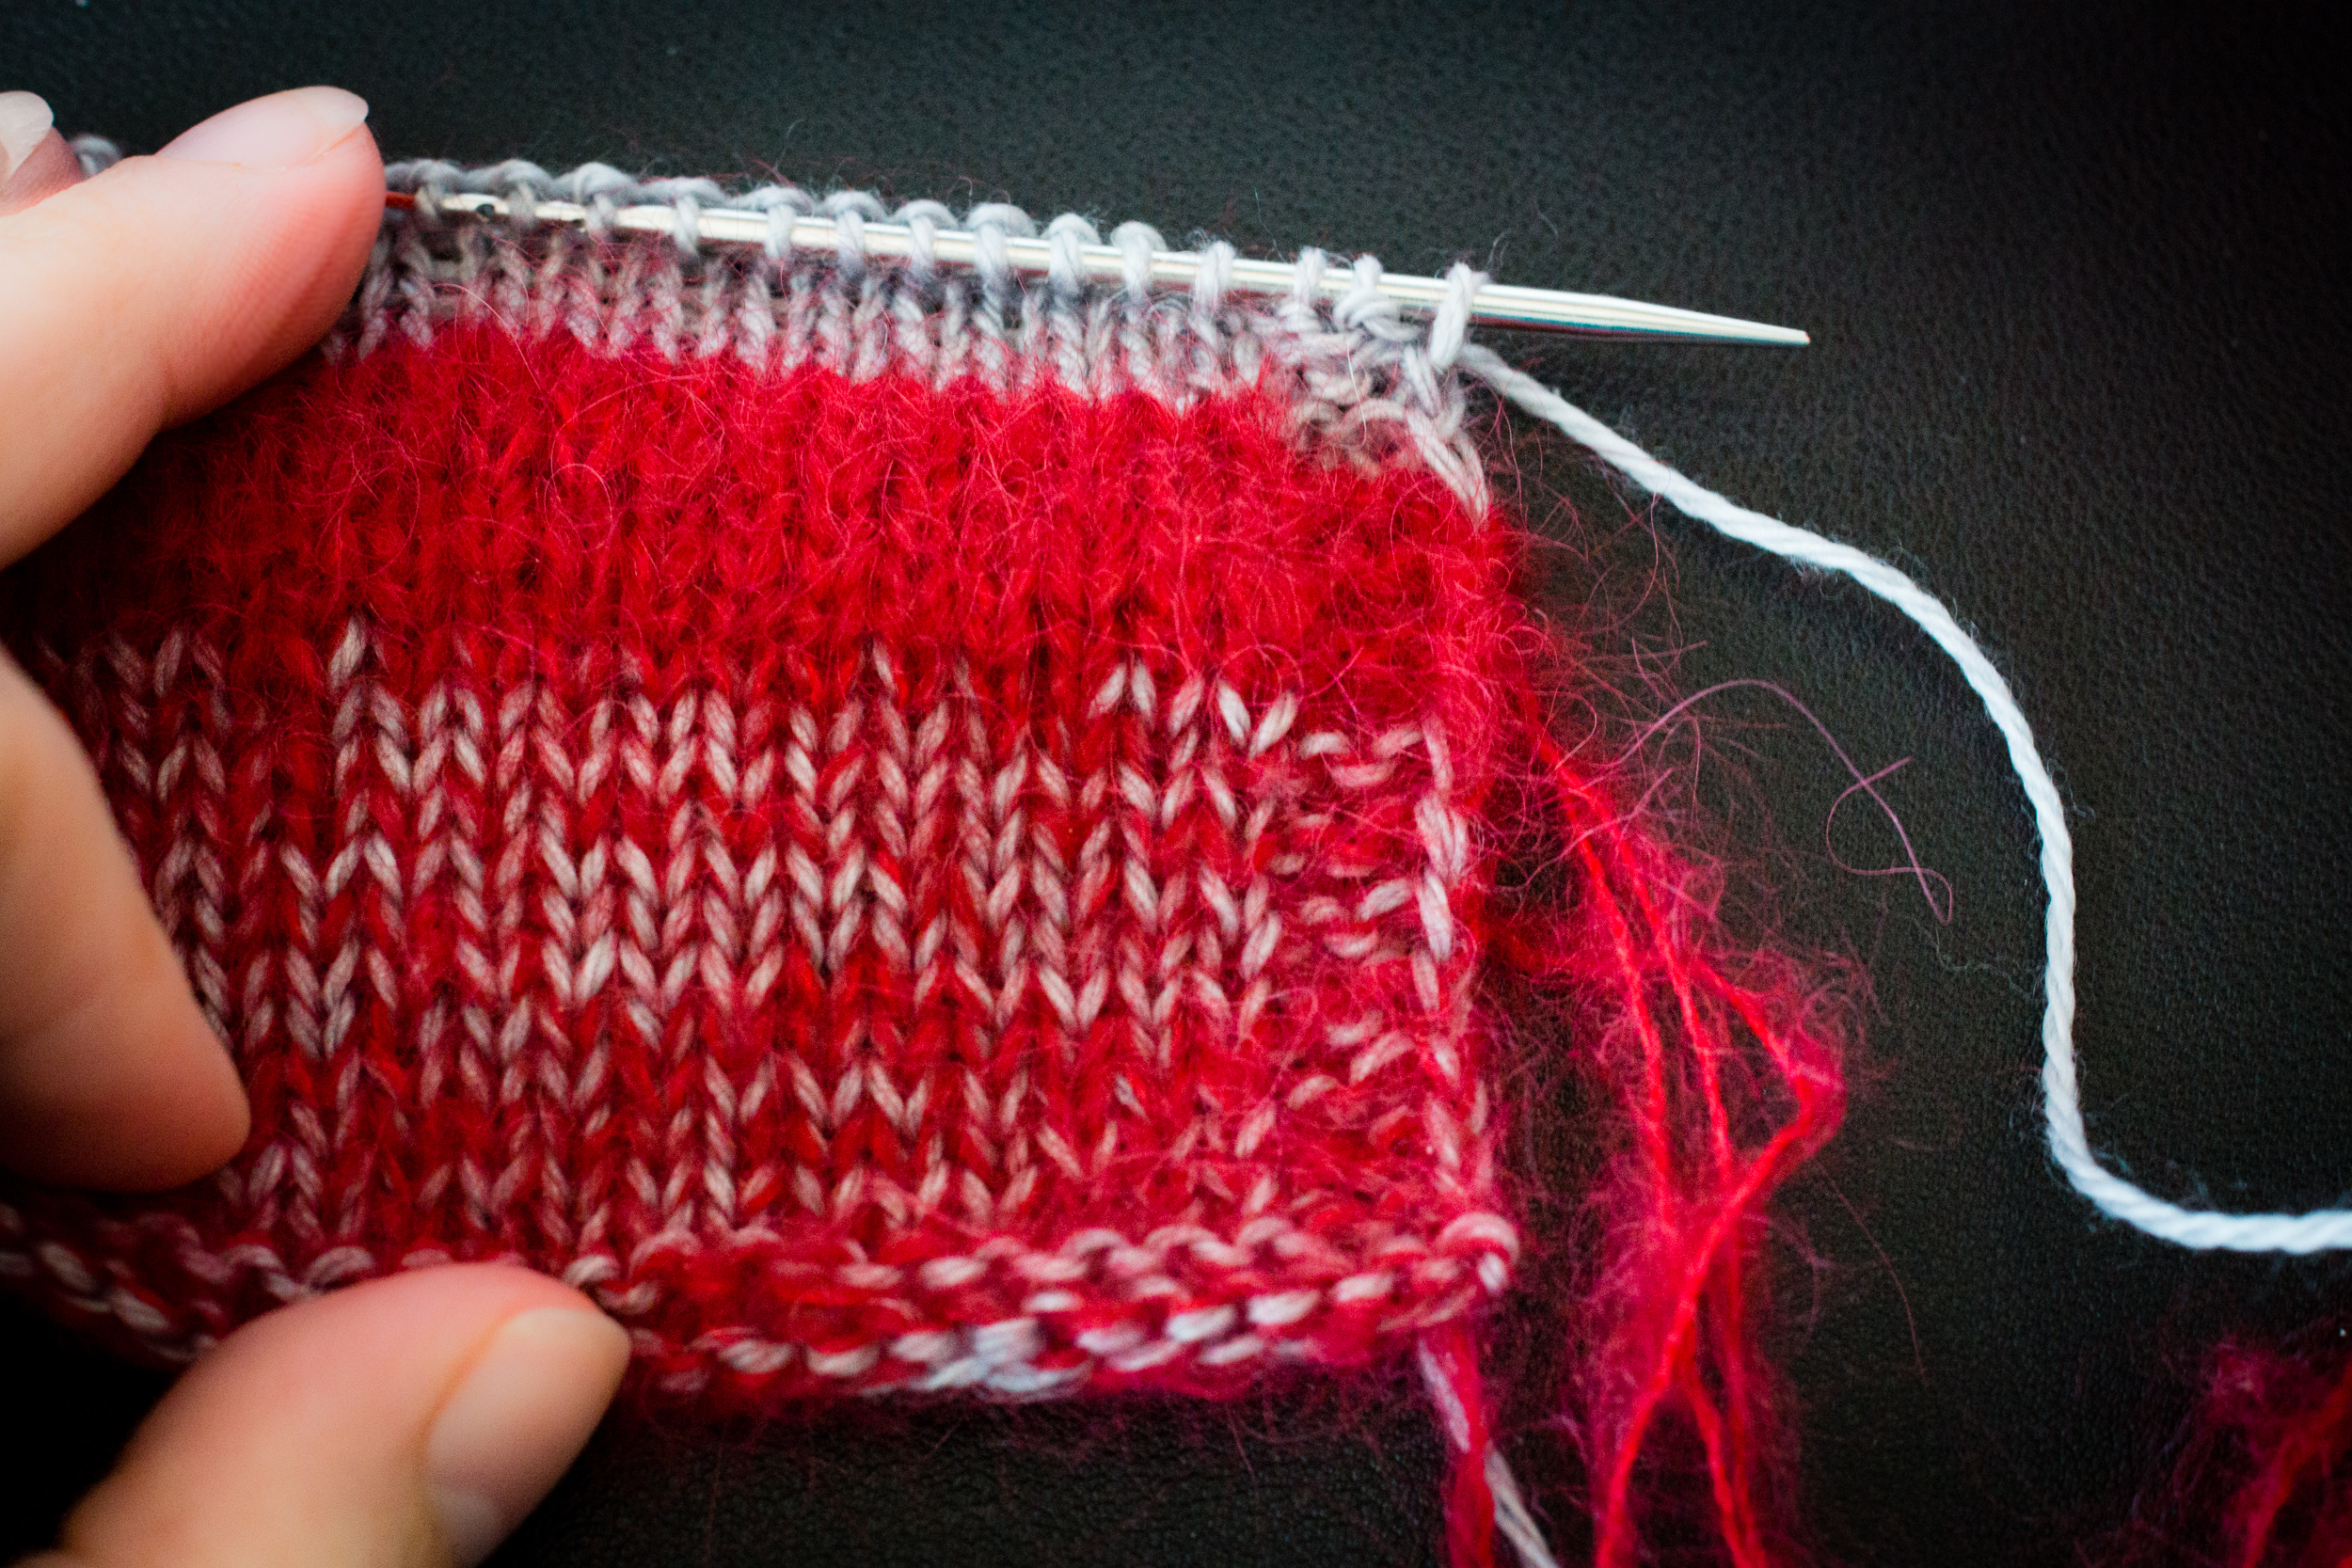
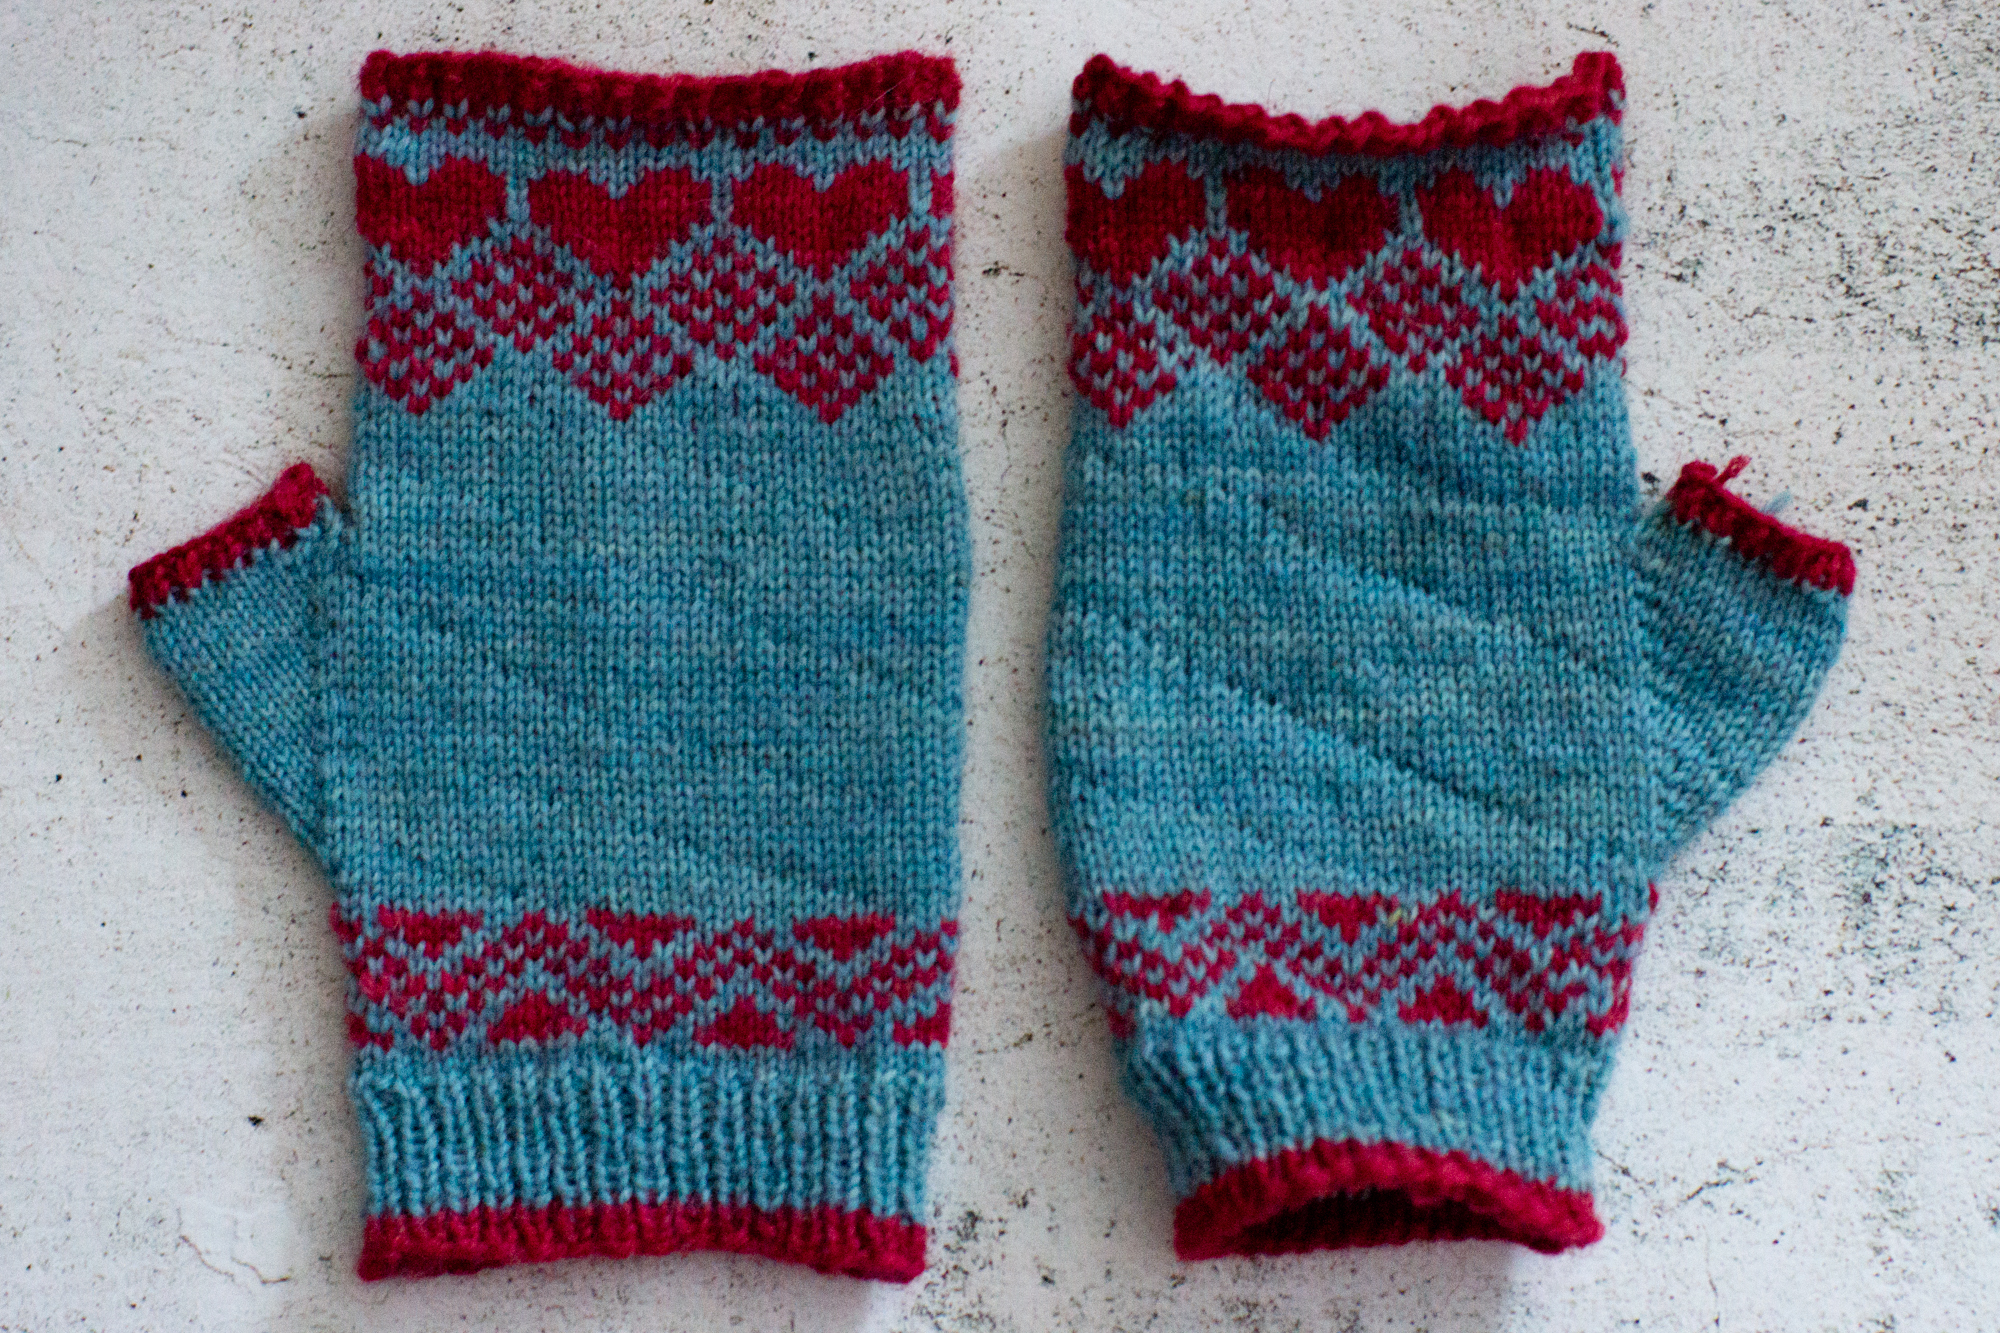
The last thing I typically check for in a swatch is colour bleeding. With colourwork it’s vital to know before hand if bleeding is expected, but in all cases, I prefer to know in advance rather than be caught out. Much easier to mitigate a problem that’s expected!
I’m doing a series of experiments into yarn bleeding. Get started here.
The question I’m answering here is: will the finished thing be colourfast?
Other Information a Swatch Can Give
- Stretch: a swatch can confirm how stretchy fabric is, and whether it is stretchy enough for your purposes or not. This guide explains how to measure stretch.
- Cast on & bind off: a swatch can confirm how your proposed cast on and bind off work with the stitch pattern, both in terms of aesthetics and stretch.
How to Swatch
Now that we know what we want to get out of making a swatch, we can go ahead and work out how to make one.
The most important thing is that the swatch should mimic the finished item as closely as possible. That means:
- Using the same yarn
- Using the same needles (or using a few, to choose the best size)
- Knitting the same stitch pattern(s) or colourwork
- Swatching flat or in the round
- Blocking the swatch, using the same method you’ll use on the finished item
I’m usually swatching with a specific pattern (or stitch pattern) in mind, and one or more yarns shortlisted for it. So I might need to do multiple swatches with multiple yarns and needle sizes to make that decision.

A great tip is not to cut the yarn after swatching; that way, if you don’t want to keep the swatch, you can undo it and reuse that yarn. Alternatively, you can keep them all for reference, which is what I tend to do.
So, how do we actually knit a swatch? There’s no one right way, but here’s a general guide.
- Choose your stitch pattern(s).
- Look to your pattern for these; there is usually a chart of the main stitch pattern that you can use for swatching. If not, look for the repeats in the main pattern.
- If the stitch pattern is placement rather than all over, you may also want to knit sections of stockinette / garter / seed stitch / whatever else is used in your pattern.
- Choose between swatching flat, or in the round.
- If your pattern is worked entirely flat, swatch flat.
- If your pattern is worked entirely in the round, swatch in the round.
- If your pattern is worked both ways, it is best practice to swatch both ways. With time, you will get to learn how your tension changes between working flat and in the round, and you may feel confident in skipping one of the swatches.
- Choose your edging.
- Swatches are easier to measure if they lay flat, so when swatching flat, add some selvedge rows at the beginning and end of the swatch, and some selvedge stitches to each end.
- These could be garter stitch, seed stitch, or ribbing. Pull elements from the pattern for the most accurate result!
- Choose your size.
- Gauge is usually measured over 4″ / 10cm, so your swatch should be BIGGER than that. If it’s this size or smaller, it’ll be harder to measure and less accurate.
- Look at your pattern’s gauge and stitch pattern to decide how many stitches to cast on. It may help you to calculate the SPI (stitches per inch) – see below.
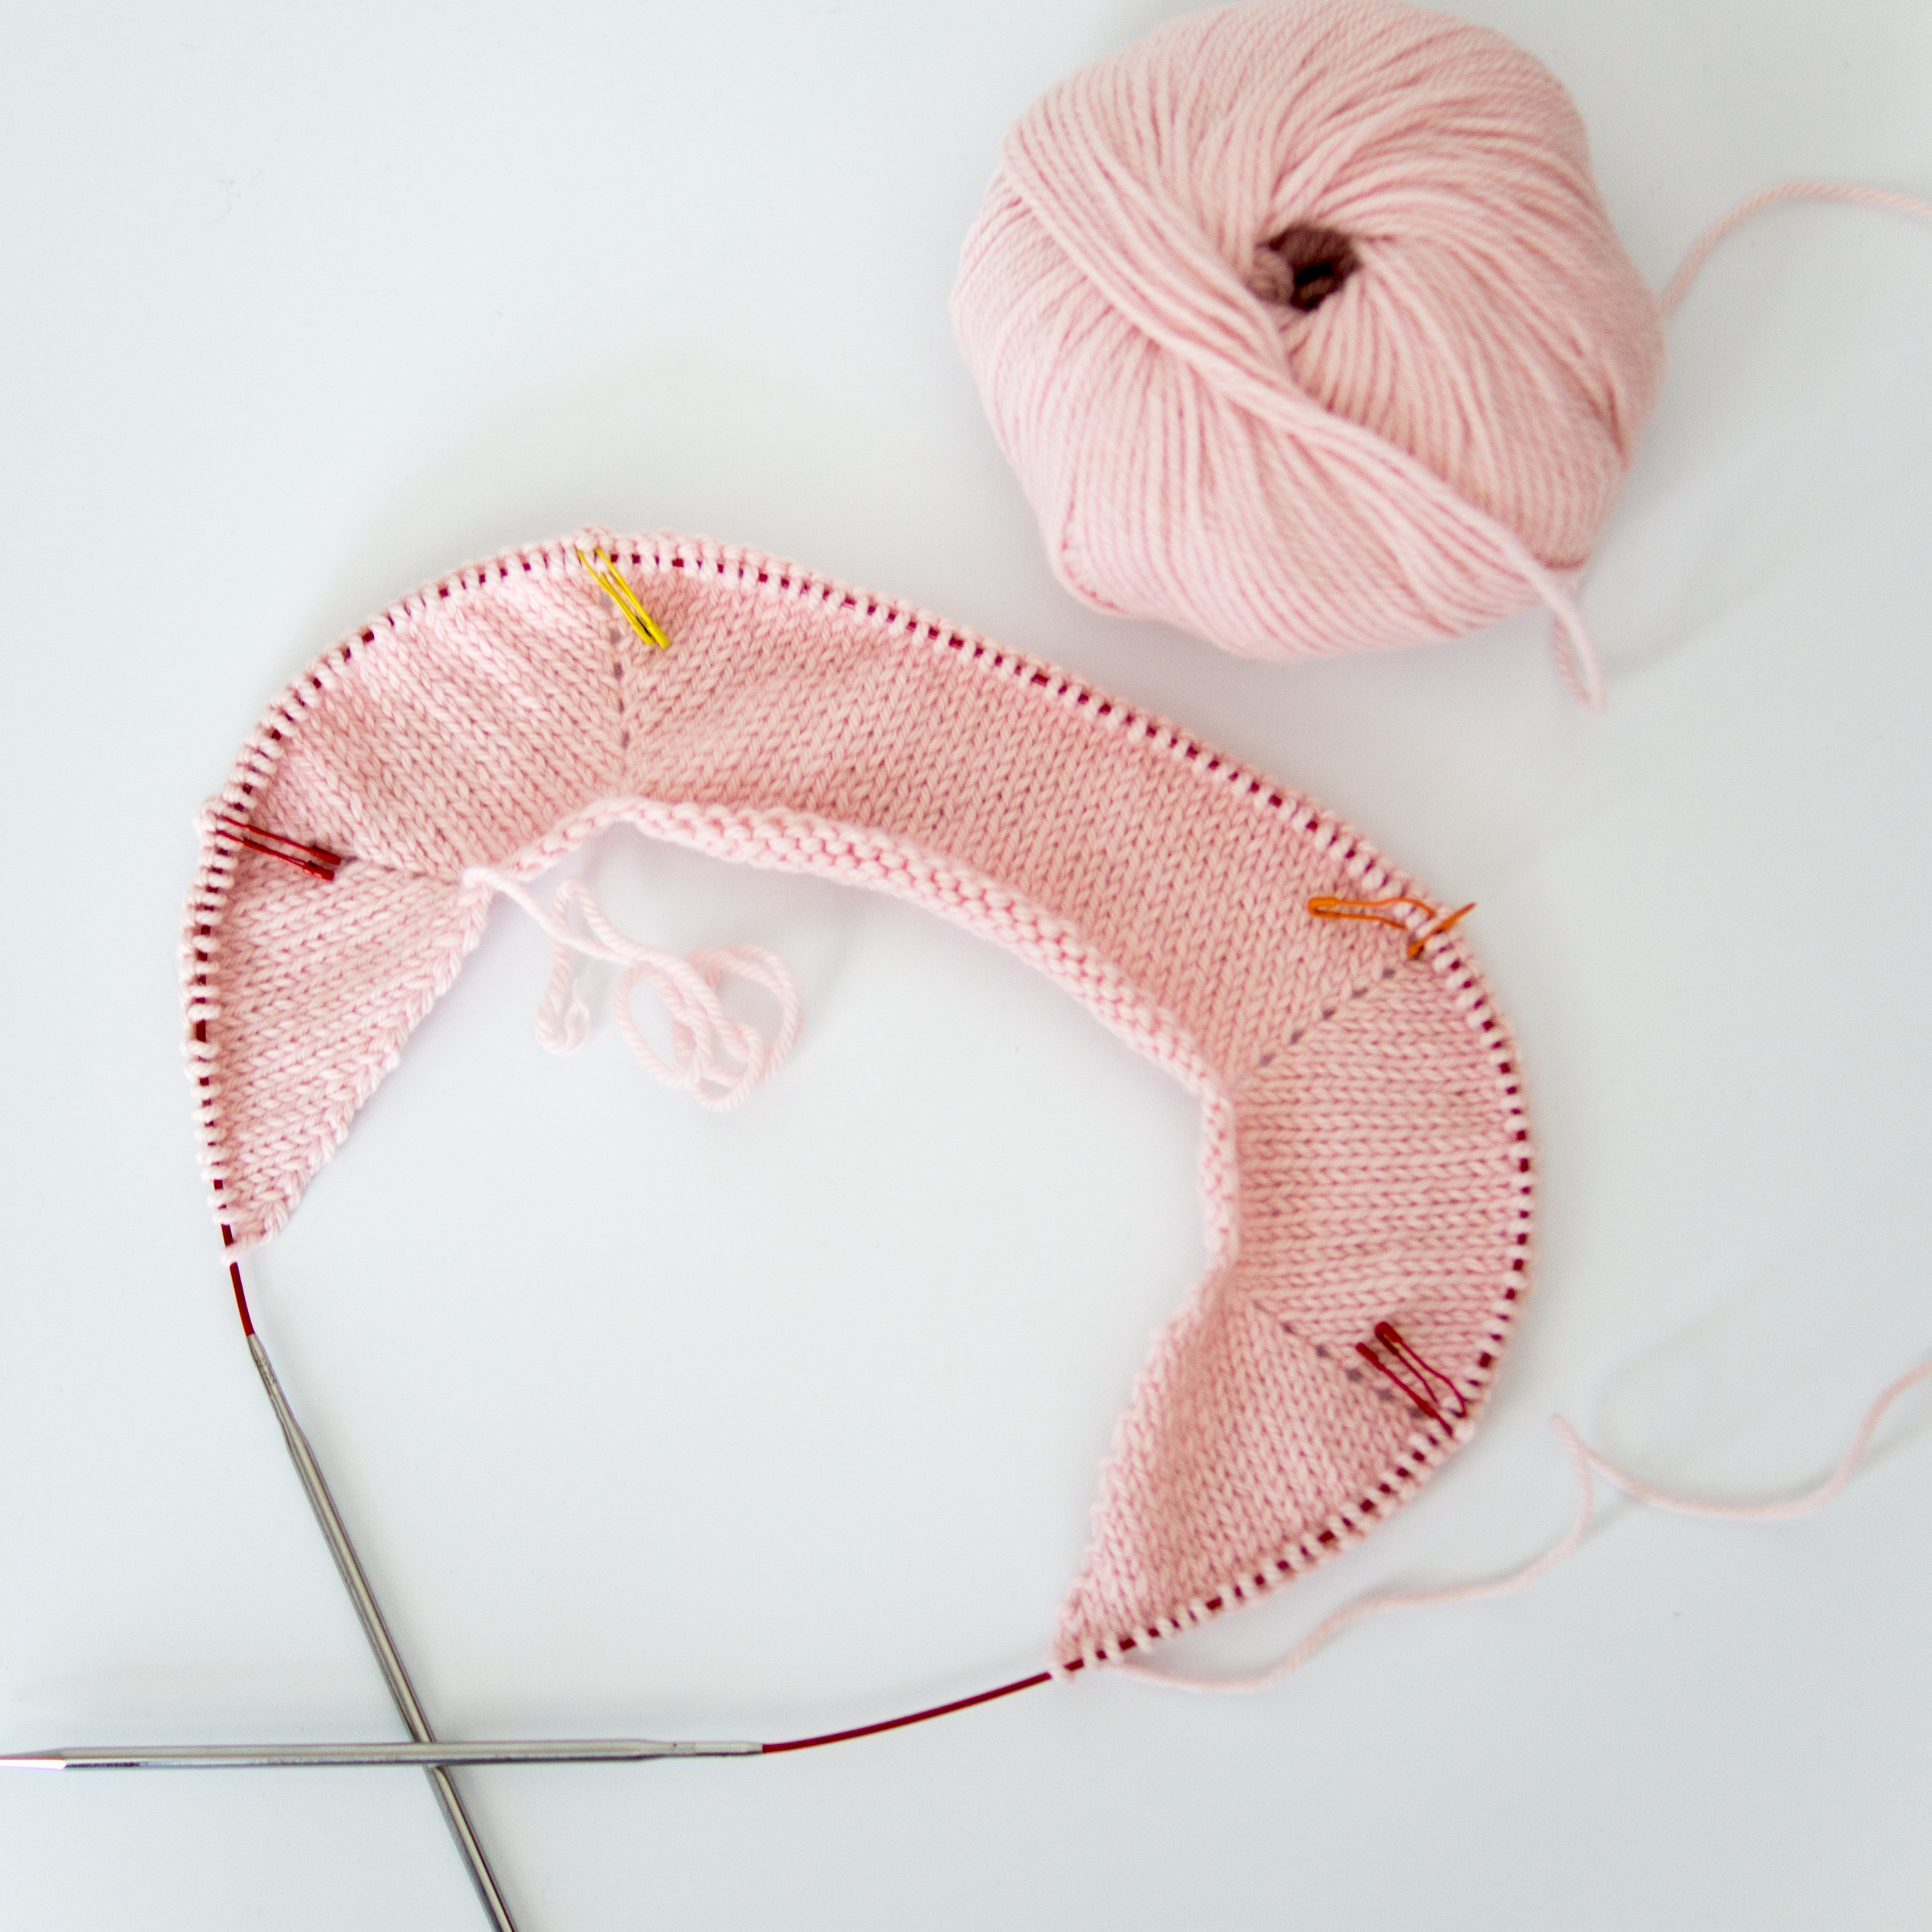
Example
Roseability is a top-down jumper with a lace front panel, stockinette back, and stockinette sleeves. The front and back panels are worked flat, and the sleeves are worked in the round.
Ideally, 3 swatches are needed: lace worked flat, stockinette worked flat, and stockinette in the round.

I have previously worked with this yarn, so I was confident of my gauge for stockinette, both flat and in the round. However the lace stitch pattern was new to me.
To create a swatch in the lace fabric, I referred to the stitch pattern. It is 6 stitches wide and 12 rows high. This means I need to cast on a multiple of 6 stitches, plus some selvedge at the edges.
I cast on 26 stitches: 3 repeats of 6 stitches (3 x 6 = 18) plus 4 selvedge stitches either end (2 x 4 = 8).
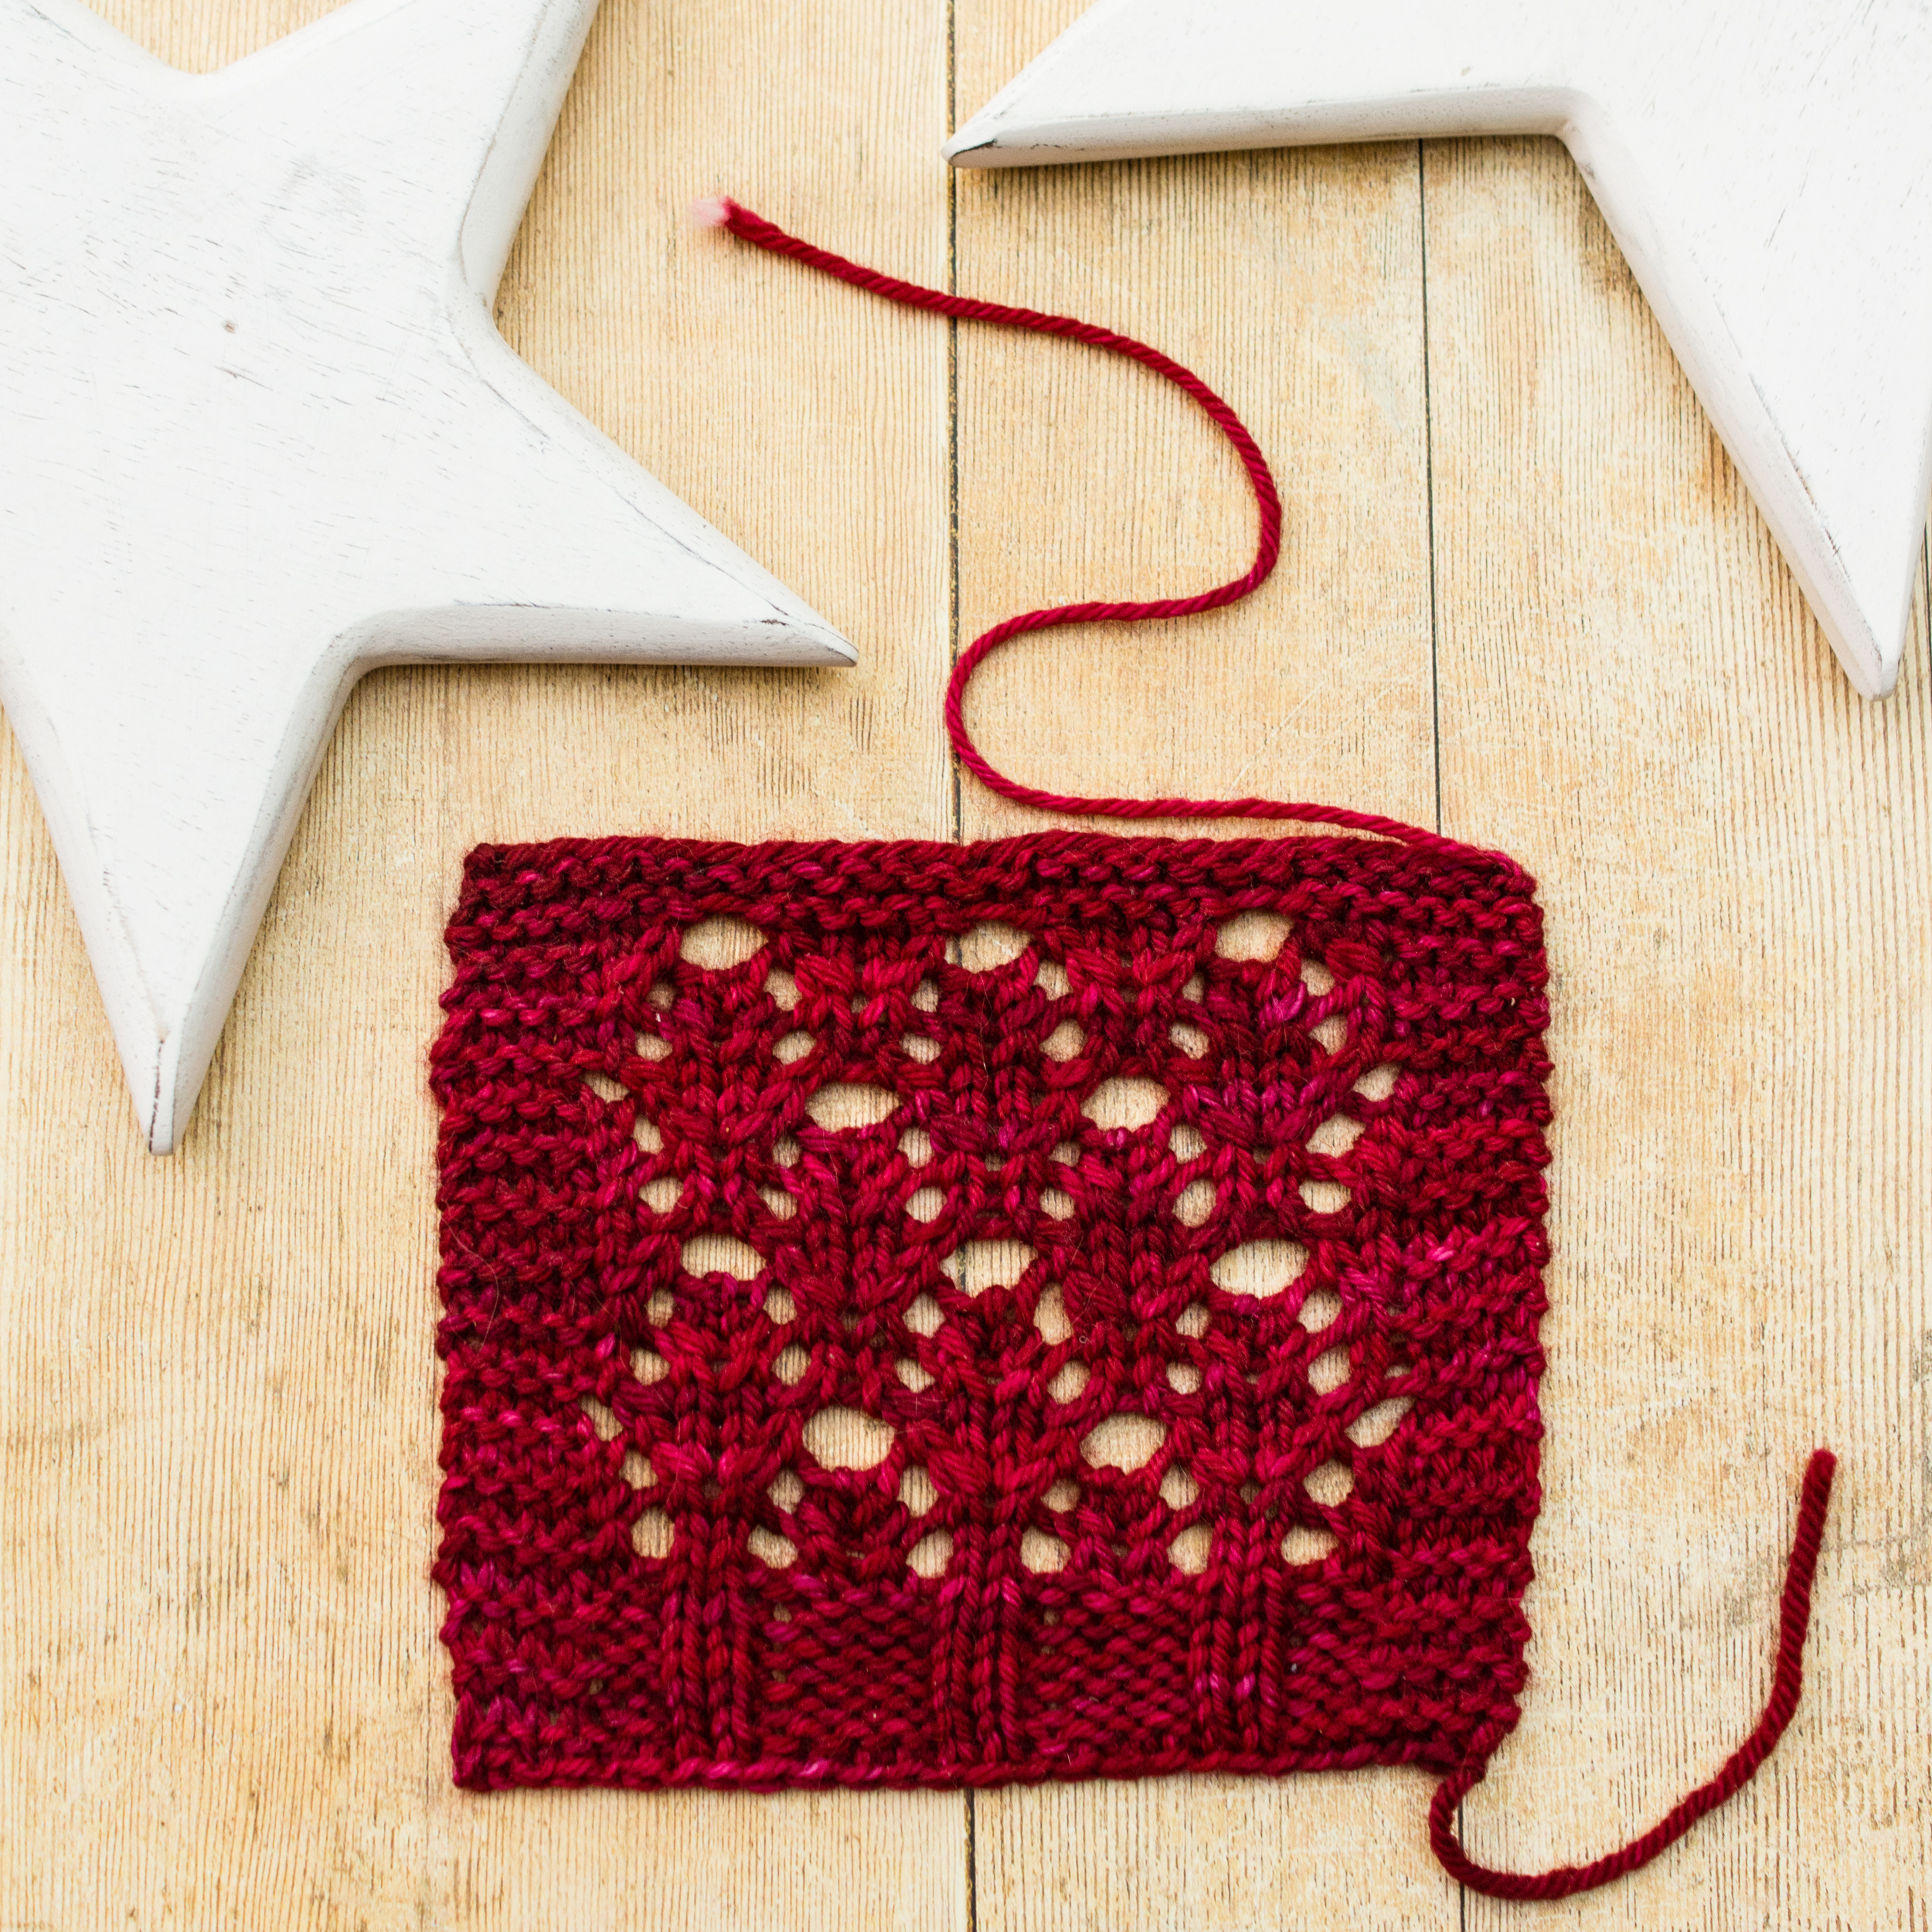
I knit 4 rows in garter stitch so that the top edge laid flat. For the lace, I knit 4 stitches, then worked 3 repeats of the lace stitch pattern, then knit 4 stitches. This created 3 repeats of the lace with a garter stitch selvedge.
My swatch looked big enough after vertical repeats – 24 rows – of lace. I then switched and finished with some ribbing, just like the jumper does at the waistband.
I bound off using the standard bind off. This was important: I wanted to check that it had enough stretch. Although the waistband on this jumper is ribbed, it drapes rather than stretches, so a standard bind off was probably going to be okay. Always best to double check though.
I then wet blocked the swatch, pinned it gently on a blocking mat, and let it dry.
How to Measure
Once your swatch is dry, lay it flat. You will need a ruler, measuring tape, gauge measure, or something else with measurements on it.
Lay your measuring tool on the swatch and count how many stitches there are in a 4″ / 10cm length. Then, turning your tool if necessary, count how many rows there are in a 4″ / 10cm height. That’s your gauge!
Understanding Your Result
This part is a little more tricky.
If the stars have aligned, your gauge will exactly match the pattern’s gauge, you’ll love the fabric you’ve created, and it won’t have bled during blocking. Thank the knitting overlords and cast on!
That probably hasn’t happened though, so here’s some guidance for common situations.
Stitch Gauge Doesn’t Match
This is best fixed by trying again with a different needle size.
If you have too many stitches per 4″ / 10cm, use a bigger needle.
If you have too few, use a smaller one.
If you are extremely close to gauge but not quite, especially if you have one or two too many stitches per 4″ / 10cm, you can try re-blocking your swatch. This time, when you lay it out, try to pull it to the desired size. Keep a tape measure handy for checking. Pin it in place, and see if it remains the right size when dry. If it does, carry on!
Row Gauge Doesn’t Match (but stitch gauge does)
There are a couple of options here.
The first option is to carry on anyway. Depending on what you’re making, and how far off you are, you might not need to make any adjustments. For example, if you’re knitting a top-down jumper and your row gauge comes out at 17 st per 4″ / 10cm instead of the 16 listed in the pattern’s gauge, you know your jumper will come out a little shorter than the pattern schematic. You could decide to knit it anyway, try on the body, and decide if you want to lengthen it (by adding more repeats or edging) or not. Or maybe you have a shorter torso and a slightly shorter jumper works better for you anyway.
Another option is to try your swatch again using the same size needles, but of a different material. Metal needles tend to give the tallest stitches, then carbon, wood, and resin, in that order. (Source: Knit Darling)
The risk here is that you might also affect your stitch gauge, and of course you may have your own reasons for preferring a particular needle material, so it’s up to you which approach works best.
Gauge is OK, Fabric Isn’t Right
This is, in my opinion, the worst outcome possible. If I have my heart set on a yarn-and-pattern combination and this happens, there are really only two options.
One is to redo the swatch until I’m happy with the fabric, then recalculate the whole pattern to work at the new gauge. Yay spreadsheets! But also… no. Generally speaking, if I’m following someone else’s pattern, it’s because I want (need) a break from this sort of thing. I probably wouldn’t ever choose this option.
The other is to find a different yarn. I know. Sometimes that feels like a complete failure. But one of the biggest skills in knitting is finding the right yarn for each project, and if your swatch hasn’t created a fabric that you like, you won’t like your finished item either. Better to accept that now, before hours of knitting effort have been put in.
Yarn Bleeding
That’s a whole other thing! I’m working on a series of experiments to find out exactly what does and doesn’t help with bleeding. Get started here: The Yarn Bleeding Experiment
That should be everything you need to know to get started with swatching!
If this free information helped you, please consider buying me a coffee.